How to Draw a Glass Coke Bottle? 6 Easy Steps!
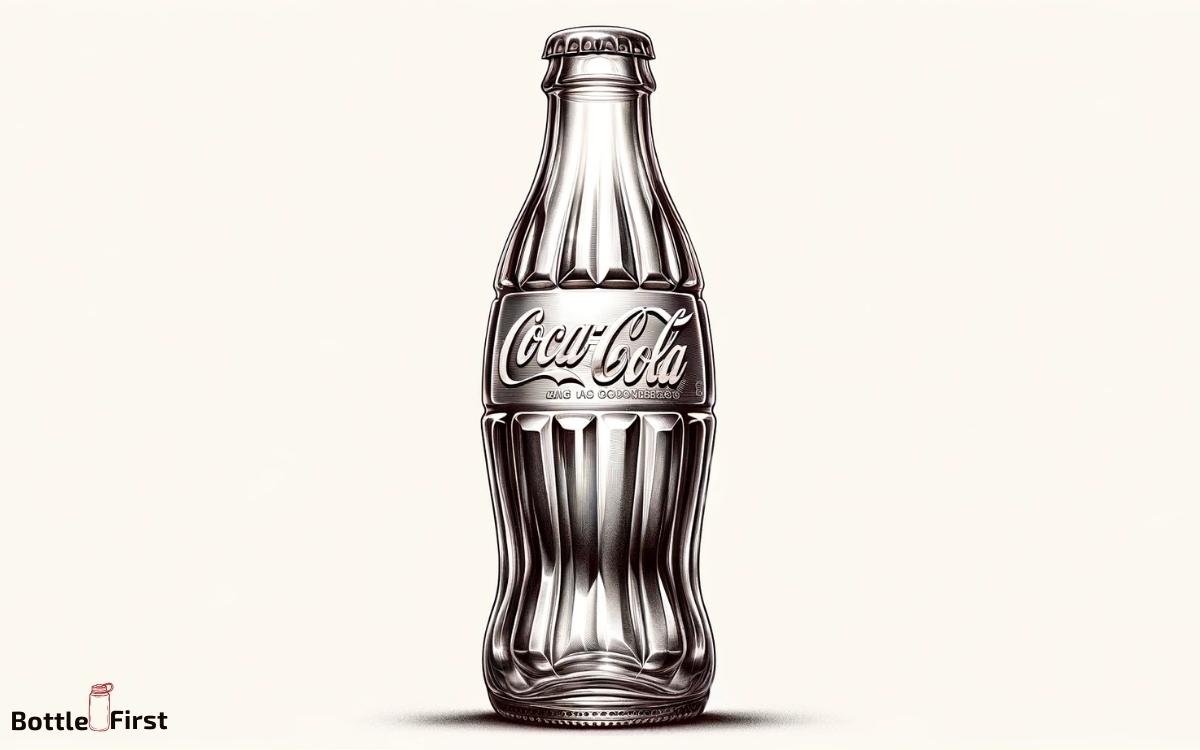
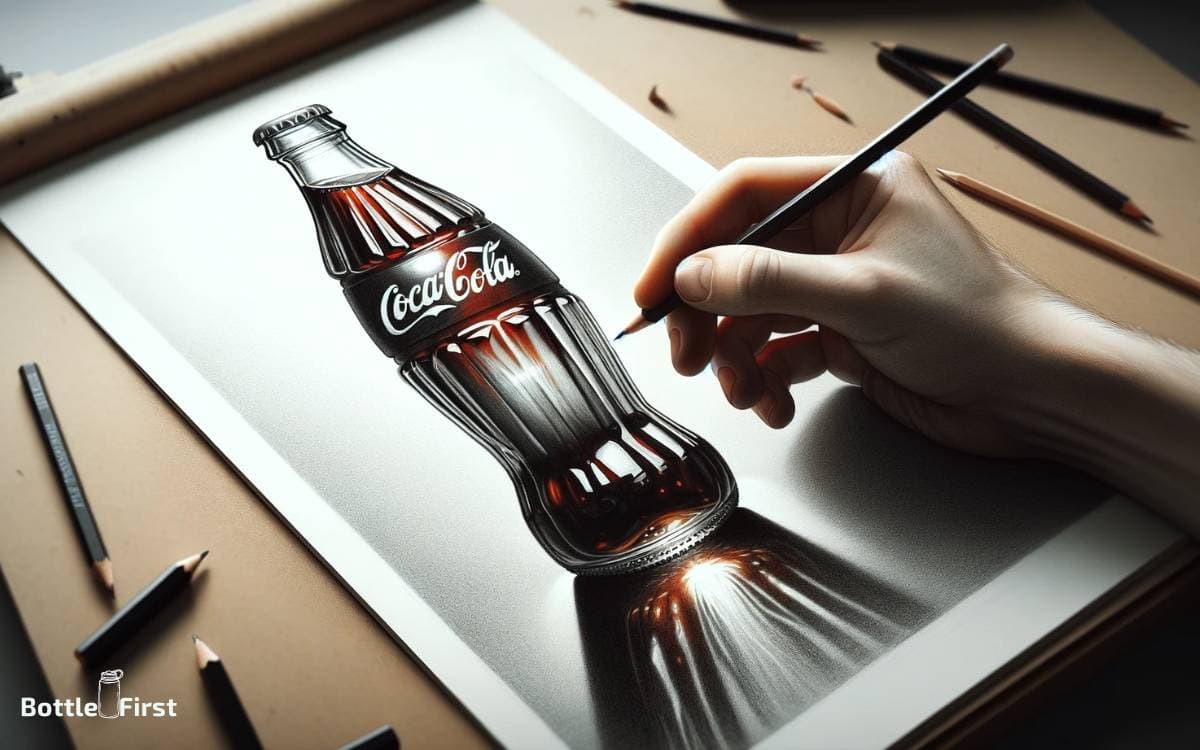
To draw a glass Coke bottle, start by preparing your drawing materials such as pencils, erasers, and paper. Begin with a light sketch of the bottle’s contour, focusing on its distinctive curves and edges.
Progress by adding the intricate details like the label, logo, and ridges. Enhance your drawing with shading and highlights to mimic the glass’s transparency.
Finalize your artwork by incorporating reflections to give it a lifelike appearance. Your drawing will not only look realistic but also capture the essence of the iconic Coke bottle.
Here are some quick steps:
For example, when adding details, you would sketch the script of ‘Coca-Cola’ on the bottle’s label and make sure to draw the ridges with precision to resemble the actual bottle.
Capture the classic charm of a glass Coke bottle in your drawing, showcasing your attention to detail and shading skills.
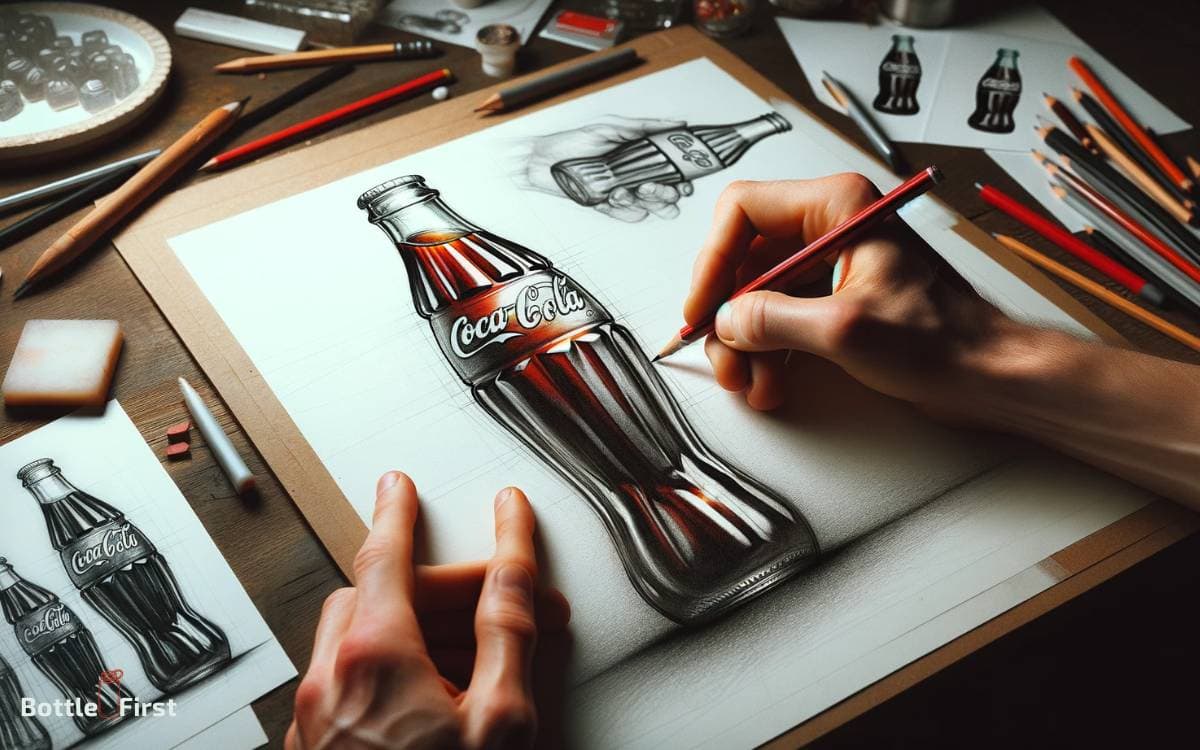
Unleash your creativity by mastering the art of drawing a glass Coke bottle. Start by setting up your drawing station with the necessary tools.
Sketch the basic outline, paying attention to the bottle’s unique contours. Incorporate the recognizable details such as the Coke logo and textured ridges.
Use shading techniques to create the illusion of transparency and add highlights for a glossy effect.
Conclude with reflective touches that bring a realistic dimension to your drawing. Let your artistic skills bubble over as you render a drawing that’s as invigorating as an ice-cold Coke.
Key Takeaway
Gathering Your Drawing Materials
You will need to gather the following drawing materials before starting to sketch your glass Coke bottle.
- A few sheets of good quality drawing paper, ensuring they’re big enough for the project.
- A set of graphite pencils in various hardness grades, ranging from 2H for light lines to 6B for darker shading.
- For precise lines and details, a fine-point mechanical pencil is essential.
- A good quality eraser to correct any mistakes and achieve clean highlights.
- A blending stump or tortillon on hand to blend and soften graphite marks.
- A ruler and a sharp pencil sharpener are crucial for accuracy and sharpness.
Now that you have all your materials ready, let’s move on to outlining the basic shape of the bottle.
Step 1: Outlining the Basic Shape
Having gathered your drawing materials, proceed by outlining the basic shape of the glass Coke bottle using a 2H graphite pencil for light lines.
- Start with the Outline: Sketch a vertical line to represent the center of the bottle and then draw a horizontal line near the top for the bottle’s rim.
- Create the Curves: Add the curved sides of the bottle, making sure they’re symmetrical.
- Define the Base: Draw the bottom of the bottle, ensuring it’s proportionate to the rest of the shape.
- Refine the Contours: Use light, smooth strokes to connect the lines and create the smooth, iconic silhouette of the Coke bottle.
With the basic shape outlined, you’re now ready to add the intricate details that will bring your drawing to life.
Step 2: Adding the Details
Now it’s time to bring your glass Coke bottle to life by refining its contours. Add the subtle highlights and reflections of the label to make it pop off the page.
Enhance the transparency of the glass, capturing the way light plays with its surface.
Refining Bottle Contours
To refine the contours of the glass Coke bottle and add the intricate details, start by carefully observing the curvature and subtle variations in the glass surface. This will help you capture the essence of the bottle more accurately.
Here’s how to refine the bottle contours effectively:
- Study the highlights and reflections: Notice how light interacts with the glass, creating highlights and reflections. These details are crucial for capturing the realistic look of the bottle.
- Add imperfections: Introduce small imperfections and irregularities in the glass surface to make the bottle appear more authentic and lifelike.
- Emphasize the label: Pay close attention to the label’s placement and how it adheres to the bottle’s shape. Small creases and folds can add depth and realism to the drawing.
- Fine-tune the edges: Refine the edges of the bottle, ensuring they’re smooth and accurately represent the glass material.
Highlighting Label Reflections
As you refine the contours of the glass Coke bottle, you can continue by highlighting the label reflections to add intricate details that enhance the realism of your drawing.
Pay close attention to the way light interacts with the bottle’s surface, creating reflections and highlights.
Start by carefully observing the label’s curves and edges. Use a sharp pencil to lightly sketch these details, ensuring they align with the bottle’s shape.
Then, delicately shade around the label’s reflections, gradually building up the tonal values to mimic the glass’s transparency.
Be mindful of the label’s texture and any imperfections, as these subtle elements contribute to the overall authenticity of your drawing.
By adding these intricate label reflections, you bring a new level of depth and dimension to your glass Coke bottle illustration.
Enhancing Glass Transparency
To enhance the glass transparency of your Coke bottle drawing, carefully observe the light’s interaction with the glass surface and gradually build up tonal values to achieve a realistic effect.
- Study Light Reflection: Notice how light reflects and refracts through the glass, creating highlights and shadows.
- Layering Technique: Use a light touch to gradually layer darker and lighter tones, creating depth and dimension.
- Detailing the Glass Surface: Pay attention to any imperfections or bubbles in the glass, adding these subtle details to enhance realism.
- Refine Edges and Highlights: Sharpen the edges of the glass and emphasize the brightest highlights to make the transparency more convincing.
Step 3: Incorporating Shading and Highlights
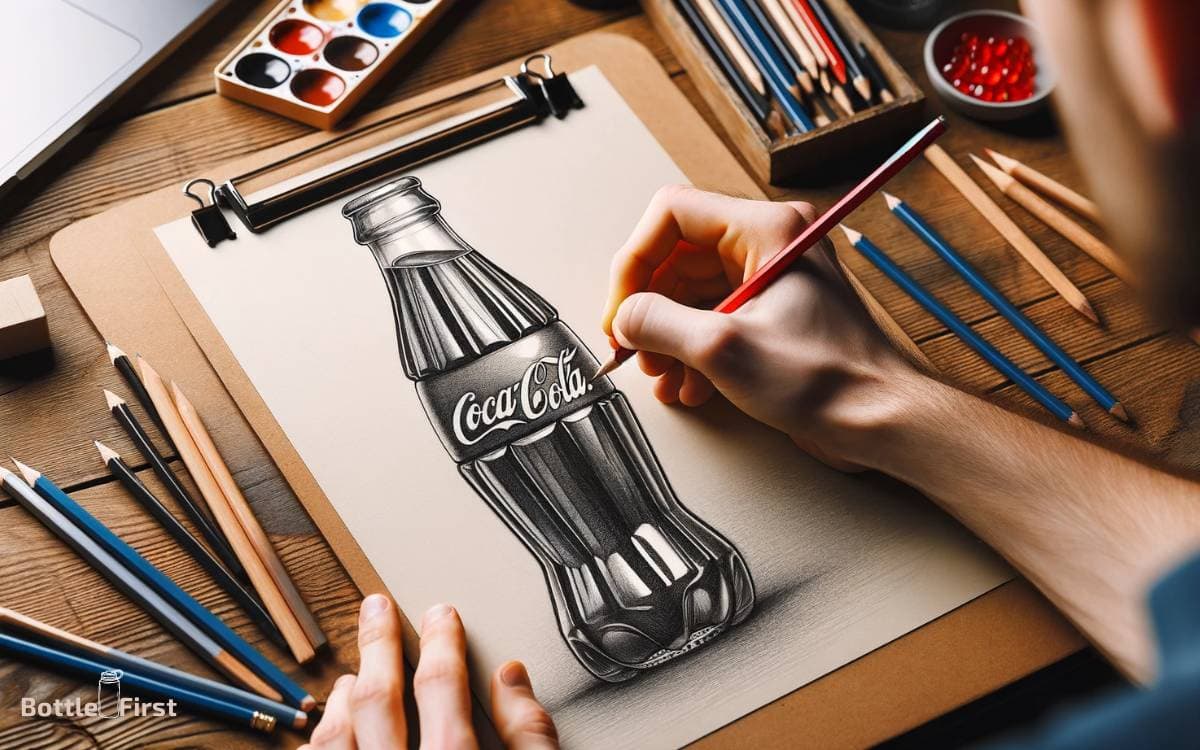
Incorporating shading and highlights is essential for bringing depth and realism to your glass Coke bottle drawing. When shading your bottle, consider the light source and imagine where shadows would naturally fall.
Use a variety of pencils to create different tones, from light to dark, and blend them smoothly for a seamless transition. Utilize highlights to add a glossy, reflective quality to the glass.
Here’s a helpful guide to incorporate shading and highlights effectively:
| Shading Tips | Highlight Techniques |
|---|---|
| Use cross-hatching for depth | Leave blank spaces for highlights |
| Experiment with different pressures | Blend with a kneaded eraser for a soft glow |
| Consider the bottle’s contours | Use a white gel pen for sharp highlights |
| Use reference images for guidance | Avoid overdoing the highlights |
Step 4: Refining the Overall Appearance
Now it’s time to take your drawing to the next level by enhancing the glass reflections, bringing out the shine of the bottle with subtle highlights, and polishing the contours to give it a realistic, three-dimensional appearance.
You’ll also want to pay close attention to perfecting the details of the label, ensuring that it looks crisp and accurately represents the iconic Coca-Cola branding.
Enhancing Glass Reflections
You can enhance the glass reflections to refine the overall appearance of your drawing.
Here are four innovative techniques to bring your glass Coke bottle to life:
- Light Source Emphasis: Intensify the reflection nearest to the light source, creating a striking contrast between light and shadow.
- Gradation and Smooth Blending: Use a combination of soft strokes and blending tools to create a smooth transition between the lightest and darkest areas of the glass, giving it a more realistic appearance.
- Subtle Distortions: Incorporate slight distortions in the reflections to mimic the imperfections of real glass, adding depth and authenticity to your drawing.
- Highlighting Details: Add small, bright highlights to certain areas of the glass to emphasize its transparency and make it more visually appealing.
Now that you’ve mastered enhancing the glass reflections, let’s move on to polishing the bottle contours.
Polishing Bottle Contours
To refine the overall appearance of your drawing, focus on smoothing and refining the bottle contours using gentle strokes and careful attention to detail.
Pay close attention to the curves and edges, ensuring they are smooth and well-defined. Consider the play of light and shadow on the glass surface, and use delicate lines to capture the subtle reflections and refractions.
Here’s a table to help you evoke emotion in your drawing:
| Technique | Emotion Evoked |
|---|---|
| Soft, flowing lines | Elegance |
| Subtle shading | Depth |
| Precise detailing | Refinement |
Perfecting Label Details
The label details on the glass Coke bottle can be perfected by carefully refining the overall appearance of the drawing.
To achieve this, focus on the following:
- Fine Lines: Use a sharp pencil or fine-tip pen to add intricate details, such as the fine print and decorative elements on the label.
- Shading: Add subtle shading to create depth and dimension, making the label appear more realistic and integrated with the glass surface.
- Color Accuracy: Ensure that the colors of the logo and label match the actual Coke bottle, paying attention to nuances and gradients.
- Texture: Incorporate texture details, such as the characteristic condensation droplets, to bring the label to life and enhance its realism.
Step 5: Emphasizing the Coke Logo
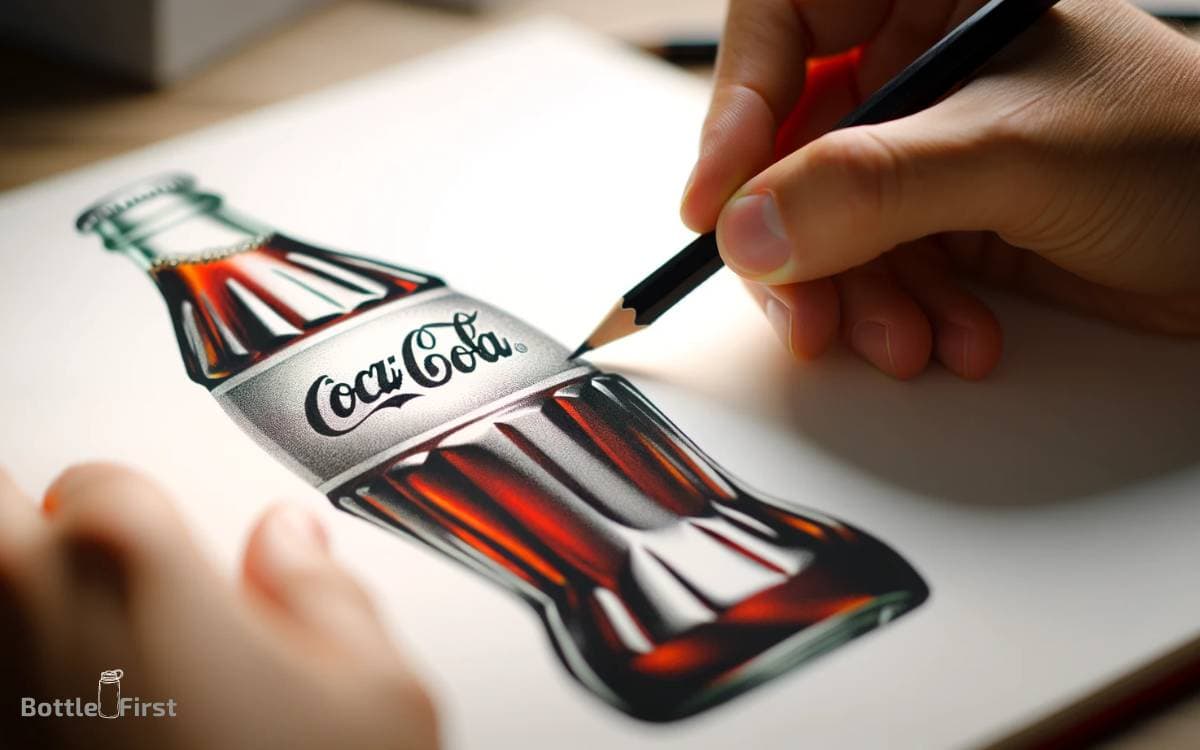
By carefully outlining and filling in the Coke logo, highlight its distinctive features to make it pop on your glass Coke bottle drawing.
The Coke logo is iconic, with its flowing script and dynamic ribbon design. Start by sketching the outline of the logo with precision, paying attention to the curves and angles.
Use a fine-tipped pen or marker to trace over the outlines, adding weight to the lines to make them bold and prominent.
Next, carefully fill in the letters and the ribbon design with a deep, rich red color that stands out against the glass bottle.
Consider adding subtle highlights and shadows to create depth and dimension, making the logo look as if it’s shining on the surface of the bottle.
Emphasizing the Coke logo will bring an extra level of authenticity and vibrancy to your glass Coke bottle drawing.
Step 6: Final Touches and Reflections
Focusing on the final touches and reflections, enhance the overall realism of your glass Coke bottle drawing by adding subtle highlights and reflections to the surface, bringing depth and dimension to the artwork while emphasizing the Coke logo’s iconic features.
- Highlighting: Use a white pencil or digital eraser to create highlights along the curved edges of the bottle, accentuating its smooth, reflective surface.
- Reflections: Incorporate faint reflections of surrounding objects or the environment onto the glass to simulate its transparent nature and add a sense of place to your drawing.
- Shadowing: Intensify shadows around the base and underneath the bottle to ground it and create a sense of solidity.
- Fine Details: Add minute imperfections like air bubbles or slight distortions to convey the unique characteristics of glass and further enhance the realism of your drawing.
Conclusion
Now you’ve mastered the art of drawing a dazzling glass coke bottle! With your diligent dedication and deft detailing, you’ve created a captivating and crisp depiction.
The shimmering shine and sparkling soda within the bottle truly bring your artwork to life. Keep practicing and perfecting your skills, and soon you’ll be drawing all sorts of sensational soda scenes!
Cheers to your creative talent and captivating coke creations!
