How to Remove Glass Stopper from Bottle? 6 Easy Methods!
To safely remove a glass stopper stuck in a bottle, you can employ several effective methods such as gentle heating, utilizing lubricants, or careful manipulation.
These techniques can help loosen the stopper without causing damage to the bottle or the stopper itself.
Here are some quick methods:
Effortlessly extract a glass stopper with our expert tips, transforming a challenging task into a simple, damage-free process.
Struggling with a glass stopper that won’t budge from your bottle? Fear not, as we present a range of techniques to successfully dislodge the stopper without harm.
From identifying the type of stopper to employing heat expansion or utilizing various lubricants, our innovative solutions ensure you can easily open your bottle. Wave frustration goodbye and welcome a seamlessly free stopper.
Key Takeaway
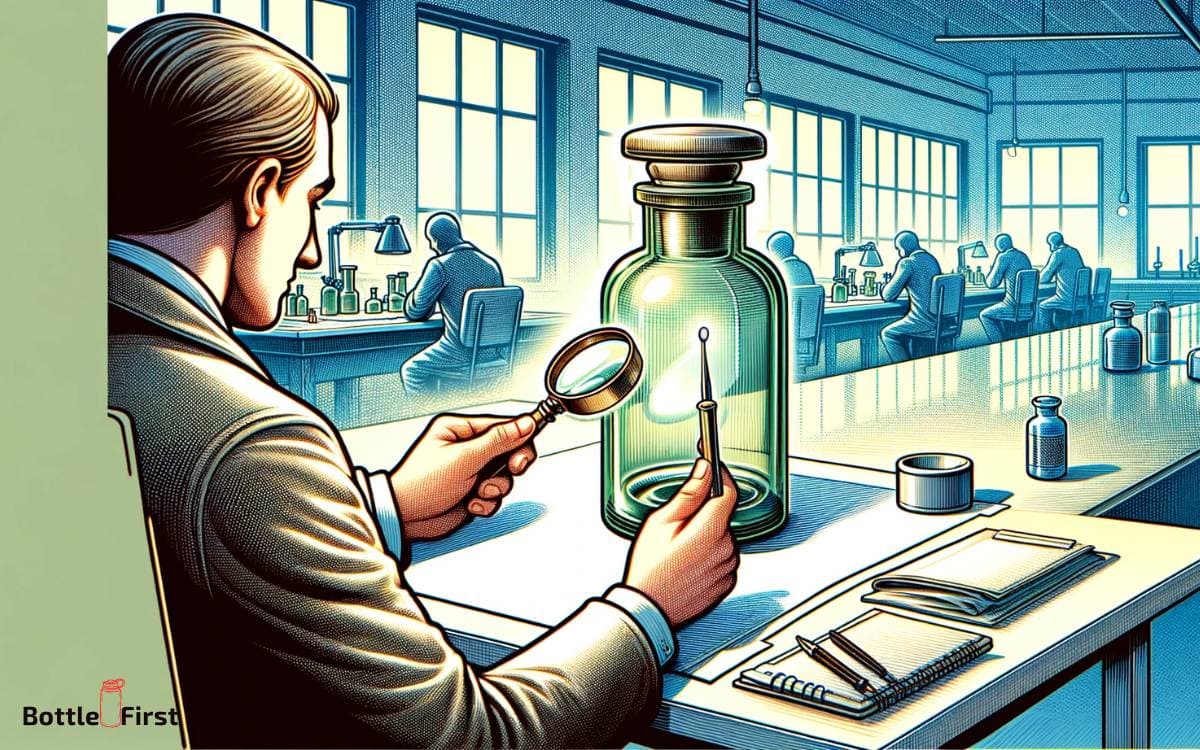
Method 1: Assessing the Stopper Type
How can you identify the type of glass stopper on your bottle?
First, examine the shape and size of the stopper. Is it a tapered stopper, a straight stopper, or a ground glass stopper?
Tapered stoppers have a narrowing conical shape, fitting into the bottle neck, while straight stoppers have a uniform diameter. Ground glass stoppers have a ground-glass joint, creating a tight seal.
Next, check for any markings or engravings on the stopper. These can indicate the material or manufacturer, providing valuable insight into the stopper type.
Additionally, assess the condition of the stopper. Is it intact, or does it show signs of wear or damage?
Understanding the type of glass stopper on your bottle is crucial for selecting the appropriate removal method.
Method 2: Loosening the Stopper
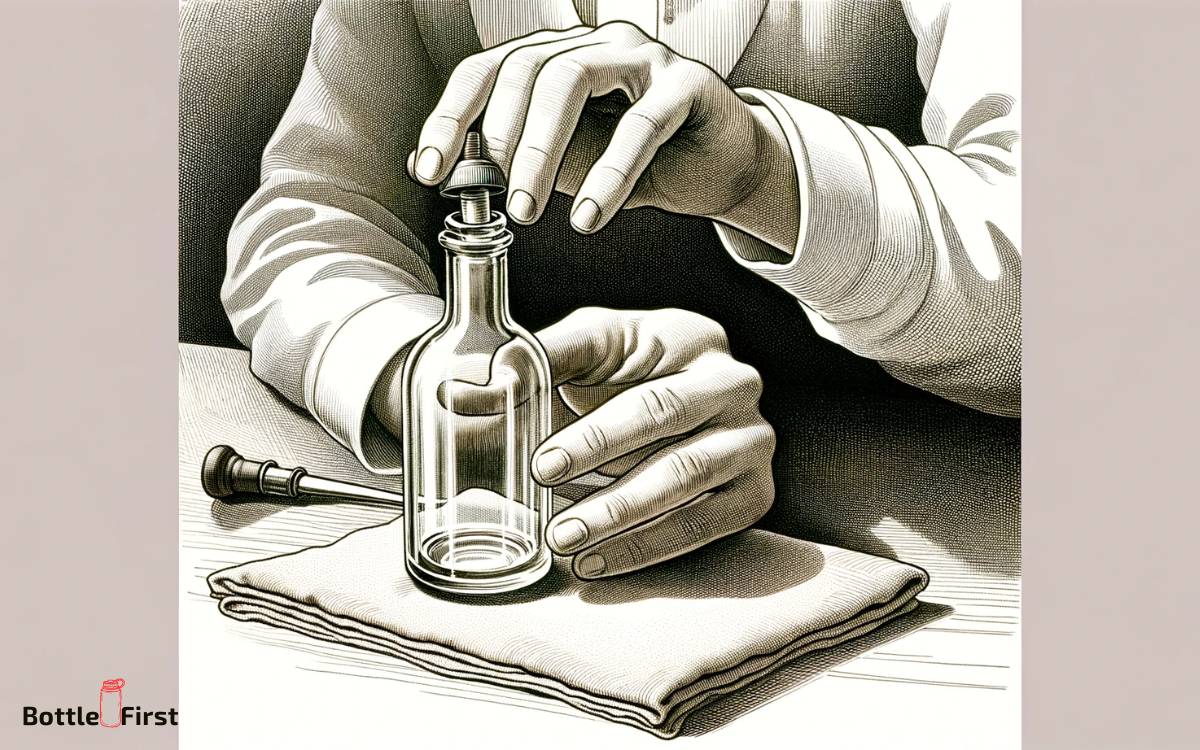
To begin loosening the stopper, gently rotating the bottle while firmly grasping the base can help break the initial seal and prepare for removal. This action distributes any dried residue or debris and starts the process of dislodging the stopper.
For an innovative approach, consider these additional steps:
- Apply gentle heat: Using a hairdryer on a low setting, or placing the bottle in warm water for a few minutes, can expand the glass slightly, aiding in loosening the stopper.
- Utilize a lubricant: Applying a small amount of lubricant, such as olive oil or silicone spray, around the stopper’s base can help reduce friction and facilitate easier removal.
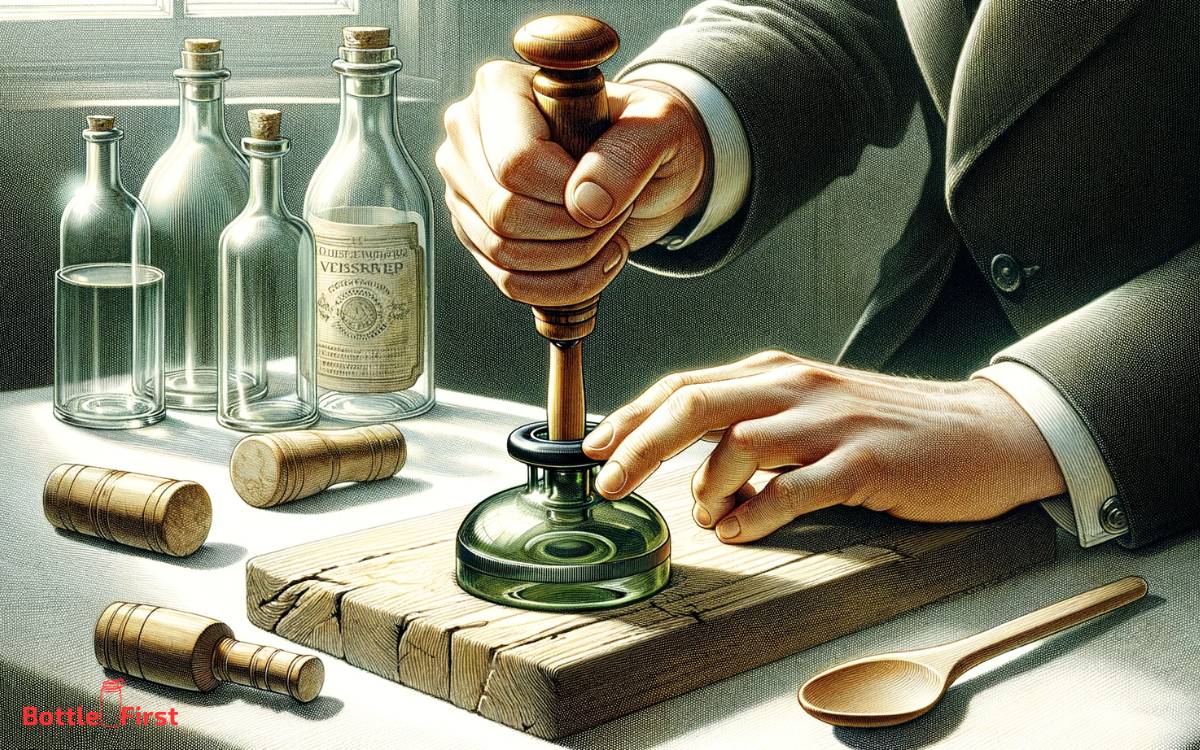
- Tap the stopper: Lightly tapping the stopper’s top with a rubber mallet or wooden spoon can help dislodge it without causing damage to the bottle or stopper.
These methods can assist in safely and effectively loosening a stubborn glass stopper.
Method 3: Using Heat to Expand
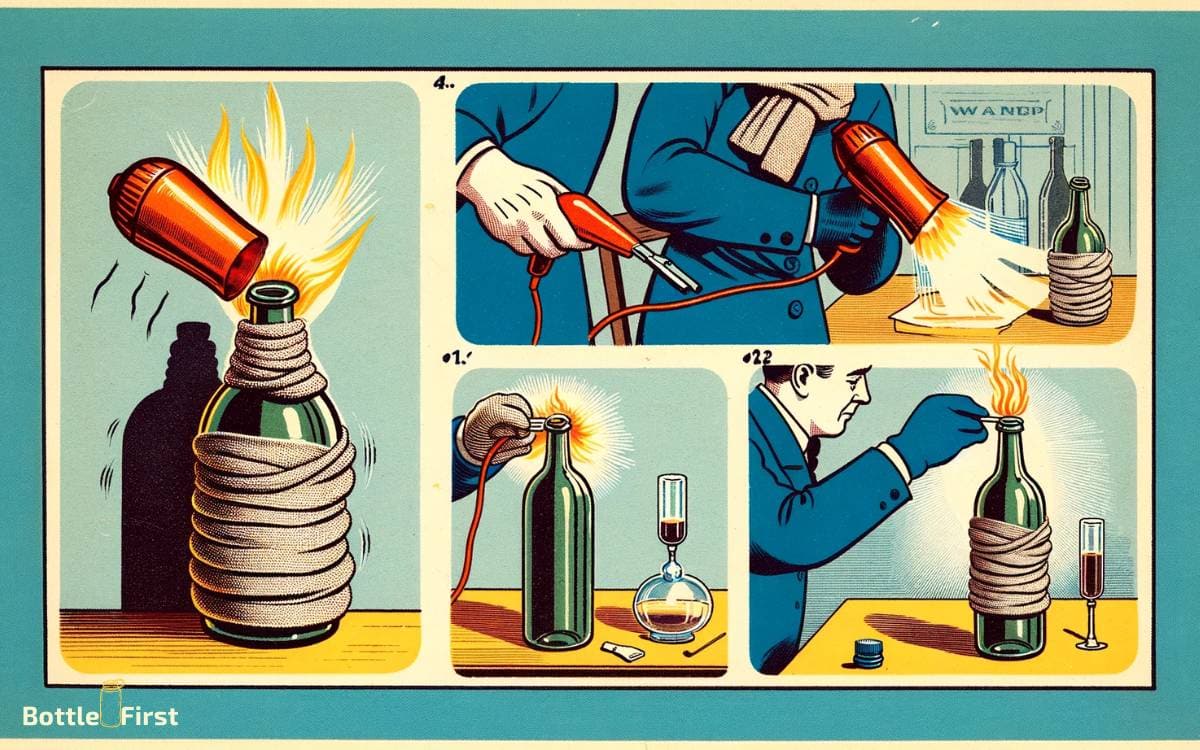
Once you’ve loosened the glass stopper by applying gentle heat or tapping it, you can further facilitate its removal by using heat to expand the bottle’s neck.
To do this, you can heat the neck of the bottle using a hairdryer or by placing it in a bowl of hot water. Apply the heat evenly around the neck, rotating the bottle to ensure uniform expansion.
The heat causes the glass to expand slightly, which can help to break the seal between the stopper and the bottle. Be cautious not to overheat the glass, as this can cause it to crack.
After heating, try twisting and pulling the stopper gently to see if it has loosened further. If not, proceed to the next step of leveraging lubricants for easier removal.
Method 4: Leveraging Lubricants
To effectively remove a glass stopper from a bottle, it’s essential to leverage the use of lubricants. Utilizing the right type of lubricant can significantly aid in the smooth removal of the stopper.
It’s crucial to apply the lubricant properly to ensure that it reaches and coats the entire stopper, facilitating its release from the bottle.
Lubricants for Smooth Removal
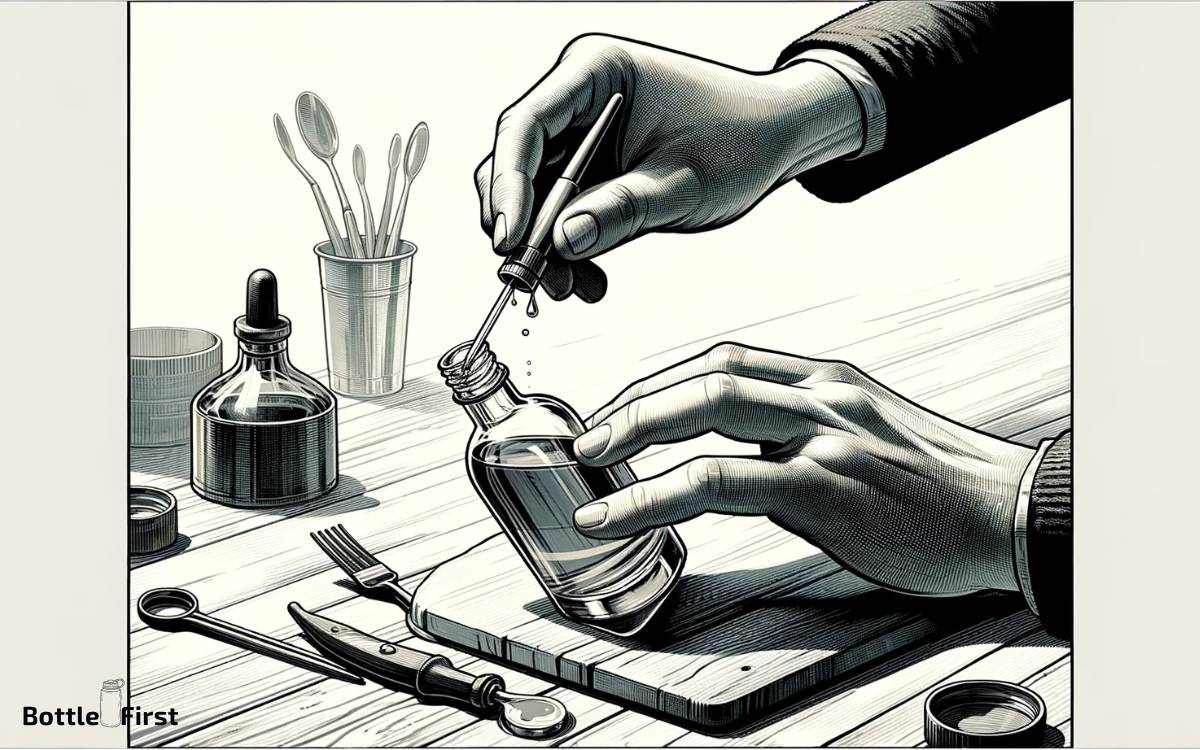
You can apply a small amount of cooking oil or silicone lubricant along the edges of the glass stopper to facilitate its smooth removal from the bottle.
This will reduce friction and make it easier to extract the stopper without causing damage to the bottle or the stopper itself.
When using lubricants for smooth removal, keep the following in mind:
- Use a precision applicator to apply the lubricant precisely along the edges of the glass stopper. This ensures that the lubricant reaches the critical points where the stopper meets the bottle, maximizing its effectiveness.
- Allow the lubricant to sit for a few minutes before attempting to remove the stopper. This gives the lubricant time to penetrate and reduce friction, making the removal process smoother.
- Wipe off any excess lubricant after removing the stopper to prevent residue buildup.
Types of Effective Lubricants
Applying a small amount of cooking oil or silicone lubricant along the edges of the glass stopper is essential for smooth removal, facilitating the extraction process and minimizing potential damage to the bottle or stopper.
Cooking oils like vegetable, olive, or sunflower oil are effective natural lubricants. They’re readily available and provide the necessary slipperiness to ease the stopper’s extraction.
Silicone lubricants, on the other hand, offer enhanced lubrication properties due to their synthetic composition.
They’re resistant to high temperatures, making them suitable for stubborn stoppers that might’ve expanded due to heat exposure. Silicone lubricants also leave behind a protective layer that prevents future sticking.
Both types of lubricants are effective, but it’s important to choose one that suits your specific needs and preferences.
Transitioning into the subsequent section, let’s now discuss how to apply the chosen lubricant properly for optimal results.
Applying Lubricant Properly
With the chosen lubricant in hand, carefully apply it along the edges of the glass stopper, ensuring smooth and efficient removal.
This will maximize the lubricant’s effectiveness and facilitate the extraction process, preventing potential damage to the bottle or stopper.
To apply the lubricant properly, follow these steps:
- Hold the bottle securely to avoid accidental spills or drops.
- Ensure that the entire circumference of the glass stopper is evenly coated with the lubricant.
- Gently rotate the bottle to evenly distribute the lubricant along the stopper’s edges.
By following these precise steps, you can leverage the lubricant’s properties to ease the removal process and protect the bottle and stopper from potential harm.
Method 5: Employing the Tapping
Where exactly should you tap the bottle to loosen the glass stopper? The tapping method is a precise technique that can be incredibly effective when done correctly.
Start by identifying the outer edge of the glass stopper and locate the seam where the stopper meets the bottle neck.
Using a rubber mallet or a similar tool, gently tap the lower part of the bottle where the glass stopper meets the neck. Be sure to apply even pressure around the circumference of the bottle to avoid causing any damage.
The goal is to create small vibrations that will help to loosen the bond between the stopper and the bottle.
Continue tapping and gradually increase the force until the stopper begins to loosen.
This method requires patience and precision, but it can be a successful way to remove a stubborn glass stopper.
Method 6: Seeking Professional Assistance
If you’re unable to remove the glass stopper using home methods, you may consider seeking professional assistance to safely and effectively remove it.
When considering professional help, keep the following in mind:
- Glass Experts: Look for professionals who specialize in glassware or bottle restoration. They’ve the expertise and tools to safely extract the stopper without damaging the bottle.
- Chemical Solutions: Some professionals use specialized chemical solutions to dissolve any residue binding the stopper to the bottle. This method requires precision and should only be performed by experienced individuals.
- Ultrasonic Technology: Certain professionals utilize ultrasonic technology to dislodge the stopper by creating high-frequency vibrations. This method is gentle on the glass and can effectively loosen stubborn stoppers.
Seeking professional assistance ensures the safe removal of the glass stopper and minimizes the risk of damage to the bottle.
Conclusion
Well, if you’ve made it this far and still haven’t managed to remove that stubborn glass stopper, maybe it’s time to call in the professionals.
After all, there’s only so much tapping, heating, and lubricating you can do before it’s time to admit defeat.
Don’t worry, we won’t judge. Sometimes, even the most skilled DIY enthusiasts need to wave the white flag and leave it to the experts.
Cheers to knowing when to ask for help!
