How to Remove Logo from Glass Bottle? 6 Easy Methods!
To remove a logo from a glass bottle, apply a solvent like acetone or rubbing alcohol to dissolve the ink or adhesive. Alternatively, use a razor blade or fine steel wool to gently scrape the logo off.
For etched logos, sandblasting or applying an etching cream to obscure the design can be effective. Always wear protective gear and work in a well-ventilated area.
Removing a logo from a glass bottle requires consideration of the type of logo you are dealing with. Logos can be printed with ink, applied as a decal with adhesive, or etched directly into the glass.
Here are some quick methods:
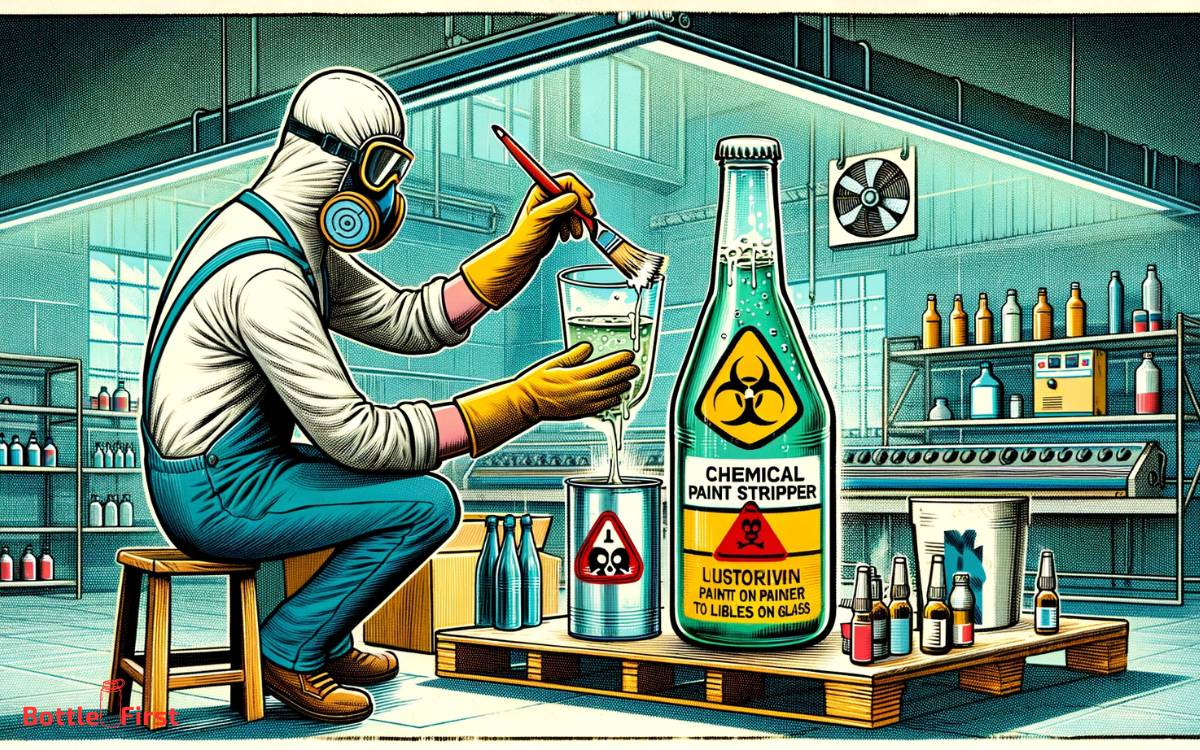
When removing a logo from a glass bottle, always prioritize safety by wearing gloves and protective eyewear, and ensure you’re in a well-ventilated space to avoid inhaling fumes from solvents or glass particles.
Key Takeaway
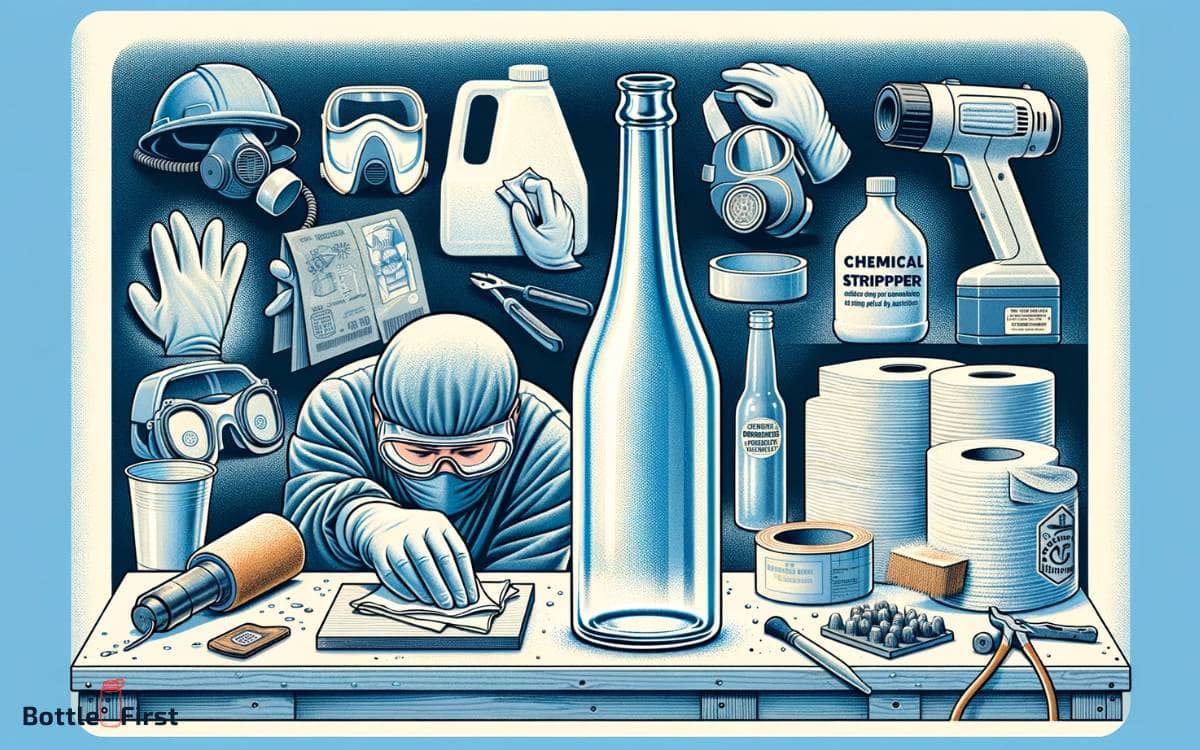
Materials Needed
You will need a solvent to remove the logo from the glass bottle. Look for a solvent that’s safe for glass and has strong adhesive removal properties. Isopropyl alcohol or acetone are common choices for this task.
Additionally, gather some cotton balls or a soft cloth to apply the solvent. A pair of gloves can protect your hands during the process.
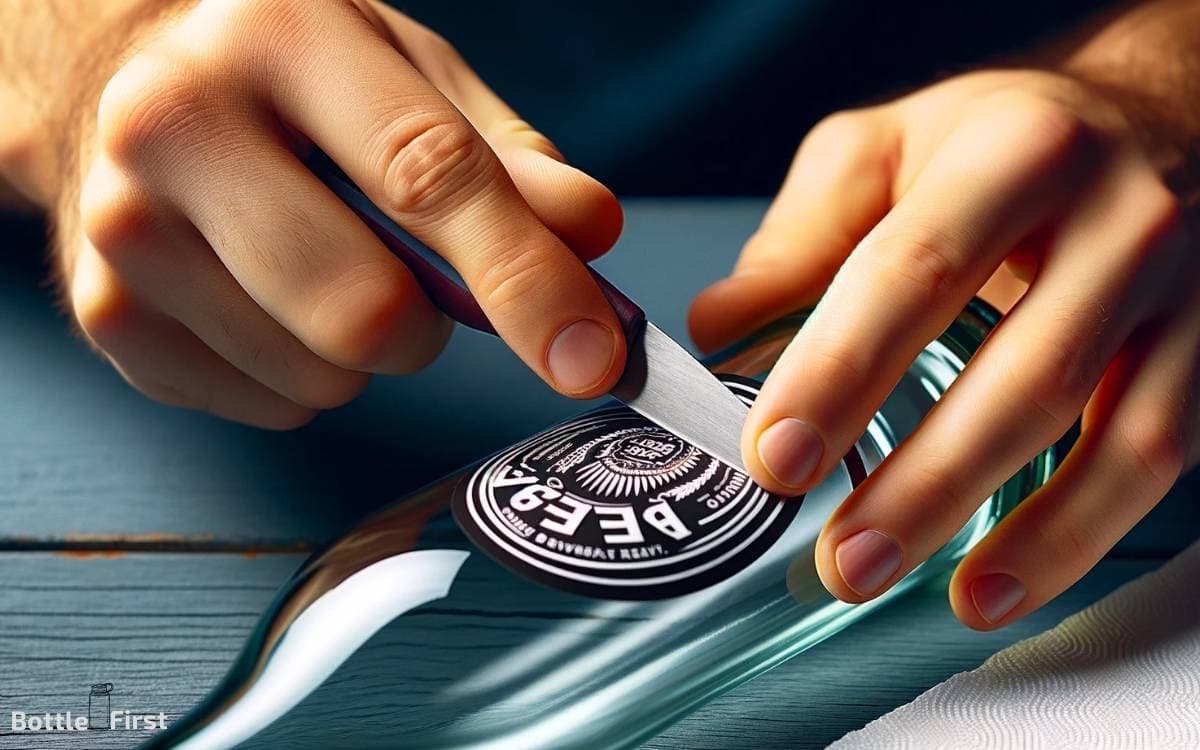
To ensure a smooth removal, have a razor blade or a plastic scraper on hand. These tools will assist in gently scraping off the logo without scratching the glass.
Once you have these materials ready, you can proceed to the soaking method for removing the logo from the glass bottle.
Method 1: Soaking
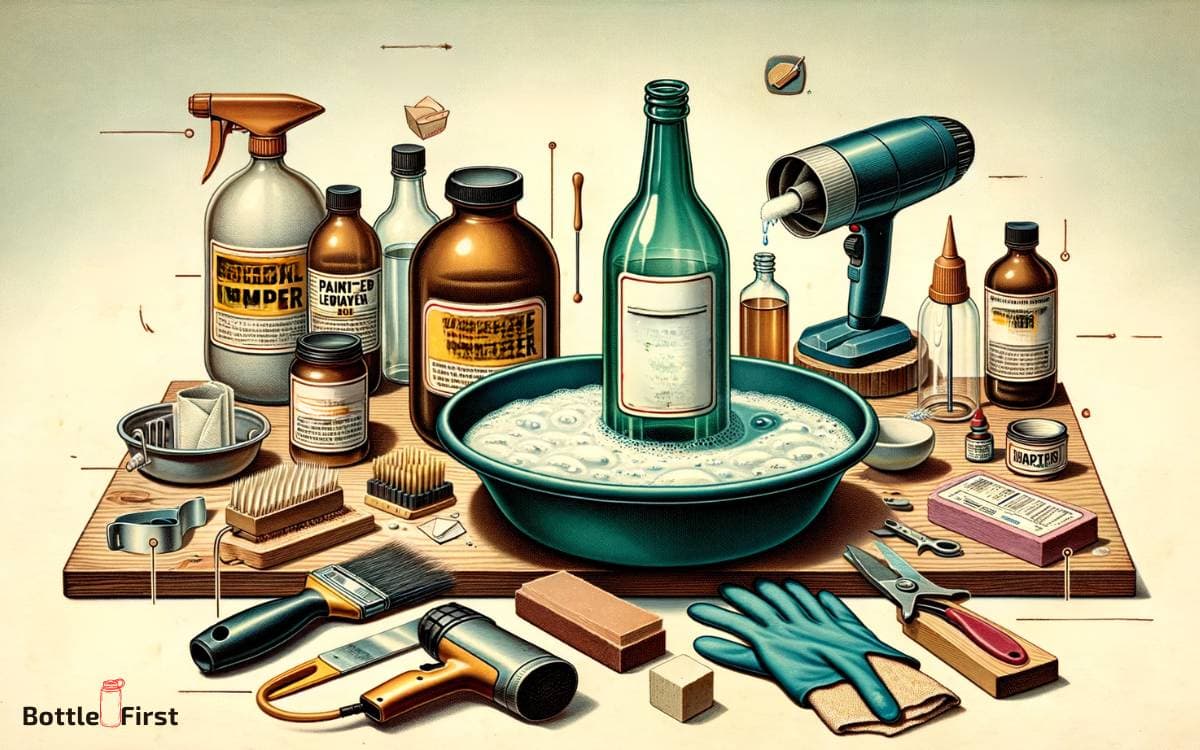
To begin the logo removal process using the soaking method, start by pouring the solvent onto a cotton ball and wiping it over the logo on the glass bottle.
Allow the solvent to soak into the logo for at least 10 minutes, ensuring it has enough time to loosen the adhesive. After soaking, gently scrub the logo with a soft-bristled brush to help lift it off the glass surface.
Finally, rinse the bottle thoroughly with warm, soapy water to remove any remaining residue. This innovative soaking method effectively loosens the logo from the glass, making it easier to remove without causing damage.
Method 2: Heat Application
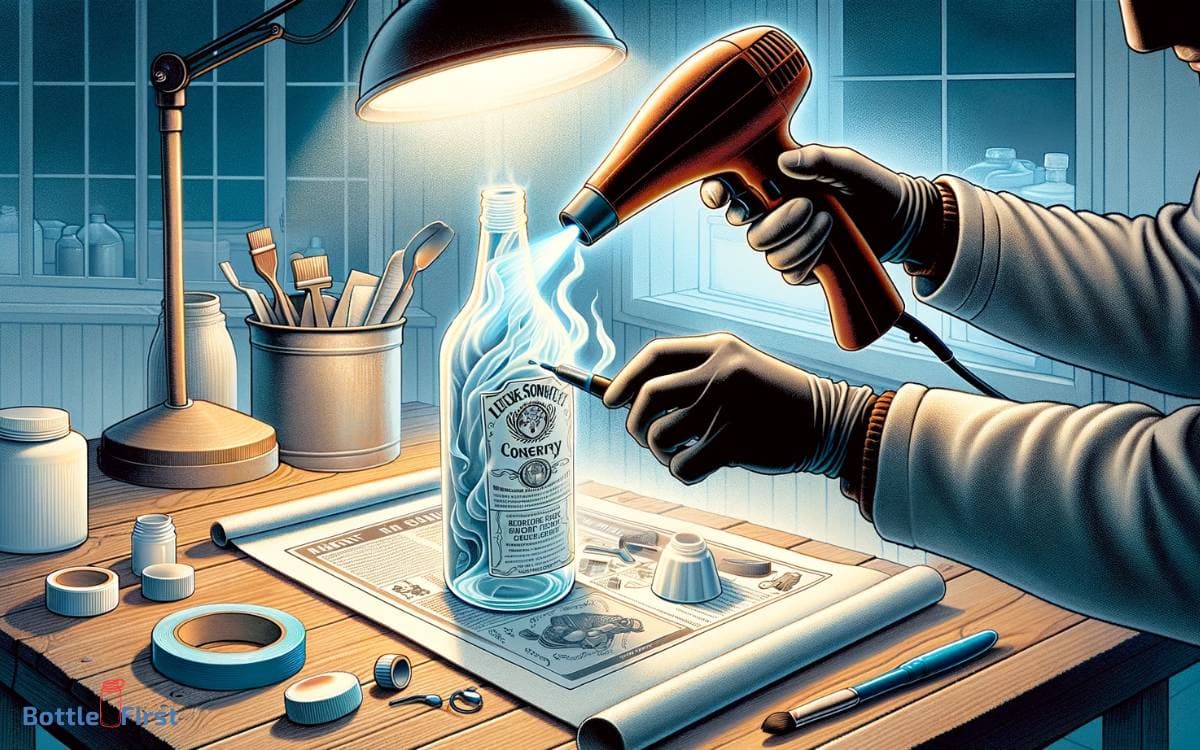
Using heat is a reliable method for removing logos from glass bottles. One innovative approach is to use a heat gun or a hairdryer to apply heat directly to the logo on the bottle.
Start by heating the logo evenly for about 2-3 minutes, keeping the heat source at a moderate distance to avoid cracking the glass.
Once the logo area is sufficiently heated, use a blunt edge, like a plastic scraper or a credit card, to gently scrape off the logo.
The heat softens the adhesive, making it easier to remove the logo without leaving behind any sticky residue. This technique is efficient and minimizes the risk of damaging the glass bottle.
Remember to exercise caution when handling the heat source and the heated glass bottle.
Method 3: Adhesive Remover
You can remove adhesive residue left behind from the logo by using an adhesive remover solution. It’s important to choose the right solvent for the type of adhesive used on the glass bottle.
Understanding how to safely and effectively use the adhesive remover solution is key to achieving a clean and logo-free glass bottle.
Removing Adhesive Residue
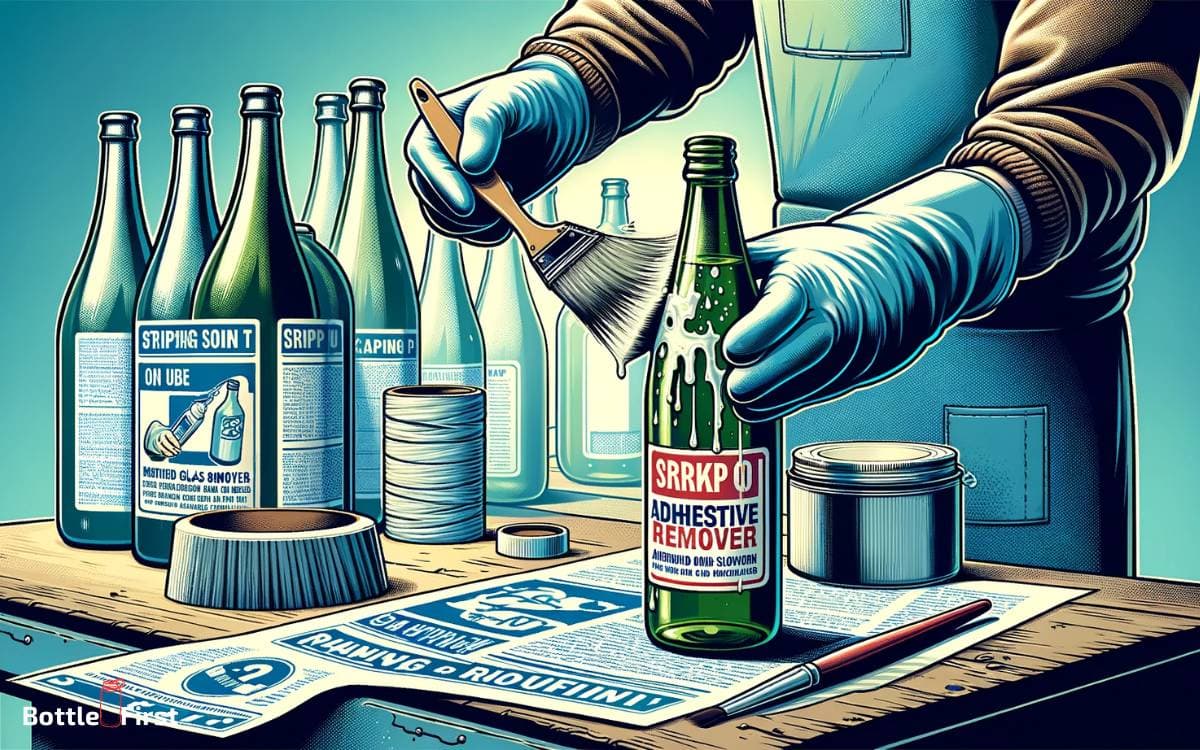
First, apply a small amount of adhesive remover solution directly onto the adhesive residue on the glass bottle.
Gently rub the solution onto the residue using a soft cloth or sponge, allowing it to penetrate and loosen the adhesive. Let the adhesive remover solution sit for a few minutes to effectively break down the residue.
Use a clean cloth to wipe away the loosened adhesive residue, repeating the process if necessary until the glass bottle surface is completely clean and free from any remaining residue.
This innovative method ensures a hassle-free and efficient way of removing adhesive residue from glass bottles, providing a smooth and pristine surface for any desired application.
Choosing the Right Solvent
To effectively remove adhesive residue from glass bottles, a crucial step is choosing the right solvent, or adhesive remover solution, to break down and eliminate the residue. When selecting a solvent, consider the type of adhesive used on the bottle.
For example, for water-based adhesives, alcohol-based solvents like isopropyl alcohol or acetone can be effective. However, for stronger adhesives such as epoxy or polyurethane, a solvent like xylene or toluene may be necessary.
It’s important to ensure the solvent is safe for glass and won’t cause damage. Test the solvent on a small, inconspicuous area of the bottle first to ensure it doesn’t affect the glass.
Choosing the right solvent is crucial for efficiently and effectively removing adhesive residue from glass bottles.
Method 4: Sanding Process
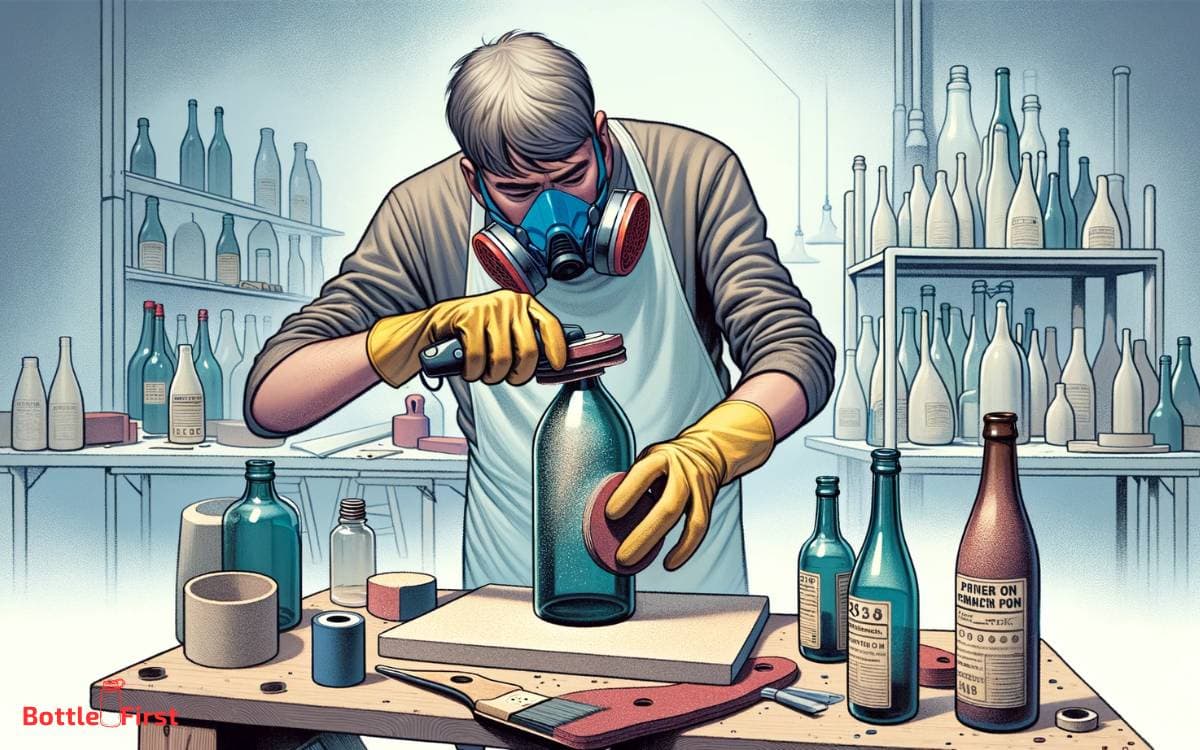
Using a fine-grit sandpaper, gently sand the area around the logo on the glass bottle in a circular motion.
This process helps to remove the logo from the glass surface while maintaining its smoothness and transparency.
To effectively remove the logo from the glass bottle using the sanding process, follow these steps:
- Begin by cleaning the area around the logo to remove any dirt or debris that may interfere with the sanding process.
- Use a circular motion while sanding to evenly distribute the pressure and avoid creating uneven spots on the glass surface.
- Gradually increase the pressure while sanding, but be careful not to apply too much force, as it may cause scratches or damage to the glass.
Method 5: Chemical Stripping
After sanding the area around the logo on the glass bottle, you can consider using a chemical stripping method to further remove any remaining traces of the logo.
This method involves using a chemical solvent to dissolve and remove the logo from the glass surface.
Below is a table outlining the materials needed and the steps to follow for the chemical stripping method:
| Materials Needed | Steps to Follow |
|---|---|
| Chemical solvent | 1. Apply solvent to the logo area and let it sit for a few minutes. |
| Protective gloves | 2. Gently scrub the area with a soft brush to loosen the logo. |
| Soft brush | 3. Rinse the bottle thoroughly with water. |
| Clean cloth | 4. Dry the bottle with a clean cloth. |
Using this chemical stripping method can effectively remove the logo from the glass bottle. Once completed, you can proceed to the final touches and safety precautions for the bottle.
Method 6: Final Touches and Safety Precautions
Once you have completed the chemical stripping method to remove the logo from the glass bottle, the next step is to apply the final touches and consider safety precautions.
Here are a few important final touches and safety precautions to keep in mind:
- Inspect for Residue: After removing the logo, thoroughly inspect the glass bottle for any residual chemicals or debris. Clean the bottle with a mild detergent and warm water to ensure all traces of the stripping chemical are removed.
- Safety Measures: It’s crucial to wear protective gloves and eyewear throughout the entire process. Additionally, ensure proper ventilation in the area where you’re working to minimize exposure to fumes.
- Smooth Edges: If the glass edges are rough after removing the logo, use fine-grit sandpaper or a glass file to smooth them out, making the bottle safe to handle.
How to Remove Painted on Labels from Glass Bottles
Removing painted-on labels from glass bottles, such as those often found on decorative wine bottles or certain beer bottles, requires a different approach than removing paper labels.
Here are some methods you can try:
Method 1: Using Chemical Paint Removers
- Purchase a Paint Remover: Buy a chemical paint remover suitable for glass. These are available at hardware stores.
- Apply the Remover: Carefully apply the paint remover to the painted area. Follow the instructions on the product, as they can vary.
- Wait and Scrape: Allow the remover to sit for the time specified by the product. Then, gently scrape the paint away with a plastic scraper or a razor blade. Be very careful to avoid scratching the glass.
- Clean the Bottle: After removing the paint, wash the bottle thoroughly with soap and water to remove any chemical residue.
Method 2: Using Rubbing Alcohol or Nail Polish Remover
- Apply Alcohol or Nail Polish Remover: Soak a cloth or cotton ball in rubbing alcohol or acetone-based nail polish remover.
- Rub the Painted Area: Firmly rub the painted area with the soaked cloth. This might take some time and might require reapplication of the alcohol or nail polish remover.
- Wash the Bottle: Once the paint is removed, wash the bottle thoroughly.
Method 3: Using Baking Soda and Water Paste
- Make a Paste: Mix baking soda with a small amount of water to create a thick paste.
- Apply the Paste: Rub this paste onto the painted area with a cloth or sponge.
- Scrub Gently: Using a non-abrasive scrubber, gently scrub the painted area. This method requires elbow grease and might be more effective for thin layers of paint.
- Rinse the Bottle: Clean the bottle with water and soap to remove the baking soda residue.
Method 4: Heat Method
- Use a Hairdryer: Direct a hairdryer on high heat towards the painted label. The heat may help loosen the paint.
- Scrape the Paint: Once the paint is heated and softened, gently scrape it off with a plastic scraper or a razor blade. Be cautious to avoid scratching the glass.
- Clean the Bottle: Wash the bottle to remove any leftover paint flakes.
Safety and Care
- Always wear gloves when working with chemical paint removers or acetone.
- Test a small, inconspicuous area first to ensure that the method you choose does not damage the glass.
- Work in a well-ventilated area, especially when using chemical solvents.
- Be patient, as some methods may require a bit of time and effort to work effectively.
These methods can be effective for removing painted-on labels, but the success can vary depending on the type of paint used and the durability of the glass.
Conclusion
So there you have it, a few different methods for removing logos from glass bottles.
Whether you choose the soaking method, heat application technique, adhesive remover solution, sanding process, or chemical stripping method, always remember to prioritize safety and take your time.
With a little patience and the right tools, you can transform your glass bottles into a clean, logo-free canvas for your next DIY project.
Happy crafting!
