How to Remove Rust from Glass Bottle? 5 Easy Steps!
To effectively remove rust from glass bottles, you will need to use a combination of mechanical and chemical cleaning methods.
Start by gently scrubbing the rust stains with a soft brush or sponge dipped in warm, soapy water. If the rust persists, apply a paste made from baking soda and water, or use a rust remover product designed for glass.
Carefully follow the instructions on the product label. Rinse the glass bottle thoroughly with water and dry it to prevent further rust formation.
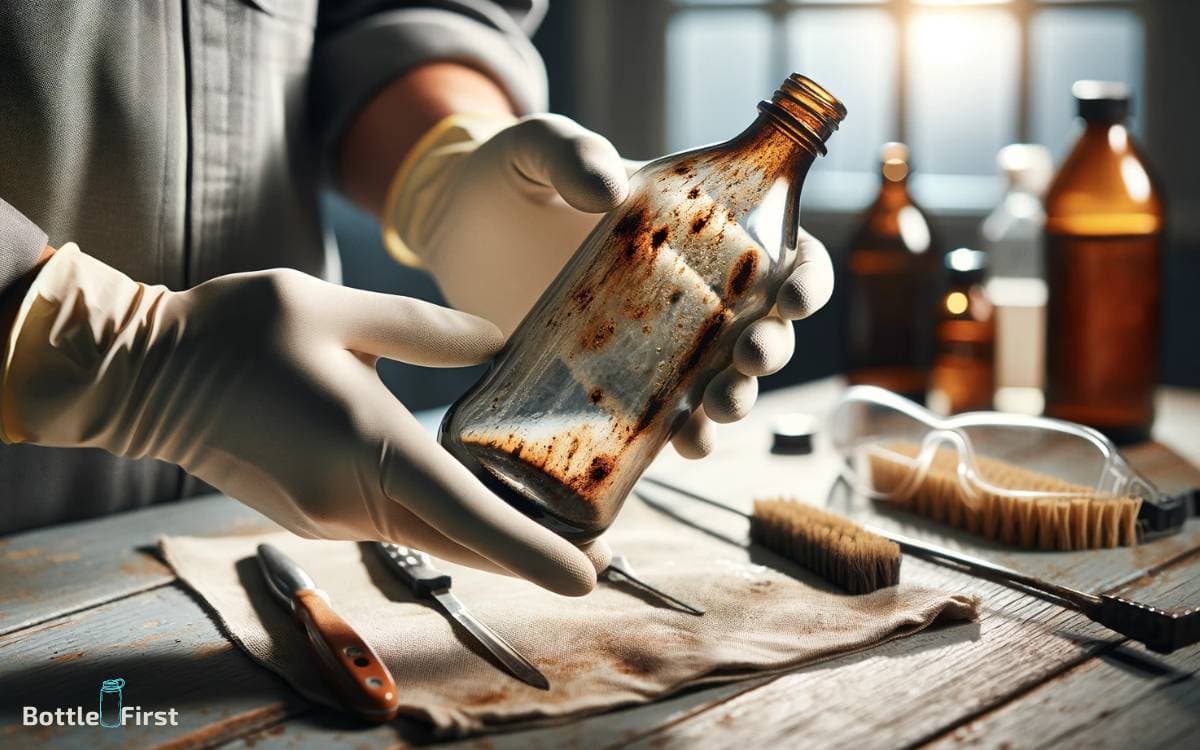
Rust stains on glass bottles typically occur from metal caps or from being stored in a rusty environment.
Here are some quick steps:
Restore the sparkle to your glass bottles by effectively removing rust with the right blend of cleaning techniques.
Are you fed up with the rust marks tarnishing the look of your glass bottles? Our comprehensive guide will provide you with the practical methods needed to eliminate rust and rejuvenate your glassware.
Armed with just a handful of common household items, you’ll discover the potency of these cleaning strategies. Prepare to part ways with those pesky rust stains and welcome back crystal-clear glass bottles!
Key Takeaway
Understanding the Rust Formation
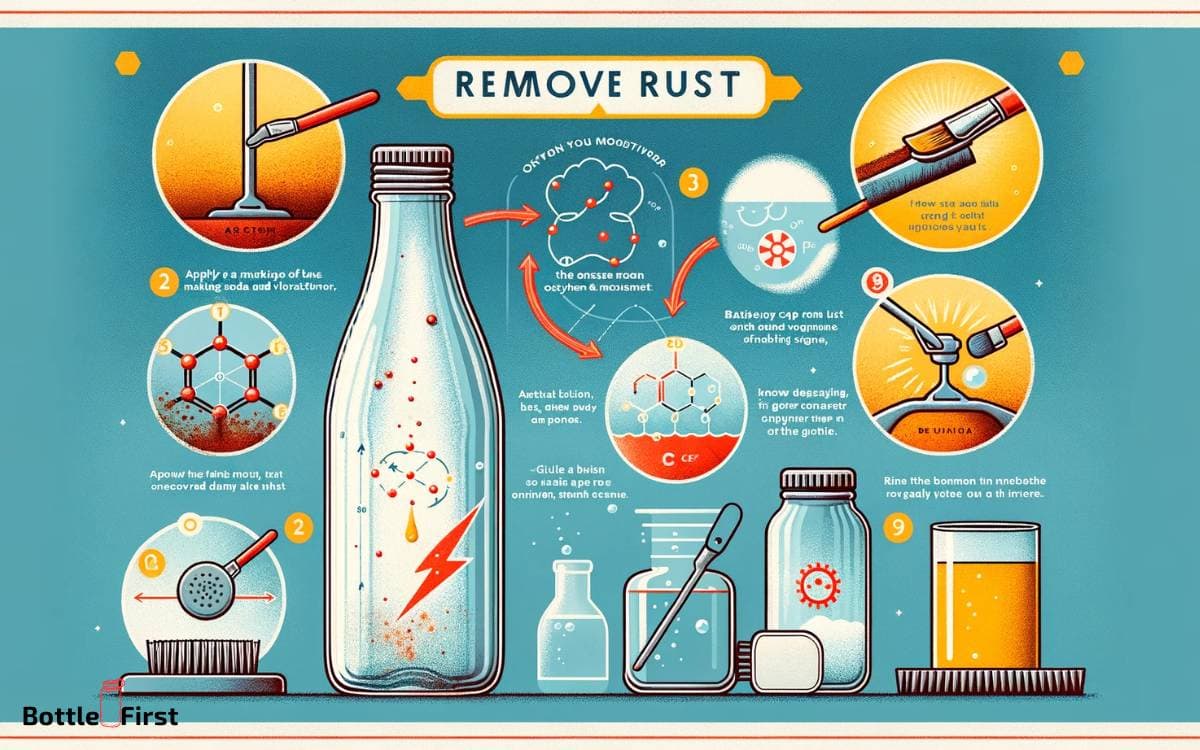
To understand rust formation, it is important to examine the chemical reaction between iron, oxygen, and moisture.
When iron comes into contact with oxygen and water, a process called oxidation occurs, leading to the formation of iron oxide, commonly known as rust.
Understanding this chemical reaction is crucial for developing innovative solutions to prevent or remove rust from glass bottles.
By studying the underlying causes of rust formation, researchers can explore cutting-edge techniques and products designed to address this issue effectively.
Innovations in surface coatings, corrosion inhibitors, and protective barriers have emerged as a result of this understanding.
Embracing this knowledge will enable individuals and industries to stay ahead in the quest to combat rust and preserve the quality of glass bottles.
Gathering Necessary Supplies
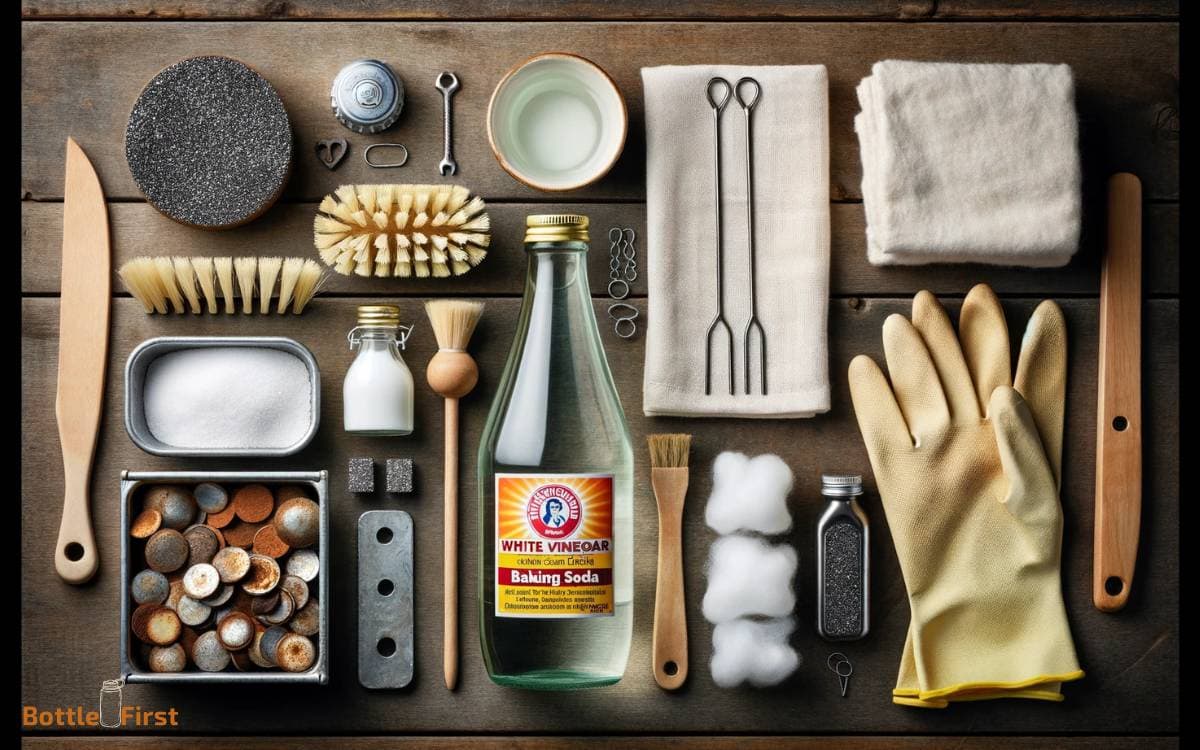
You’ll need to gather the necessary supplies for removing rust from a glass bottle.
- First, gather white vinegar, a mild acid that can help dissolve the rust.
- Next, grab some baking soda, which can be used as a gentle abrasive to scrub away the rust without damaging the glass.
- Finally, find a soft-bristled brush or a piece of fine steel wool to assist in scrubbing off the rust.
These supplies, when used together, create an innovative and effective solution for removing rust from a glass bottle.
Step 1: Preparing the Glass Bottles
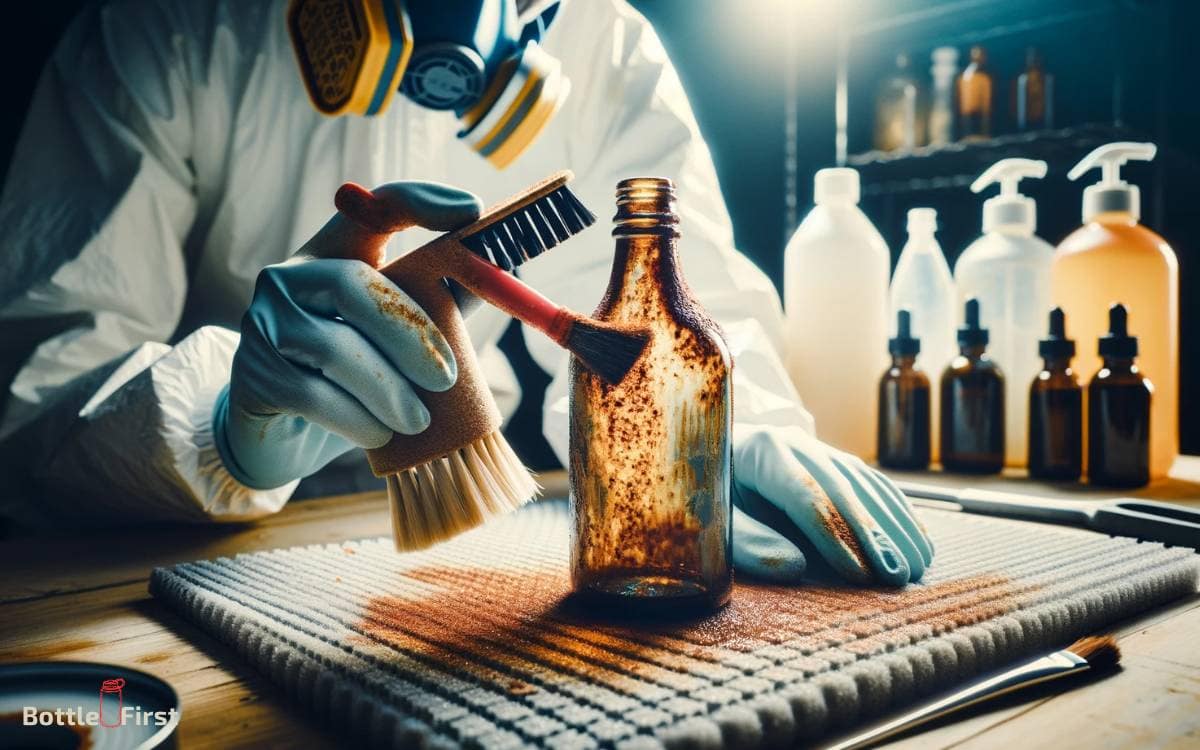
Prepare the glass bottles by filling them with white vinegar and allowing them to soak for several hours to loosen the rust.
This simple but effective method harnesses the power of acidic vinegar to break down the rust, making it easier to remove.
The vinegar works by penetrating the rust and weakening its bond with the glass, ultimately making the removal process more efficient.
By allowing the bottles to soak, you’re giving the vinegar ample time to work its magic, ensuring that the rust is thoroughly loosened.
This innovative approach not only simplifies the rust removal process but also minimizes the need for harsh chemicals or abrasive scrubbing, making it a more environmentally friendly and gentle method for restoring your glass bottles to their former glory.
Step 2: Applying Rust Removal Techniques
Once the rust has been loosened by soaking the glass bottles in white vinegar, you can now start applying rust removal techniques to completely eliminate any remaining traces.
Here are some innovative methods to help you effectively remove rust from the glass bottles:
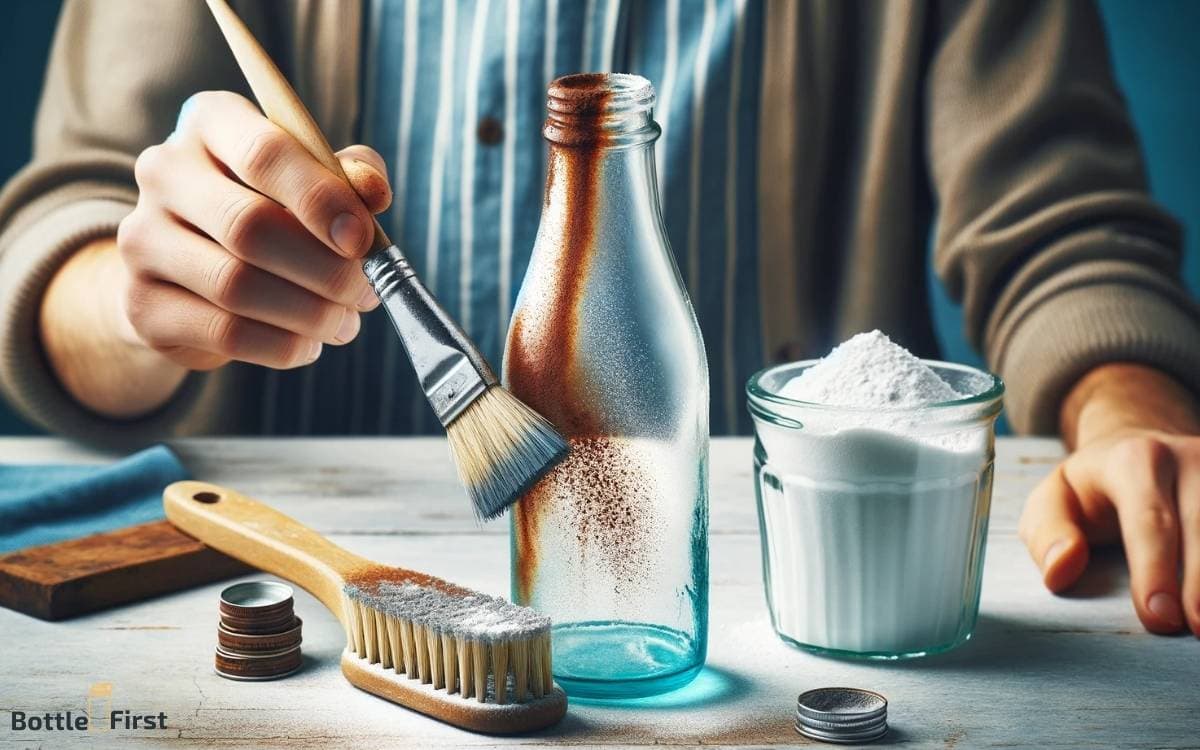
- Use Baking Soda Paste: Create a paste using baking soda and water, then apply it to the rusted areas. Let it sit for a few hours before scrubbing it off with a brush.
- Try Lemon Juice and Salt: Squeeze lemon juice onto the rust spots, sprinkle salt over the juice, and let it sit for a couple of hours. Then, scrub the area with a sponge to remove the rust.
- Use a Rust Converter: Apply a rust converter solution to the affected areas. This will chemically convert the rust into a protective layer.
With these techniques, you can effectively restore your glass bottles to their former glory.
As you complete the rust removal process, it will be essential to transition into the subsequent section about ‘finishing touches and maintenance’.
Step 3: Scrubbing Method
Removing rust from a glass bottle requires a gentle approach to ensure the glass isn’t scratched or damaged.
Here are steps to effectively remove rust stains from glass:
Materials Needed
- White vinegar or lemon juice
- Baking soda
- Soft cloth or sponge
- Non-abrasive scrubber
- Water
Steps to Remove Rust
- Soak in Vinegar or Lemon Juice: Pour white vinegar or lemon juice into the glass bottle, ensuring that the rust-stained areas are completely submerged. Allow it to soak for a few hours. The acidity in vinegar or lemon juice helps to dissolve rust.
- Create a Baking Soda Paste: In a small bowl, mix baking soda with a small amount of water to form a paste. This paste will be used as a mild abrasive.
- Apply the Paste: After the soaking period, empty the bottle and apply the baking soda paste to the rust-stained areas. Let it sit for about 15-30 minutes.
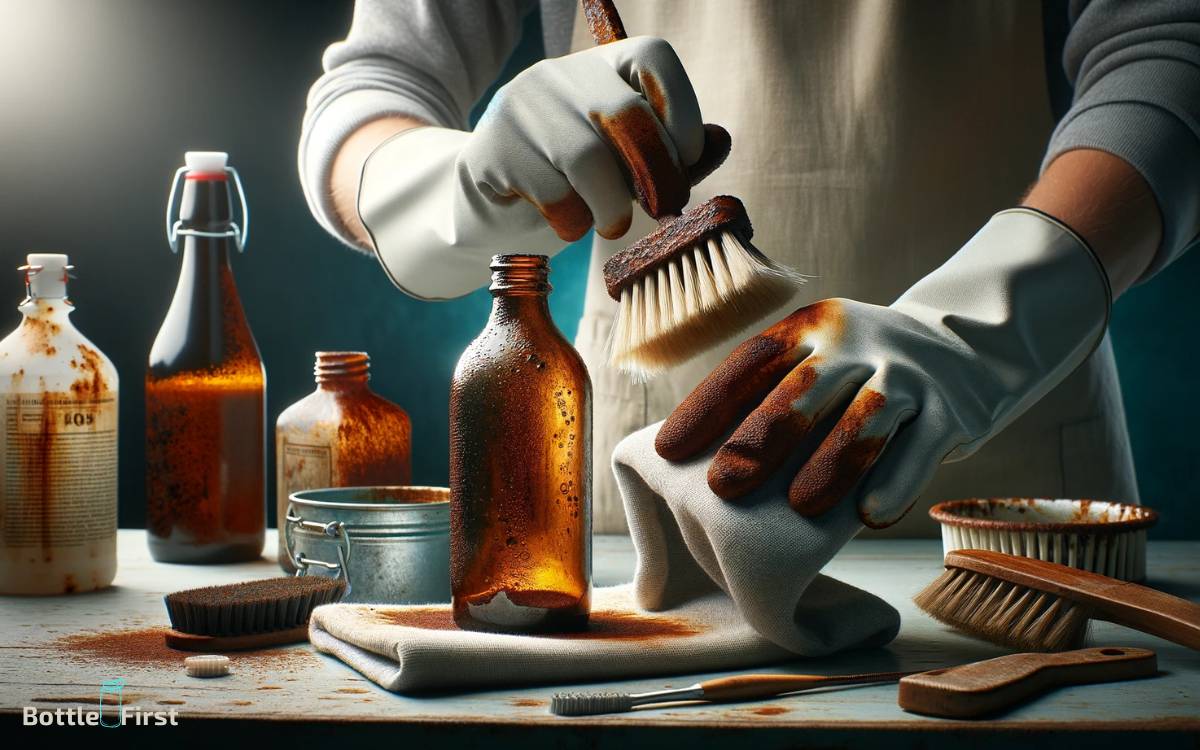
- Scrub Gently: Use a soft cloth or a non-abrasive scrubber to gently scrub the rust stains. The combination of the acidic soak and the baking soda paste should help lift the rust off the glass.
- Rinse Thoroughly: Once the rust is removed, rinse the bottle thoroughly with water to remove all traces of vinegar, lemon juice, and baking soda.
- Dry the Bottle: Dry the bottle completely with a clean towel or leave it to air dry.
Additional Tips
- Always test a small, inconspicuous area first to ensure that the cleaning method doesn’t etch or damage the glass.
- Avoid using harsh abrasives or steel wool, as they can scratch the glass.
- For tough rust stains, you may need to repeat the process or let the vinegar or lemon juice soak for a longer period.
- If the rust is on the outside of the bottle, you can apply the vinegar or lemon juice directly to the area and scrub gently.
This method is typically safe for glass and effective for removing rust stains without causing damage.
Step 4: Rinsing and Drying the Bottle
Once you’ve successfully scrubbed the rust off the glass bottle, the final steps are rinsing and drying the bottle.
Here’s how to do it:
Rinsing the Bottle
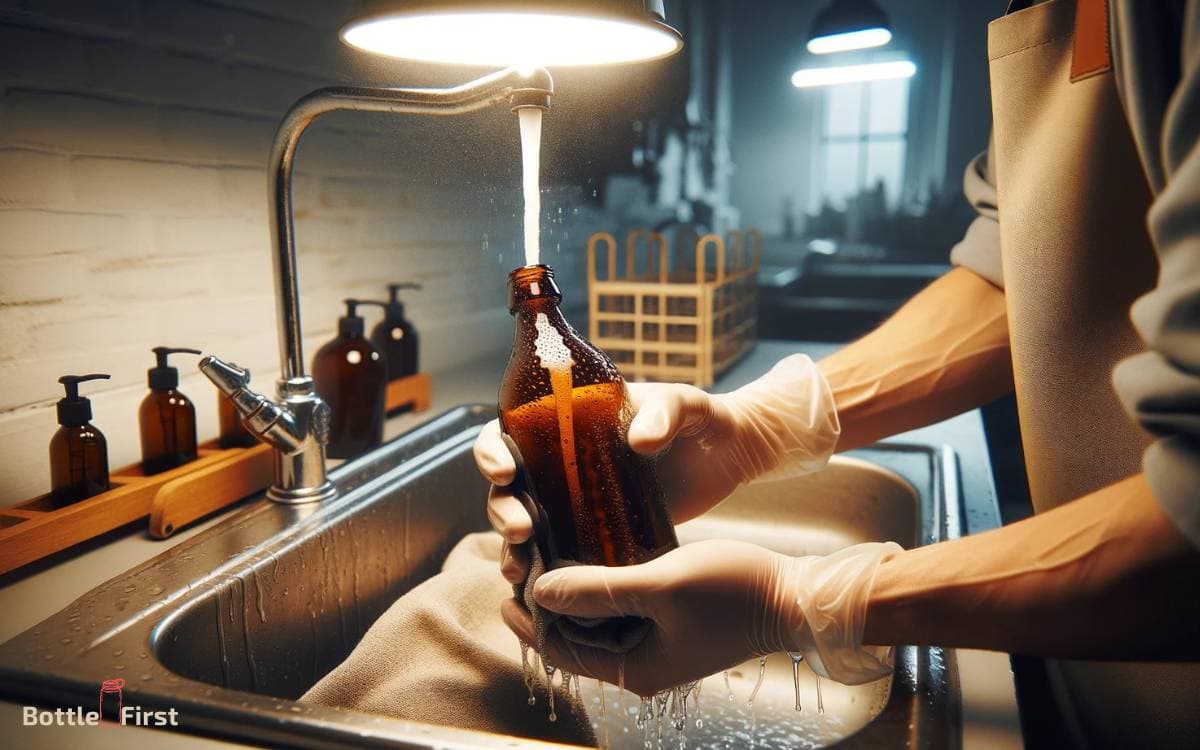
- Rinse with Warm Water: Turn on your tap to a warm but not hot setting. Rinse the inside and outside of the bottle thoroughly. The warm water helps to remove any remaining baking soda, vinegar, or lemon juice residue.
- Shake the Bottle: If the bottle has a narrow neck and you can’t easily reach inside, fill it partway with warm water, cover the opening, and gently shake. This helps to dislodge any remaining paste or residue from the inside.
- Repeat if Necessary: It might be necessary to rinse the bottle several times to ensure all cleaning agents are completely removed.
- Check for Residue: After rinsing, inspect the bottle for any remaining rust or cleaning residue. If you find any, you may need to repeat the scrubbing and rinsing process.
Drying the Bottle
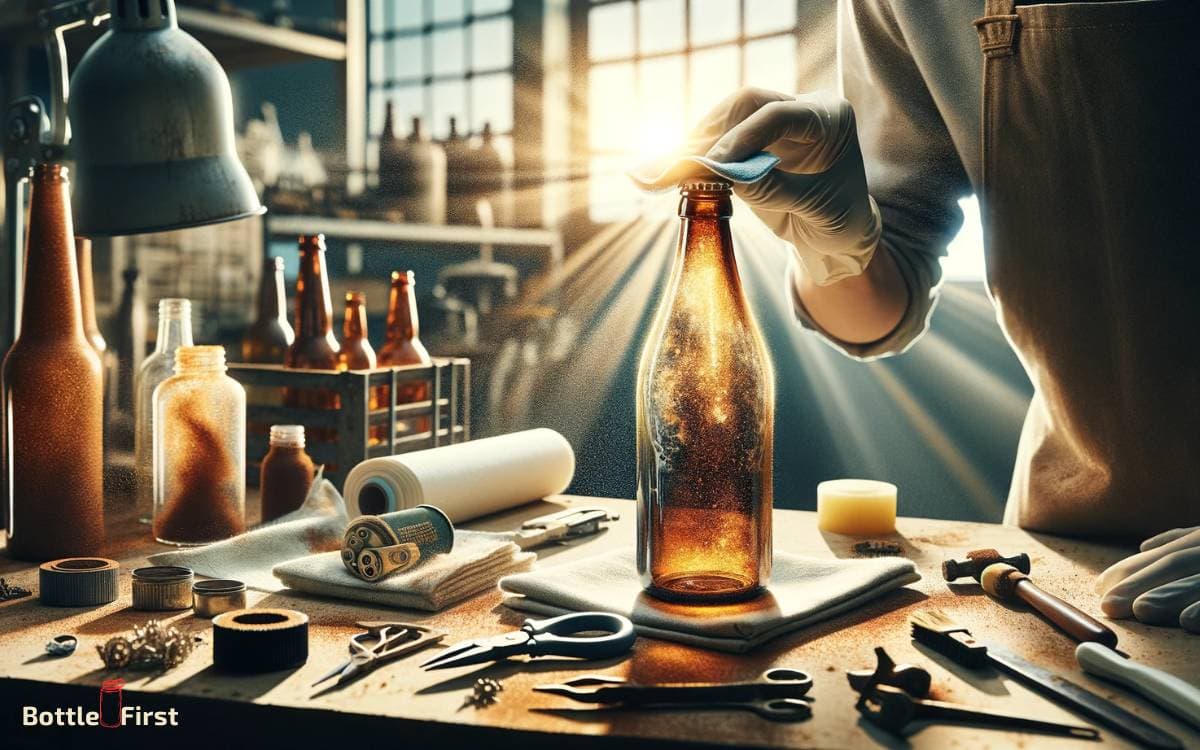
- Air Dry: The easiest way to dry a glass bottle is to let it air dry. Place it upside down in a dish rack or on a clean towel and allow it to dry completely. Air drying helps to prevent water spots.
- Use a Towel for the Outside: If you need to dry it quickly, gently wipe the outside of the bottle with a soft, lint-free towel.
- Use a Bottle Brush for the Inside: If you have a bottle brush, you can gently insert it into the bottle to absorb the water from the inside. Be gentle to avoid scratching the glass.
- Avoid Using Heat: Avoid using extreme heat (like a hair dryer) to dry the bottle, as this could cause the glass to crack or break, especially if the glass is thin.
Additional Tips
- Ensure the bottle is completely dry before using it again, especially if you plan to fill it with liquids.
- If you notice water spots after air drying, you can wipe the bottle with a cloth dampened with a bit of vinegar to remove them.
By following these steps, you should have a clean, rust-free, and dry glass bottle ready for use.
Step 5: Finishing Touches and Maintenance
To maintain your bottles and prevent future rust, you should consider the following steps:
Finishing Touches and Maintenance
Sealant Application
- After removing rust, apply a sealant to the bottle surface. This acts as a protective barrier against moisture and oxidation.
Storage
- Store the bottles in a dry environment. This helps prevent exposure to moisture and humidity, which are primary causes of rust formation.
Regular Cleaning
- Clean the bottles regularly with a mild detergent and water. This step is crucial to remove any potential contaminants that could contribute to rust.
Protective Coating
- Consider applying a protective coating to the glass surface. This provides an extra layer of defense against rust.
Ongoing Monitoring
- Continuously monitor the bottles for any signs of rust. Promptly addressing any issues is vital to prevent further damage.
By following these steps, you can effectively maintain your bottles and safeguard them against rust.
Conclusion
Now that you’ve banished the rust from your glass bottles, you can practically see your reflection in them!
With just a few simple steps and some elbow grease, you’ve transformed those rusty eyesores into sparkling masterpieces.
Keep up with regular maintenance to keep them looking like new and impress all your guests with your shiny, rust-free glass bottles!
