How to Sand Glass Bottles? 4 Easy Steps!
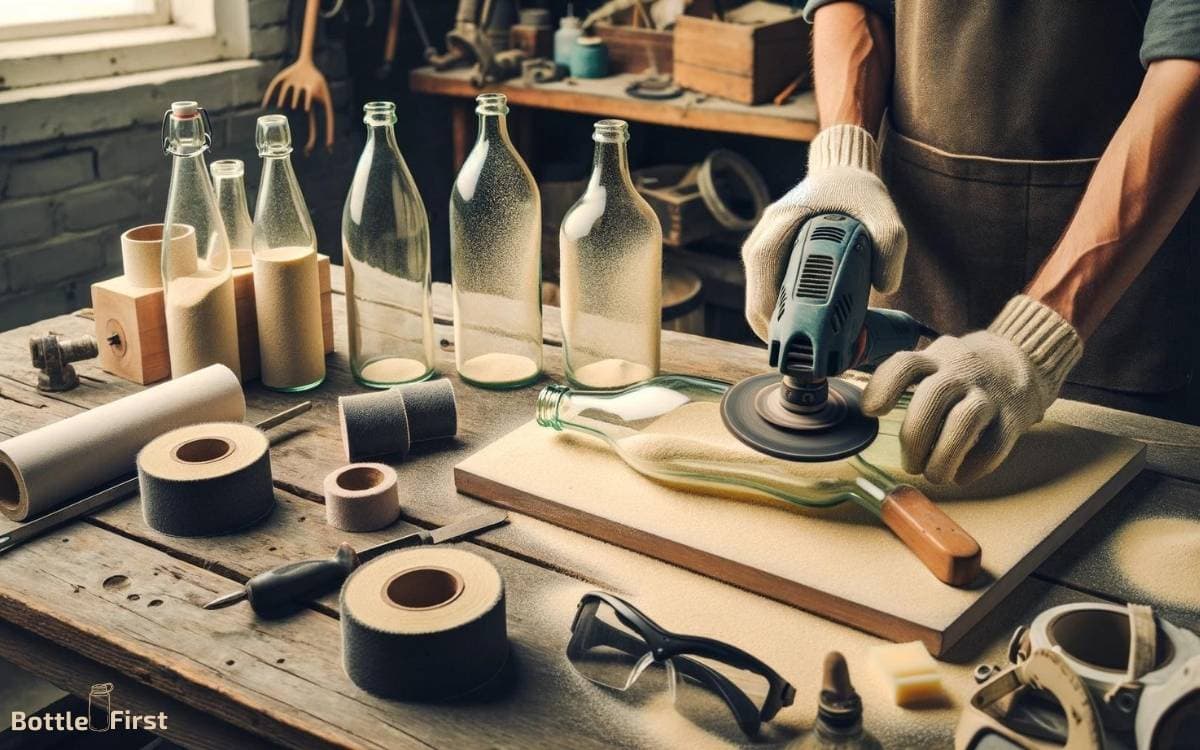
To sand glass bottles effectively, start by gathering the necessary supplies like sandpaper or a sanding drum, safety gear, and water for wet sanding.
Secure the bottle, then begin sanding with coarse grit before moving to finer grits for a smooth finish. Clean the bottle thoroughly after sanding.
Here are some quick steps:
For example, if you’re sanding a wine bottle for a craft project, you’d begin with coarse sandpaper to remove any imperfections and gradually switch to finer sandpaper to polish the surface.
Master the art of glass bottle sanding to create polished crafts and upcycled home decor with ease.
Key Takeaway
Choosing the Right Tools
You’ll need to select the appropriate tools to effectively sand glass bottles. The first tool you’ll need is a glass bottle cutter to score the bottle where you want to cut it.
Next, you’ll require sandpaper with a grit of around 80 to 100 for smoothing out the rough, sharp edges left by the bottle cutter.
Additionally, a sanding block or sanding sponge will provide a stable surface for the sandpaper and ensure even sanding.
For more intricate details or hard-to-reach areas, consider using a rotary tool with a diamond bit attachment. This will allow for precision sanding in small crevices.
Lastly, a pair of safety gloves and safety goggles are crucial to protect your hands and eyes from glass shards and debris.
Step 1: Preparing the Glass Bottles
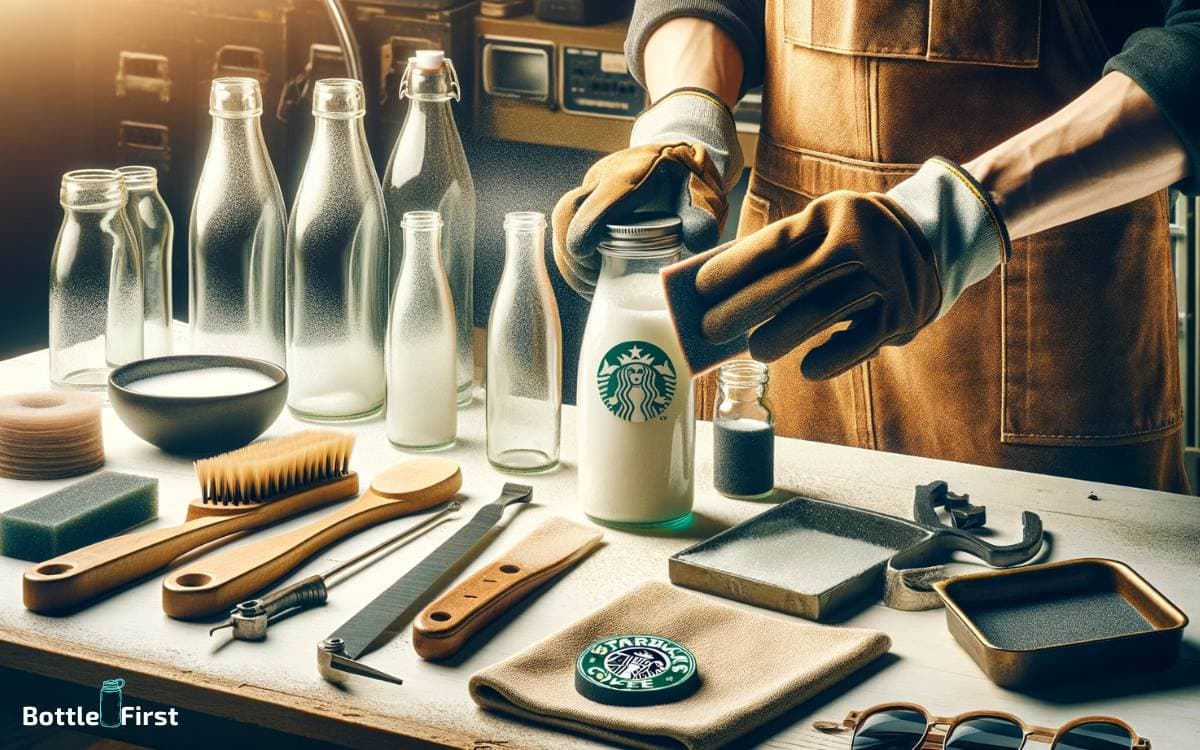
To prepare the glass bottles for sanding, start by cleaning them thoroughly to remove any dirt or residue. Use warm, soapy water and a bottle brush to scrub the inside and outside of the bottles.
Rinse them well and allow them to air dry completely before proceeding to the next step. This ensures that the sanding process is more effective and produces a smoother finish.
Below is a table detailing the steps for preparing glass bottles:
| Step | Description |
|---|---|
| 1 | Clean bottles with warm, soapy water and a bottle brush |
| 2 | Rinse bottles thoroughly |
| 3 | Allow bottles to air dry completely |
Step 2: Sanding Techniques
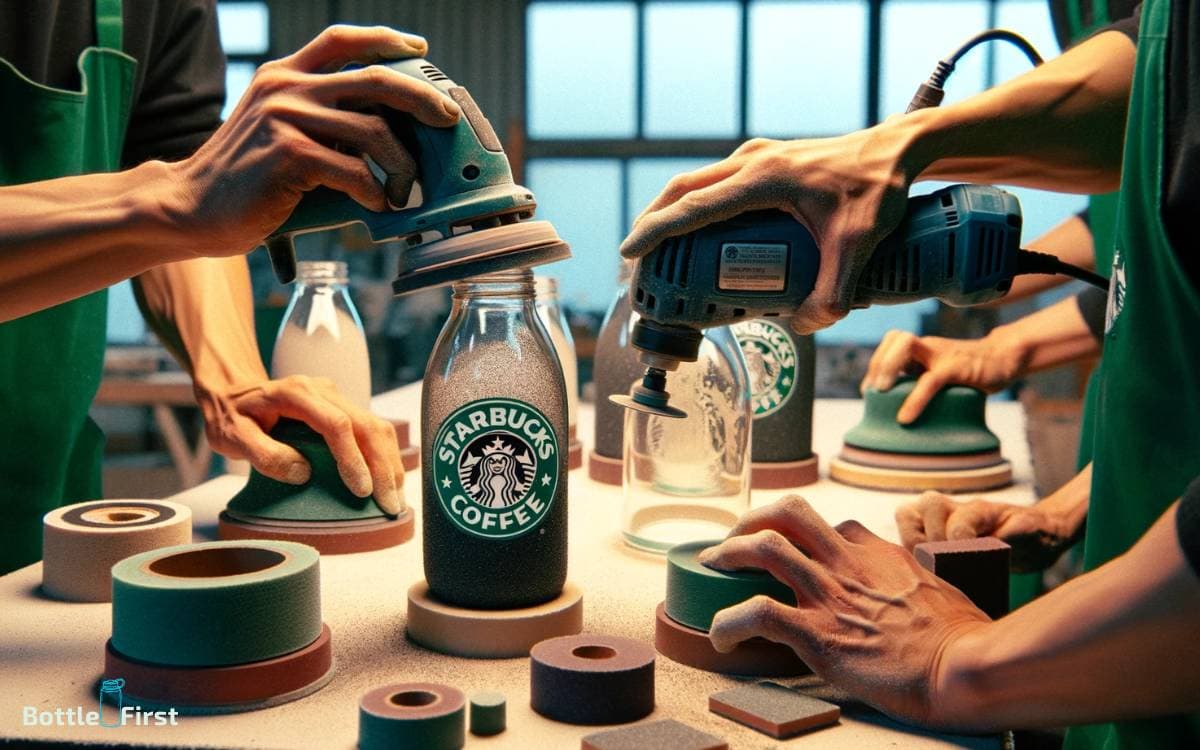
Now let’s move on to the sanding techniques for glass bottles. The wet sanding method is an effective way to smooth out rough edges and create a polished finish.
You can also use a polishing compound to further enhance the clarity and shine of the glass surface.
Wet Sanding Method
One effective way to sand glass bottles is by using a wet sanding method. This technique involves using a lubricant, such as water or a mixture of water and dish soap, to create a slurry that helps to prevent the glass dust from becoming airborne.
Start by soaking a piece of sandpaper in water for a few minutes to soften it, then wrap it around a sanding block or use it by hand. Keep the glass and sandpaper wet throughout the process to achieve a smooth and even finish.
The wet sanding method is particularly effective for shaping and smoothing the edges of glass bottles, as it reduces the risk of heat buildup and minimizes the potential for scratching or damaging the glass surface.
Polishing With Compound
When polishing glass bottles with compound, you can further enhance the smoothness and clarity of the surface, building on the wet sanding technique previously discussed.
Here are some key tips for polishing with compound:
- Apply a small amount of glass polishing compound to a clean, soft cloth.
- Gently rub the compound onto the glass bottle in a circular motion, applying light to moderate pressure.
- Continue to polish the entire surface of the bottle until the desired level of clarity and smoothness is achieved.
- Use a clean cloth to buff away any excess compound and reveal the glass bottle’s polished finish.
Step 3: Finishing Touches
To achieve a smooth and polished finish on the glass bottle, carefully inspect the sanded surface for any remaining rough spots or imperfections.
Once you’ve completed the sanding process, it’s time to add the finishing touches to your glass bottle.
Here’s what you need to do:
- Use a damp microfiber cloth to wipe down the entire surface of the bottle, removing any dust or glass particles.
- Apply a small amount of glass polish to a clean, soft cloth and gently buff the entire surface of the bottle in circular motions.
- Inspect the bottle under a bright light to ensure that all imperfections have been removed.
- Finally, carefully wash the bottle with soap and water to remove any remaining polish residue.
With the finishing touches complete, your sanded glass bottle is now ready for display or further customization.
Step 4: Displaying Your Sanded Glass Bottles
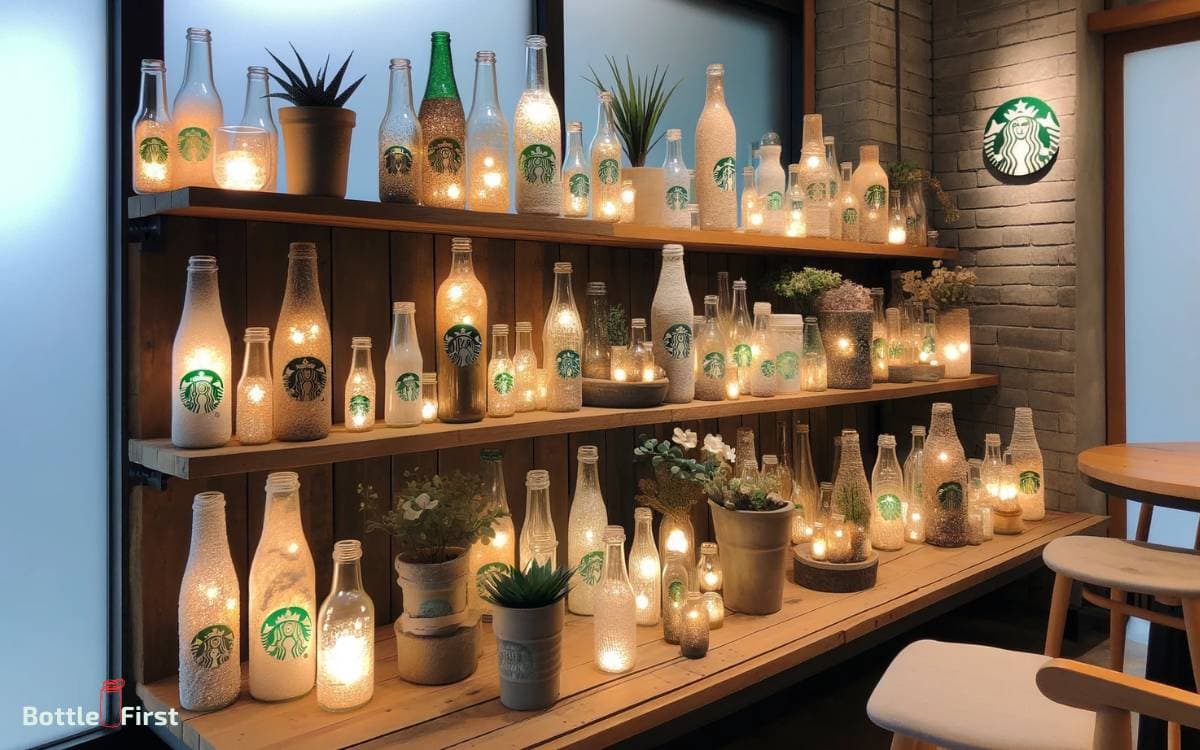
Consider showcasing your sanded glass bottles by placing them in a well-lit area where their unique textures and designs can be admired.
To further enhance the visual appeal, you can also consider displaying them in a creative and innovative way.
Here are some inspiring ideas to display your sanded glass bottles:
| Display Idea | Description |
|---|---|
| Fairy Lights | Place battery-operated fairy lights inside the bottles for a magical glow. |
| Floral Arrangement | Use the bottles as vases for small, colorful flowers to bring a touch of nature indoors. |
| Candle Holders | Place tea light candles inside the bottles to create a cozy and intimate atmosphere. |
These display ideas will not only showcase your sanded glass bottles but also add an innovative and artistic touch to your space.
Safety Precautions
Before beginning the glass sanding process, ensure that you have proper eye protection, such as safety goggles, to prevent any glass particles from causing injury to your eyes.
Additionally, wear a dust mask to avoid inhaling glass dust, and work in a well-ventilated area to minimize exposure.
Here are some safety precautions to keep in mind:
| Safety Precautions | Description |
|---|---|
| Wear protective clothing | Long sleeves and pants can protect your skin from glass particles. |
| Use a stable work surface | Avoid working on unstable or uneven surfaces to prevent accidents. |
| Keep a first aid kit nearby | In case of any minor cuts or injuries, having a first aid kit within reach is essential. |
Conclusion
Now that you’ve mastered the art of sanding glass bottles, it’s time to show off your handiwork.
Whether you’re using them as vases, candle holders, or simply as decorative pieces, your sanded glass bottles will add a touch of vintage charm to any space.
So grab your finished bottles, and let them take you back to the good old days of craftsmanship and creativity.
Cheers to your new upcycled treasures!
