How to Seal Acrylic Paint on Glass Bottles? 4 Easy Steps!
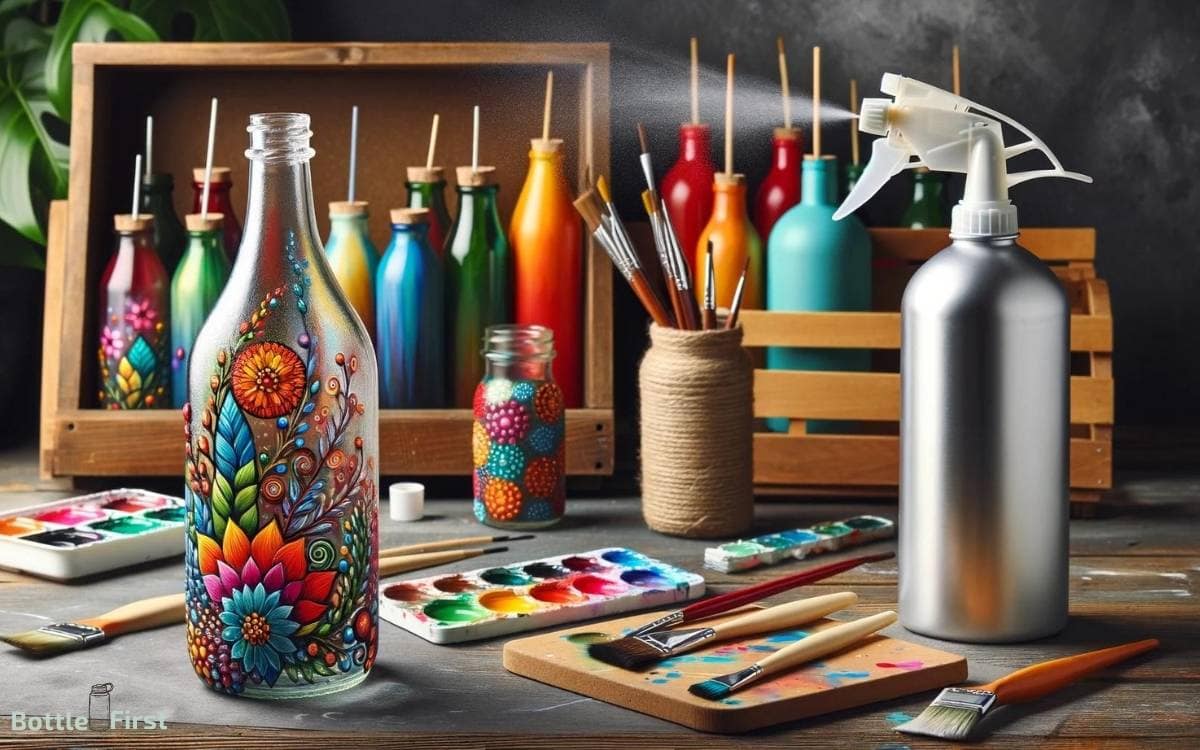
To seal acrylic paint on glass bottles effectively, you’ll need to follow a step-by-step process involving cleaning the glass, applying the paint properly, and using a sealant to protect the finished design.
The best sealants for this purpose are either a spray-on or brush-on clear acrylic sealer. You should choose a product that is waterproof, non-yellowing, and compatible with acrylic paint.
Make sure to apply the sealant in a well-ventilated area and allow adequate drying time for the best results. Sealing acrylic paint on glass is important to prevent peeling, chipping, and fading.
Here are some quick steps:
Ensure long-lasting art on glass bottles with the right sealing technique for a professional and enduring finish.
Key Takeaway
Materials Needed
You will need some specific materials to seal acrylic paint on glass bottles.
- Gather a high-quality sealant specifically designed for glass surfaces. Look for one that’s non-toxic, dries clear, and provides a waterproof and durable finish.
- Ensure you have a soft-bristle brush or foam brush to apply the sealant evenly onto the painted surface.
- Have some rubbing alcohol and a lint-free cloth on hand to clean the glass bottles thoroughly before sealing. This step is crucial for achieving a smooth and flawless finish.
- Finally, consider using a protective spray to add an extra layer of security to your sealed acrylic paint.
These materials will help you seal acrylic paint on glass bottles effectively, resulting in long-lasting, beautifully decorated containers.
Step 1: Preparing the Surface
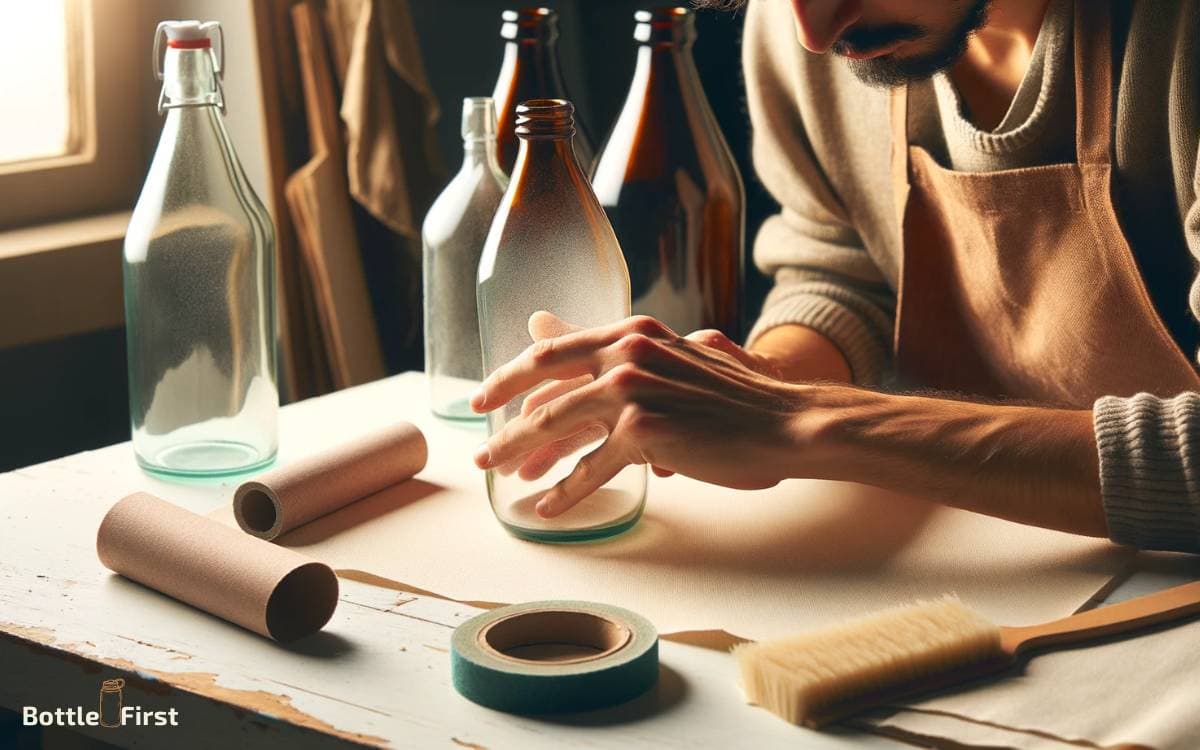
After gathering the necessary materials for sealing acrylic paint on glass bottles, proceed by thoroughly cleaning the glass surface with rubbing alcohol and a lint-free cloth to prepare it for sealing.
This step is crucial for ensuring that the acrylic paint adheres well and that the sealant is applied to a clean surface.
Start by dampening the lint-free cloth with rubbing alcohol and then carefully wipe the entire exterior of the glass bottle. Ensure that there are no fingerprints, dust, or any other residues left on the surface.
This meticulous cleaning process will help the sealant to bond effectively with the glass and the acrylic paint, resulting in a durable and long-lasting finish.
Once the surface is completely clean and dry, you can proceed with confidence to the next steps of sealing the acrylic paint on the glass bottles.
Step 2: Applying the Sealant
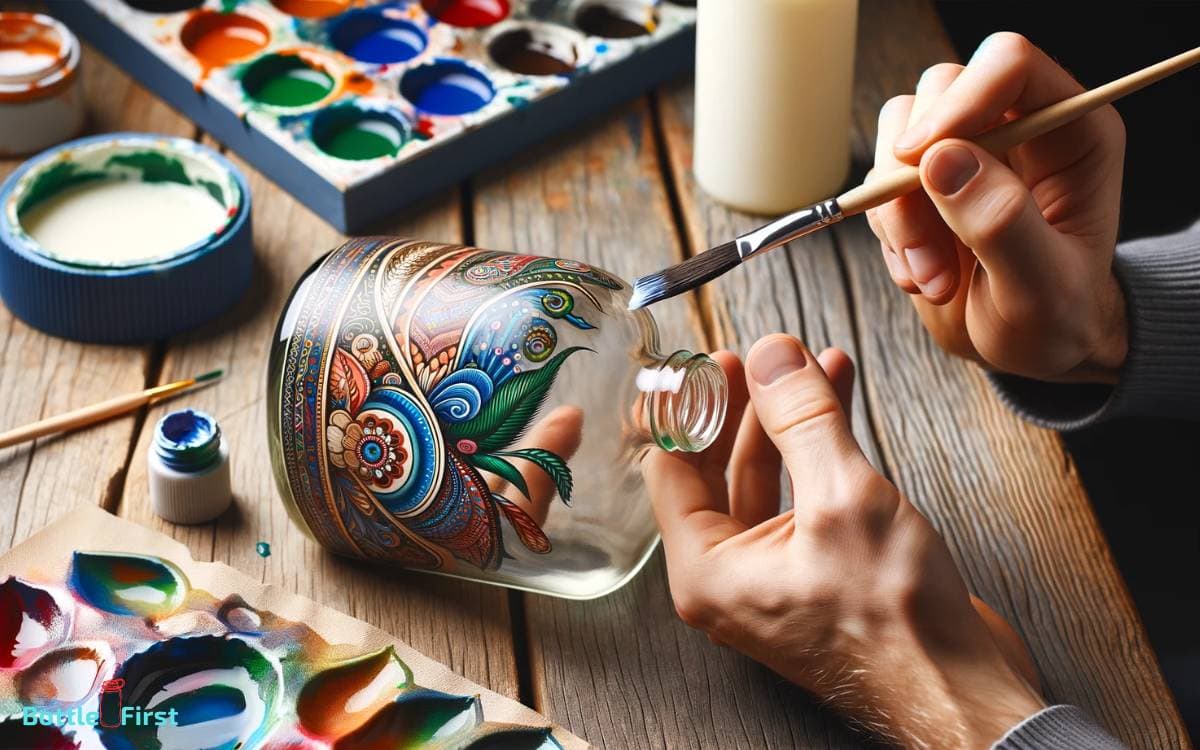
To effectively seal the acrylic paint on the glass bottles, begin by carefully applying the sealant using a soft-bristled brush or sponge.
Here’s how to do it:
- Start from the Top: Begin applying the sealant from the top of the bottle and work your way down to ensure even coverage.
- Use Thin Layers: Apply thin, even layers of sealant to avoid drips and streaks. Multiple thin layers are better than one thick layer.
- Allow for Drying Time: Let each layer of sealant dry completely before applying the next coat. This helps to achieve a smooth and durable finish.
- Inspect and Touch Up: After the final coat, inspect the bottles for any missed spots or uneven coverage. Touch up as needed to ensure a flawless seal.
Step 3: Drying and Curing
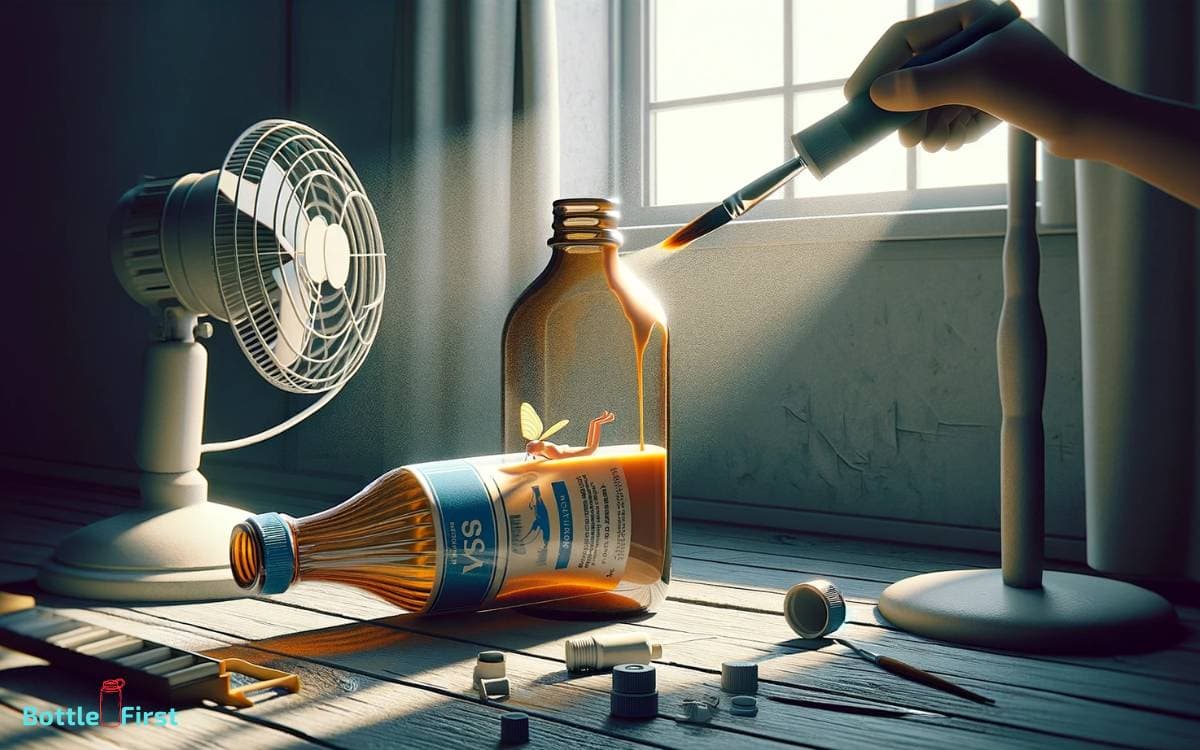
Once the final coat of sealant has been applied, allow the glass bottles to dry and cure for at least 24 hours before handling them. This will ensure that the sealant sets properly and forms a strong, protective layer over the acrylic paint.
During this time, keep the bottles in a well-ventilated area away from dust and direct sunlight. The drying and curing process is crucial for achieving a durable and long-lasting seal.
If you handle the bottles too soon, the sealant may not fully adhere to the glass surface, compromising the protection it provides to the painted design.
Once the 24-hour period has elapsed, you can proceed with the finishing touches to complete the sealing process and enhance the overall appearance of the glass bottles.
Step 4: Finishing Touches
Apply a final layer of sealant to the glass bottles, ensuring complete coverage over the painted surface. This step won’t only protect the paint but also give the bottles a professional, polished look.
To add a touch of innovation and creativity to your sealed glass bottles, consider the following finishing touches:
- Embellishments: Adorn the bottles with decorative elements such as ribbons, beads, or charms to personalize and enhance the aesthetic appeal.
- Custom Labels: Create custom labels using waterproof materials or waterproof markers to label the bottles with unique designs or personalized messages.
- Foiling: Experiment with metallic foiling to add a glamorous and eye-catching element to the bottles.
- Toppers: Explore unique bottle topper options such as cork, fabric, or custom-made decorative stoppers for a distinctive finishing touch.
Conclusion
Now that you’ve sealed your acrylic paint on the glass bottles, you can sit back and admire your beautiful creations.
The process may seem simple, but the results are truly stunning. The sealed paint will ensure that your designs stay vibrant and protected for years to come.
So go ahead, show off your hand-painted glass bottles and enjoy the compliments that are sure to come your way!


