How to Sterilize a Glass Bottle? 6 Easy Steps!
Sterilizing glass bottles is essential for ensuring they are free of microorganisms before use in various projects or storage.
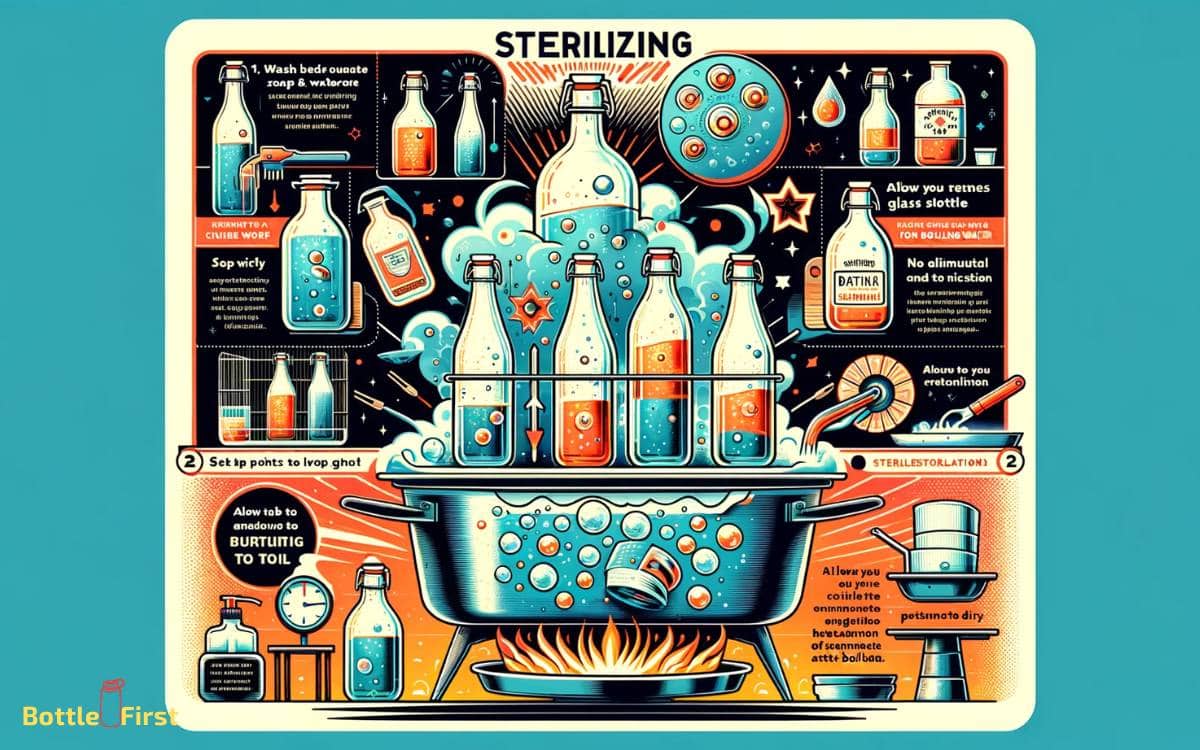
The process can be done effectively at home using several methods such as boiling, baking, using a dishwasher with a high-temperature cycle, or employing a bleach solution.
Properly sterilized glass bottles are crucial for activities ranging from home brewing to storing homemade sauces or healthcare applications.
Here are some quick steps:
Each method has its own benefits and suitability depending on the intended use of the sterilized bottles.
Ensure the longevity and safety of your glass bottles by mastering the sterilization process with these effective and accessible techniques.
Key Takeaway
Importance of Sterilizing Glass Bottles
To ensure safety and prevent contamination, sterilizing glass bottles is essential before use. When you sterilize a glass bottle, you eliminate any potential bacteria, viruses, or other microorganisms that could compromise the contents you plan to store.
This process is crucial, especially if you intend to use the bottle for food, beverages, or skincare products.
By sterilizing the bottle, you create a clean canvas for your innovative creations, ensuring that they remain pure and unspoiled.
Moreover, sterilizing glass bottles is a fundamental practice in various industries, including pharmaceuticals, cosmetics, and food and beverage. It’s a simple yet effective way to uphold quality and safety standards.
Sterilizing glass bottles allows you to confidently explore new and groundbreaking products without the risk of contamination.
Step 1: Choosing the Right Glass Bottles
When selecting glass bottles for sterilization, consider their size, shape, and material to ensure they align with your specific storage needs and intended use.
Opt for innovative designs that offer functionality and convenience. For example, choose bottles with wide openings for easy filling and cleaning, or ones with airtight seals for preserving freshness.
Consider the material of the bottle based on the contents you plan to store—clear glass for visibility, amber glass for UV protection, or borosilicate glass for heat resistance.
Additionally, think about the size and shape that best fit your storage space and pouring preferences.
Step 2: Preparing the Glass Bottles for Sterilization
Before you start the sterilization process, you’ll need to prepare the glass bottles to ensure effective sterilization.
You can use the boiling water method, opt for chemical sterilization options, or try the dishwasher technique.
Each method comes with its own set of instructions and precautions, so make sure to choose the one that best suits your needs and follow the recommended steps carefully.
Boiling Water Method
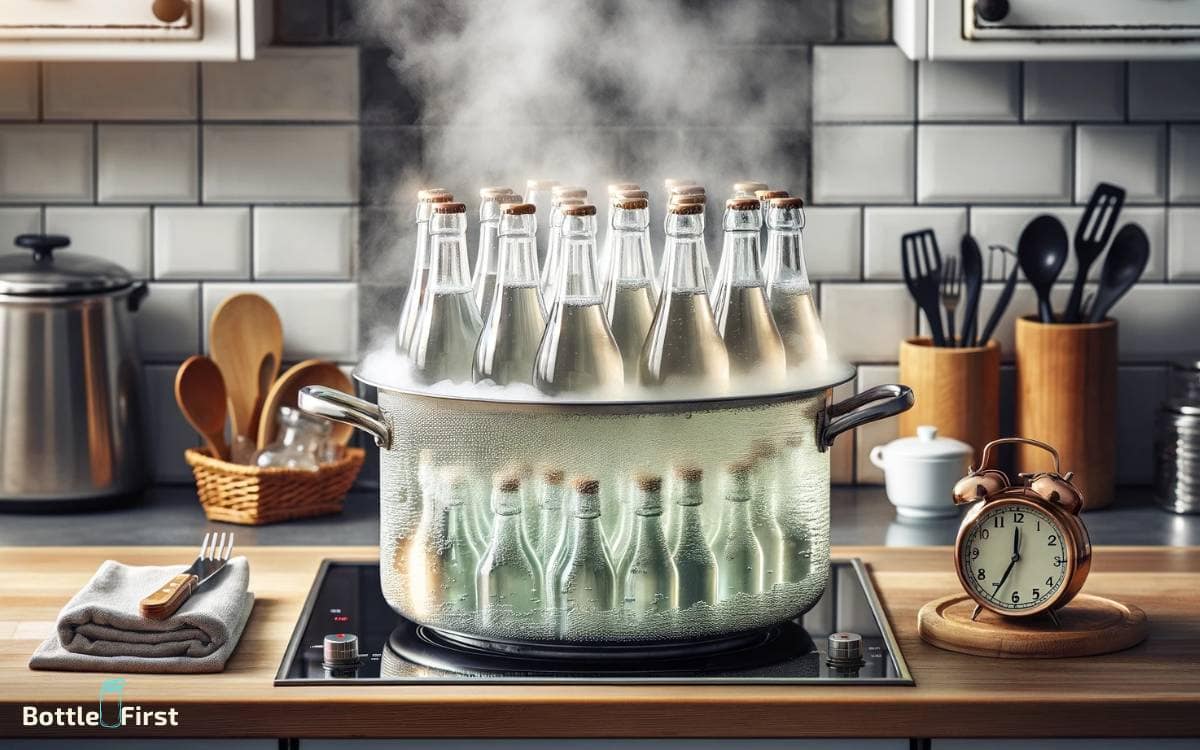
You’ll need to gather your clean glass bottles and a large pot with a lid for the boiling water method of sterilization.
First, place a clean kitchen towel at the bottom of the pot to prevent the bottles from rattling. Then, carefully arrange the bottles in the pot. Use the table below to add ingredients to the water for a touch of innovation in your sterilization process.
| Innovation | Ingredients |
|---|---|
| Aromatherapy | Lemon slices |
| Energizing | Fresh mint |
| Relaxing | Lavender sprigs |
Next, fill the pot with enough water to completely submerge the bottles. Place the lid on the pot and bring the water to a rolling boil.
Let the bottles boil for 10 minutes, then carefully remove them using sanitized tongs. Allow the bottles to air dry or use a sanitized drying rack before use.
Chemical Sterilization Options
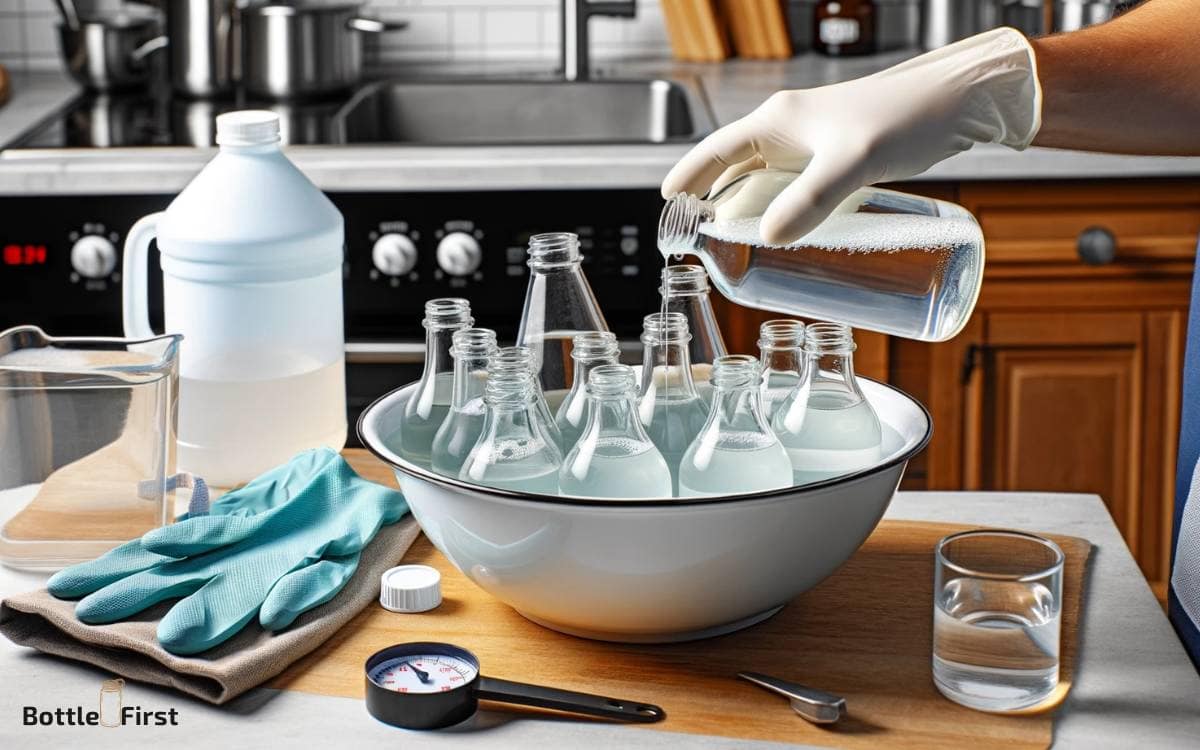
To prepare the glass bottles for sterilization using chemical methods, gather your clean bottles and choose a suitable chemical sterilizing agent.
Here are the steps to chemically sterilize your glass bottles:
Choose a Chemical Sterilizing Agent:
- Consider using hydrogen peroxide or bleach for effective sterilization.
- Ensure that the chemical sterilizing agent is safe for use on glass and won’t leave harmful residues.
By selecting a suitable chemical sterilizing agent, you can ensure that your glass bottles are thoroughly sterilized and ready for use.
This method provides an innovative approach to sterilization, offering a quick and efficient way to prepare your glass bottles for various uses.
Using a Dishwasher Technique
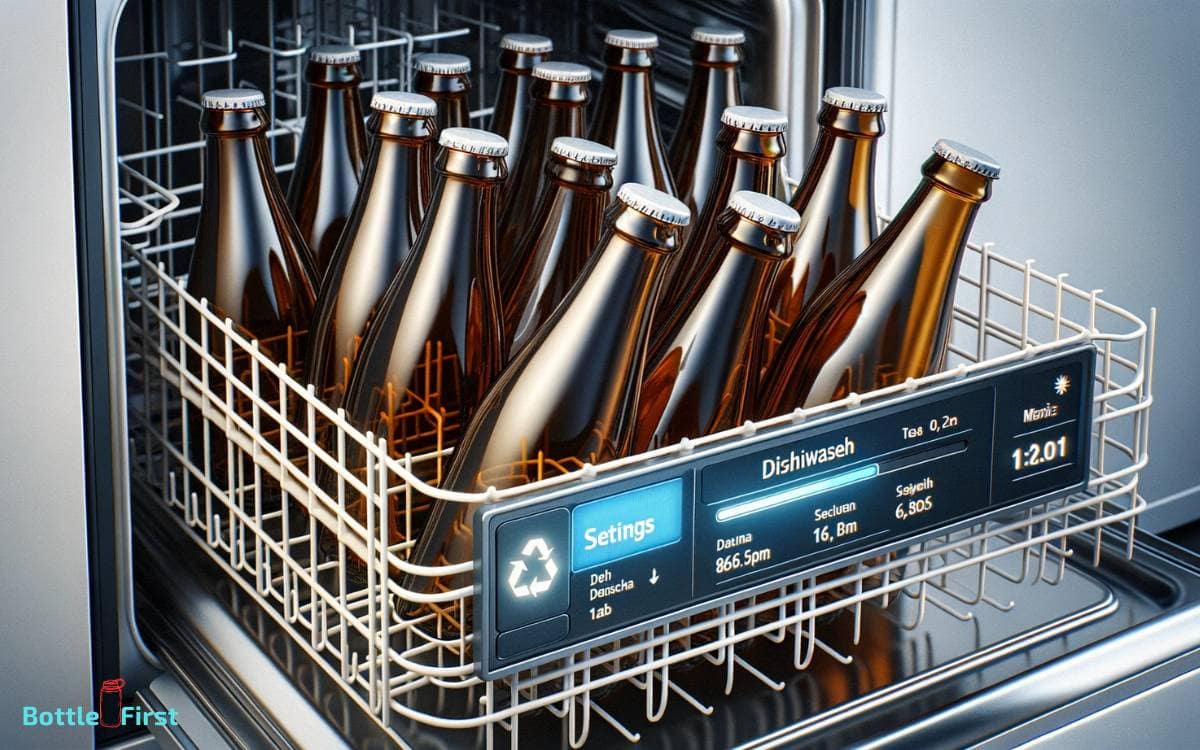
First, thoroughly rinse your glass bottles to remove any residue or debris before placing them in the dishwasher for sterilization.
Modern dishwashers offer an innovative and efficient way to sterilize glass bottles, ensuring they are safe for reuse.
When using the dishwasher technique, follow these steps to prepare the glass bottles for sterilization:
| Steps | Instructions | Benefits |
|---|---|---|
| Pre-rinse | Remove any visible residue or food particles. | Ensures a clean starting point. |
| Arrange bottles properly | Place bottles upside down on the dishwasher rack. | Ensures thorough sterilization. |
| Select sterilization setting | Choose high-temperature wash or sanitize setting. | Kills harmful bacteria effectively. |
| Allow bottles to dry | Let the bottles air dry completely. | Prevents contamination post-sterilization. |
| Handle bottles carefully | Avoid touching the inside of the bottles. | Maintains sterilized condition. |
Step 3: Boiling for Sterilizing Glass Bottles
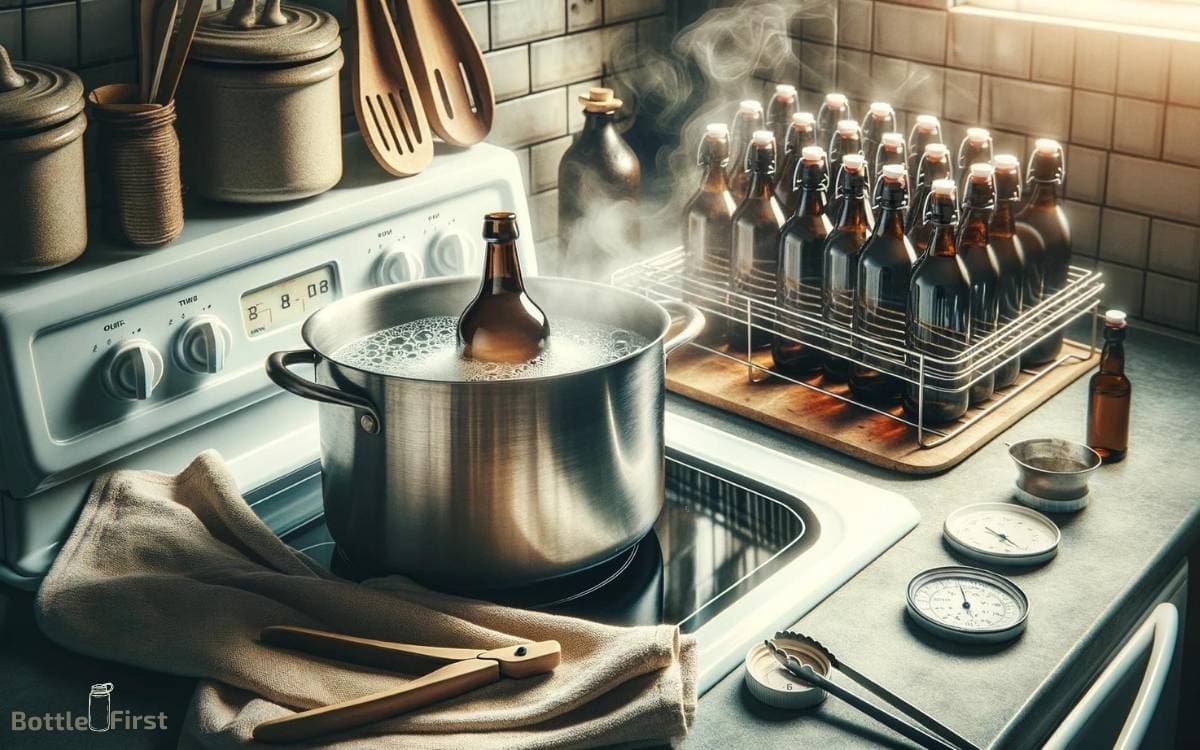
To properly sterilize a glass bottle, you can start by placing it in a large pot of boiling water.
Here’s a simple guide to using the boiling method for sterilizing glass bottles:
- Fill a large pot with enough water to fully submerge the glass bottle.
- Ensure that the bottle is completely submerged in the boiling water to guarantee proper sterilization.
- Bring the water to a rolling boil and let the bottle boil for 10 minutes.
- Boiling water kills off any bacteria or germs present on the glass bottle, making it safe for reuse.
Step 4: Using a Dishwasher for Sterilization
You can sterilize a glass bottle using a dishwasher by selecting the sterilize or hot water setting. Place the glass bottles upside down in the dishwasher to ensure that the hot water reaches the inside of the bottles.
Add the appropriate amount of dishwasher detergent and run a full cycle. Once the cycle is complete, carefully remove the hot glass bottles and allow them to air dry.
This method is efficient and convenient, especially when sterilizing a large number of bottles. It’s important to ensure that the bottles are dishwasher-safe and that they can withstand high temperatures.
Using a dishwasher for sterilization provides a modern and time-saving approach to ensuring that your glass bottles are thoroughly sterilized and safe for use.
Step 5: Sterilizing With Bleach Solution
When using a bleach solution to sterilize glass bottles, continue the sterilization process by thoroughly rinsing the bottles with clean water to remove any remaining bleach residue.
This is essential to ensure that no bleach taste or residue remains in the bottle, which could contaminate whatever is put inside.
To do this effectively, follow these steps:
- Rinse the bottles under running water, ensuring that all surfaces, including the inside and outside, are thoroughly rinsed.
- Use a bottle brush to reach inside the bottle and scrub away any stubborn bleach residue, if necessary.
- After rinsing, allow the bottles to air dry completely before use to prevent any potential contamination.
Step 6: Drying and Storing Sterilized Glass Bottles
Once your glass bottles are sterilized, you’ll need to decide whether to air-dry or towel-dry them.
Proper storage methods are crucial to maintaining the bottles’ sterilization. Be sure to take steps to prevent recontamination during the drying and storing process.
Air-Drying Vs Towel-Drying
To ensure the sterility of your glass bottles, it’s important to thoroughly dry them after the sterilization process.
The method of drying your sterilized glass bottles can impact their cleanliness and effectiveness in storing liquids.
Consider the following options for drying and storing your sterilized glass bottles:
Air-Drying:
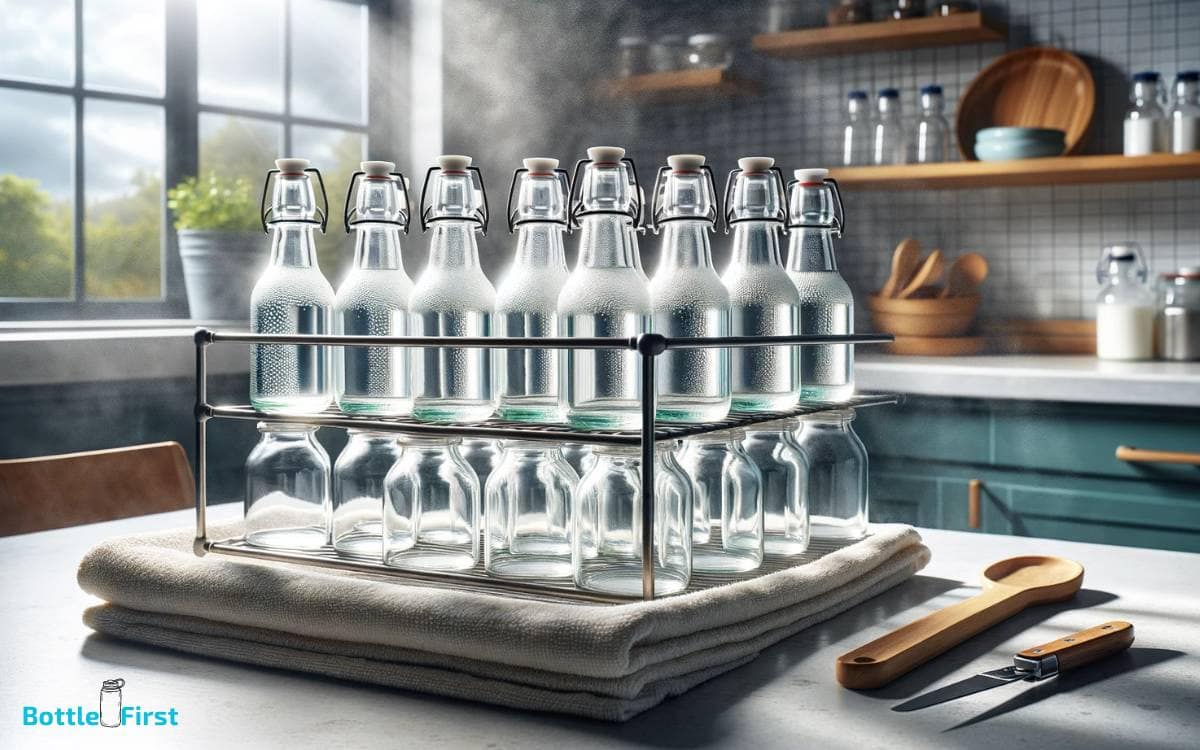
- Place the sterilized bottles upside down on a clean drying rack to allow air to circulate inside and outside the bottles.
- This method is convenient and minimizes the risk of contamination from towels or cloths.
Towel-Drying:
- Use a clean, lint-free towel to carefully dry the sterilized glass bottles, ensuring that no moisture is left behind.
- While this method requires more attention to detail, it can be quicker and ensures thorough drying.
Choose the method that best suits your needs for a convenient and effective sterilization process.
Proper Storage Methods
After sterilizing your glass bottles, ensuring their sterility involves properly drying and storing them to maintain cleanliness and effectiveness.
Once the bottles are sterilized and air-dried or towel-dried, it’s crucial to store them in a clean and dry environment.
To maximize sterility, consider using a drying rack that allows for proper airflow. This will help prevent any potential contamination from towels or surfaces.
Additionally, storing the bottles with their caps off in a clean cabinet or container can further ensure their cleanliness. If you’re using the bottles for liquid storage, ensure that they’re completely dry before adding any liquids.
Preventing Recontamination
To prevent recontamination after sterilizing your glass bottles, make sure to thoroughly air-dry or towel-dry them before storing them in a clean and dry environment.
Here are the steps to follow:
Air-Drying Method:
- After sterilization, place the glass bottles upside down on a clean drying rack to allow air circulation.
- Ensure that the bottles are completely dry before storing them to prevent any moisture buildup.
Towel-Drying Method:
- Use a clean, lint-free towel to carefully dry the sterilized glass bottles, ensuring that all surfaces are thoroughly dried.
- Pay special attention to the bottle openings and rims to prevent any trapped moisture.
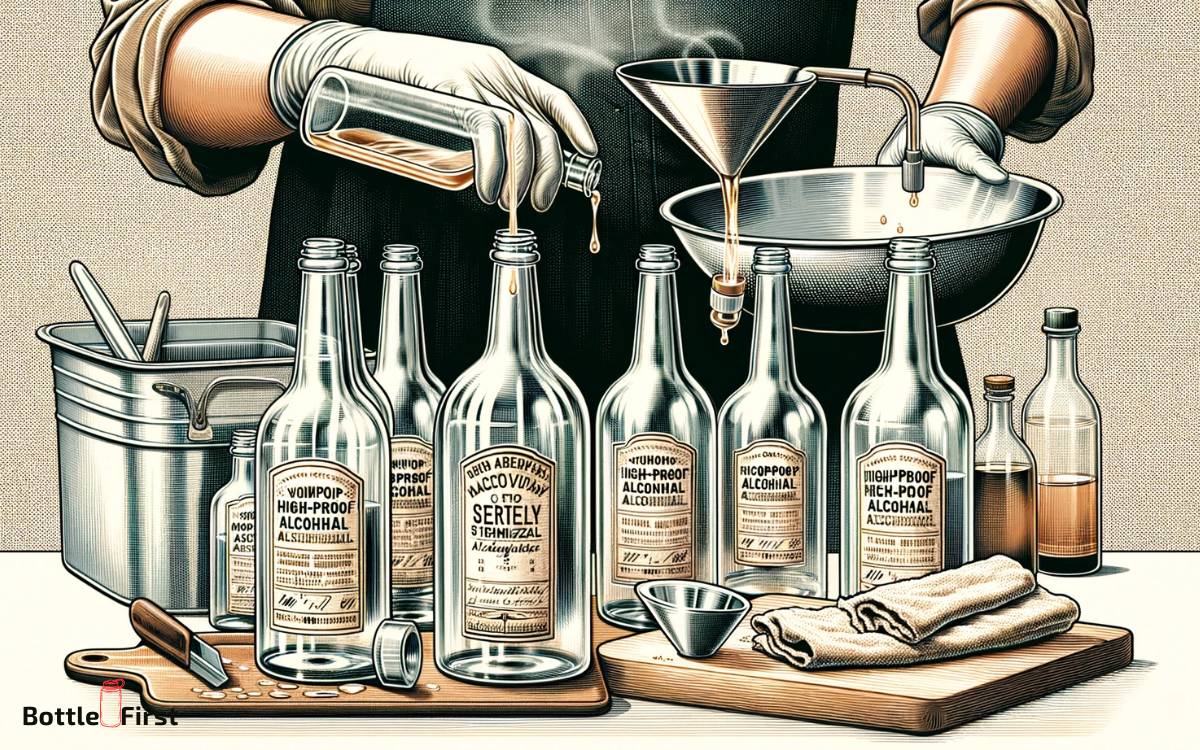
How to Sterilize Glass Bottles for Alcohol
Sterilizing glass bottles for alcohol is essential to ensure the safety and quality of the alcohol.
Here’s a general method to sterilize glass bottles:
- Clean the Bottles: Start by thoroughly cleaning the bottles with warm, soapy water. Make sure to remove all residues and dirt from both the inside and outside of the bottles. Rinse them well to remove any soap.
- Prepare for Sterilization: There are several methods to sterilize bottles. The most common methods include boiling, oven sterilization, and using chemical sterilizers.
- Boiling: Fill a large pot with enough water to completely submerge the bottles. Bring the water to a boil. Once boiling, carefully place the bottles in the water, ensuring they are fully submerged. Boil for at least 10 minutes.
- Oven Sterilization: Preheat your oven to around 130°C (266°F). Place the bottles on a clean baking sheet. Make sure the bottles are not touching each other. Place the baking sheet in the oven and sterilize the bottles for at least 20 minutes.
- Chemical Sterilizers: You can use a chemical sterilizer (like Star San or similar products designed for brewing and winemaking). Follow the manufacturer’s instructions for the correct dilution and contact time.
- Drying the Bottles: After sterilization, remove the bottles and let them dry completely. For boiling and chemical methods, air-drying on a clean rack is suitable. If you used an oven, you can leave them inside to dry as the oven cools down.
- Storage: Once dry, store the sterilized bottles in a clean, dust-free environment. It’s often recommended to cover them or keep them in a sealed box until use.
Remember, the key to successful sterilization is ensuring that the bottles are completely clean before you start the sterilization process. Any residue left in the bottles can harbor bacteria, which could contaminate your alcohol.
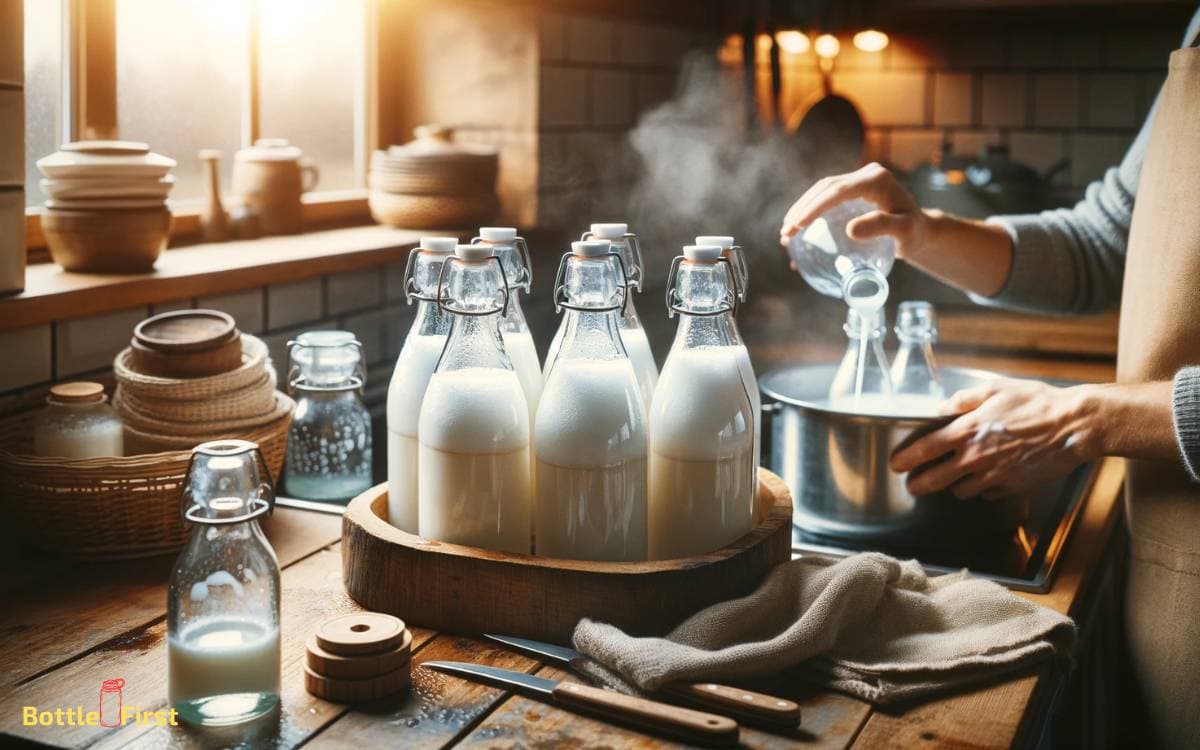
How to Sterilize Glass Milk Bottles
Sterilizing glass milk bottles is similar to sterilizing bottles for alcohol, with a focus on ensuring that all milk residues are completely removed.
Here’s a step-by-step guide:
- Rinse Immediately After Use: It’s easiest to clean milk bottles if you rinse them out immediately after they are emptied. This prevents milk residues from drying and sticking to the glass.
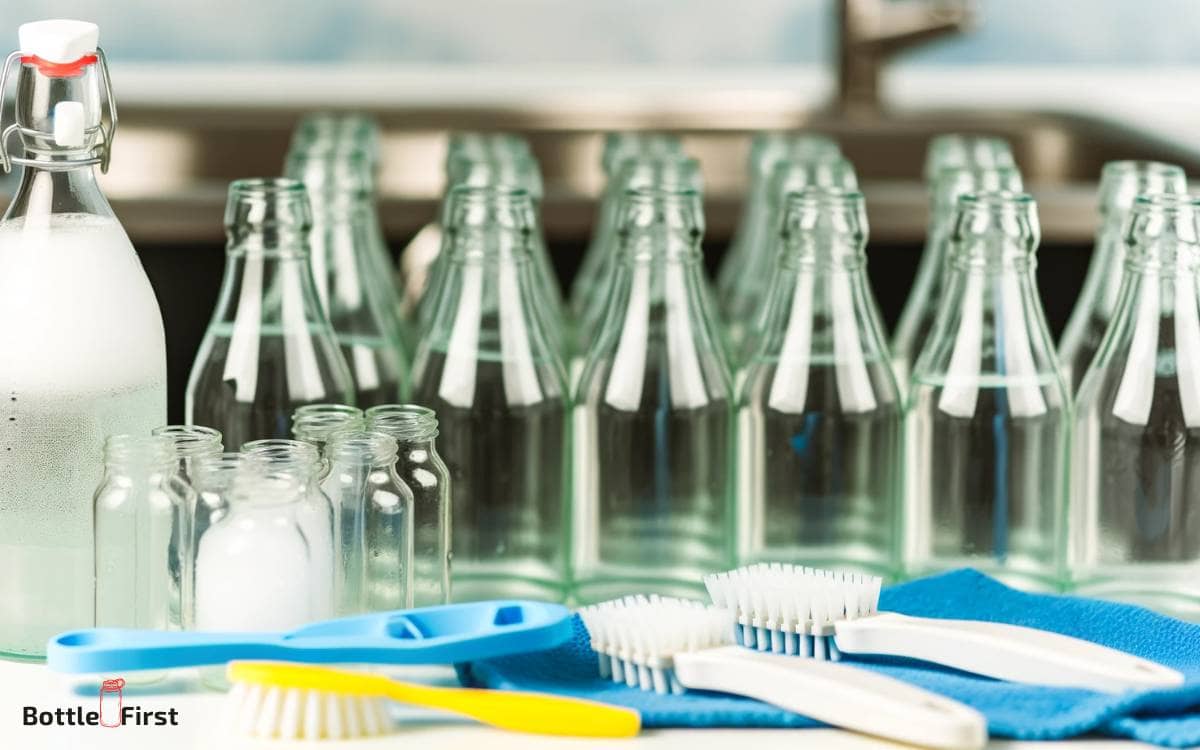
- Clean the Bottles: Use hot, soapy water to thoroughly clean the bottles. A bottle brush is handy to clean the inside of the bottles, ensuring all residue is removed. Pay special attention to any nooks and crannies. Rinse the bottles well to remove all soap.
- Sterilization Method: Choose a sterilization method:
- Boiling Water: Submerge the bottles in a large pot of water. Bring it to a boil and let the bottles boil for at least 10 minutes.
- Oven Sterilization: Preheat the oven to about 130°C (266°F). Place the cleaned bottles on a baking sheet, ensuring they do not touch each other. Sterilize them in the oven for 20 minutes.
- Chemical Sterilizers: Use a food-safe chemical sterilizer, following the manufacturer’s instructions for dilution and contact time.
- Drying: After sterilization, remove the bottles and allow them to air dry completely on a clean, dry rack. If you used the oven method, you can leave them inside the oven to dry as it cools.
- Inspect the Bottles: Before use, inspect each bottle to ensure it is thoroughly clean and dry. Any remaining moisture or residue can spoil the milk.
- Storage: Store the sterilized, dry bottles in a clean, dust-free environment. You can cover them or store them in a sealed container until they are needed.
Remember, proper sterilization is crucial for milk bottles to prevent the growth of bacteria and to ensure the milk stays fresh. Regular cleaning and sterilization are essential, especially if the bottles are reused frequently.
Conclusion
Sterilizing glass bottles is an essential step to ensure safety and cleanliness. Whether you choose to boil, use a dishwasher, or employ a bleach solution, the process is simple and effective.
Remember, a sterilized bottle is like a blank canvas, ready to hold the purest and most pristine contents.
So, take the time to sterilize your glass bottles and enjoy the peace of mind that comes with knowing your liquids are stored in a safe and hygienic manner.
