How to Sterilize Glass Bottles for Kombucha? 6 Easy Steps!
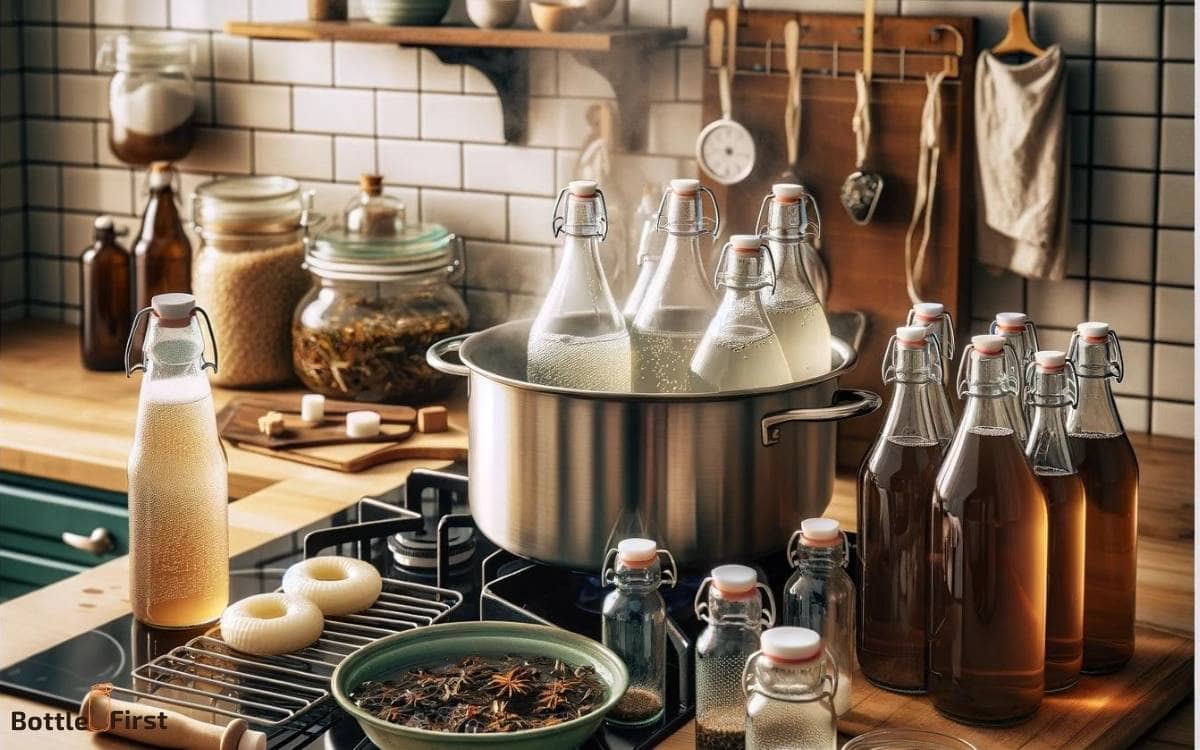
To effectively sterilize glass bottles for kombucha, you can employ methods such as boiling, oven sterilization, chemical disinfection with a bleach solution, or steam sterilization.
Each technique ensures that your glass containers are free of unwanted microbes, providing a safe environment for brewing kombucha.
Sterilizing glass bottles for kombucha is essential to prevent contamination and to promote a healthy fermentation process.
Here are some quick steps:
Ensure your kombucha’s purity and taste with properly sterilized bottles, safeguarding against microbial threats.
Before embarking on your kombucha brewing journey, it’s crucial to begin with meticulously sterilized glass bottles.
This guide delineates the array of sterilization techniques for your kombucha glassware, encompassing boiling, oven heat, a bleach solution, and steam applications.
Master these optimal practices to secure your bottles against detrimental microorganisms, thus paving the way for a successful homemade kombucha brew.
Key Takeaway
Importance of Sterilization
To ensure the safety of your kombucha and prevent the growth of harmful bacteria, proper sterilization of glass bottles is essential.
The process eliminates any potential contaminants, ensuring a pure environment for your kombucha to ferment.
Sterilization is especially crucial in the context of kombucha brewing, as it involves the growth of live cultures.
By sterilizing your glass bottles, you create an environment that promotes the growth of beneficial bacteria and yeast while inhibiting the growth of harmful microorganisms.
This is imperative for maintaining the integrity of your kombucha and ensuring that it’s safe for consumption. Proper sterilization also sets the stage for successful flavor development and carbonation.
By adhering to meticulous sterilization practices, you can innovate and experiment with various flavors and techniques, knowing that your kombucha is being produced in a safe and controlled environment.
Step 1: Cleaning Glass Bottles
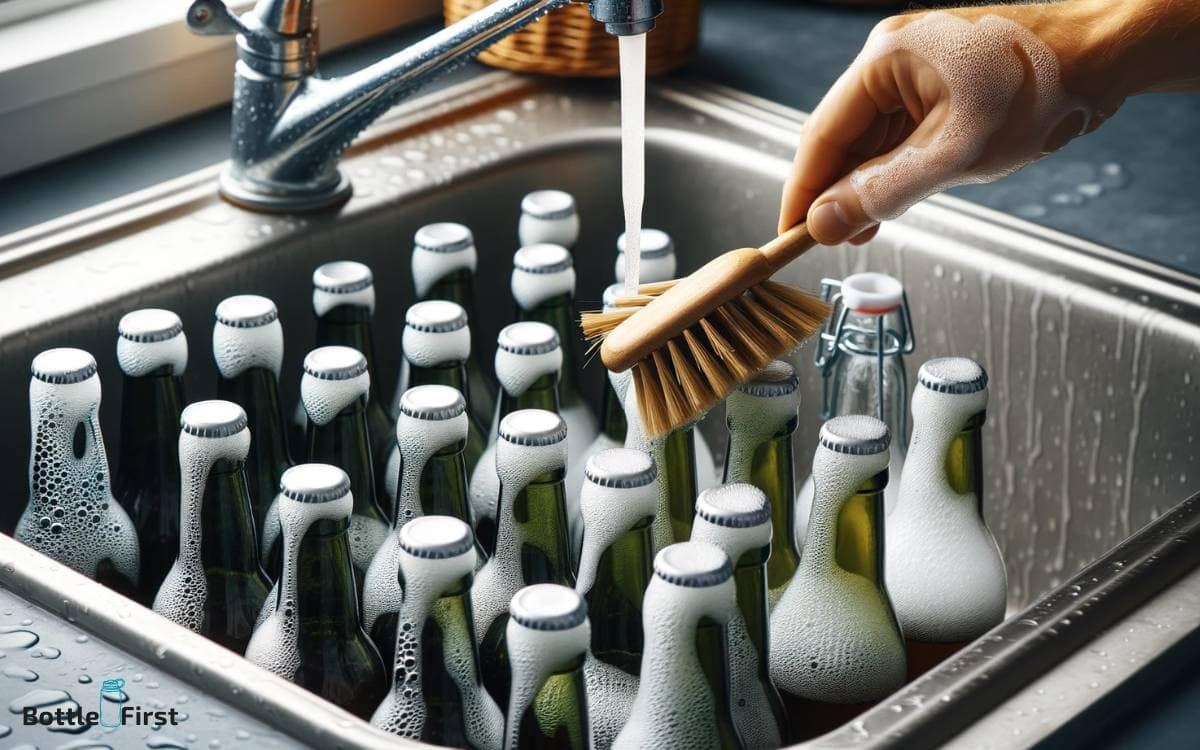
Before sterilizing your glass bottles for kombucha, it’s important to ensure they’re thoroughly cleaned. Using hot water and a mild detergent is a simple and effective way to remove any residue or dirt.
Alternatively, you can also clean the bottles with a vinegar solution to eliminate any lingering bacteria or odors.
Using Hot Water
Once you have finished rinsing your glass bottles, place them in a pot of hot water. Ensure that the water is hot but not boiling to prevent any potential damage to the glass bottles. Let the bottles soak in the hot water for at least 10-15 minutes.
This will help to loosen any remaining organic matter or residue inside the bottles. After soaking, use a bottle brush to scrub the inside of the bottles thoroughly. Pay special attention to the bottom and the neck of the bottles.
Once you’ve scrubbed the bottles, rinse them with clean water and allow them to air dry. This hot water method effectively cleans the bottles and prepares them for the sterilization process before using them for brewing kombucha.
Using Vinegar Solution
After rinsing your glass bottles, you’ll need to soak them in a vinegar solution to effectively clean and sanitize them for kombucha brewing. Vinegar is a natural disinfectant that can help remove any remaining impurities from the bottles.
Here’s how you can use a vinegar solution to clean your glass bottles:
- Create a cleaning solution by mixing equal parts water and white vinegar.
- Submerge the rinsed bottles in the vinegar solution and let them soak for at least 10 minutes.
- After soaking, rinse the bottles thoroughly with hot water to remove any vinegar residue.
- Allow the bottles to air dry before using them for kombucha brewing.
Using a vinegar solution is an efficient and natural method for cleaning glass bottles, ensuring they’re ready for kombucha brewing.
Step 2: Boiling
To sterilize your glass bottles using the boiling method, you’ll need to follow these steps:
- Submerge the bottles in boiling water for at least 10 minutes.
- Make sure the water reaches a rolling boil and maintain it throughout the sterilization process.
The high temperature of the boiling water will effectively kill any bacteria or yeast present on the bottles. This ensures that the bottles are safe for use in brewing your kombucha.
Boiling for Sterilization
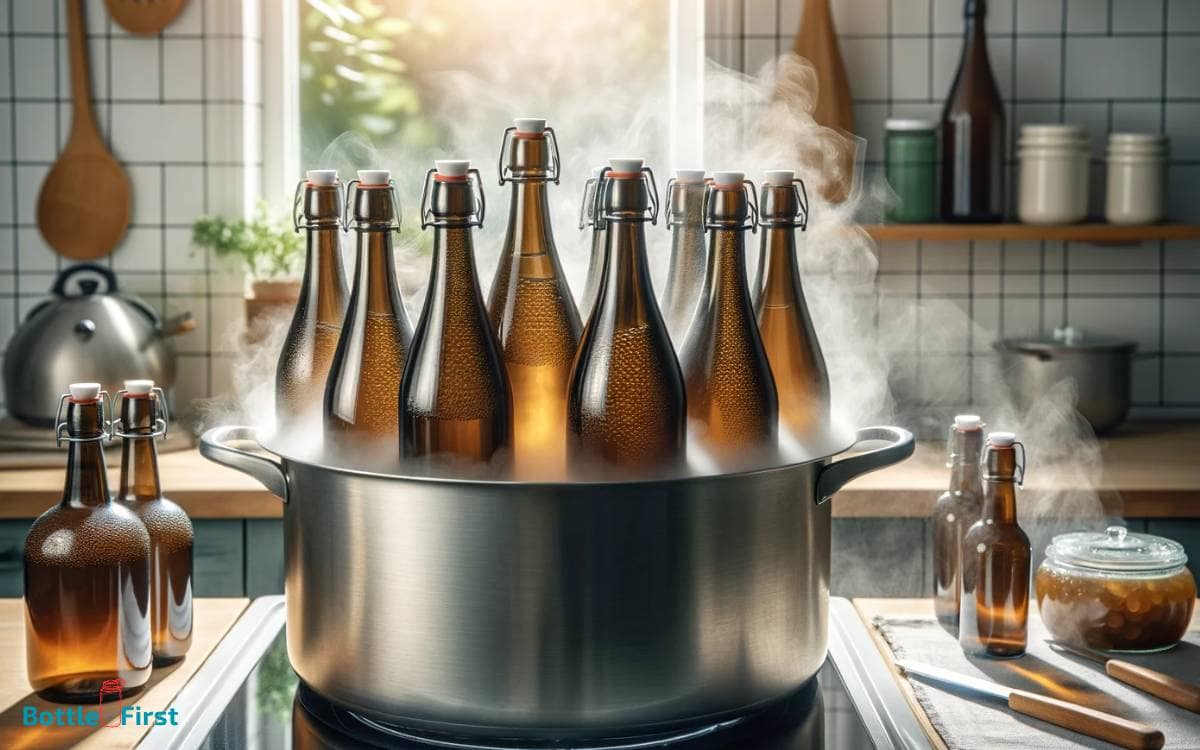
To sterilize glass bottles for kombucha using the boiling method, follow these steps for effective sterilization:
- Fill a large pot with water and place the bottles inside.
- Bring the water to a rolling boil to ensure thorough sterilization.
- Let the bottles boil for at least 10 minutes to kill any harmful bacteria or yeast.
- Use tongs to carefully remove the bottles from the boiling water.
- Place the bottles upside down on a clean towel to let them air dry completely.
Boiling is a reliable method for sterilizing glass bottles, as it eliminates any potential contaminants.
Once the bottles have been sterilized, it’s important to consider the time and temperature needed for safe storage and fermentation of kombucha.
Time and Temperature
When boiling glass bottles for sterilization, it is crucial to maintain a rolling boil for a minimum of 10 minutes to ensure complete eradication of harmful bacteria and yeast.
This process effectively prepares the bottles for fermenting kombucha, creating an environment where beneficial bacteria and yeast can thrive without competition from harmful microorganisms.
Below is a table outlining the recommended time and temperature for boiling glass bottles:
| Time (at rolling boil) | Temperature |
|---|---|
| 10 minutes | 100°C |
Maintaining a rolling boil for the specified time and temperature is essential to guarantee the sterilization of glass bottles, providing a safe and clean vessel for fermenting kombucha.
Next, let’s explore the process of oven sterilization for a more convenient and efficient method.
Step 3: Oven Sterilization
Before placing the glass bottles in the oven, preheat it to 350°F. This method effectively sterilizes glass bottles for kombucha preparation.
Follow these steps for oven sterilization:
- Remove any labels and caps from the bottles.
- Place the bottles upside down on a clean baking sheet.
- Heat the bottles in the oven for 20 minutes.
- Allow the bottles to cool completely before use.
Oven sterilization provides a convenient and thorough way to ensure that your glass bottles are free from contaminants.
It’s a quick and efficient method that can be easily integrated into your kombucha brewing process.
Once your bottles are sterilized, you can proceed to the next step of using a bleach solution for further sterilization.
Step 4: Bleach Solution
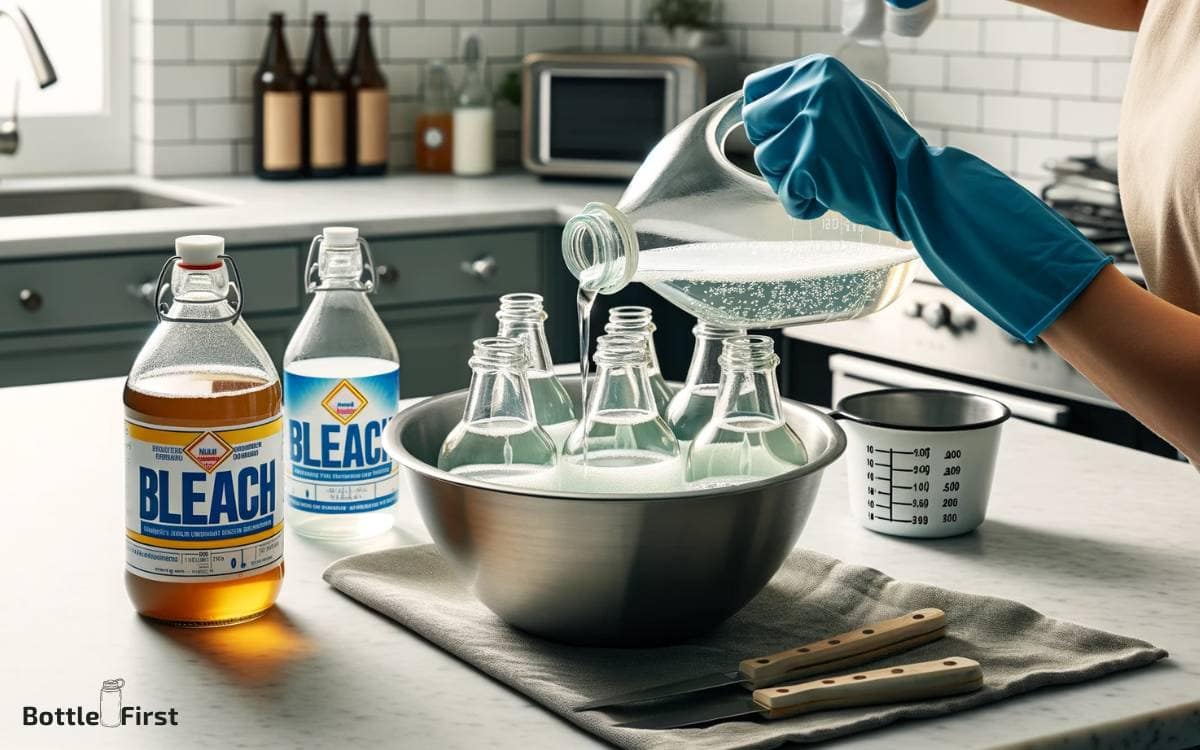
After oven sterilization, you’ll need to soak the glass bottles in a bleach solution to further ensure their cleanliness and sterility.
To make the bleach solution, mix 1 tablespoon of unscented household bleach with 1 gallon of water. Ensure that the bleach you use contains 5.25-8.25% sodium hypochlorite as the active ingredient.
Submerge the glass bottles completely in the bleach solution and let them soak for 10-15 minutes.
Then, thoroughly rinse the bottles with hot water to remove any residual bleach. It’s crucial to ensure that the bottles are completely dry before using them for kombucha.
The bleach solution provides an extra layer of sterilization, effectively killing any remaining bacteria or contaminants, and is an essential step in maintaining a safe and healthy brewing environment for your kombucha.
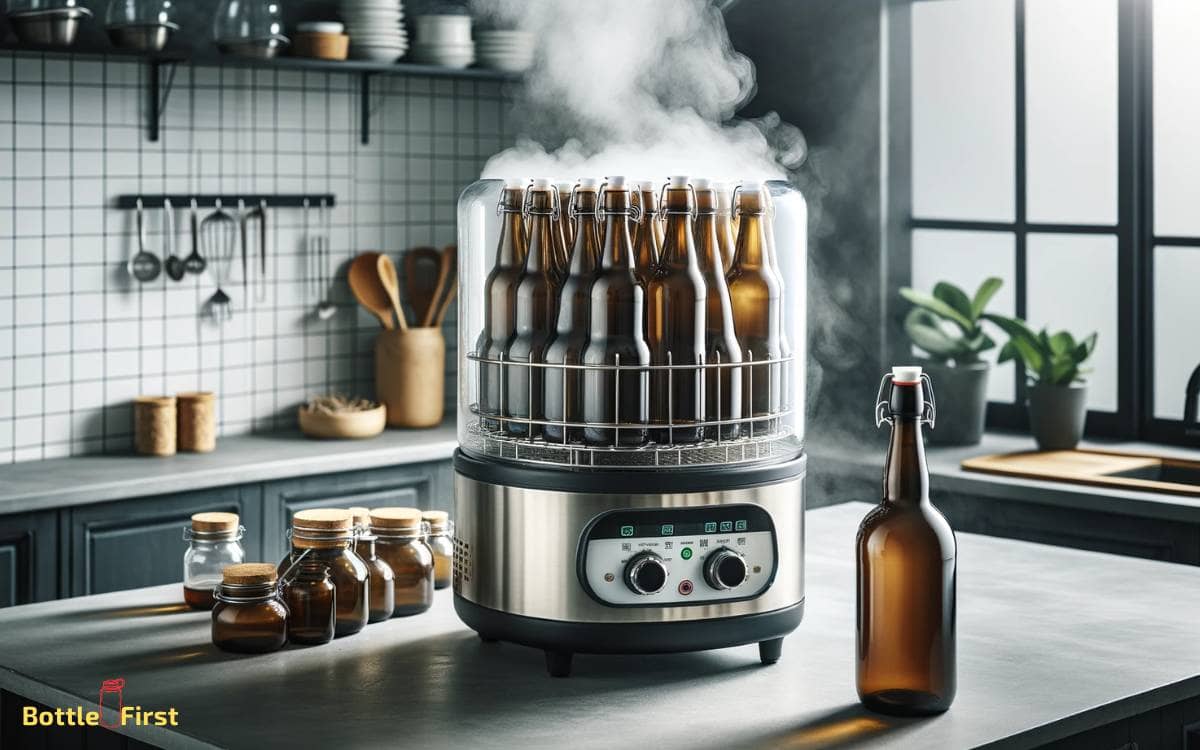
Step 5: Steam Sterilization
Where can you find a steam sterilizer to ensure the complete cleanliness and sterility of your glass bottles for kombucha brewing?
Steam sterilizers, also known as autoclaves, can be found at scientific supply stores, medical equipment suppliers, or online retailers.
These devices use high-pressure steam to kill bacteria, viruses, and other microorganisms, making them an ideal choice for sterilizing glass bottles for kombucha.
Here’s why steam sterilization is an innovative choice:
- Efficiency: Steam sterilization effectively reaches all surfaces of the glass bottles, ensuring thorough sterilization.
- Chemical-free: It doesn’t require any harsh chemicals, making it an eco-friendly sterilization method.
- Versatility: Steam sterilizers can be used for sterilizing various materials, not just glass bottles.
- Safety: They come with built-in safety features to prevent accidents and ensure proper sterilization.
Consider investing in a steam sterilizer for a reliable and efficient sterilization method.
Step 6: Using a Dishwasher
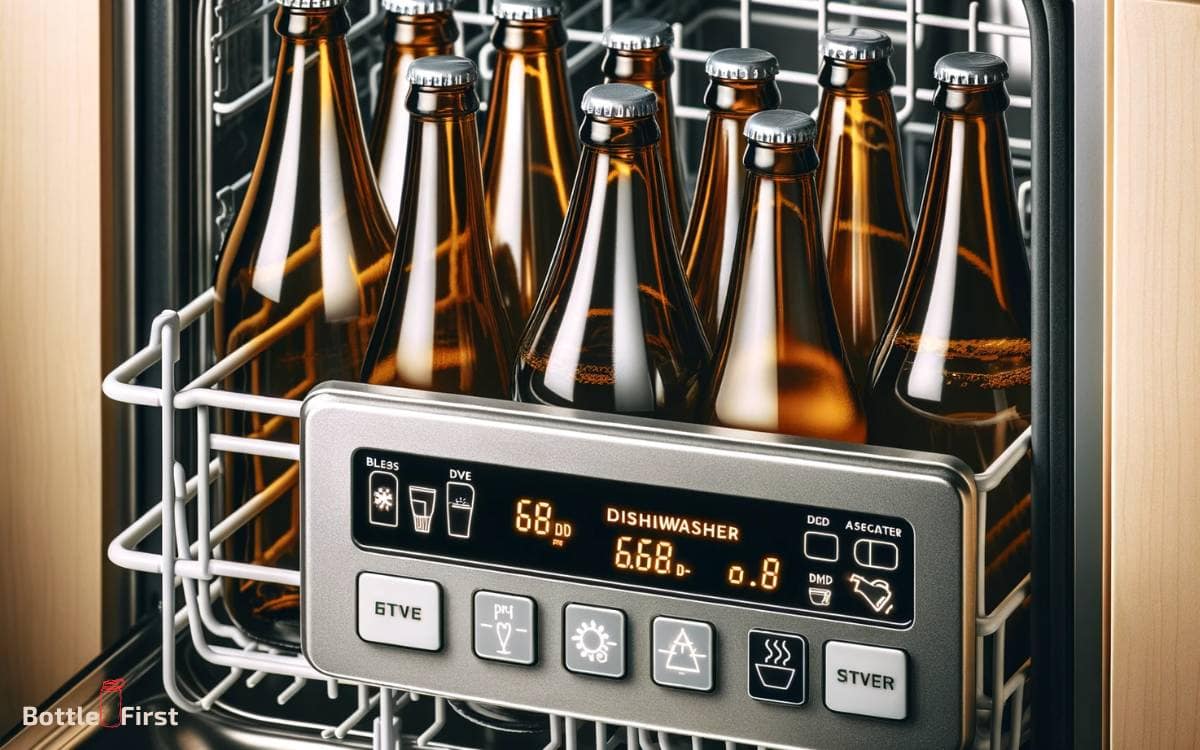
When sterilizing glass bottles for kombucha, you can use a dishwasher regularly to ensure cleanliness and sterility.
To begin, disassemble the bottles and remove any rubber or plastic components, as these may not be dishwasher safe.
Place the bottles on the dishwasher’s racks, ensuring they’re secure and won’t tip over during the wash cycle. Use the hottest water setting available, and add a rinse aid to promote thorough drying.
If your dishwasher has a sanitize option, this can further ensure the bottles are sterilized effectively. Once the cycle is complete, allow the bottles to cool before handling.
It’s important to note that not all dishwashers may reach the necessary temperature for sterilization, so it’s recommended to use a thermometer to verify the temperature reaches at least 180°F (82°C) for proper sterilization.
Conclusion
So, there you have it – several easy methods to sterilize your glass bottles for kombucha.
Did you know that a study found that 89% of kombucha samples contained some form of bacteria or yeast contamination?
By properly sterilizing your bottles, you can help ensure that your homemade kombucha stays safe to drink.
So, don’t skip this important step in the brewing process!
