How to Slump Glass Bottles? 7 Easy Steps!
Slumping glass bottles is a creative way to upcycle and repurpose glass into decorative and functional art pieces.
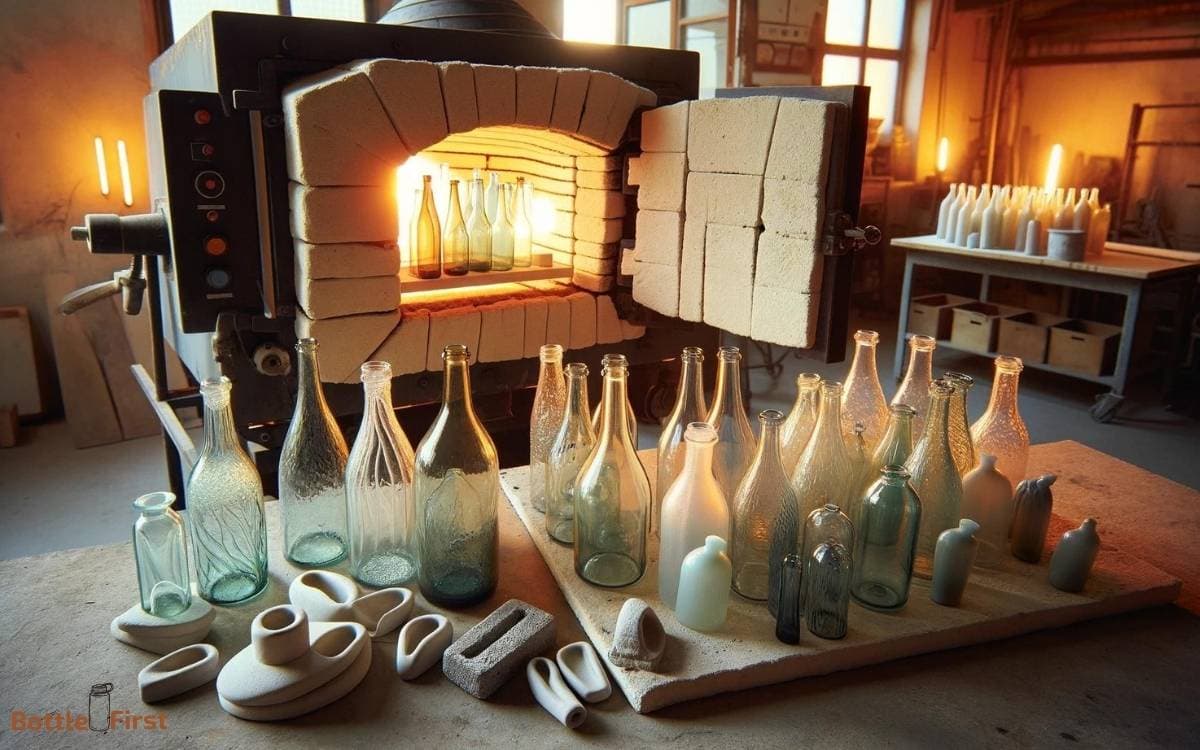
The process involves slowly heating the glass in a kiln until it becomes malleable and then allowing it to take the shape of a mold.
This technique can be used to make serving platters, spoon rests, or unique display pieces. To ensure success, you’ll need a kiln, glass bottles, a mold, and proper safety gear.
Here are some quick steps:
Embark on a creative journey by transforming discarded glass bottles into bespoke art through the magical process of slumping.
Key Takeaway
Step 1: Selecting the Right Bottles
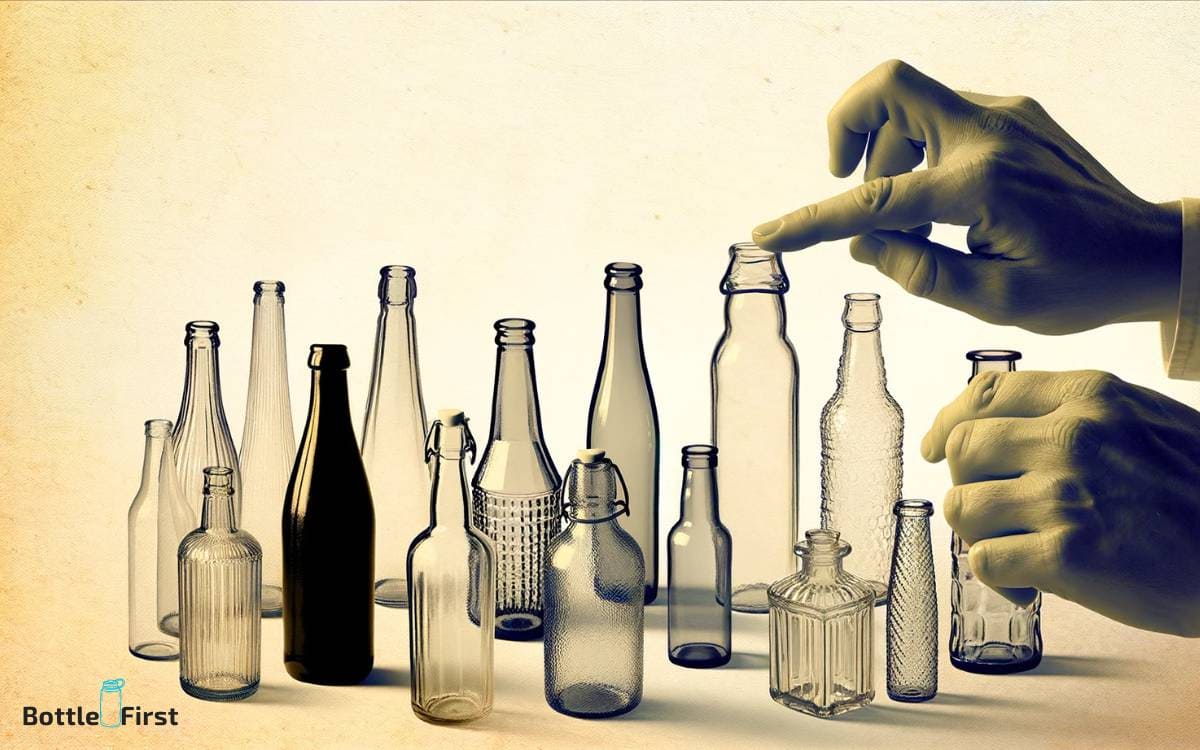
When selecting bottles for slumping, start by examining the glass for any imperfections or cracks. Look for bottles with smooth, even surfaces and minimal blemishes. Innovative slumping techniques require flawless glass to achieve the best results.
Seek out unique bottle shapes and colors to add a creative touch to your slumped glass projects. Embrace experimentation and consider unconventional options to push the boundaries of traditional slumping methods.
Step 2: Preparing the Bottles for Slumping
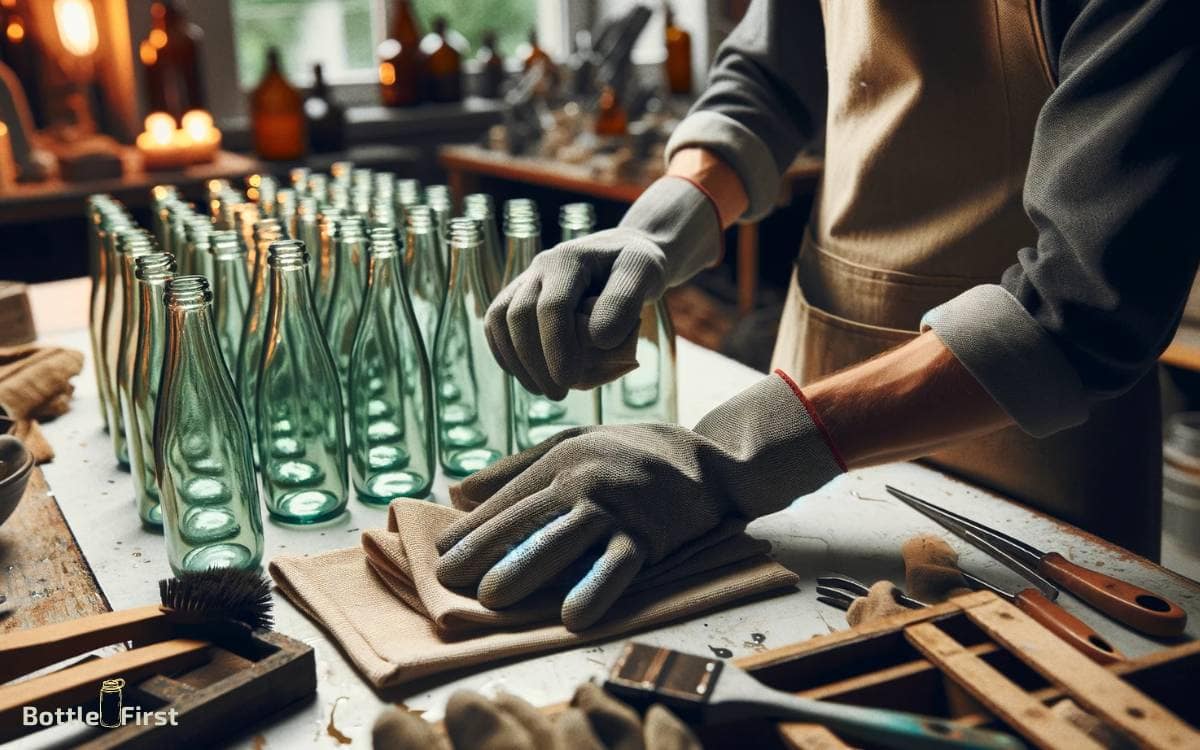
Before slumping your glass bottles, you need to ensure they’re clean and dry. This involves removing any labels and adhesive residue from the bottles.
Additionally, it’s important to prepare your kiln shelf for the slumping process.
Cleaning and Drying Bottles
To ensure successful glass bottle slumping, you need to thoroughly clean and completely dry the bottles before proceeding.
Here are four innovative steps to prepare your bottles for slumping:
- Rinse with Hot Water: Start by rinsing the bottles with hot water to remove any residue or labels.
- Use a Bottle Brush: Employ a bottle brush to scrub the interior of the bottles, ensuring that all debris and residues are thoroughly removed.
- Air Dry Upside Down: After cleaning, allow the bottles to air dry upside down on a clean towel to ensure complete drying.
- Final Wipe Down: Before slumping, give the bottles a final wipe down with a lint-free cloth to remove any remaining moisture or particles.
Removing Labels and Residue
After thoroughly cleaning and drying the bottles, you need to tackle the task of removing labels and residue to prepare them for slumping.
To start, fill a sink with hot, soapy water and submerge the bottles for about 30 minutes. Then, use a sponge or scrub brush to peel off the labels.
For stubborn residue, apply a small amount of acetone or nail polish remover to a cotton ball and rub the affected areas until the residue is gone.
Alternatively, try using a mixture of equal parts baking soda and cooking oil to create a paste, which can be applied to the residue and scrubbed off with a sponge.
Once the labels and residue are completely removed, thoroughly rinse and dry the bottles before proceeding with the slumping process.
Preparing Kiln Shelf
How do you ensure that the kiln shelf is properly prepared for slumping the glass bottles after removing labels and residue?
Follow these steps to prepare the kiln shelf for slumping:
- Clean the Shelf: Wipe the kiln shelf with a damp cloth to remove any dust or debris. Ensure it’s completely dry before proceeding.
- Apply Kiln Wash: Use a brush to apply a thin, even layer of kiln wash to the shelf. This will prevent the glass from sticking during the slumping process.
- Check for Smoothness: Run your hand over the kiln shelf to check for any rough spots or excess kiln wash. Smooth out any imperfections to ensure a flat, even surface for the glass bottles.
- Preheat the Kiln: Preheat the kiln to the recommended temperature for slumping, ensuring it’s ready for the glass bottles.
Step 3: Choosing a Slumping Method
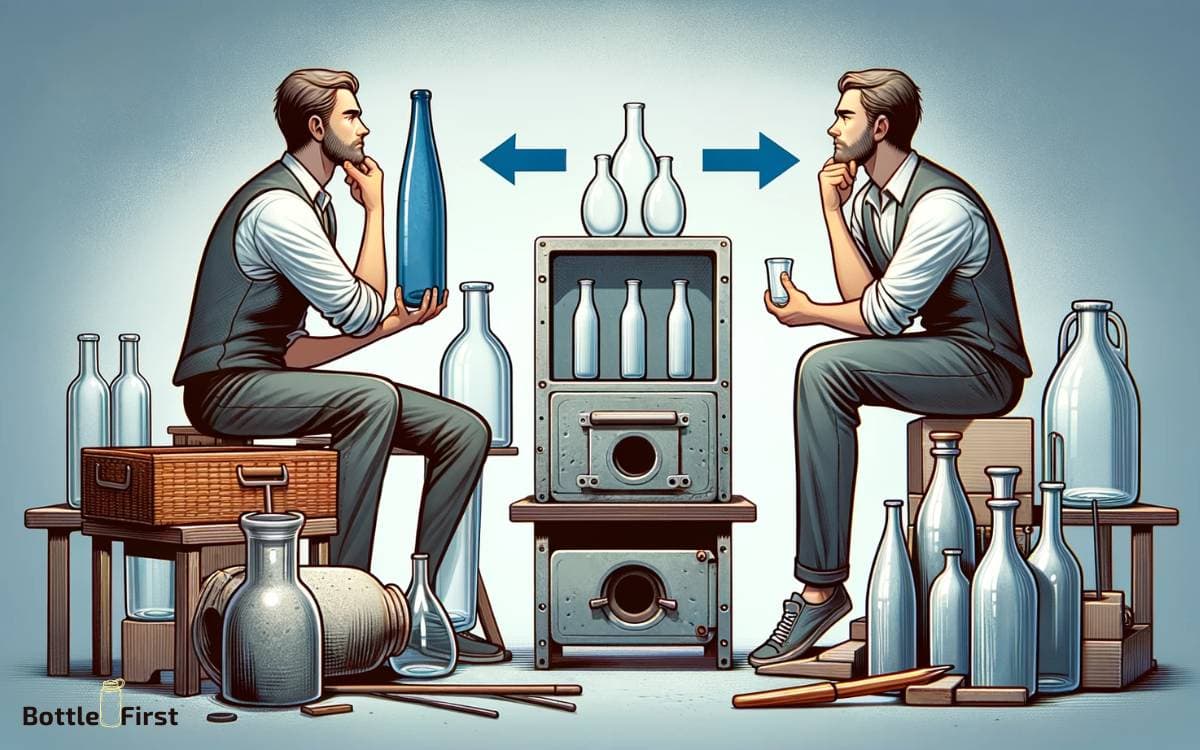
When considering the best method for slumping glass bottles, you’ll need to weigh the advantages of using a kiln versus a mold.
Understanding the fusing temperature and time required for your specific project is crucial for achieving the desired results.
Additionally, design considerations play a significant role in determining the most suitable slumping method for your glass bottles.
Kiln Versus Mold
To slump glass bottles, you can choose between using a kiln or a mold as your slumping method.
Here are some key points to consider when deciding between the two innovative methods:
- Kiln: Utilizing a kiln for slumping allows for precise control over the temperature and heating process.
- Mold: Using a mold provides the opportunity to create unique shapes and designs by customizing the mold to your desired outcome.
- Versatility: A kiln offers the flexibility to work with a variety of glass types and sizes, while molds can be tailored to specific bottle shapes and sizes.
- Efficiency: Consider the time and energy efficiency of each method, as well as the potential for batch processing to maximize productivity.
Transitioning into the subsequent section about ‘fusing temperature and time’, it’s essential to understand how these factors play a crucial role in achieving the desired slumping outcome.
Fusing Temperature and Time
When selecting a slumping method for glass bottle fusing, consider the fusing temperature and time as crucial factors in achieving the desired outcome.
The fusing temperature dictates the softening point of the glass, affecting the degree of deformation. For a more organic slumped shape, opt for a lower temperature, typically around 1250°F (676°C) to 1350°F (732°C).
Conversely, for sharper bends and defined edges, a higher temperature, approximately 1350°F (732°C) to 1450°F (788°C), is preferable.
The fusing time is equally vital, influencing the extent of the slumping. Shorter times produce subtle bends, while longer times result in more pronounced curves.
Experiment with various temperature and time combinations to achieve innovative and unique slumped glass bottle designs that showcase your creativity and expertise.
Design Considerations
Considering the fusing temperature and time, you should now focus on design considerations when choosing a slumping method for glass bottle fusing.
To ensure innovative and successful results, you need to take the following into account:
- Bottle Shape: Choose a slumping method that complements the shape of the glass bottle. Consider whether a mold or a free-form slumping technique would best enhance the bottle’s design.
- Surface Texture: Decide if you want a smooth or textured finish on the glass bottle. Certain slumping methods, such as using textured molds or adding glass frit, can create unique surface textures.
- Complexity of Design: Assess the complexity of the design you want to achieve. Some slumping methods are better suited for intricate designs, while others work well for simple, clean lines.
- Heat Distribution: Consider how heat will be distributed during the slumping process. Choose a method that ensures even heat distribution to prevent warping or uneven slumping of the glass bottle.
Step 4: Setting Up the Kiln
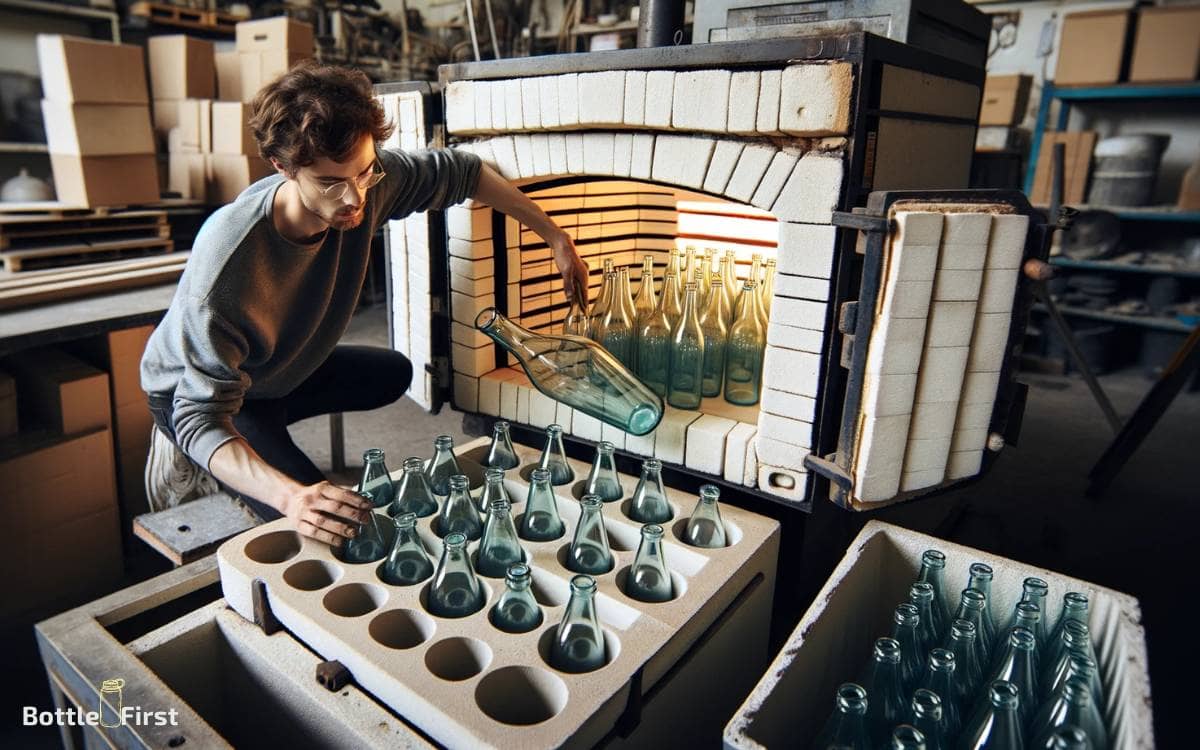
You’ll need to carefully set up the kiln to ensure the proper slumping of glass bottles. Start by placing the kiln shelf inside the kiln and making sure it’s clean and free of any debris that could cause imperfections in the glass.
Next, arrange the glass bottles on the shelf, ensuring they’re evenly spaced and won’t touch each other during the slumping process.
It’s crucial to follow the manufacturer’s guidelines for the specific type of glass and slumping mold you’re using.
Additionally, consider any special requirements for the kiln, such as preheating or using kiln wash to prevent sticking.
Proper setup is essential to achieving the desired slumped glass bottle shapes and textures. Now that the kiln is ready, let’s move on to firing the bottles.
Step 5: Firing the Bottles
Once the kiln is properly set up, carefully place the bottles inside and secure the lid before initiating the firing process. Firing the bottles is a crucial step in slumping glass bottles to achieve the desired shape.
Here are some innovative tips to ensure a successful firing process:
- Preheat the kiln gradually to allow the bottles to heat up uniformly and prevent thermal shock.
- Monitor the temperature closely using a pyrometer to ensure it reaches the appropriate slumping temperature.
- Hold the bottles at the slumping temperature for the specified duration to achieve the desired slumped shape.
- Gradually cool down the kiln to room temperature to anneal the glass and prevent stress in the finished bottles.
Following these steps will help you achieve beautifully slumped glass bottles with precision and innovation.
Step 6: Cooling and Finishing
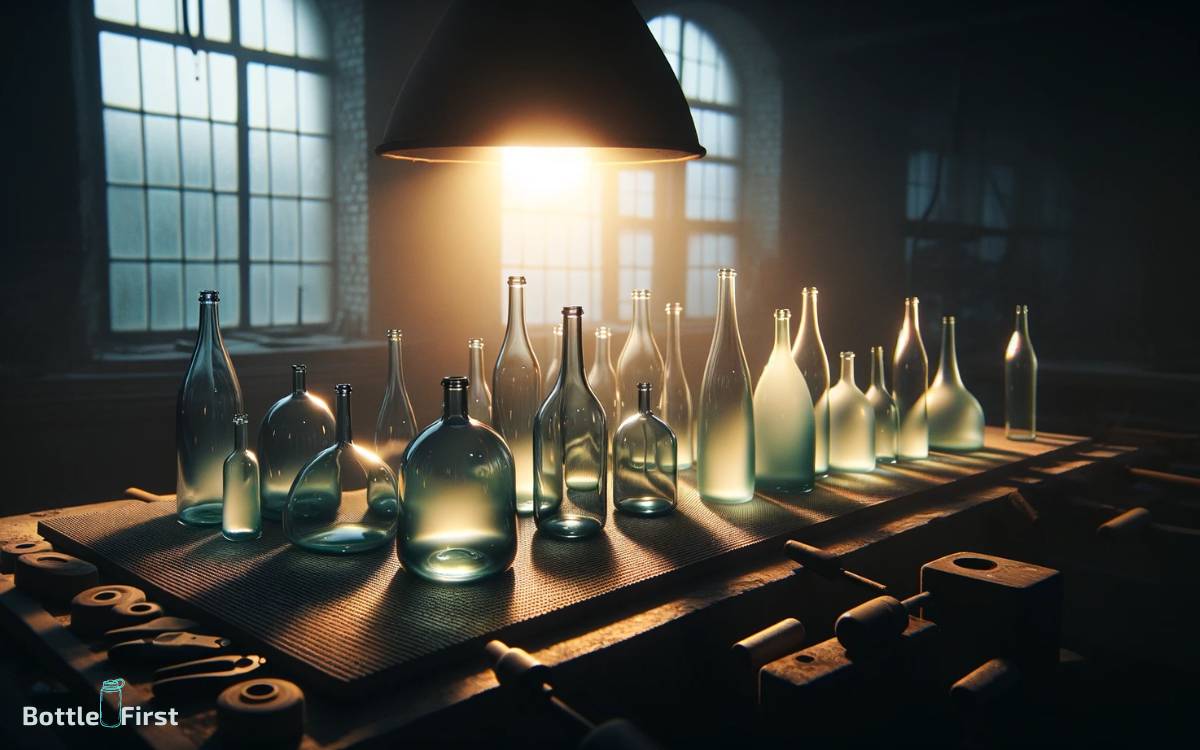
After the bottles have been slumped, carefully remove them from the kiln using specialized gloves to avoid burns or injuries.
Place the hot slumped bottles on a heat-resistant surface to cool gradually. This gradual cooling process is crucial to prevent thermal stress and potential breakage.
Once the bottles have reached room temperature, inspect them for any rough edges or imperfections. Use a glass grinder or sandpaper to smooth out any sharp areas and refine the edges.
Additionally, consider adding a protective finish to enhance the appearance and durability of the slumped bottles. This could involve applying a sealant or a coat of transparent glaze for a polished look.
Now that your slumped bottles are cooled, smoothed, and finished, let’s move on to the exciting part of displaying and using them in creative ways.
Step 7: Displaying and Using Your Slumped Bottles
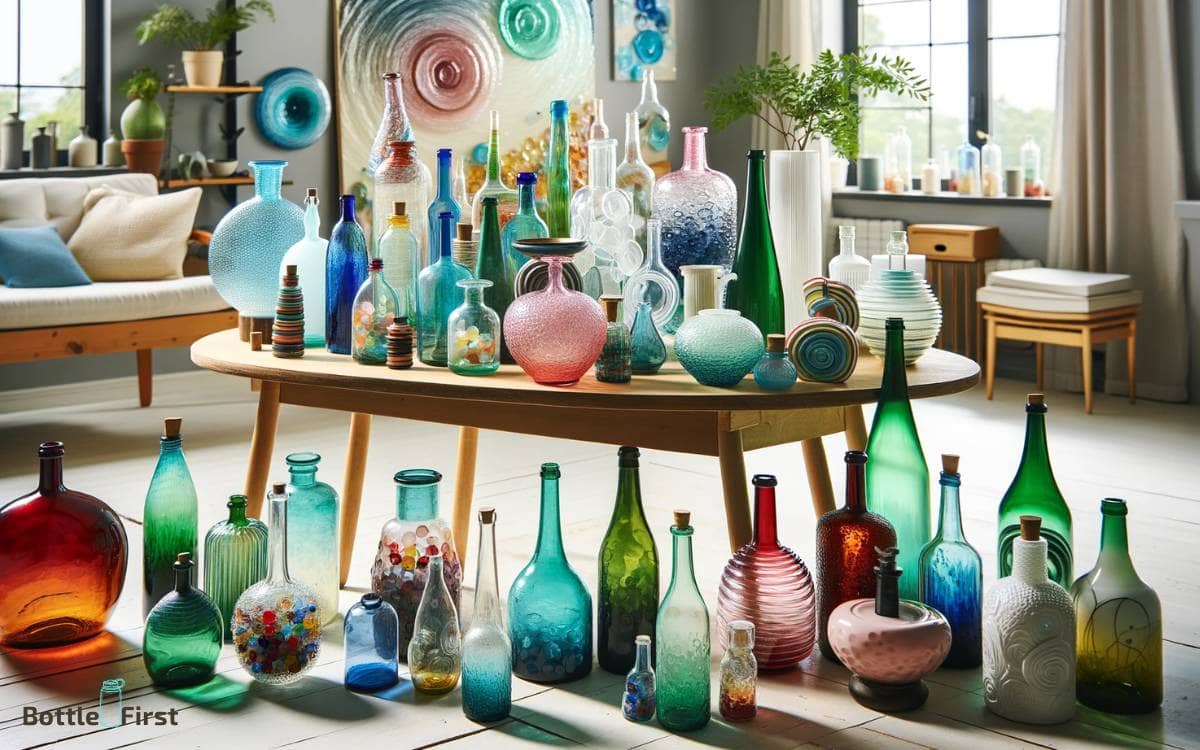
To effectively showcase your slumped bottles, consider incorporating them into your home decor or repurposing them for functional use.
Here are some innovative ways to display and use your slumped bottles:
- Wall Art: Arrange the slumped bottles on a wooden board and hang it on the wall for a unique and eye-catching art piece.
- Candle Holders: Place small candles inside the slumped bottles to create beautiful and functional candle holders.
- Serving Trays: Turn larger slumped bottles into stylish serving trays by adding handles to the sides.
- Planters: Use slumped bottles as small planters for succulents or small indoor plants for a modern and eco-friendly touch to your home decor.
Conclusion
Now that you know how to slump glass bottles, why not try creating your own unique designs and shapes?
With the right bottles, preparation, and slumping method, you can turn ordinary bottles into stunning pieces of art.
So, what’re you waiting for? Get slumping and let your creativity shine through!
