How to Spray Paint Glass Bottles? 6 Easy Steps!
Transform your glass bottles into captivating home accents with a new layer of spray paint.
Selecting spray paint designed for glass, thoroughly cleaning the surface, and applying the paint in several light layers will yield a professional and enduring finish.
This step-by-step guide will take you through the process, ensuring that your repurposed glass bottles enhance your home’s aesthetic appeal.
Here are some quick steps:
For example, when transforming a wine bottle into a vase, you would clean it, prime it if necessary, and then apply multiple thin coats of spray paint, allowing for adequate drying time between coats.
Achieve a flawless, durable finish on your glass bottles with proper preparation and application of spray paint. Embrace your creativity and watch as your glass bottles take on a new life.
Key Takeaway
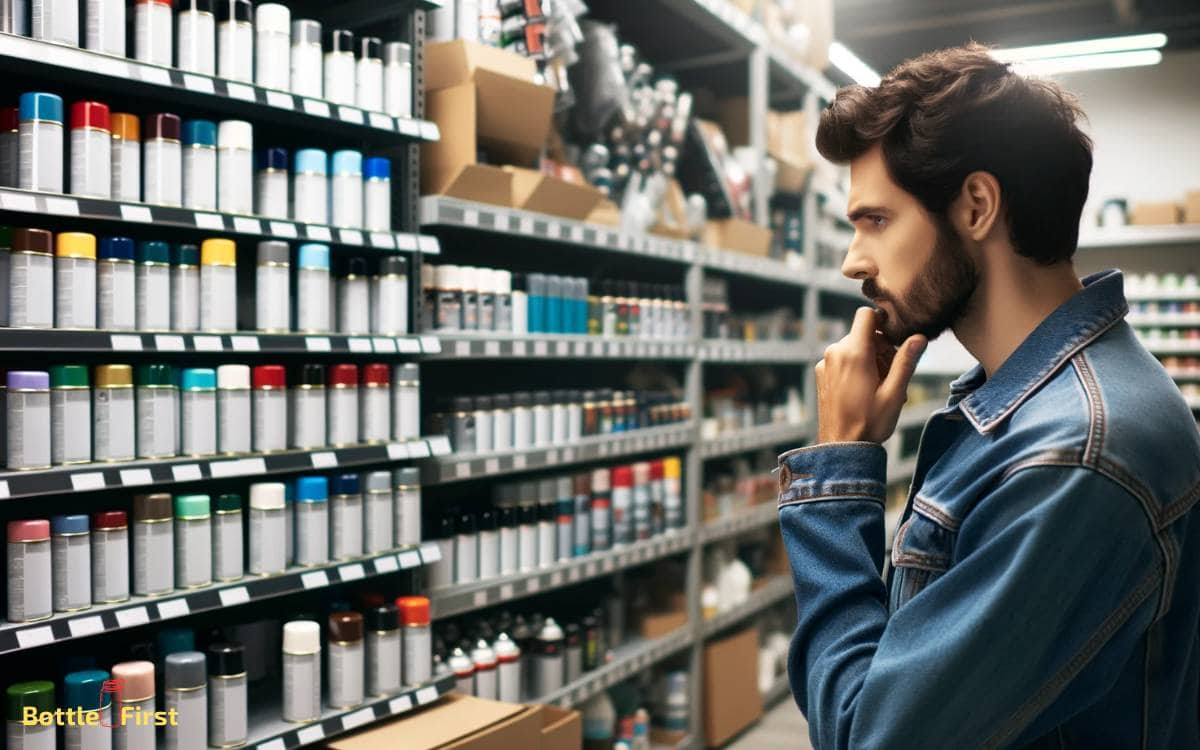
Step 1: Choosing the Right Spray Paint
When selecting spray paint for glass bottles, consider the type of paint that adheres to glass surfaces. Look for spray paints specifically designed for glass or multi-surface paints that adhere well to glass.
Opt for innovative options like specialty glass paints that offer a translucent or frosted finish for a unique look. Ensure the spray paint you choose is compatible with glass to achieve a durable and professional result.
Consider utilizing paints with added features such as UV resistance for outdoor use or dishwasher-safe properties for painted glassware.
Step 2: Preparing the Glass Bottles
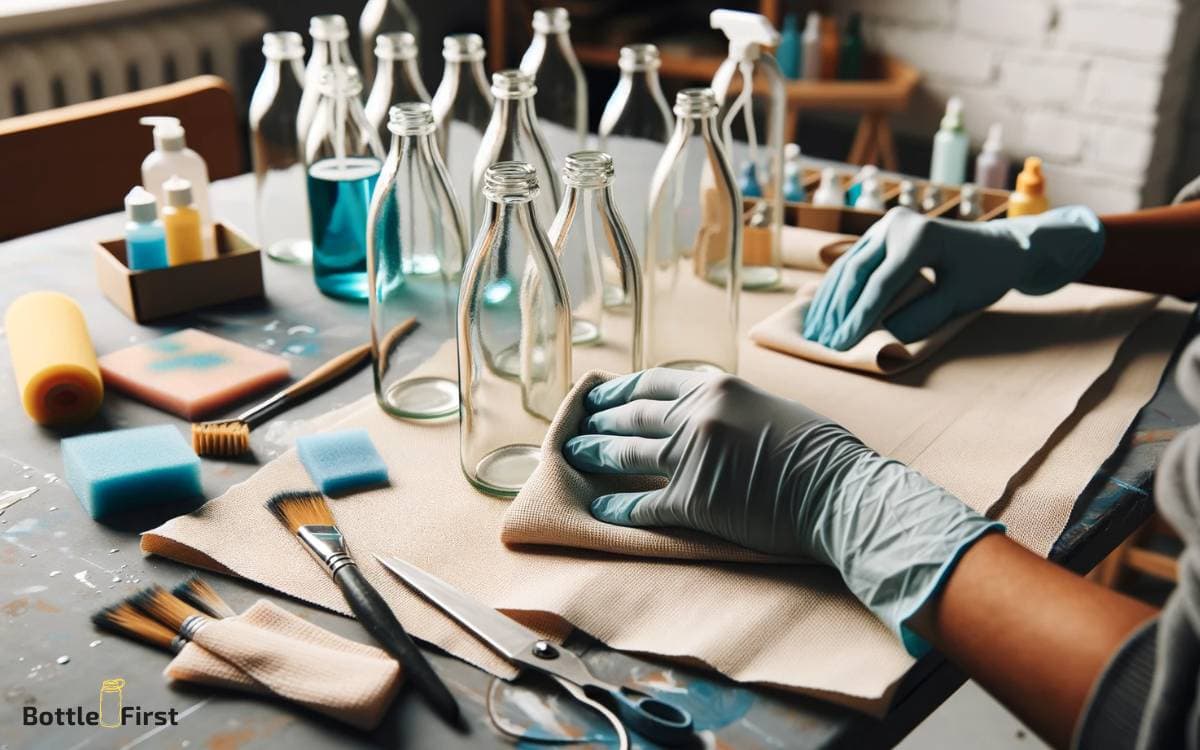
To prepare the glass bottles for spray painting, gather all the necessary materials and ensure the bottles are clean and dry.
Here’s how to get started:
- Clean the Bottles: Use warm soapy water to thoroughly clean the glass bottles. Remove any labels, adhesives, or residue from the surface. Rinse them well and let them air dry completely.
- Check for Imperfections: Inspect the bottles for any imperfections such as chips, cracks, or rough spots. Smooth out any imperfections using sandpaper to ensure a smooth painting surface.
- Protect the Inside: If you don’t want the inside of the bottles to be painted, use masking tape to cover the interior opening, ensuring a clean and paint-free inside.
Following these steps will ensure that your glass bottles are properly prepared for spray painting, setting the stage for a successful and innovative project.
Step 3: Applying the Primer
You can begin the spray painting process by applying a thin, even coat of primer to the clean and dry glass bottles. The primer will help the paint adhere better to the glass surface, ensuring a more durable finish.
To ensure a successful primer application, consider the following key points:
| Key Points | Details |
|---|---|
| Choose the right primer | Look for a primer specifically designed for glass surfaces. |
| Proper ventilation | Apply the primer in a well-ventilated area to ensure proper drying. |
| Distance and speed | Maintain a consistent distance and speed while spraying for an even application. |
| Multiple layers | Apply multiple thin layers of primer for better coverage and adhesion. |
| Drying time | Allow the primer to dry completely before proceeding to the next step. |
Step 4: Adding Color With Spray Paint
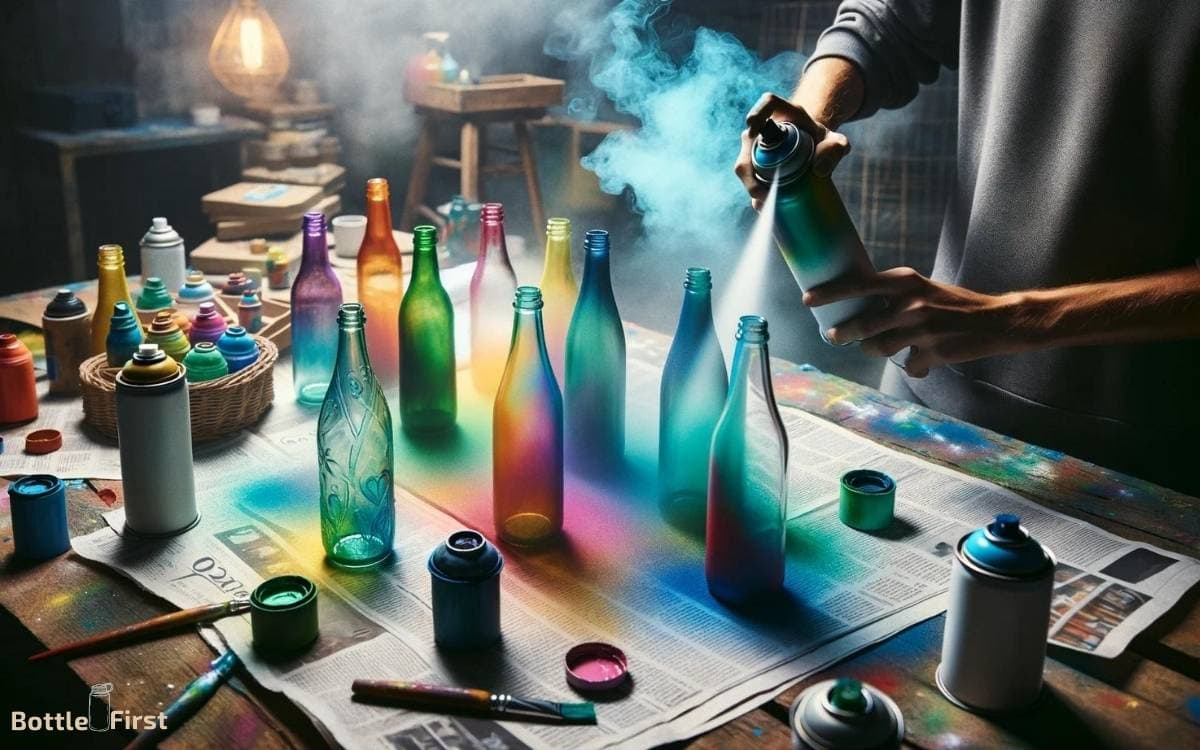
Once you’ve completed the primer application, move on to adding color with spray paint. This step allows you to unleash your creativity and transform ordinary glass bottles into stunning pieces of art.
Follow these tips to achieve fantastic results:
- Choose vibrant and contrasting colors to create an eye-catching design.
- Apply thin, even coats of spray paint to avoid drips and streaks.
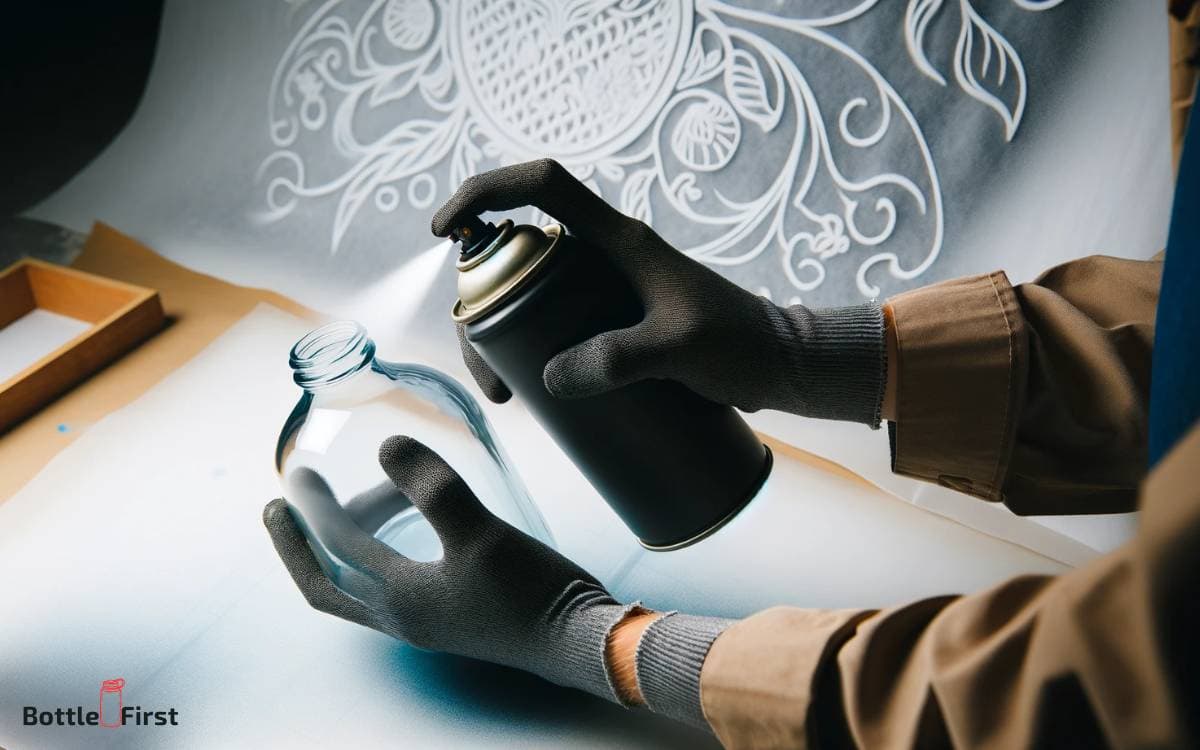
- Experiment with different techniques such as layering colors or using stencils to add intricate patterns.
Step 5: Achieving a Smooth Finish
To achieve a smooth finish when spray painting glass bottles, start by choosing the right paint for glass surfaces. Then, apply thin, even coats to prevent drips and create a flawless result.
This technique will help you achieve a professional-looking finish on your glass bottles.
Choosing the Right Paint
For achieving a smooth finish when spray painting glass bottles, select a high-quality enamel spray paint.
Enamel paints are known for their durability and ability to adhere well to glass surfaces, providing a smooth and professional finish.
When choosing the right paint for spray painting glass bottles, keep in mind the following:
- Enamel Spray Paint: Look for enamel spray paint specifically designed for use on glass surfaces. These paints are formulated to bond effectively with glass, ensuring a long-lasting and smooth finish.
- Gloss Finish: Opt for an enamel spray paint that offers a glossy finish. This won’t only enhance the appearance of the glass bottles but also provide a sleek and polished look.
- Quick-Drying Formula: Choose a paint that dries quickly to minimize the risk of drips or smudges, allowing you to achieve a flawless, smooth finish efficiently.
Applying Thin Even Coats
To achieve a smooth finish when spray painting glass bottles, you’ll need to follow a few steps.
First, start by holding the spray can about 8-12 inches away from the bottle.
Next, spray using smooth, steady strokes while keeping the can in motion to prevent pooling or drips.
Apply a light coat, allowing it to dry completely before applying another thin layer. Repeat this process until you achieve the desired coverage.
By applying thin, even coats, you’ll ensure a smooth and professional-looking finish on your glass bottles.
This technique also allows for better control over the paint application, resulting in a more even and flawless end result.
Step 6: Sealing and Protecting the Paint
After you have finished spray painting the glass bottles, you’ll need to seal and protect the paint to ensure its durability and longevity.
Here’s how to do it:
- Apply a Clear Sealant: Once the paint is completely dry, use a clear sealant specifically designed for glass surfaces to provide a protective layer. This will help prevent chipping and fading.
- Consider UV-Resistant Sealant: If the glass bottles will be displayed in a sunny area, opt for a UV-resistant sealant to protect the paint from sun damage and maintain its vibrant color over time.
- Add a Gloss Finish: For an extra layer of protection and a polished look, consider adding a glossy topcoat to the painted surface. This won’t only protect the paint but also give the bottles a professional finish.
Conclusion
Now step back and admire your beautifully spray painted glass bottles.
The transformation from plain to colorful is truly magical. With a little creativity and the right materials, you can create stunning decor for your home or unique gifts for friends and family.
So go ahead and give it a try – you’ll be amazed at what you can achieve with a can of spray paint and some glass bottles.


