How to Use Glass Bottles for Plants? 7 Easy Steps!
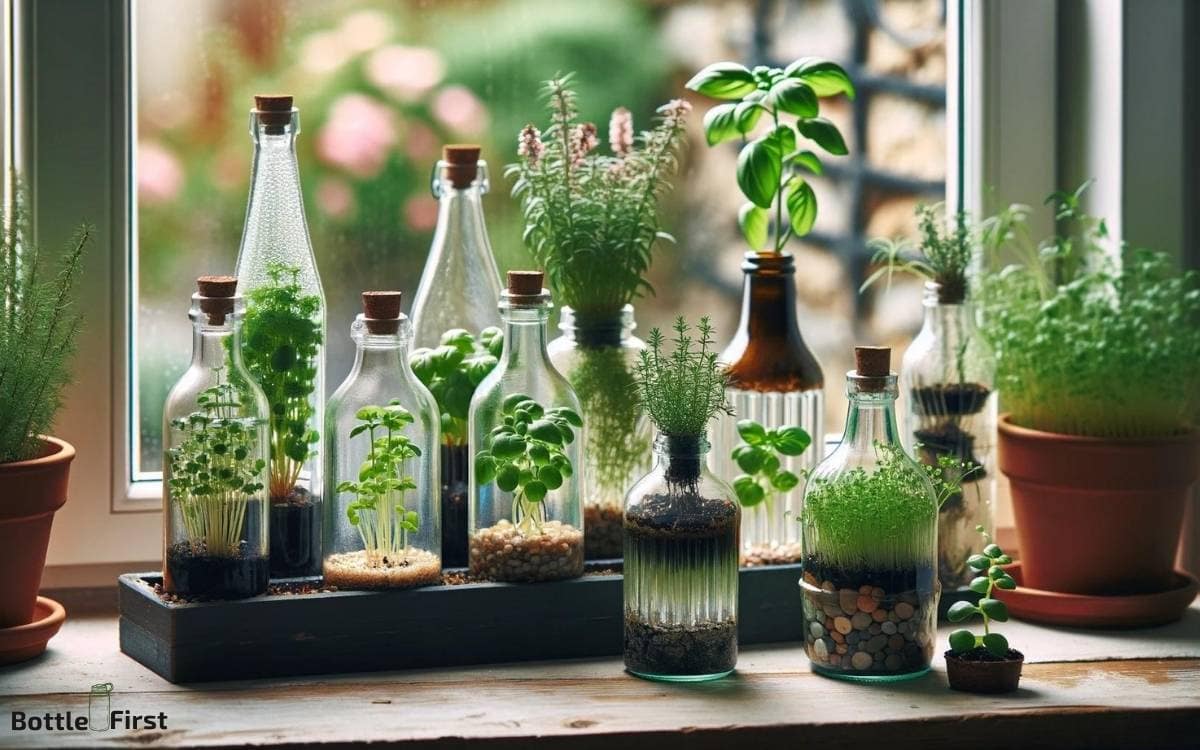
To use glass bottles for plants, select a suitable bottle, ensure it’s clean, cut it if necessary for your project, fill it with appropriate growing medium, and then plant your chosen plant. You can create a terrarium, a bottle garden, or use the bottle as a simple vase for cuttings.
Glass bottles are versatile containers that can be repurposed for growing plants. To start, choose a bottle of the right size for your plant.
Clean the bottle thoroughly to prevent any harmful bacteria or mold from affecting the plant’s growth. If your project requires, carefully cut the bottle to the desired shape, making sure to sand down any sharp edges.
Fill the bottle with a growing medium suitable for your plant, such as potting soil for terrariums or water for hydroponic gardens.
Finally, add the plant, ensuring it has enough space for roots to grow and that it receives adequate light and moisture.
Here are some examples of how you can use glass bottles for plants:
Repurposing glass bottles as plant holders not only adds a unique aesthetic to your space but also contributes to sustainable living by reducing waste.
Key Takeaway
Step 1: Selecting the Right Glass Bottles
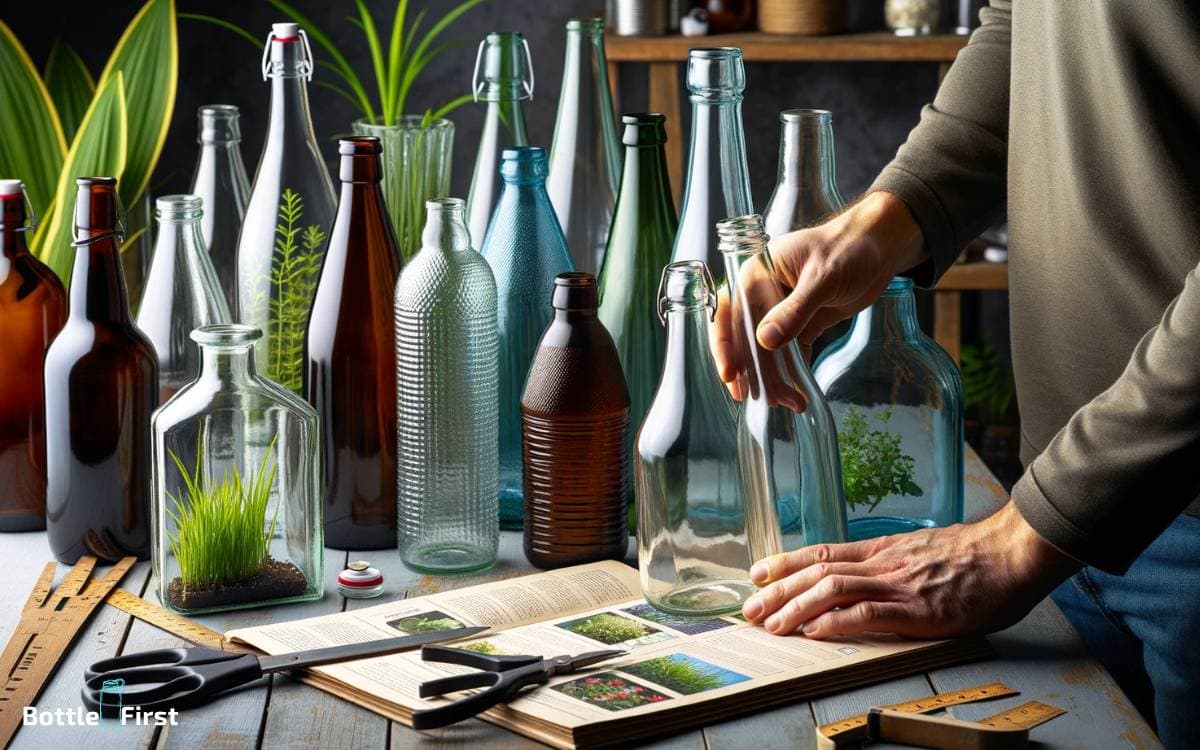
When selecting glass bottles for your plants, consider the size, shape, and material to ensure they meet the specific needs of your plants.
The size of the bottle should accommodate the amount of water your plant requires, with extra space for root growth.
The shape of the bottle can affect how water is distributed, with narrow-mouthed bottles providing a more targeted delivery and wide-mouthed bottles allowing for quicker refilling.
The material of the bottle is crucial for light filtration, as certain plants may require different levels of light exposure.
Additionally, the material should be non-toxic to avoid any harmful leaching into the soil.
Step 2: Preparing the Glass Bottles for Planting
Before planting in glass bottles, it’s important to thoroughly clean them to remove any residue or impurities that could harm your plants.
Choose plants that are suitable for the environment inside the bottle, considering factors such as light and humidity.
Additionally, adding drainage materials like small stones or activated charcoal can help prevent water buildup and maintain a healthy environment for your plants.
Cleaning the Glass
Once you have gathered your glass bottles, you can begin by cleaning them thoroughly to prepare for planting.
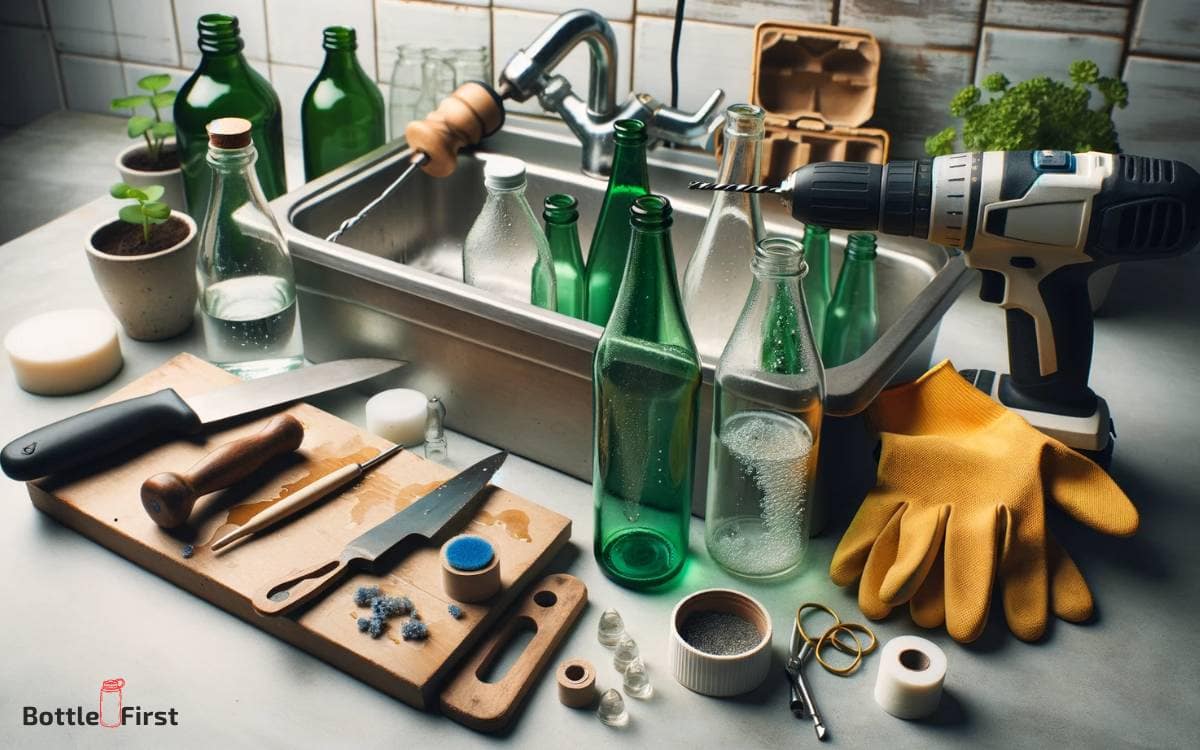
Start by removing any labels or adhesive residue from the bottles using warm, soapy water and a scrubbing brush. Rinse the bottles well to ensure all traces of soap are removed.
To sterilize the bottles, prepare a solution of one part white vinegar to three parts water and fill the bottles with the solution. Let them soak for 10-15 minutes before thoroughly rinsing with clean water.
Alternatively, you can use a diluted bleach solution (1 tablespoon of bleach per gallon of water) for sterilization. Rinse the bottles again to ensure no bleach residue remains.
Once cleaned and sterilized, the glass bottles are ready for planting and will provide a healthy environment for your plants to thrive.
Choosing Suitable Plants
To prepare your glass bottles for planting, select suitable plants based on the size and shape of the bottles. Consider the dimensions of the bottle’s neck and overall diameter when choosing plants.
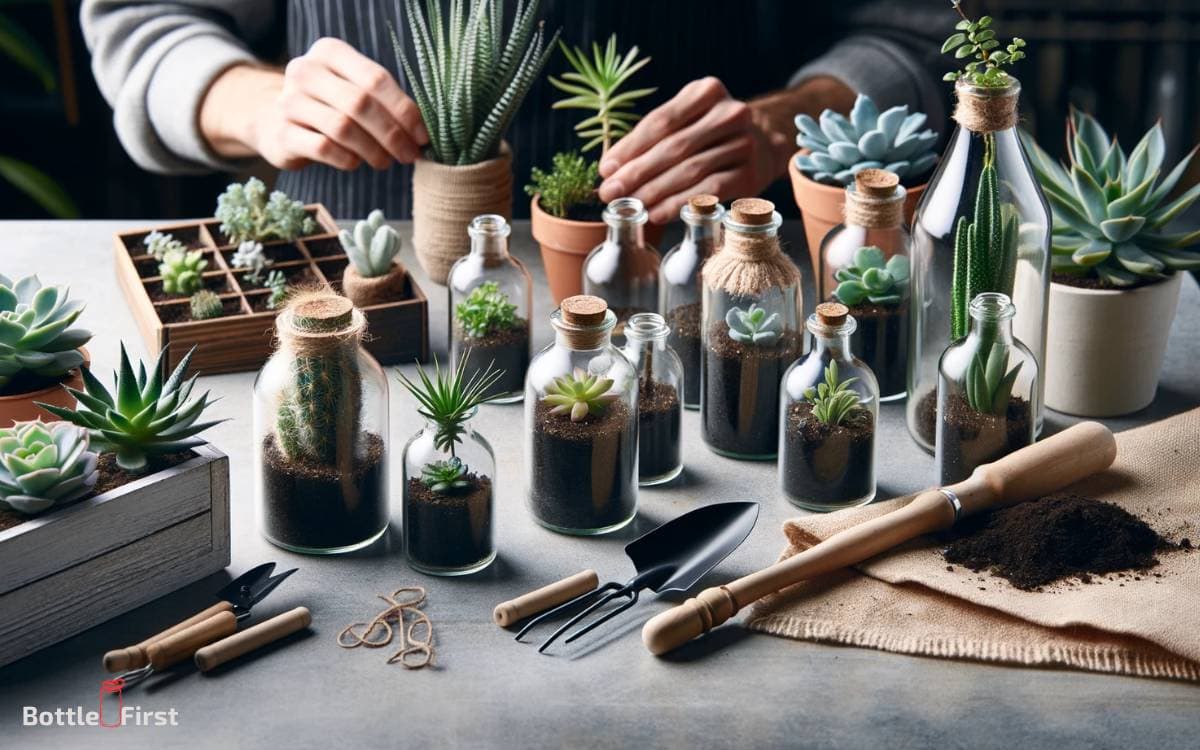
For narrow-necked bottles, opt for plants with small root systems such as spider plants, air plants, or small succulents. These plants can thrive in the limited space and require minimal soil.
In contrast, bottles with wider openings can accommodate a broader range of plants, including herbs like basil, mint, or thyme.
Additionally, trailing plants like pothos or ivy are ideal for taller bottles as their cascading growth habit complements the vertical space.
Adding Drainage Materials
Consider adding a layer of small pebbles or activated charcoal to the bottom of the bottle to improve drainage and prevent waterlogged soil.
This will help maintain a healthy environment for your plants, ensuring that excess water can escape, providing oxygen to the roots, and reducing the risk of root rot.
- Pebbles: Provide a stable base for the soil, allowing water to drain freely.
- Activated Charcoal: Absorbs excess moisture and helps prevent bacterial or fungal growth.
- Mesh Screen: Placed over the drainage layer to prevent soil from seeping into the pebbles.
- Potting Mix: Add a layer of well-draining potting mix on top of the drainage materials.
- Watering: Ensure that you water the plants appropriately to avoid water accumulation at the bottom.
Step 3: Choosing the Ideal Plants for Glass Bottles
How can you ensure that the plants you choose are suitable for growing in glass bottles? Selecting the right plants for your glass bottles is crucial for their health and longevity.
Certain plants are better suited for the unique environment of a glass bottle due to their ability to thrive in a closed ecosystem with minimal maintenance.
Consider plants that are well-suited for terrariums, such as mosses, ferns, air plants, and certain succulents. These plants require low levels of water and can thrive in the high humidity environment of a closed glass bottle.
Additionally, plants with small root systems are ideal for glass bottles as they can grow without overcrowding the container. Refer to the table below for some suitable plant options for glass bottles.
| Plant Type | Ideal Conditions |
|---|---|
| Mosses | Low light, high humidity |
| Ferns | Moist soil, indirect light |
| Air Plants | Minimal water, good airflow |
| Succulents | Well-draining soil, sunlight |
Step 4: Assembling Self-Watering Glass Bottle Planters
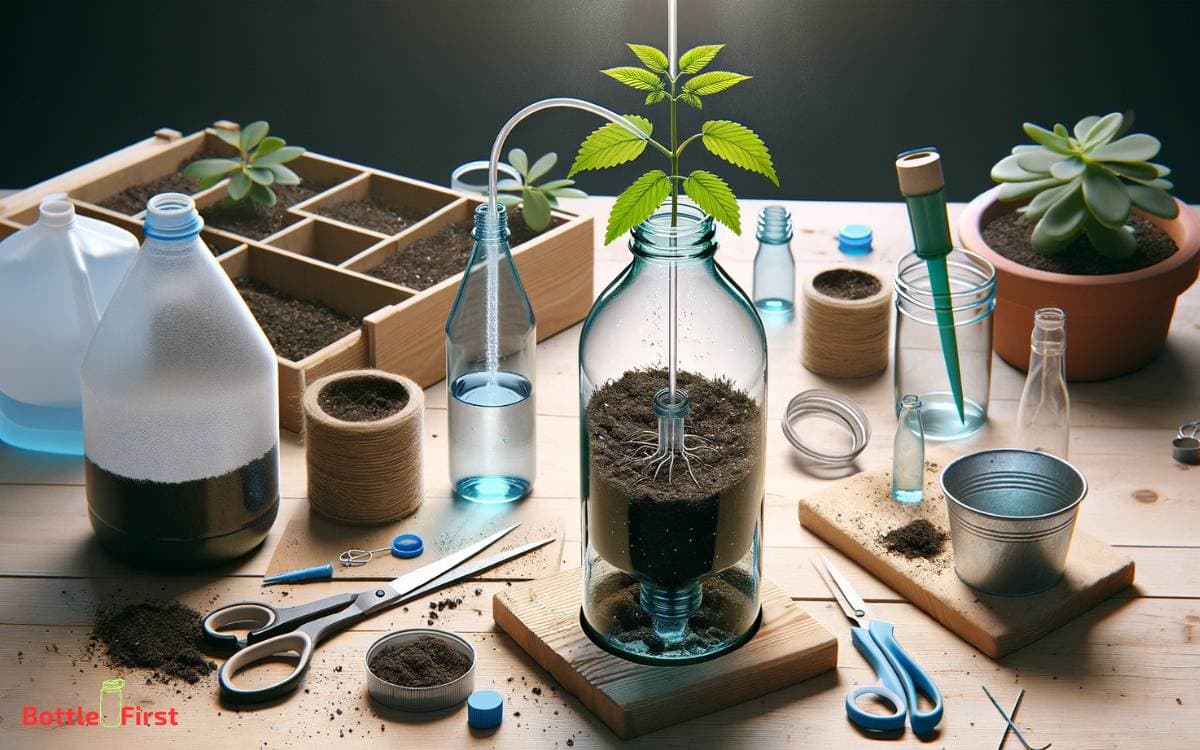
To assemble self-watering glass bottle planters, you’ll need to carefully choose the right bottle based on the size and shape of the plant you want to grow.
Next, you’ll need to prepare the watering mechanism, which typically involves creating a wick or inserting a watering spike into the bottle.
Lastly, ensuring proper drainage is crucial to prevent waterlogging and root rot, so make sure to incorporate drainage holes or a layer of gravel at the bottom of the bottle.
Choosing the Right Bottle
When selecting a glass bottle for a self-watering planter, look for a clear, smooth, and sturdy container with a narrow neck. The right bottle is essential for creating an effective self-watering system.
Consider these factors when choosing your bottle:
- Transparency: Opt for a transparent bottle to easily monitor the water levels.
- Smoothness: A smooth surface prevents soil from getting trapped and allows for easy cleaning.
- Sturdiness: Choose a durable bottle that can withstand the weight of the soil and the pressure of watering.
- Narrow Neck: A bottle with a narrow neck helps to control the release of water and prevents soil from entering the reservoir.
- Size: Select a bottle that matches the water needs of your plant and fits well in the chosen planter.
Now that you have chosen the right bottle, let’s move on to preparing the watering mechanism.
Preparing the Watering Mechanism
To assemble a self-watering glass bottle planter, you’ll need to gather the necessary materials and prepare the bottle for insertion into the planter.
Start by collecting a glass bottle with a screw cap, a planter or pot that’s slightly larger than the bottle, a drill with a diamond drill bit, and a wick or cotton rope.
Thoroughly clean and dry the bottle, then carefully drill a hole in the cap using the appropriate drill bit.
Cut a piece of wick or cotton rope long enough to reach from the bottom of the bottle to the top of the planter. Thread the wick through the hole in the cap, leaving a small tail inside the bottle.
Now, the prepared bottle is ready to be inserted into the planter, creating a self-watering system for your plants.
To ensure proper drainage, it’s important to select the right growing medium and monitor the water levels in the planter.
Ensuring Proper Drainage
Ensuring proper drainage is essential when assembling self-watering glass bottle planters.
To achieve optimal drainage and maintain a healthy root system, follow these steps:
- Select the Right Soil: Choose a well-draining potting mix to prevent waterlogging and root rot.
- Add a Layer of Gravel: Place a layer of small pebbles or gravel at the bottom of the bottle to create a space for excess water to collect.
- Incorporate a Wicking Material: Introduce a wicking material, such as cotton rope or felt, to draw water from the reservoir to the soil.
- Monitor Water Levels: Regularly check the water level in the bottle to ensure it remains at an appropriate level for self-watering.
- Adjust Drainage Holes: Consider adjusting the number and size of drainage holes based on the specific watering needs of your plant.
Step 5: Creating Stunning Glass Bottle Terrariums
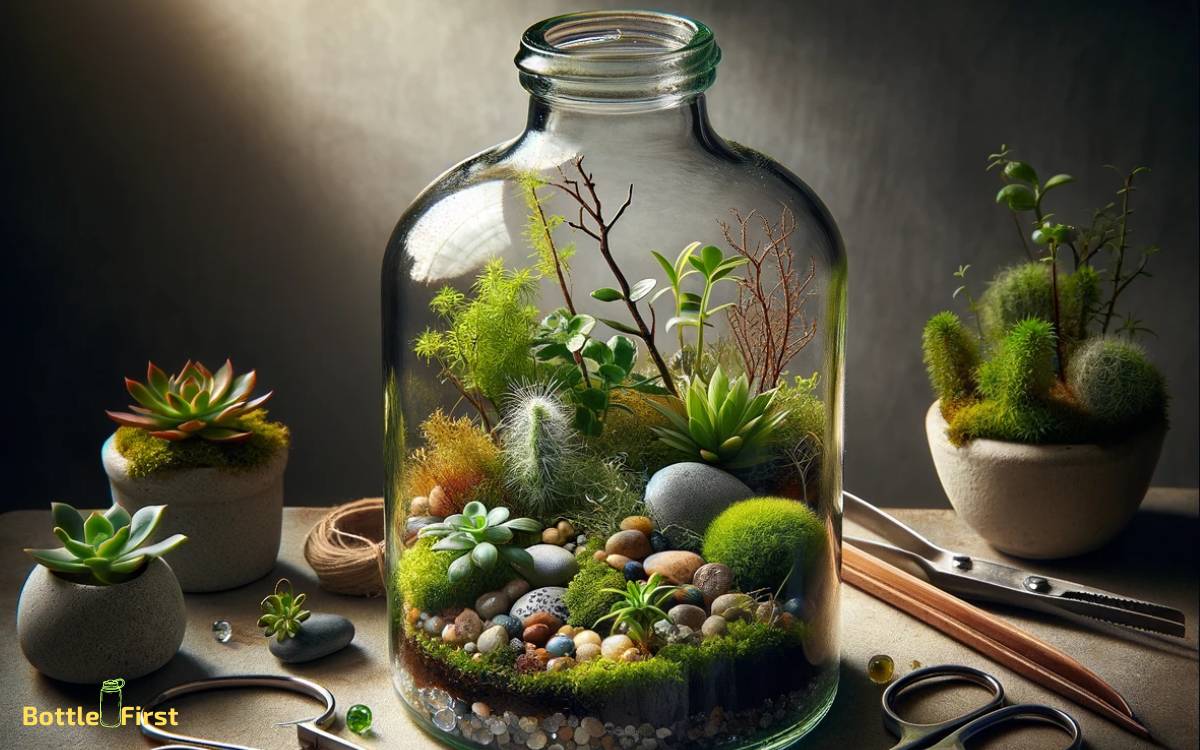
Transform your empty glass bottles into stunning terrariums for your plants.
Start by cleaning the bottle thoroughly with soap and water, ensuring there’s no residue or odor.
Next, add a layer of small rocks or pebbles to the bottom of the bottle to create drainage for excess water.
Follow this with a thin layer of activated charcoal to keep the terrarium free from bacteria and odors. Then, add a layer of sphagnum moss to prevent the potting soil from mixing with the charcoal.
Finally, carefully add your choice of potting soil and plant your desired greenery. Consider using small succulents or air plants for a low-maintenance terrarium.
Place your finished terrarium in a well-lit area and watch as it becomes a beautiful, self-contained ecosystem.
Step 6: Caring for Plants in Glass Bottles
Ensure that you regularly check the moisture levels in your glass bottle plant and water as needed. Proper care is essential for the health and longevity of your plants in glass bottles.
Here are some important care tips to keep in mind:
- Monitor moisture levels: Use a moisture meter or stick your finger into the soil to assess the moisture level.
- Provide adequate sunlight: Place the glass bottle plant in a location where it can receive sufficient natural light.
- Prune and trim: Regularly trim dead or yellowing leaves and prune overgrown parts to maintain plant health.
- Fertilize appropriately: Use a liquid fertilizer diluted to half-strength to provide essential nutrients.
- Prevent pests: Keep an eye out for pests and take prompt action to prevent infestations.
Step 7: Displaying Glass Bottle Plants Creatively
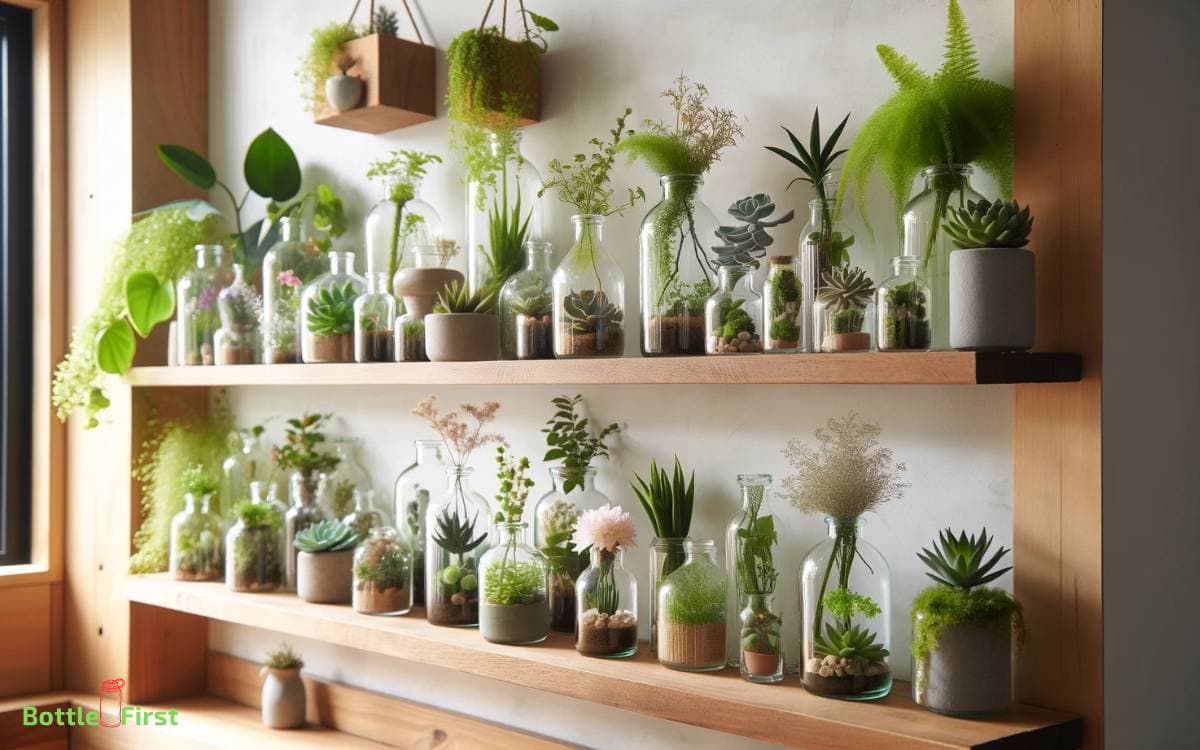
To create an eye-catching display for your glass bottle plants, consider using various repurposed containers and arranging them in a visually appealing manner.
You can repurpose old wooden crates, metal baskets, or even vintage tin cans to add a touch of creativity to your display.
Here’s a table showcasing some innovative repurposed containers:
| Repurposed Container | Description |
|---|---|
| Wooden Crates | Adds a rustic charm and allows for multi-level display. |
| Metal Baskets | Provides an industrial look and allows for hanging or wall-mounted displays. |
| Vintage Tin Cans | Adds a quirky and vintage vibe, perfect for small plant arrangements. |
| Glass Terrariums | Creates a modern and sleek look, perfect for showcasing individual plants. |
| Hanging Mason Jars | Adds a rustic and whimsical feel, perfect for small herbs or flowers. |
Conclusion
Using glass bottles for plants is a sustainable and creative way to bring greenery into your home.
Through careful selection, preparation, and assembly, you can create stunning self-watering planters and terrariums that require minimal maintenance.
The theory that plants thrive in glass bottles due to the greenhouse effect is supported by scientific evidence, making it an intriguing and effective method for plant cultivation.
Try it out and see the benefits for yourself!
