How to Turn a Glass Bottle into a Soap Dispenser? 6 Steps!
To turn a glass bottle into a soap dispenser, gather a clean glass bottle, a soap dispenser pump, and the necessary tools to fit the pump onto the bottle.
Follow a step-by-step process to attach the pump securely and fill the bottle with soap for a homemade dispenser that is both functional and environmentally friendly.
Here are some quick steps:
The resulting soap dispenser is not only a unique decorative piece but also contributes to reducing plastic waste.
Create an eco-chic soap dispenser from a glass bottle to give your home a personalized and sustainable touch.
Over 80% of plastic bottles may not be recycled, leading to environmental concerns. Upcycling a glass bottle into a soap dispenser is a creative and sustainable home project.
This eco-conscious choice adds a bespoke element to your decor while helping to minimize landfill waste.
With straightforward steps, you can repurpose a glass bottle into an attractive, functional soap dispenser for your kitchen or bathroom. Time to embark on this eco-friendly DIY endeavor!
Key Takeaway
Step 1: Selecting the Right Glass Bottle
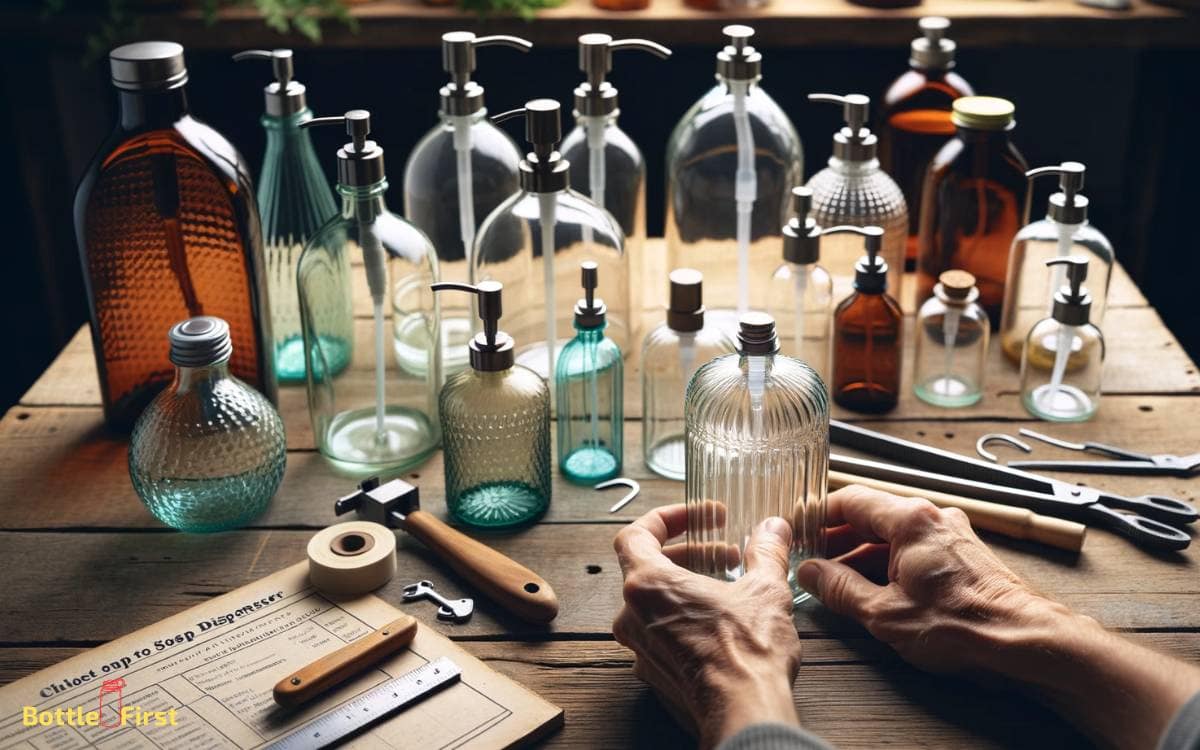
You should choose a glass bottle with a narrow neck and a secure closure for your soap dispenser.
The narrow neck will help control the flow of the soap, preventing excess dispensing, while the secure closure will keep the soap from spilling or drying out.
Look for a bottle that has a sleek and modern design to add a touch of innovation to your bathroom or kitchen.
Opt for a clear glass bottle to showcase the color and texture of your chosen soap. Once you have selected the perfect bottle, the next step is to prepare it for dispensing.
Now, let’s move on to preparing the bottle for dispensing.
Step 2: Preparing the Bottle for Dispensing
First, start by carefully removing the labels from the bottle using hot, soapy water and a scrubbing pad.
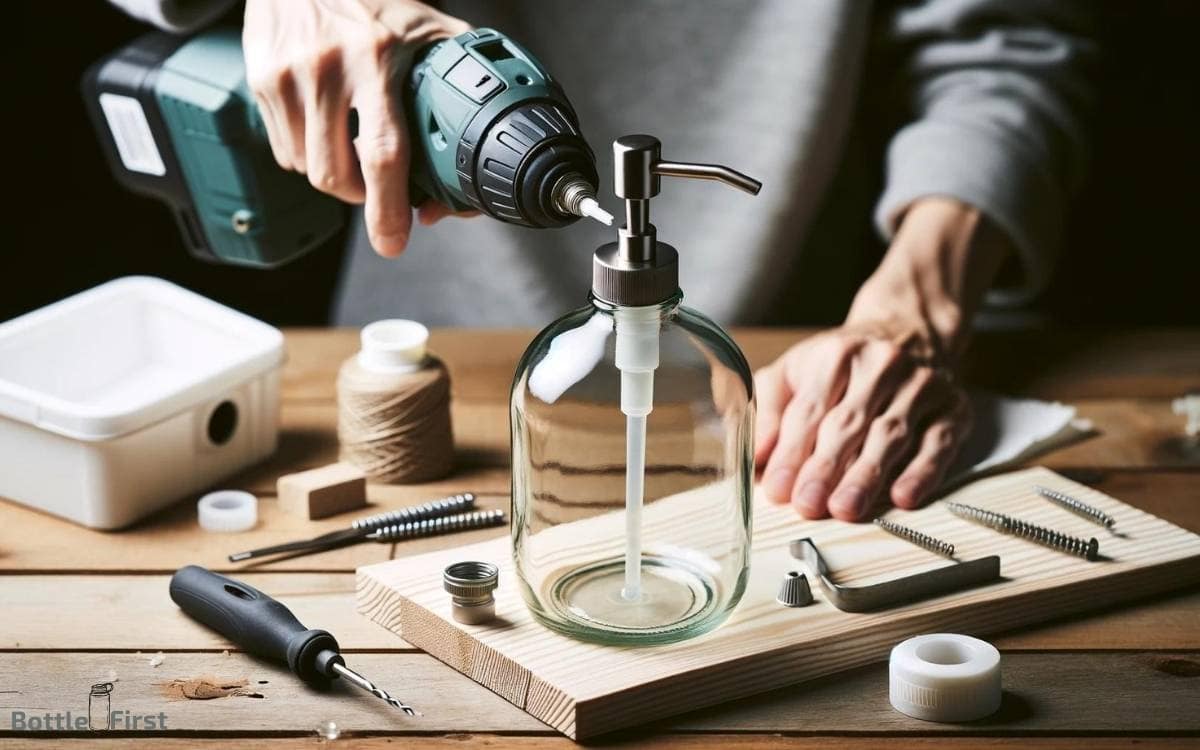
Next, use a diamond drill bit to create a hole in the bottle for the pump to fit through.
Removing Bottle Labels
Once the glass bottle is empty, carefully remove the label using hot, soapy water and a scrubbing sponge. Fill the sink with hot water, add a generous amount of dish soap, and let the bottle soak for 15-20 minutes.
Then, use the scrubbing sponge to gently rub the label until it starts to loosen. If the label is stubborn, try using a plastic scraper or a razor blade to carefully peel it off. For adhesive residue, apply a small amount of rubbing alcohol or cooking oil and wipe it clean.
Finally, wash the bottle with warm water and dish soap to remove any remaining residue.
Now your glass bottle is ready to be transformed into a stylish soap dispenser!
Drilling the Bottle
After removing the label, carefully position the glass bottle on a stable surface and prepare to drill a hole through the center of the bottle cap.
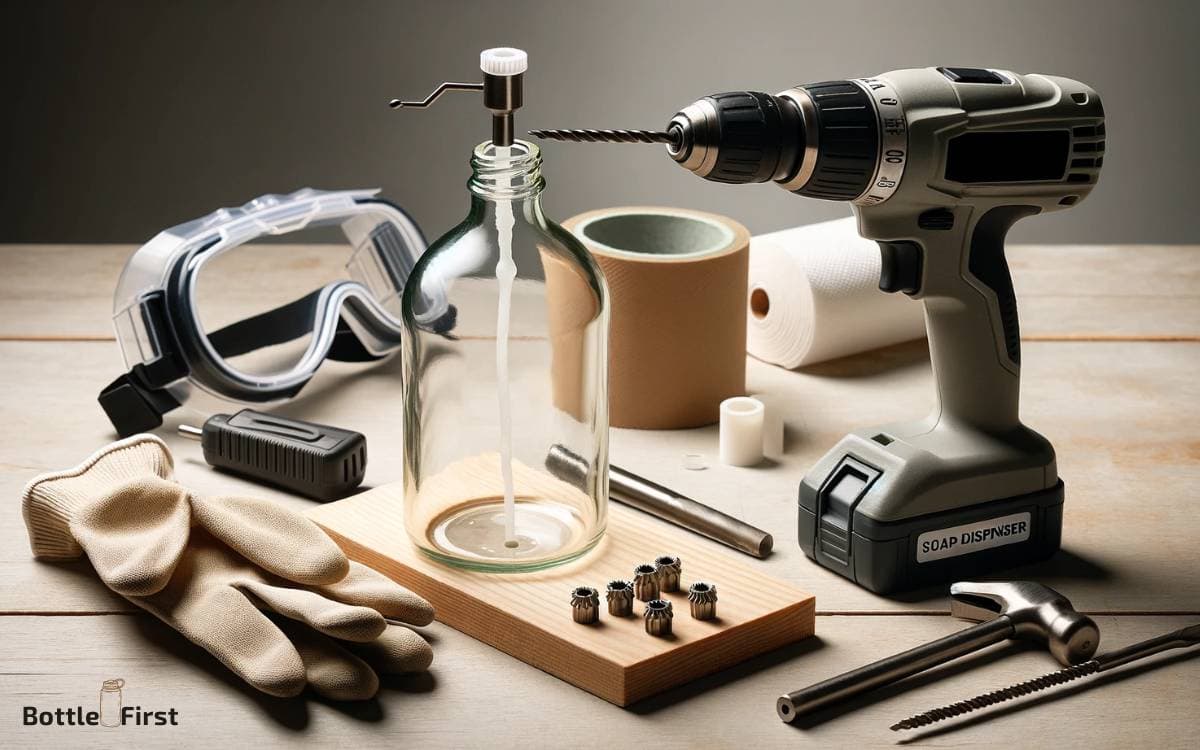
This step is crucial for transforming your bottle into a functional soap dispenser. Follow the table below for the recommended tools and materials to successfully drill the hole in the bottle cap.
| Tools/Materials Required | Description |
|---|---|
| Glass Drill Bit | A specialized drill bit designed for drilling through glass. It minimizes the risk of the glass breaking during drilling. |
| Electric Drill | An electric drill will provide the necessary power and control for drilling through the glass bottle cap. |
| Safety Goggles | Protect your eyes from glass debris and ensure safety during the drilling process. |
| Masking Tape | Use masking tape to create a guide for drilling and prevent the drill bit from slipping on the glass surface. |
| Marker | Mark the center point on the bottle cap to guide the drilling process accurately. |
Attaching the Pump
Now, before you attach the pump, ensure that the bottle cap has been drilled carefully and securely.
Once the cap is ready, insert the pump through the hole from the inside of the bottle. Make sure the pump is positioned straight and centered before pressing it firmly into place.
Test the pump to ensure it moves smoothly and dispenses the liquid properly. If there are any issues, adjust the position of the pump or the size of the hole as needed.
Once the pump is securely in place and functions correctly, fill the bottle with your favorite soap or lotion, and screw the cap on tightly.
Your innovative upcycled soap dispenser is now ready to use and adds a touch of creativity to your space.
Step 3: Adding the Dispensing Mechanism
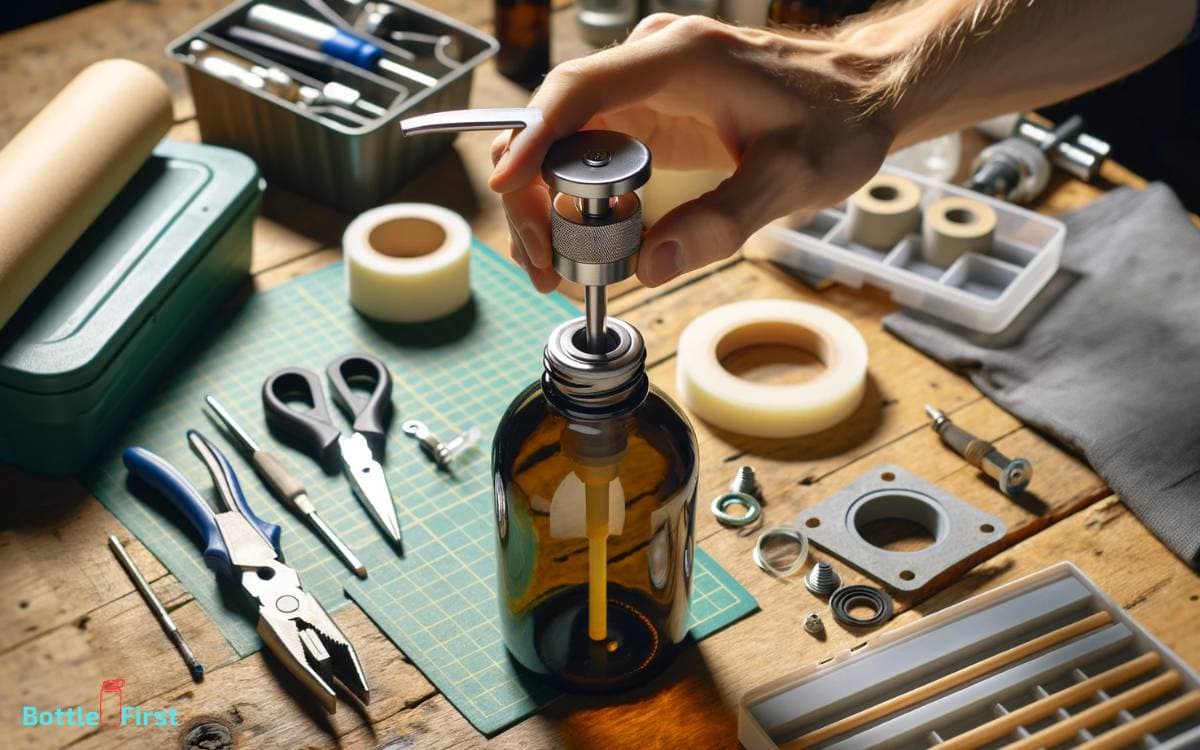
To add the dispensing mechanism, you’ll need to carefully remove the pump from the existing soap dispenser.
Once you have the pump removed, you can proceed with the following steps:
- Measure and Trim: Determine the appropriate length for the tube and trim it accordingly to fit your glass bottle perfectly.
- Secure the Pump: Use a strong adhesive to securely attach the pump to the bottle’s opening, ensuring it’s centered and stable.
- Test for Functionality: Before sealing the bottle, test the pump to make sure it dispenses the soap smoothly.
- Seal the Bottle: Once everything is in place, seal the bottle to prevent any leakage and ensure the dispensing mechanism works effectively.
With the dispensing mechanism in place, you can now move on to customizing the bottle design to suit your personal style and preferences.
Step 4: Customizing the Bottle Design
Once the dispensing mechanism is securely in place on your glass bottle, you can personalize the design to reflect your own unique style and preferences.
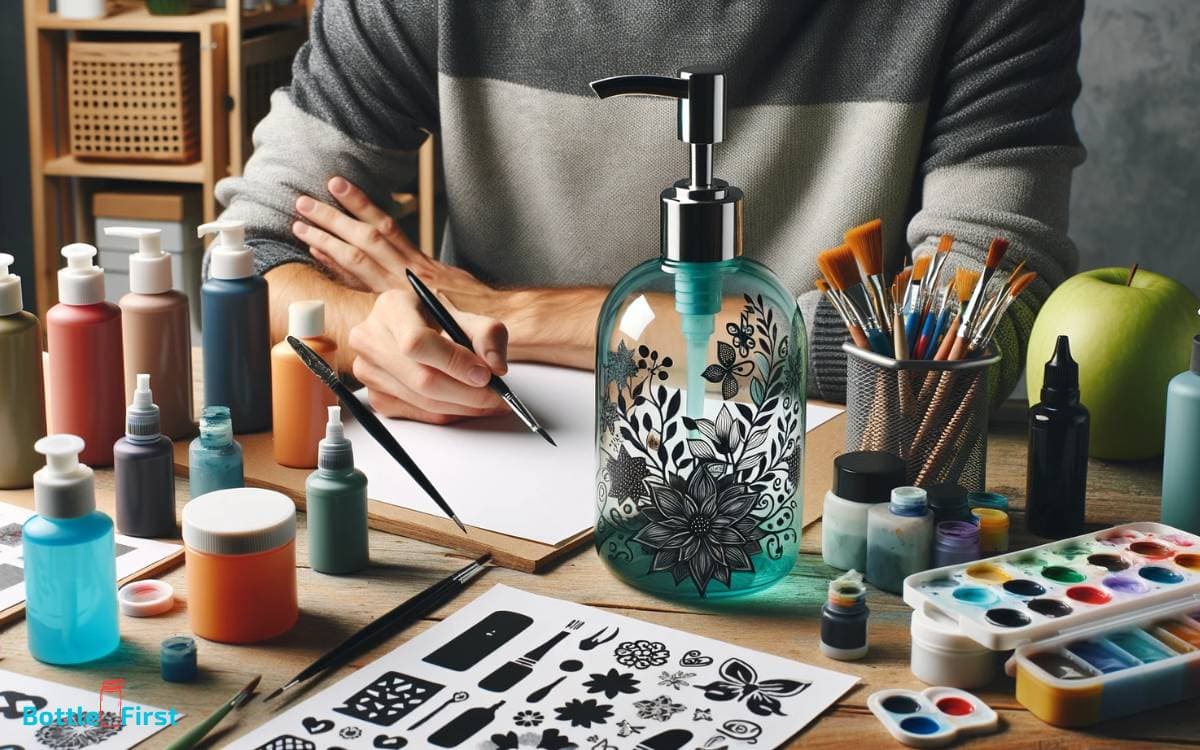
Get creative with the bottle’s appearance by using adhesive stencils to create intricate designs or patterns. Consider using glass etching cream to add a frosted effect or to etch your initials onto the bottle for a personalized touch.
Another option is to use colorful glass paint to add vibrant designs or to create a stained glass effect.
For a more rustic look, wrap twine or decorative rope around the neck of the bottle and secure it with a hot glue gun.
Embrace your creativity and experiment with different techniques to transform your soap dispenser into a one-of-a-kind piece that complements your home decor.
Step 5: Filling and Testing the Dispenser
First, test the pump mechanism to ensure it’s working properly before filling the bottle with soap.
Carefully fill the bottle to avoid spills and air bubbles that could interfere with the dispenser’s function. Once filled, test the dispenser to ensure it’s dispensing the soap smoothly and effectively.
Testing the Pump Mechanism
After assembling the pump mechanism, fill the glass bottle with liquid soap and test the dispenser to ensure smooth functionality.
- Fill the Bottle: Pour the liquid soap into the bottle, leaving enough space at the top to avoid spills.
- Test the Pump: Press the pump several times to ensure it dispenses the soap smoothly without any clogging.
- Check for Leaks: Tilt the bottle in different directions to check for any leaks or drips from the pump mechanism.
- Adjust if Necessary: If the pump isn’t dispensing properly, disassemble and reassemble it, ensuring all components are correctly aligned.
Now that you’ve tested the pump mechanism and ensured its smooth functionality, it’s time to move on to the next step of filling the bottle carefully.
Filling the Bottle Carefully
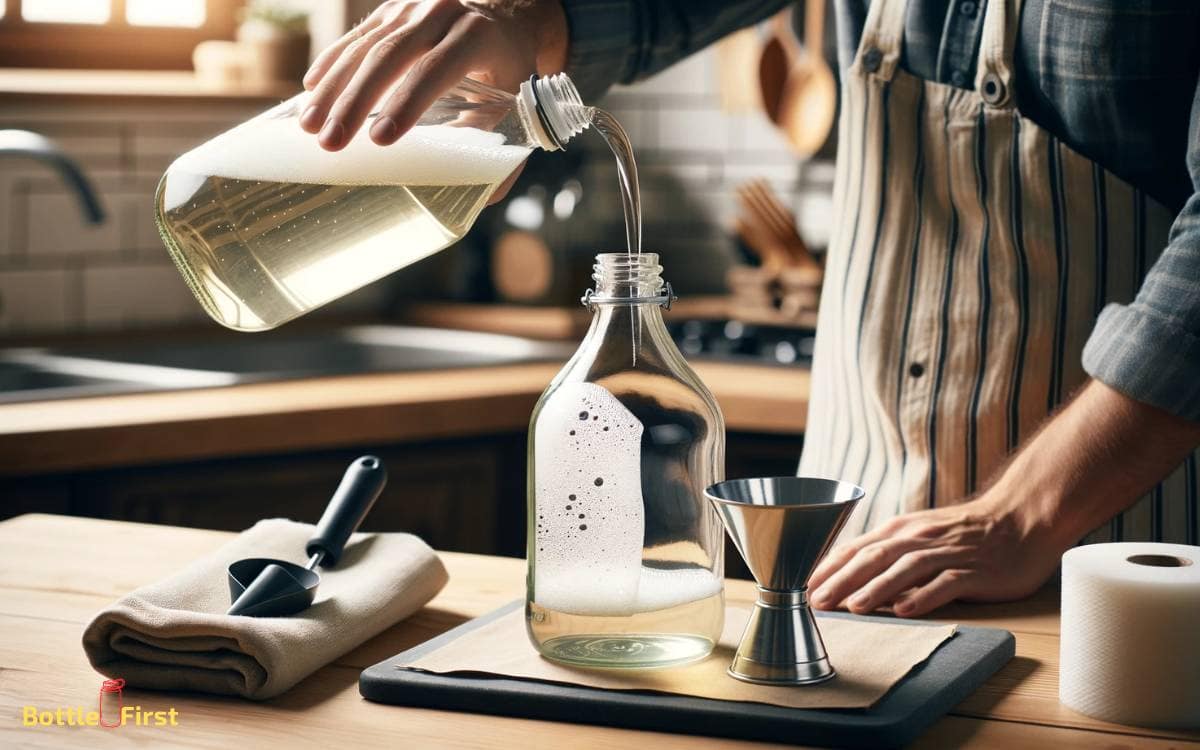
Carefully fill the glass bottle with liquid soap, ensuring that there’s enough space at the top to prevent spills.
Use a funnel to pour the soap into the bottle to avoid any mess. Once filled, screw the pump mechanism tightly onto the bottle.
Test the pump to ensure it dispenses the right amount of soap. If the soap comes out too slowly or too quickly, adjust the pump mechanism as needed.
To avoid air bubbles, slowly pump the dispenser a few times to prime it. If the soap dispenses smoothly, your innovative soap dispenser is ready to use.
Enjoy the eco-friendly and stylish addition to your bathroom or kitchen!
Step 6: Maintenance and Care Tips
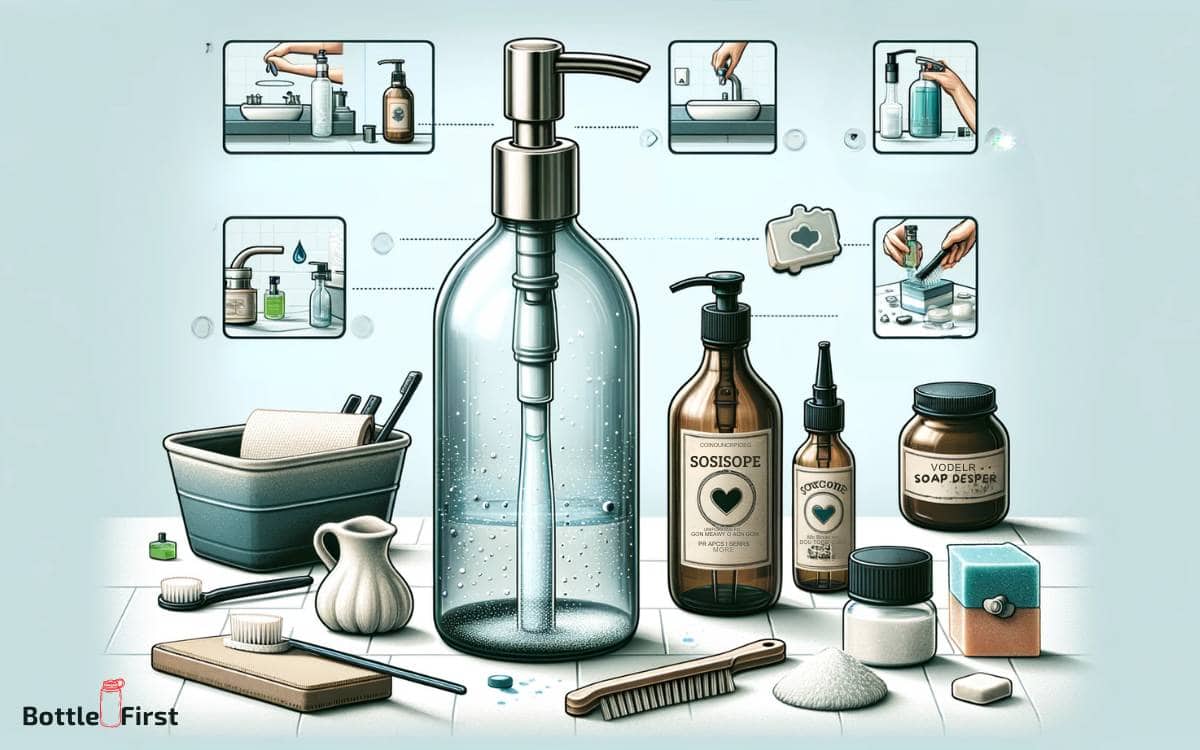
Regularly check the pump for any clogs or malfunctions to ensure your glass bottle soap dispenser continues to work smoothly.
A well-maintained soap dispenser not only enhances the aesthetic appeal of your space but also ensures a seamless dispensing experience.
Here are some maintenance and care tips to keep your glass bottle soap dispenser in top condition:
- Clean the nozzle and pump regularly to prevent soap buildup and blockages.
- Use mild soap and water to wipe down the exterior of the dispenser to maintain its cleanliness and transparency.
- Inspect the glass bottle for any cracks or damage, and replace it if necessary to avoid leaks or breakage.
- Refill the dispenser with high-quality liquid soap to maintain optimal functionality and avoid clogs.
Keeping these maintenance and care tips in mind will help you extend the lifespan of your glass bottle soap dispenser and ensure its continued efficiency.
Conclusion
Now that you have transformed your glass bottle into a soap dispenser, it symbolizes creativity and sustainability. The new dispenser represents your commitment to reducing waste and repurposing materials.
As you use it daily, it serves as a reminder of the potential for change and innovation in everyday items. Keep up the good work and continue to find new ways to repurpose and recycle items in your home.
