How to Waterproof Labels on Glass Bottles? Quick Steps!
To waterproof labels on glass bottles, you need to follow a few essential steps.
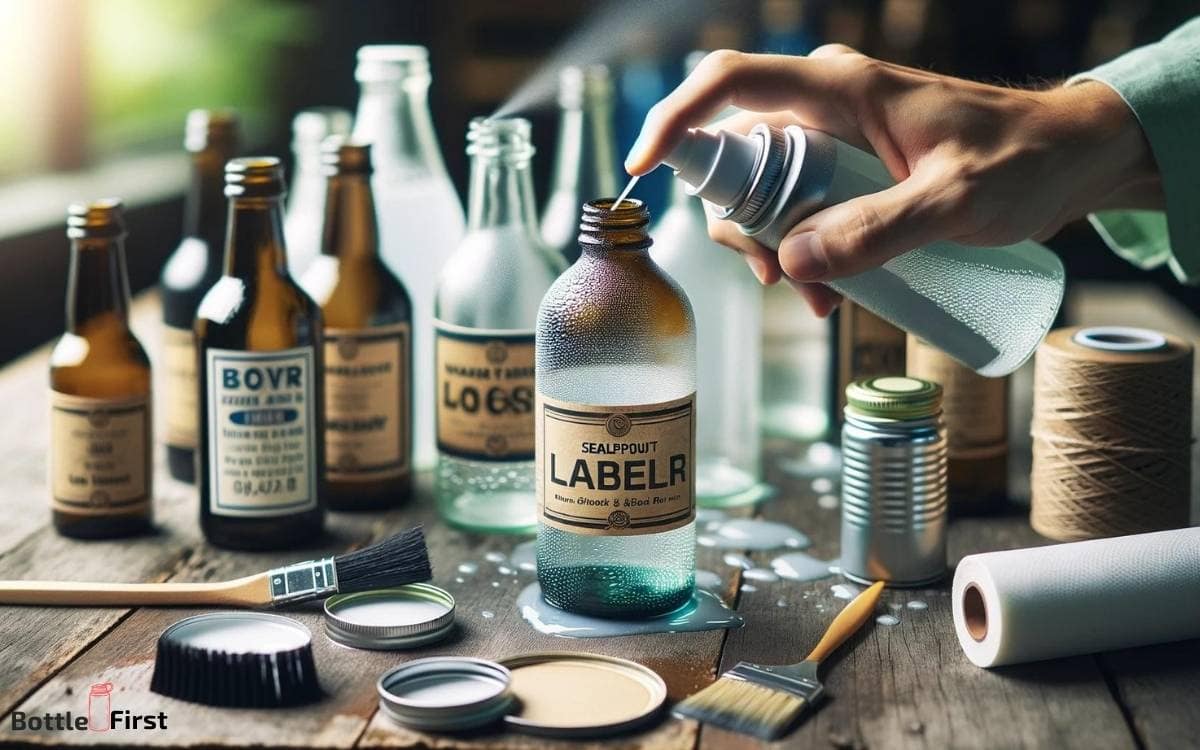
Start by selecting waterproof labels designed for use on glass surfaces. Clean the glass bottles thoroughly to remove any oils or residue. Once dry, apply the labels smoothly to avoid air bubbles.
For added protection, you can coat the label with a clear waterproof sealant or laminate the labels before application.
Allow everything to dry completely before using the bottles to ensure the labels adhere well and are fully protected against moisture. Waterproofing labels on glass bottles is crucial to maintain their appearance and legibility.
Here are some quick steps:
Preserve the quality of your bottle labels with these simple waterproofing steps for a professional and durable finish.
Key Takeaway
Materials Needed for Waterproofing
You’ll need to gather materials for waterproofing labels on glass bottles with both durability and moisture resistance in mind.
Here are the essential items for this innovative task:
- Waterproof Label Material: Look for synthetic materials specifically designed for waterproof labels. Opt for vinyl or polyester materials for their resilience against moisture.
- Vinyl: Known for its flexibility and water-resistant properties.
- Polyester: Provides excellent durability and is resistant to tearing and moisture.
- Waterproof Adhesive: Choose a waterproof adhesive that’s strong enough to withstand exposure to water and moisture without deteriorating.
- Acrylic Adhesive: Offers excellent adhesion and weather resistance for long-lasting waterproofing.
Importance of Waterproofing Labels
To ensure your labels remain intact and readable, waterproofing them is crucial. When it comes to glass bottles, exposure to moisture can quickly damage paper labels, causing them to peel, smudge, or become illegible.
By waterproofing your labels, you can protect vital information, branding, and barcodes from being compromised.
Innovative waterproofing solutions such as laminating the labels or using waterproof materials during printing can ensure that your labels withstand the harshest of conditions.
This is particularly important for products that may be stored in refrigerators, ice buckets, or used in outdoor environments.
With waterproof labels, you can maintain a professional and polished appearance for your products, regardless of the conditions they encounter.
Step-by-Step Waterproofing Process
Start by thoroughly cleaning the glass bottles with a mild detergent and water to remove any dust, oil, or debris.
Once the bottles are clean and dry, apply a waterproof sealant to the entire surface where the label will be placed. Ensure the sealant is evenly spread and covers the entire area.
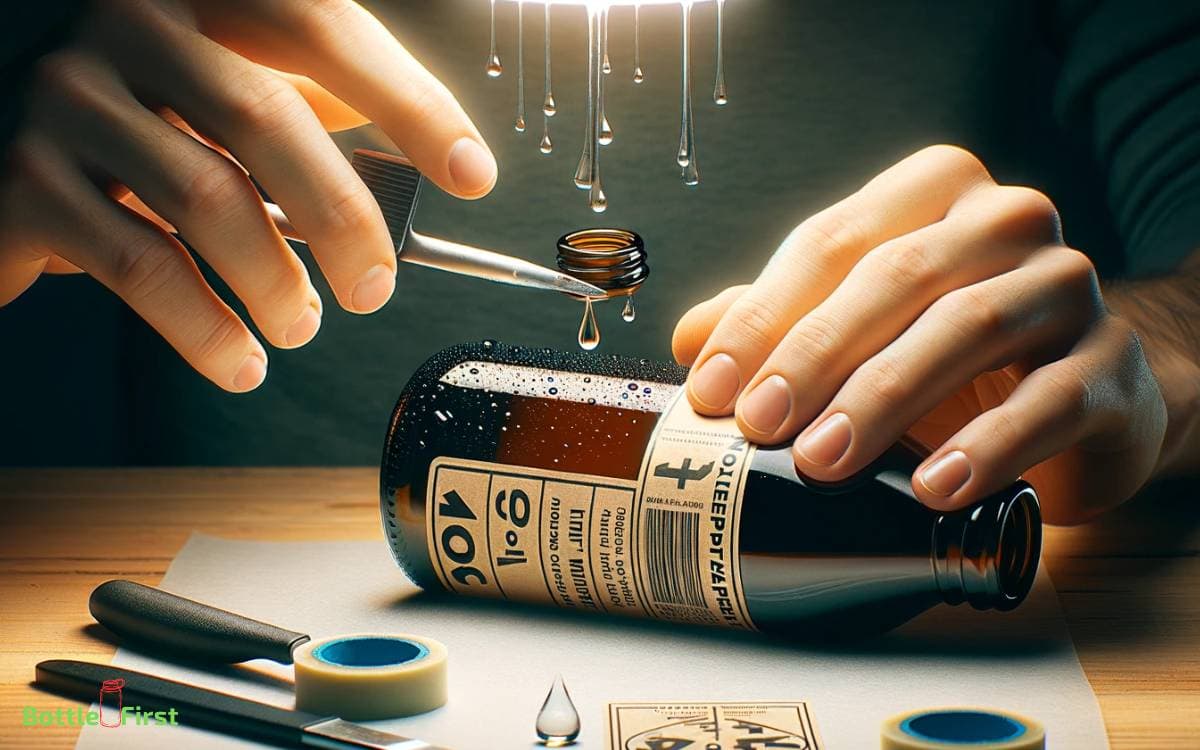
Next, carefully affix the label onto the treated surface, pressing down firmly to remove any air bubbles.
Once the label is in place, apply a second coat of the waterproof sealant over the label, extending slightly beyond the edges. This will provide an extra layer of protection.
Allow the sealant to dry completely before using the bottles. This step-by-step process will ensure that your labels are effectively waterproofed and ready for use.
For long-lasting results, consider the following tips…
Tips for Long-Lasting Results
To ensure long-lasting results when waterproofing labels on glass bottles, it’s important to carefully select the right adhesive for your specific needs.
Proper surface preparation techniques, such as cleaning and drying the glass thoroughly, are also crucial for a secure bond.
Additionally, applying the sealant using the recommended methods will help to create a durable and waterproof label that will last.
Proper Adhesive Selection
When choosing an adhesive for waterproof labels on glass bottles, ensure that it’s specifically designed for long-lasting durability and resistance to moisture.
To achieve the best results, consider the following tips for adhesive selection:
- Adhesive Type: Opt for a high-performance, waterproof adhesive that’s specifically formulated for glass surfaces.
- Look for adhesives with strong bonding properties that can withstand exposure to water and humidity.
- Compatibility Testing: Before full application, conduct compatibility tests to ensure the adhesive works effectively with both the label material and the glass surface.
Selecting the right adhesive is crucial in ensuring the longevity of waterproof labels on glass bottles. Once you have chosen the appropriate adhesive, the next step is to prepare the bottle’s surface for optimal adhesion.
Surface Preparation Techniques
Before applying the labels, thoroughly clean the glass bottle surface to ensure strong adhesion and long-lasting results. Start by removing any existing labels or adhesives using a gentle solvent or adhesive remover.
Once the surface is clean, use a mixture of warm water and mild detergent to wash the glass bottles, ensuring that all dirt, oil, and residue are completely removed.
For an extra step, consider using a glass cleaner to further prepare the surface. After cleaning, dry the bottles completely using a lint-free cloth to avoid water spots or residue.
This thorough surface preparation is essential for maximizing the bond between the labels and the glass, ensuring that the waterproofing process is effective and long-lasting.
Sealant Application Methods
Ensure a uniform and thorough application of the sealant to the labeled glass bottles for optimal waterproofing and long-lasting results.
To achieve this, consider the following methods:
Brush Application:
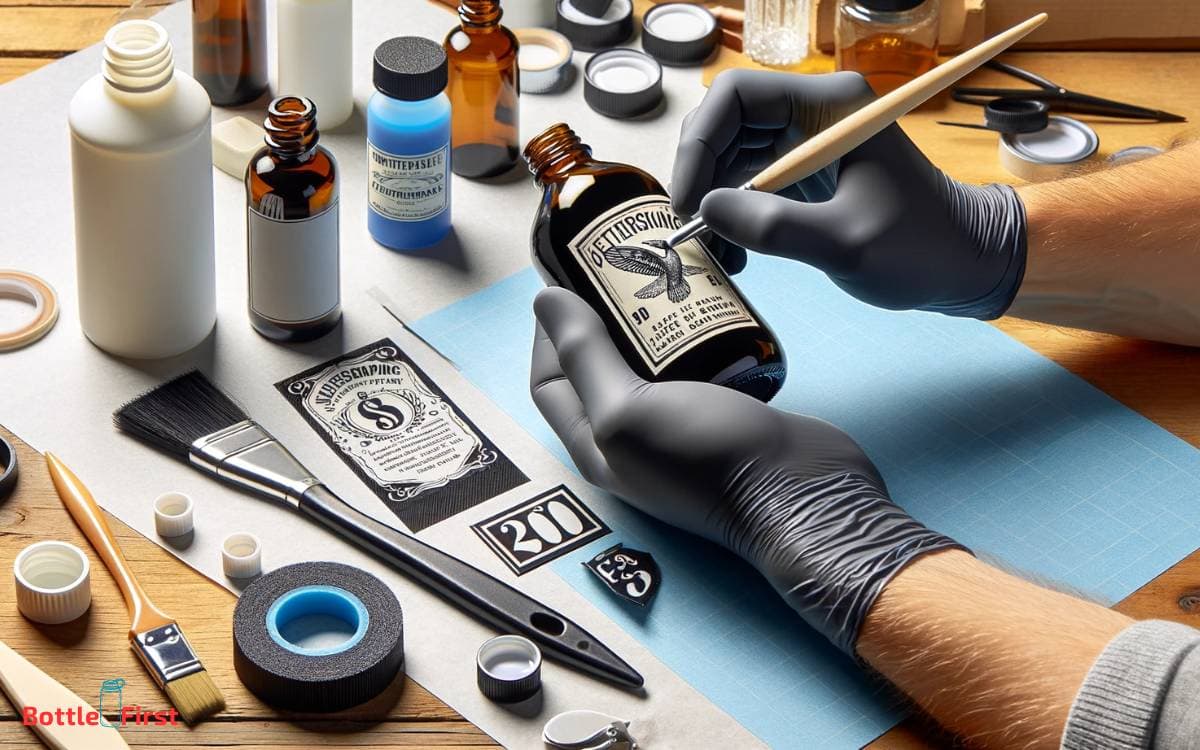
- Use high-quality, fine-bristled brushes to evenly apply the sealant.
- Apply the sealant in thin, smooth layers to prevent drips or clumping.
Spray Application:
- Utilize specialized spray equipment for precise and consistent coverage.
- Ensure proper ventilation and consider using a spray booth for larger-scale operations.
These application methods not only enhance the effectiveness of the sealant but also contribute to a professional and polished finish.
As we delve into additional considerations for specific label types, it’s crucial to understand how different materials may require tailored approaches for optimal waterproofing.
Additional Considerations for Specific Label Types
To effectively waterproof labels on glass bottles, consider the specific requirements for different label materials.
For paper labels, it’s crucial to use a waterproof coating or lamination to protect the ink from smudging or running when exposed to moisture.
Synthetic labels, such as vinyl or polypropylene, are inherently water-resistant and may only require a strong adhesive to ensure they stay firmly attached to the glass surface.
Additionally, when dealing with labels made from specialized materials like metallic or textured papers, it’s important to test the waterproofing method on a small sample to ensure it doesn’t compromise the label’s unique characteristics.
Understanding the specific needs of each label type will help you choose the most effective waterproofing technique for your glass bottles.
Troubleshooting Common Waterproofing Issues
Experiencing label peeling or ink smudging after waterproofing can often be attributed to inadequate surface preparation.
To troubleshoot common waterproofing issues, consider the following:
Surface Preparation:
- Ensure the glass surface is thoroughly cleaned and dried before applying the waterproofing solution.
- Use a gentle abrasive to create a slightly rough texture on the glass, promoting better adhesion of the label and ink.
These steps are essential for achieving a durable and waterproof label on glass bottles. By addressing surface preparation, you can prevent issues such as peeling or smudging, ensuring the longevity and quality of the labels.
Conclusion
Now you know how to waterproof labels on glass bottles. With just a few materials and a simple process, you can ensure that your labels stay looking great for a long time.
It’s like giving your labels a raincoat, protecting them from moisture and wear.
So go ahead and waterproof your labels to keep them looking sharp and professional.
