How to Weld Glass Bottles Together? 5 Easy Steps!
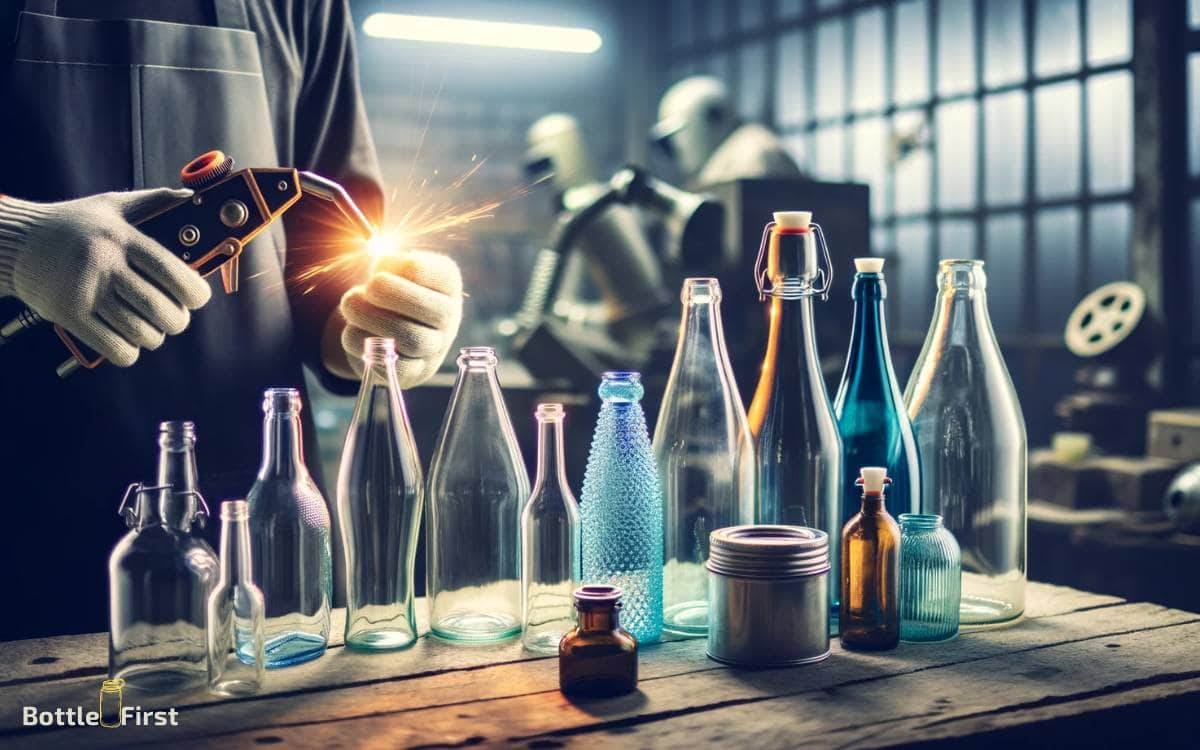
To weld glass bottles together, you will need to employ a process known as glass fusing or kiln-slumping, which involves heating the glass to a point where it softens and bonds with another piece of glass.
Welding glass bottles isn’t actually ‘welding’ in the traditional sense, but rather a process of fusing or slumping glass.
Here are some quick steps:
Transform glass bottles into artistic decor by mastering the art of fusing glass, creating both beauty and functionality from recycled materials.
Key Takeaway
Step 1: Choosing the Right Glass Bottles
To begin welding glass bottles together, you’ll need to select three clean and similar-sized bottles with no cracks or chips. Choose bottles that are of the same color and thickness for a more uniform final product.
Look for bottles with smooth surfaces, as this will make the welding process easier and the final result more aesthetically pleasing.
Ensure that the bottles are completely dry inside and out to prevent any steam or pressure from building up during the welding process.
Additionally, make sure the labels are removed and that the exterior of the bottles is free from any residue. Once you have selected the appropriate bottles, you can move on to preparing them for the welding process.
Now, let’s move on to preparing the bottles for welding.
Step 2: Preparing the Bottles for Welding
Once you have selected the appropriate bottles, you can begin by thoroughly cleaning and drying them inside and out.
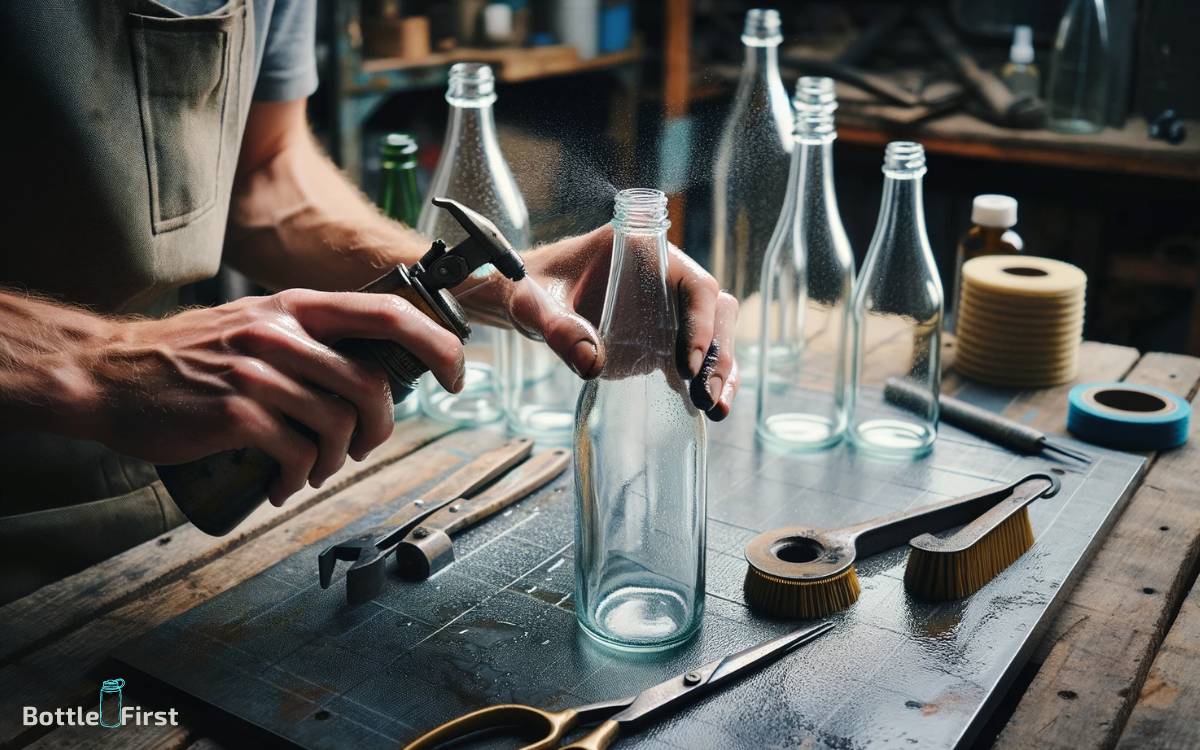
Use a mild detergent and warm water to remove any labels, adhesive residue, and dirt from the surface of the bottles. Rinse them thoroughly and allow them to air dry completely.
Next, inspect the bottles for any cracks, chips, or imperfections that could affect the welding process.
It’s essential to ensure that the edges to be joined are smooth and free from any debris. You may use sandpaper to smooth out any rough edges if needed.
Additionally, make sure the bottles are at room temperature before welding to prevent any thermal shock. Taking the time to prepare the bottles meticulously will result in a successful and strong weld.
Step 3: Selecting the Welding Method
When it comes to selecting the welding method for glass bottles, you’ll need to consider whether you want to use heat or flame, adhesive, or UV light.
Each method has its own advantages and limitations, so it’s important to weigh the options carefully before making a decision.
Let’s explore the unique characteristics of each method and how they can be applied to your specific welding needs.
Heat or Flame
When choosing how to weld glass bottles together, you’ll need to consider whether to use heat or flame as the welding method.
Both heat and flame can be effective for welding glass bottles, but each method has its own considerations:
Heat:
- Utilizes a heat source like a kiln or an oven
- Provides a more controlled and even distribution of heat
- Suitable for fusing glass with precision
- Requires longer processing time
- Ideal for projects that prioritize accuracy and detailed craftsmanship
Flame:
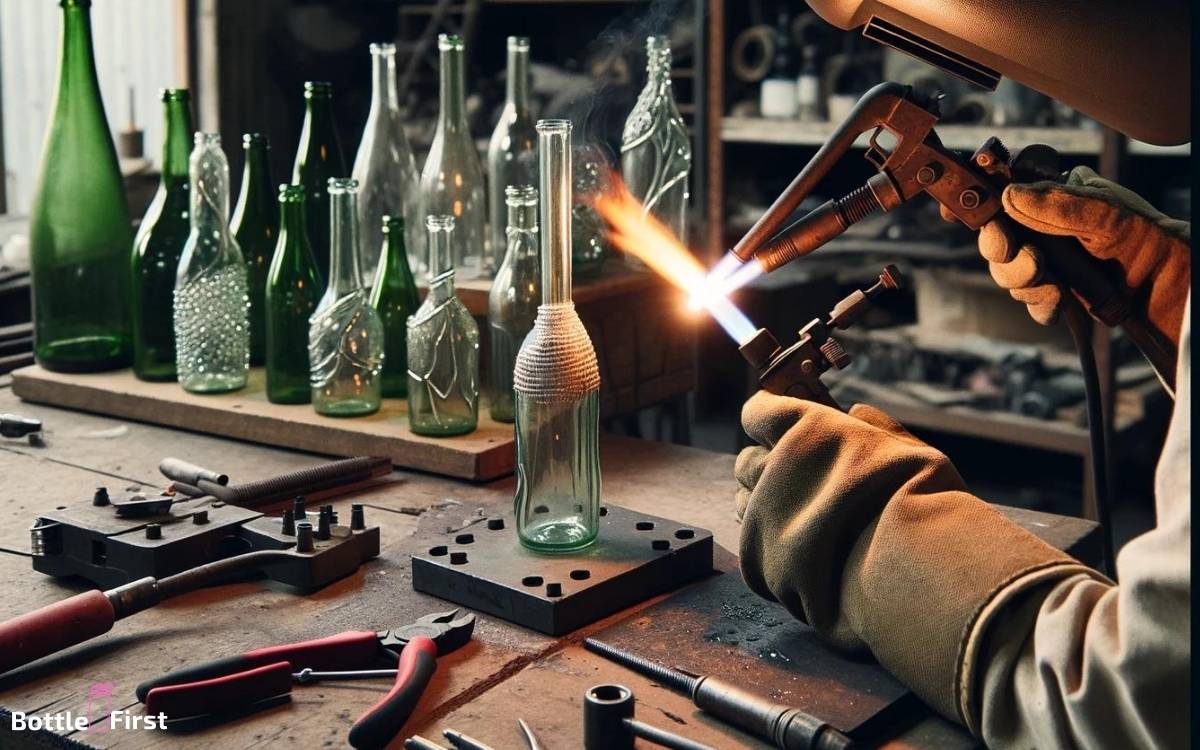
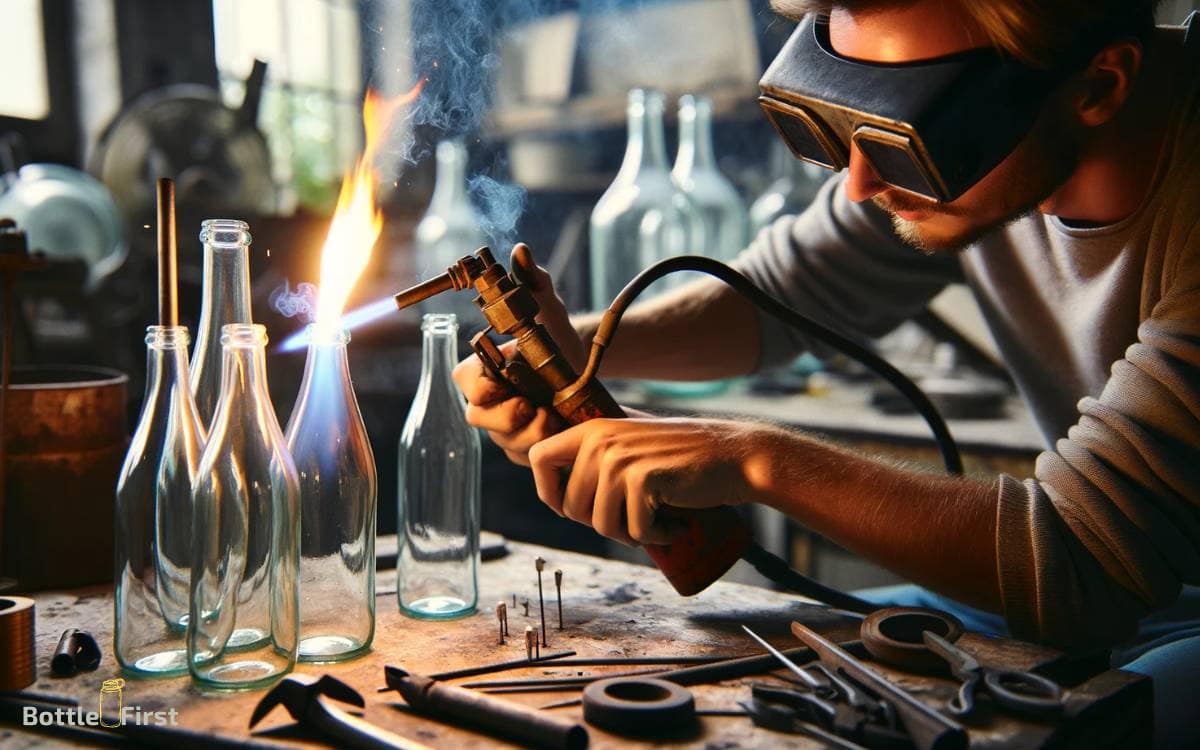
- Involves using a torch or a similar open flame tool
- Offers quick and localized heating
- Well-suited for quick repairs or simple joinings
- Requires careful attention to avoid overheating or cracking
- Perfect for projects that require speed and flexibility in the welding process
Adhesive or UV?
Selecting the welding method for glass bottle welding involves determining whether to use adhesive or UV bonding techniques.
Adhesive welding involves using a specialized glass adhesive to bond the bottles together. This method is effective for creating a strong and durable bond, especially when working with thicker glass bottles.
On the other hand, UV bonding utilizes a UV light to cure the adhesive, creating a quick and precise bond. This method is ideal for intricate designs and projects requiring a seamless finish.
When choosing between adhesive or UV welding, consider the specific requirements of your project. Adhesive welding provides a robust and long-lasting bond, while UV bonding offers speed and precision.
Ultimately, the choice between the two methods depends on the specific needs of your glass bottle welding project.
Step 4: Welding Process
To begin welding glass bottles together, position the first bottle next to the second bottle at a slight angle. Ensure that the bottles are touching at the points where you want to create the weld.
Next, using a glass torch with a precise flame, carefully heat the point where the bottles meet.
Once the glass reaches the correct temperature, gently rotate the bottles to allow the molten glass to fuse together seamlessly. Take care to maintain a consistent heat to avoid any stress points or cracks.
As the bottles cool, continue to rotate them to ensure an even distribution of the glass. Finally, inspect the weld to ensure it’s secure and smooth.
With practice and patience, you can master the art of welding glass bottles together to create unique and innovative designs.
Step 5: Finishing and Sealing the Welded Bottles
Once the welded bottles have cooled, carefully inspect the seam for any imperfections or weak spots. If everything looks good, it’s time to finish and seal the welded bottles.
Here’s how to do it:
- Use a fine-grit sandpaper to smooth out any rough edges along the seam.
- Clean the welded area with a damp cloth to remove any dust or debris.
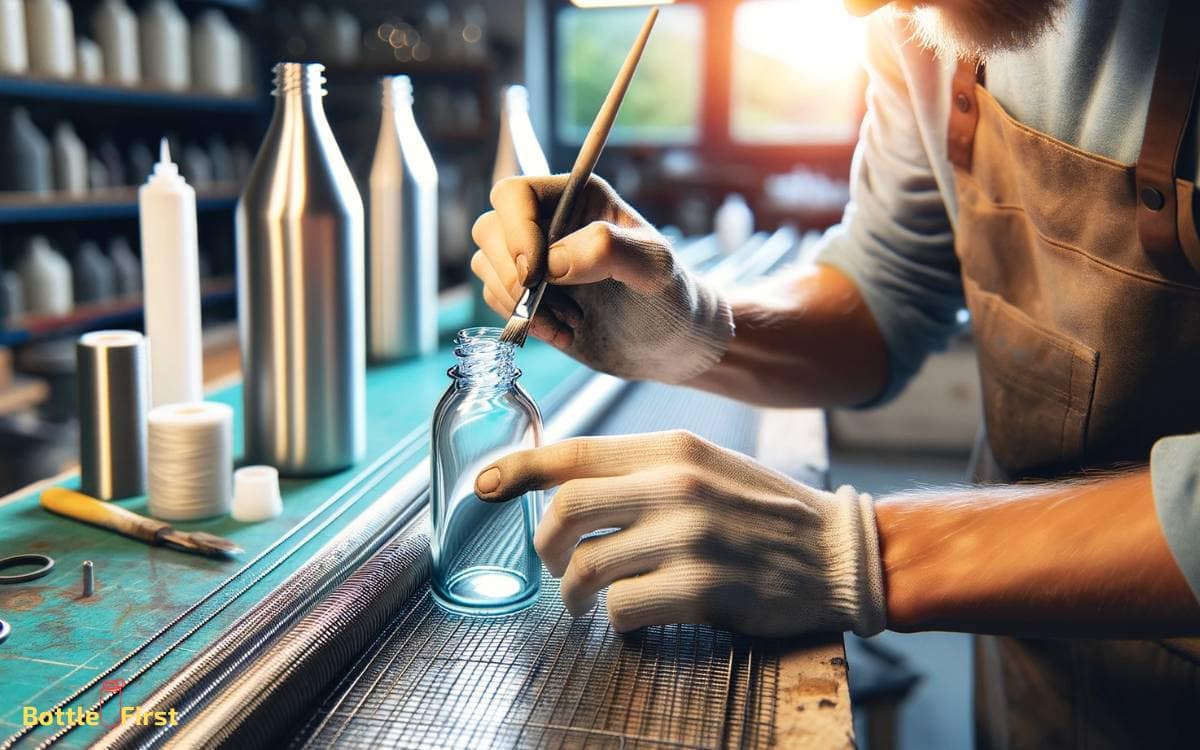
- Apply a thin layer of clear epoxy along the seam to provide extra strength and a seamless finish.
- Let the epoxy cure according to the manufacturer’s instructions.
- Once the epoxy is fully cured, inspect the bottles again to ensure a smooth, secure seal.
Safety Precautions and Equipment
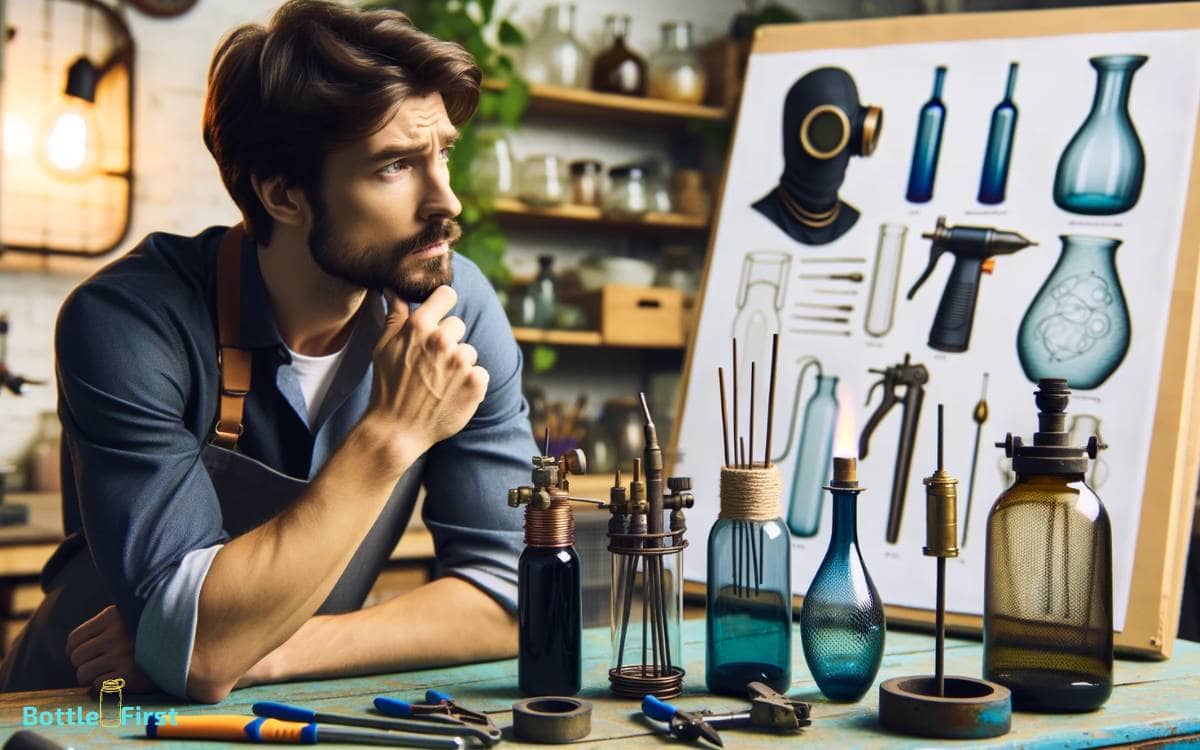
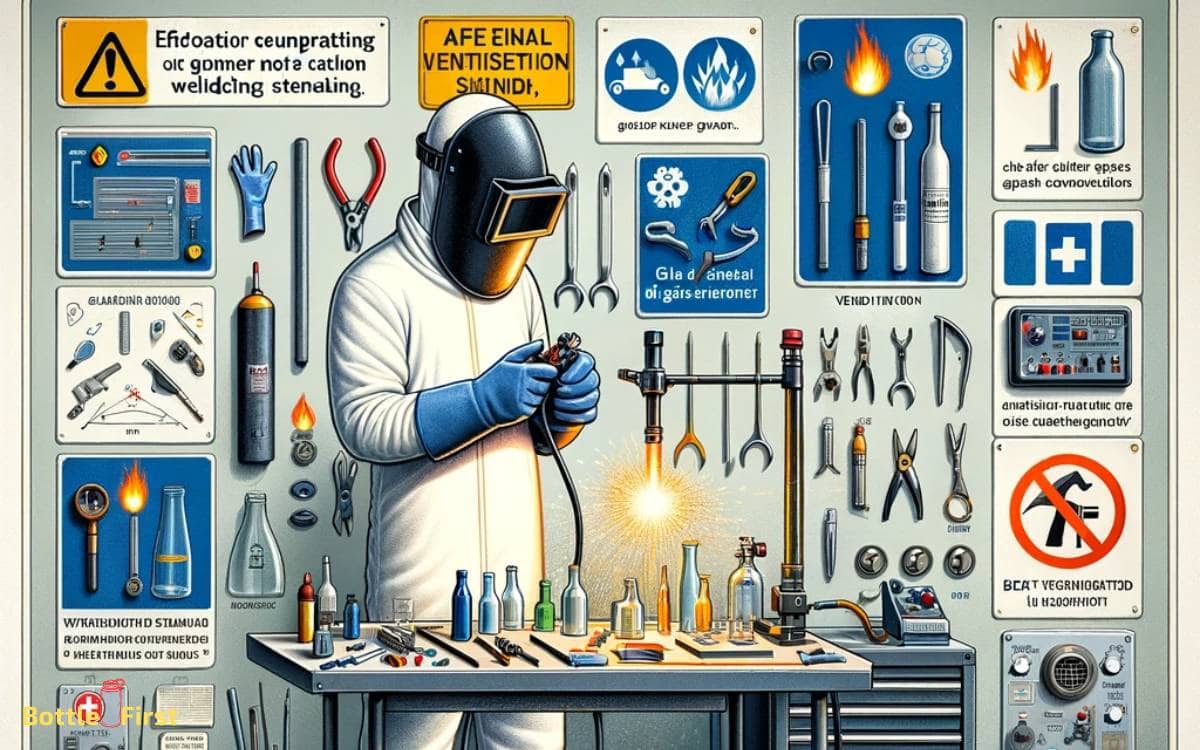
Before starting, ensure you have gathered all the necessary safety equipment for welding glass bottles together.
Here are the essential safety precautions and equipment to have on hand:
- Safety goggles to protect your eyes from glass shards.
- Heat-resistant gloves to shield your hands from the heat of the welding process.
- A well-ventilated workspace to prevent inhalation of fumes.
- Fire extinguisher nearby in case of accidental fires.
- Protective clothing to safeguard your body from potential burns or cuts.
These safety measures are crucial for a successful and safe glass welding process. Now that you have the necessary equipment, let’s move on to the step-by-step welding process.
Conclusion
So there you have it, welding glass bottles together is a simple and fun process that anyone can do!
Just remember to take your time and be careful, because one wrong move and you might end up with a shattered mess instead of a beautiful creation.
Happy welding!
