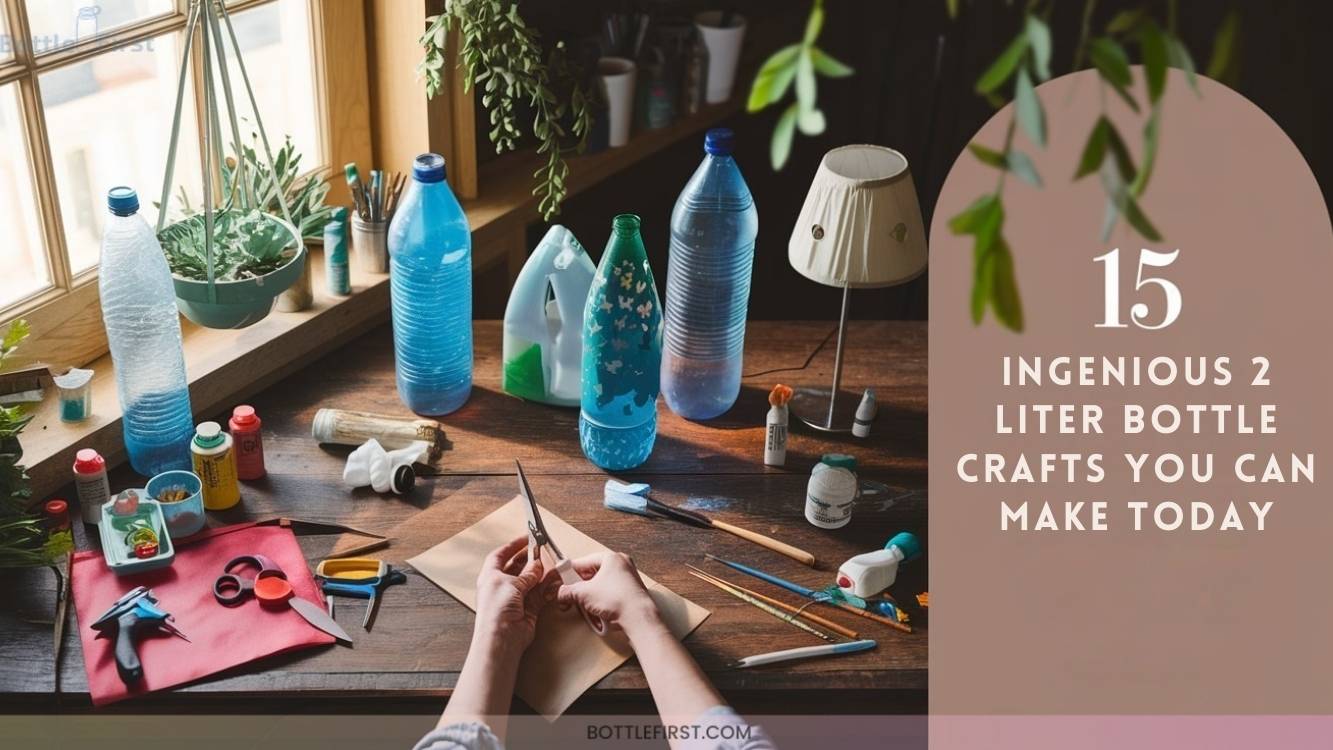
15 Ingenious 2 Liter Bottle Crafts You Can Make Today
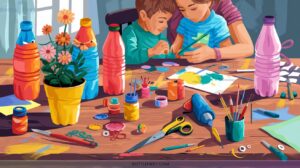
Transform ordinary 2-liter bottles into 15 ingenious crafts with these creative ideas! Start by making a simple catch game with scoops and balls. Next, craft a DIY bowling set or colorful hanging planters. Create a homemade softball set or jousting sticks for playful activities.
Explore gardening projects with eco-friendly planters and bubble making fun. Immerse yourself in sensory bottle creation, or build a rocket launcher to explore physics. Start your crafting adventure today; there’s much more to discover!

1. Catch Game Creation
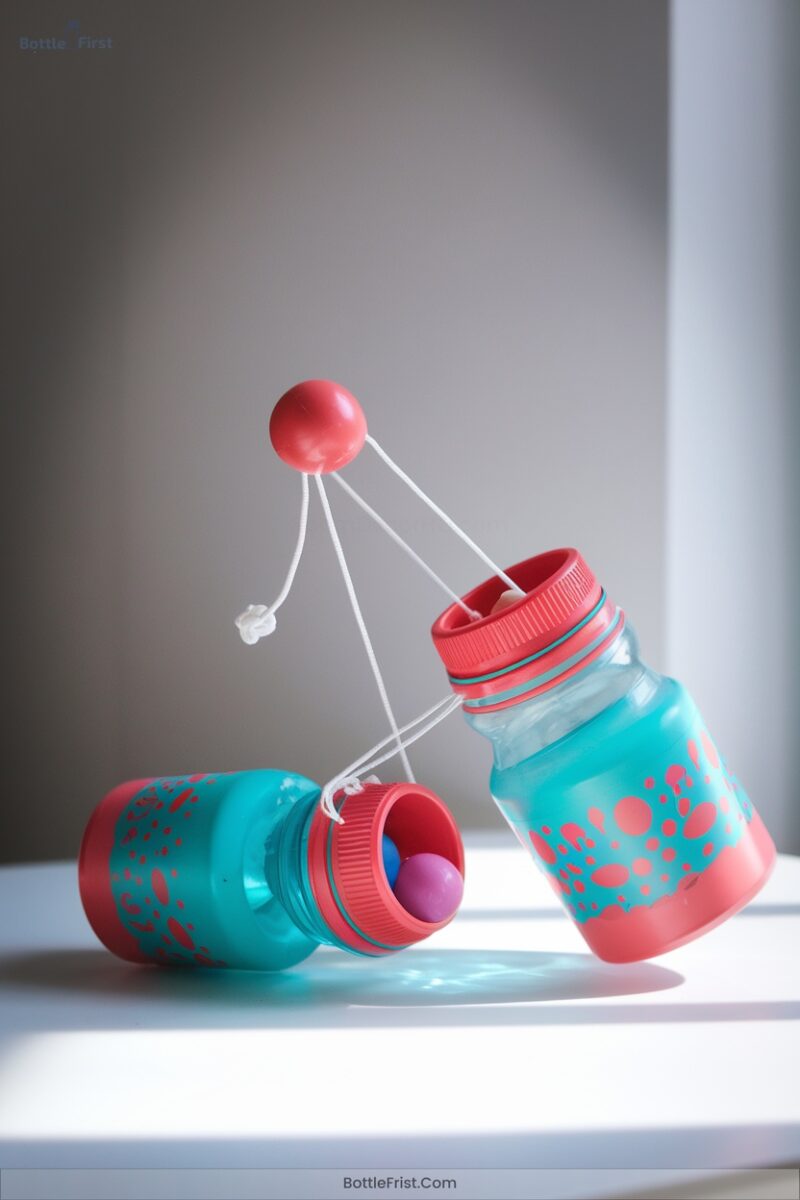
To create your own Catch Game using 2-liter bottles, start by gathering a few essential materials. Repurpose empty bottles, scissors, and craft tape.
Begin by drawing lines on each bottle to form scoop shapes. Carefully cut along these lines with scissors, ensuring adult supervision if needed. Cover sharp edges with tape for safety. Use markers or tissue paper to decorate your scoops creatively.
Draw lines on bottles to form scoops, cut with care, tape edges, and decorate creatively for a fun catch game.
For the ball, crumple newspaper or cardboard and secure it with tape. Adjust the scoop and ball sizes to suit different age groups.
Encourage innovative play by inventing new rules or adding obstacles for an enhanced challenge.
2. DIY Bowling Set
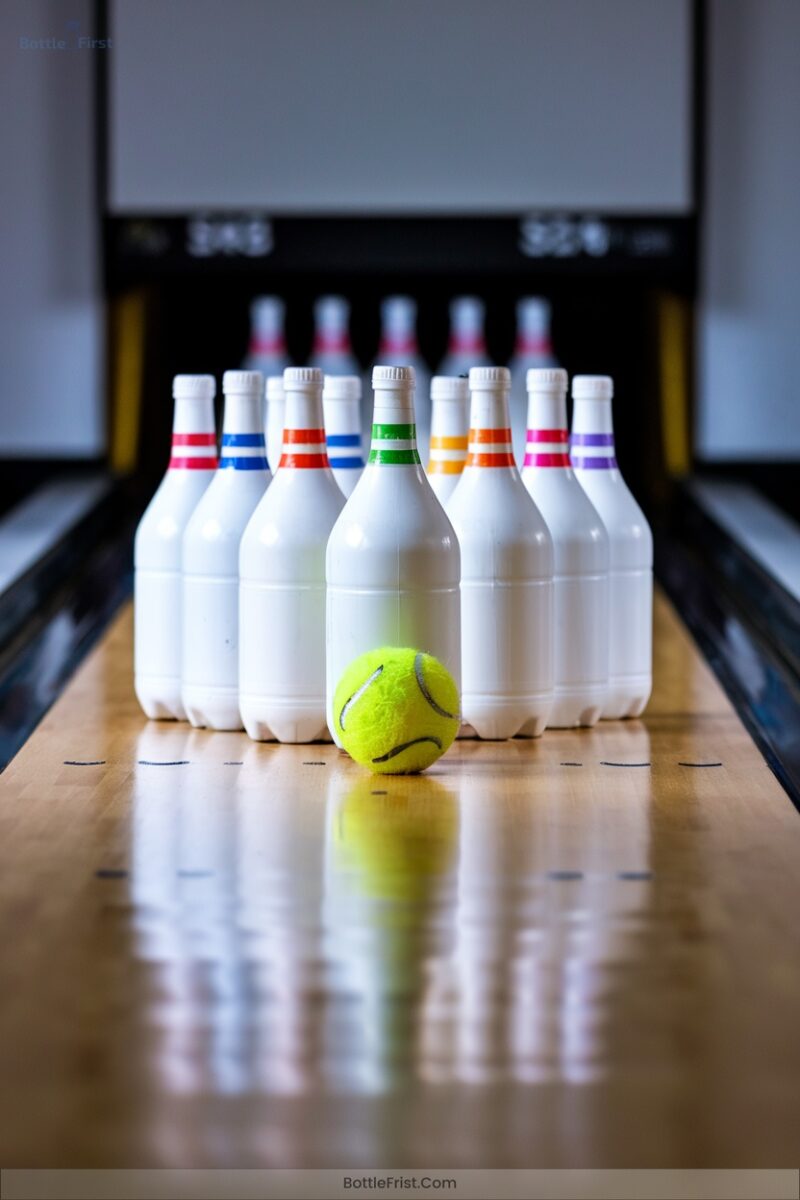
After crafting a fun Catch Game, bring more excitement to your playtime with a DIY Bowling Set using 2-liter bottles.
Start by removing labels and rinsing the bottles. Fill them halfway with water or sand for stability, then apply your choice of glow-in-the-dark or acrylic paint. Protect your artwork with a clear sealer.
Arrange the bottles in a triangular formation. For the ball, choose a rubber, plastic, or beach ball, and consider adding glow effects for nighttime fun.
Use pool noodles or 2×4 wood as lane dividers. Get creative with decorations and adjust lane lengths for various players. Enjoy!
3. Homemade Softball Set
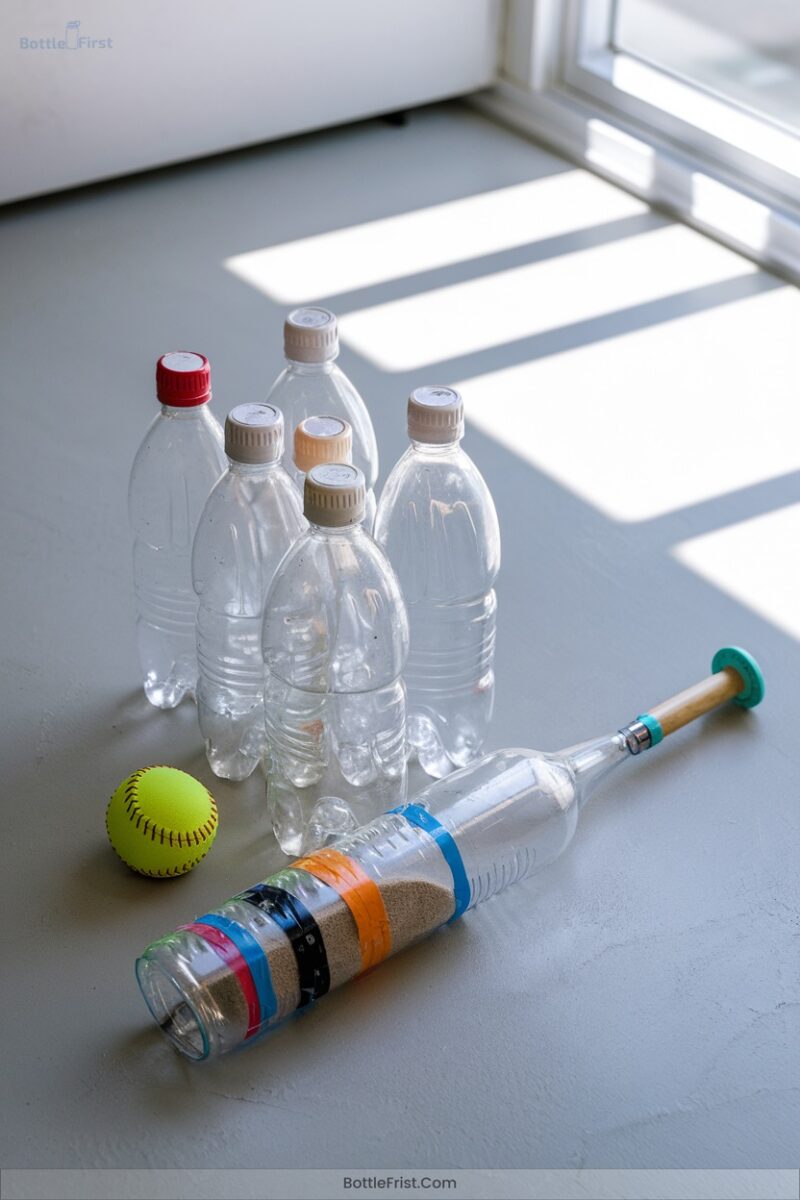
Creating a homemade softball set is a fun and eco-friendly project that transforms simple materials into an exciting outdoor game.
Start by cutting the bottoms off two 2-liter bottles and securely tape them together to form a base. Attach a third bottle to a sturdy pole to create the bat. Use a wiffle ball for safe practice. Guarantee adult supervision and maintain distance during play.
Add creative flair by decorating your bottles with bold designs or vibrant colors. Experiment with different tape strengths for durability.
This project not only saves money but also encourages environmental awareness and creativity.
4. Crafting Jousting Sticks
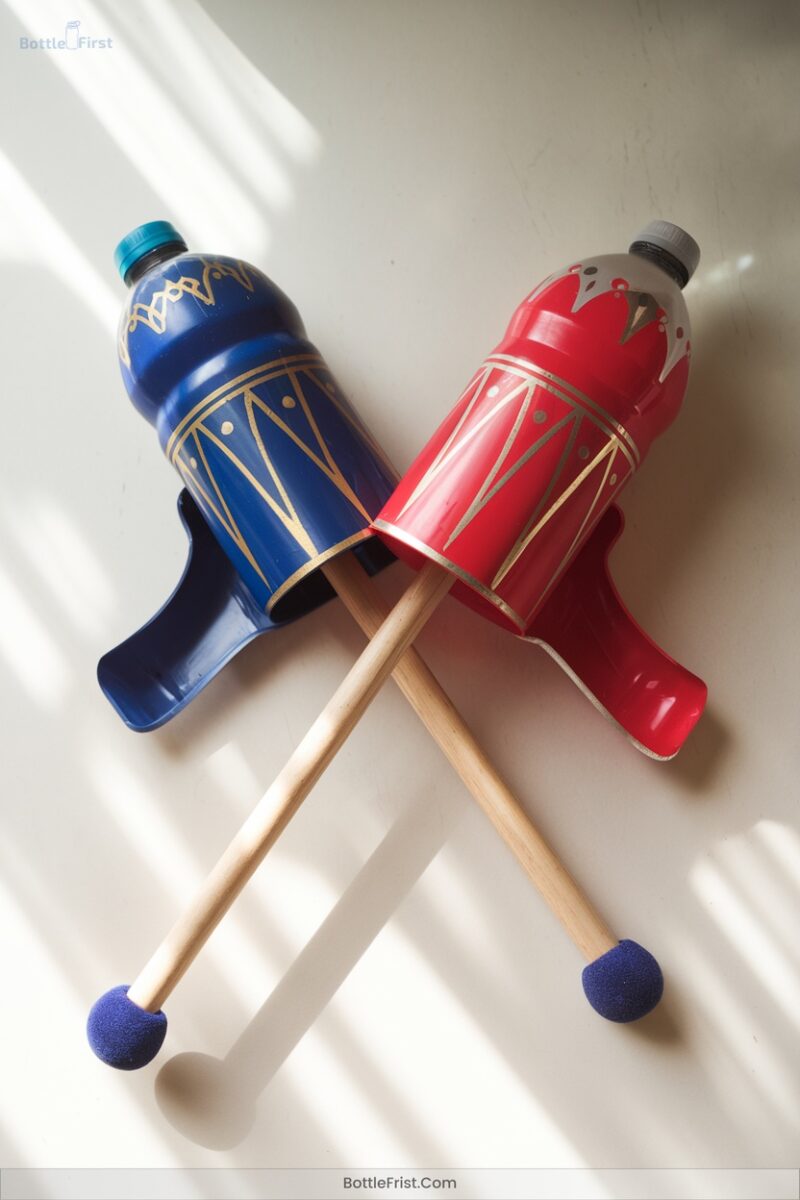
Crafting jousting sticks is an exciting project that combines creativity with safety, perfect for family fun or community events.
Start by gathering a 2-liter bottle, PVC pipe, foam pool noodles, adhesive, and Velcro. Cut the bottle to fit snugly over the pipe’s end, securing it with glue for a soft, visible tip. Wrap a pool noodle around the pipe for extra cushioning.
Use tape to add handles for a firm grip. For games like “Tub Jousting,” attach balloons to helmets using Velcro.
Always guarantee a safe, spacious area for play and supervise younger participants for a fun, innovative experience.
5. Bubble Making Fun

Once you’ve mastered the art of crafting jousting sticks, it’s time to explore the whimsical world of bubble making.
Start by transforming a round plastic bottle into a bubble blower. Secure a piece of mesh fruit bag over the cut opening, then dip it into homemade bubble solution. Blow outward and watch the bubbles form.
For a bubble snake maker, cut off the bottom of a two-liter bottle and stretch a sock over the end. Dip and blow for long bubbles. Experiment with food coloring for rainbow effects.
Always supervise children, ensuring they blow outward to avoid swallowing solution.
6. Color Change Lamp
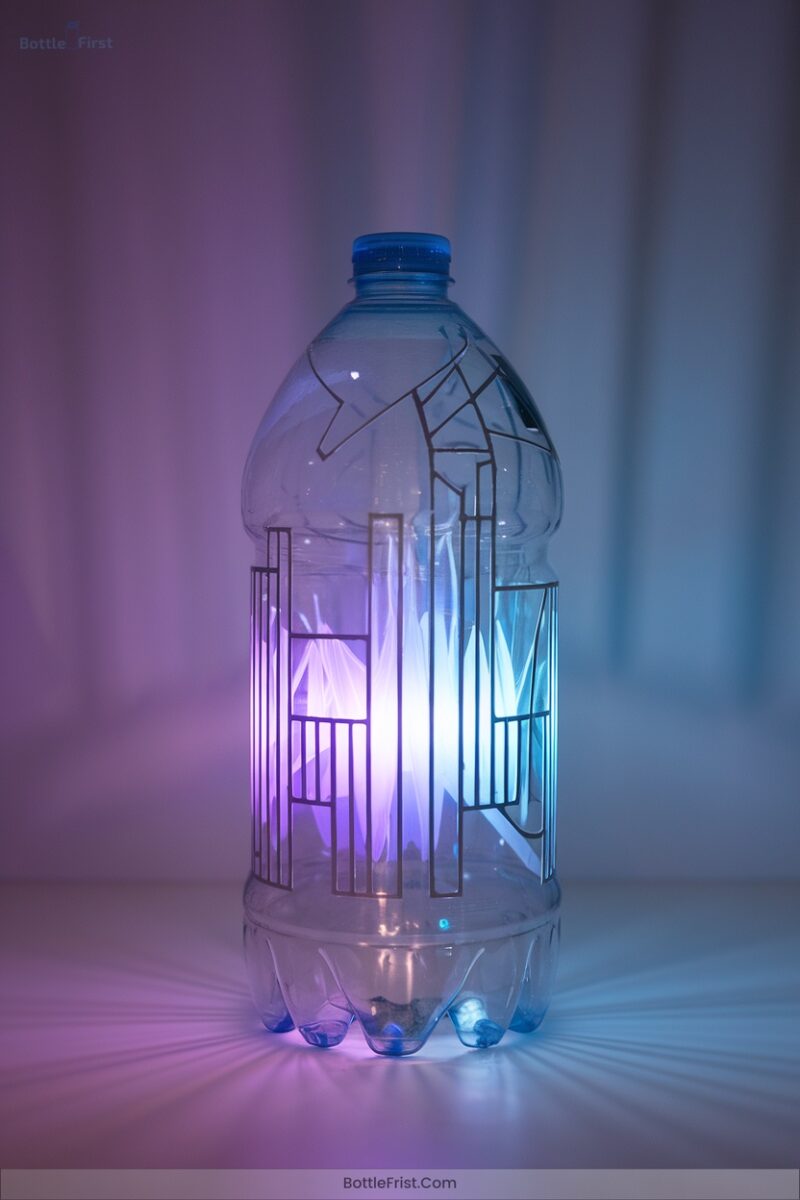
Release the potential of a 2-liter bottle by transforming it into an enchanting color change lamp.
Begin by removing labels, cutting off the top and bottom, and thoroughly cleaning the bottle.
Insert colorful pigments or fibers inside for added flair.
Use RGB LED lights powered by a microcontroller like Arduino to create dynamic color shifts.
Assemble the circuit using resistors and transistors, ensuring all connections are secure.
Power your lamp with batteries or a USB connection for portability.
Enhance the design with paint or stickers.
This eco-friendly project not only reduces waste but also adds a unique touch to your decor.
7. DIY Lava Lamp Experiment
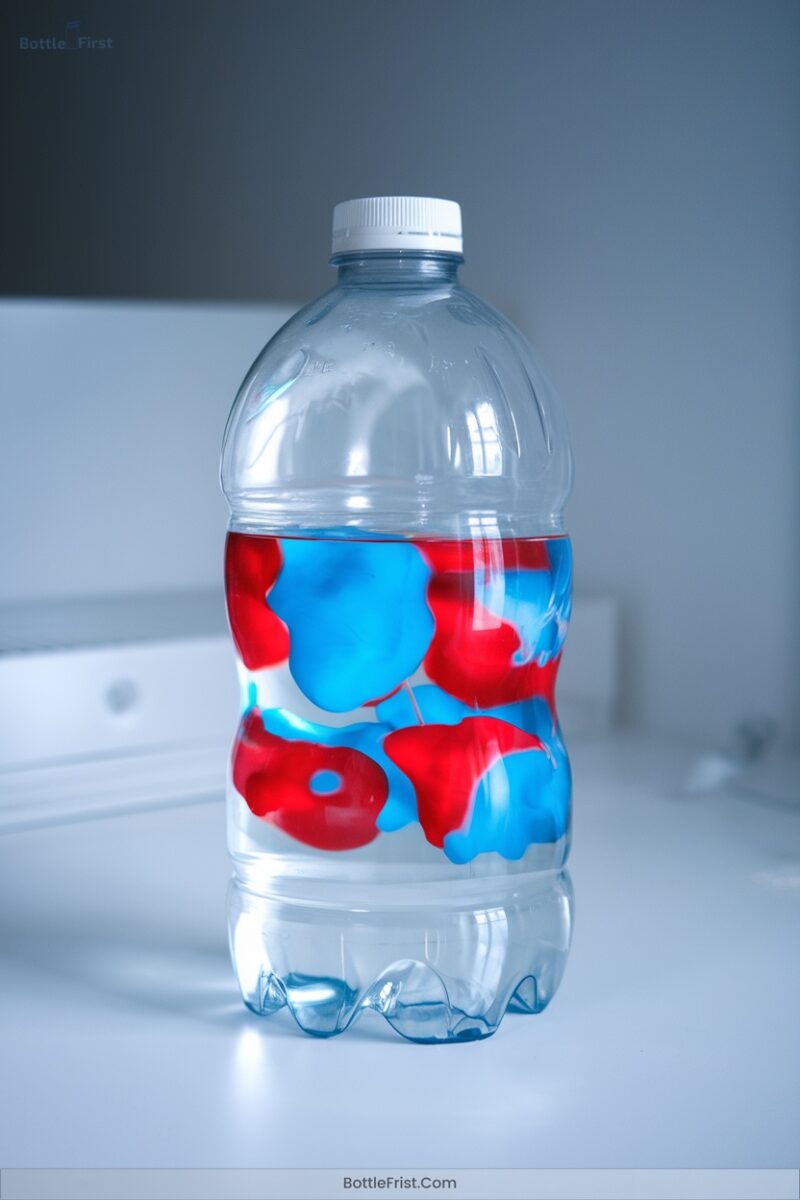
After creating a mesmerizing color change lamp, put your crafting skills to work with a DIY lava lamp experiment.
Start by preparing a clean, transparent bottle. Pour water to fill it one-quarter full, then add vegetable oil, leaving a gap at the top. Introduce food coloring, watching it sink through the oil.
Prepare a clear bottle, add water and oil, then watch food coloring sink through the oil.
Drop in Alka-Seltzer tablets to ignite bubbling magic. Marvel at the scientific dance of density and polarity!
For added flair, experiment with different food coloring or throw in some glitter. Illuminate your creation with a flashlight for extra dazzle. Enjoy this hands-on, educational, and visually enchanting craft!
8. Glowing Bottle Decorations
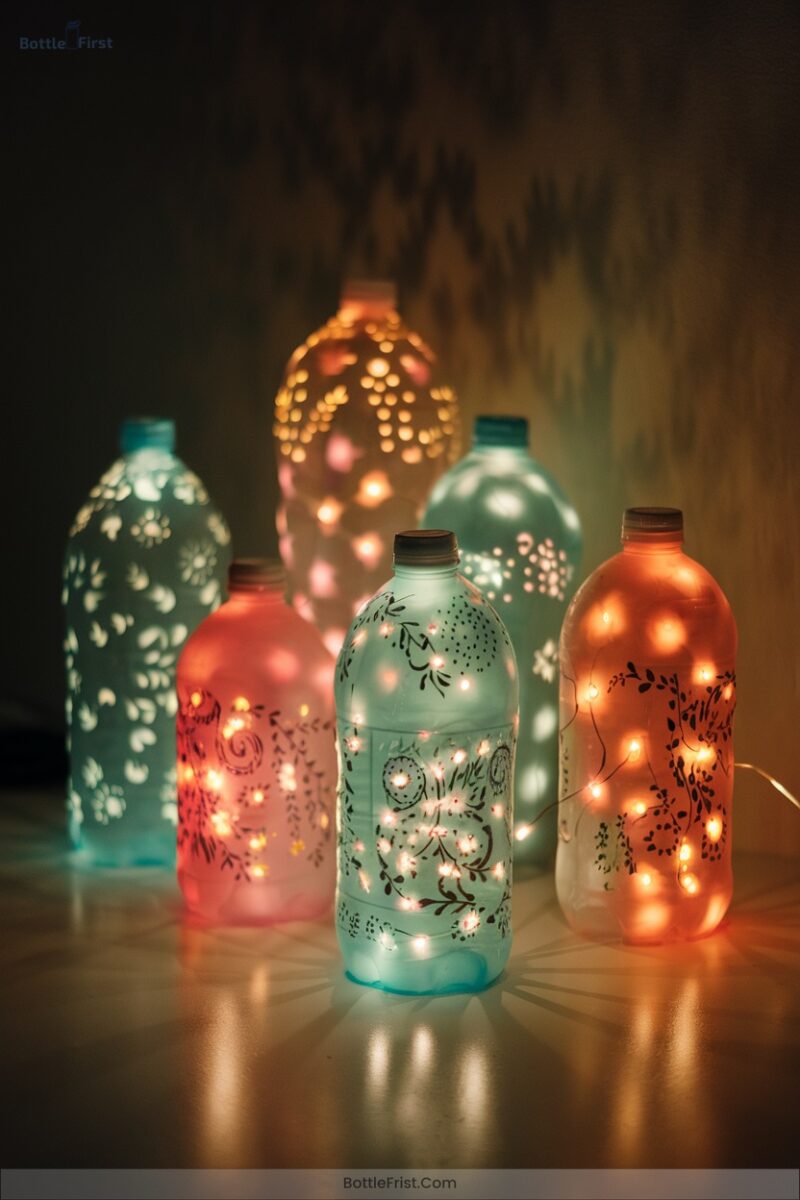
To transform your space with glowing bottle decorations, start by gathering essential materials like a clean plastic bottle, submersible LED lights, and some glitter.
First, remove labels and clean the bottle for clarity. Attach the LED light at the bottom with mounting putty.
Mix water with glycerin to fill the bottle, ensuring glitter and confetti float beautifully. Add your chosen glitter and confetti for a magical, sparkling effect.
Securely seal the lid to prevent leaks. Consider using glow-in-the-dark paint for added flair.
These glowing creations can enhance your ambiance, offering a sustainable, whimsical touch for any occasion.
9. Solar Lamp Transformation
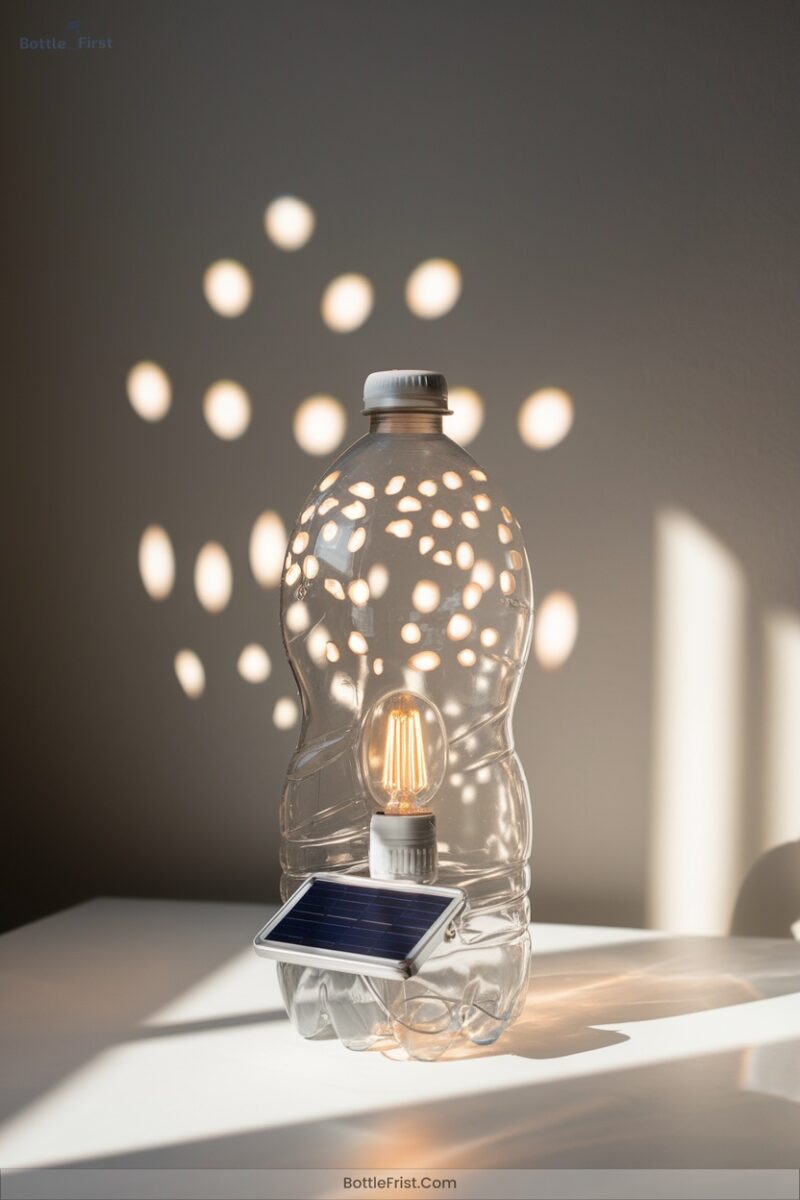
If you’re looking to create a sustainable lighting solution, transforming a 2-liter bottle into a solar lamp could be your next project.
Start by gathering an empty bottle, solar panels, a battery, LED light, and a 3D-printed cap. Attach the solar panel to the cap, connecting it to the battery and LED. Make sure the battery charger IC like LP4060 is included for effective charging.
Test your setup by placing it in sunlight, allowing the battery to charge. Once charged, adjust the LED brightness to suit your needs. Regularly clean the solar panel and replace batteries for peak performance.
10. Candle Holder Design
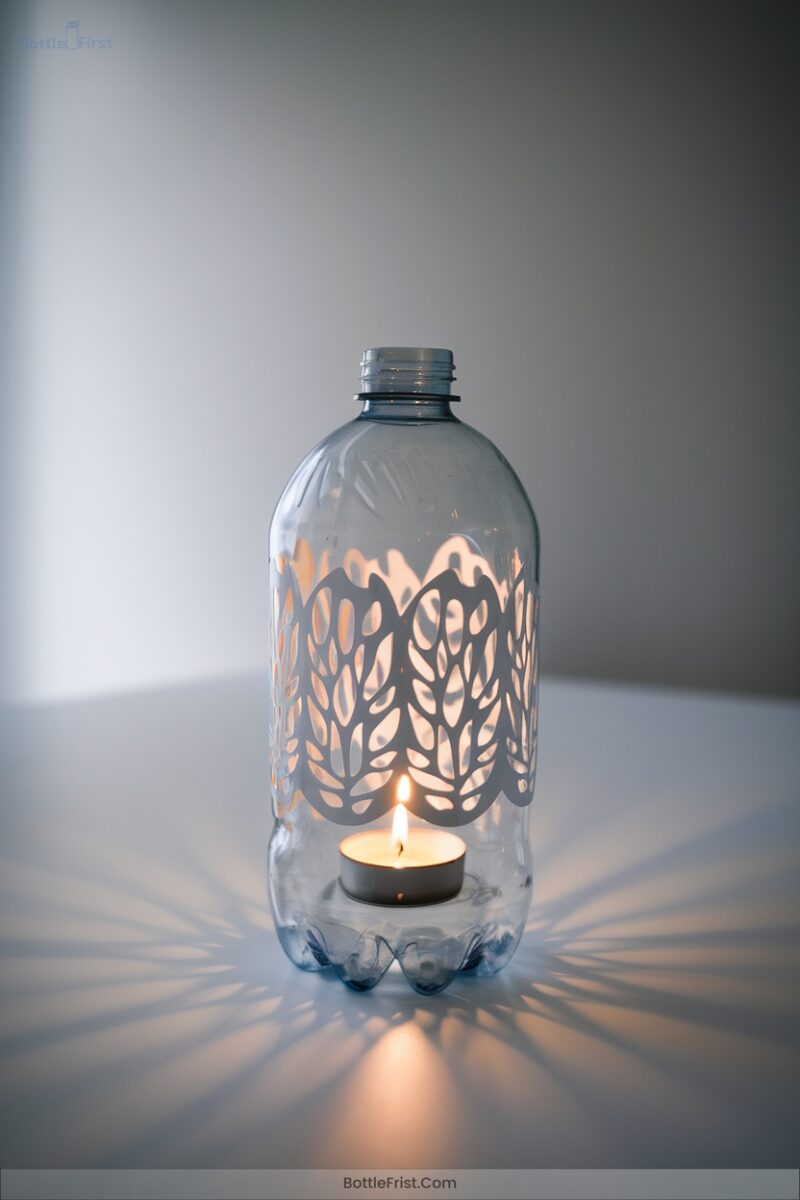
Creating a candle holder from a 2-liter plastic bottle is a fantastic way to upcycle while adding a touch of creativity to your decor.
Start by cutting the bottle to your desired height, experimenting with angles for a unique design. Smooth the edges using hot glue for safety and texture.
Stabilize the base with sea salt or plaster of Paris. Opt for flameless candles to avoid melting risks.
Decorate with twine, paint, or seasonal embellishments like moss and seashells. Use them as centerpieces for weddings or outdoor events.
With these steps, you’ll create an innovative and eco-friendly candle holder.
11. Building a Mini Greenhouse
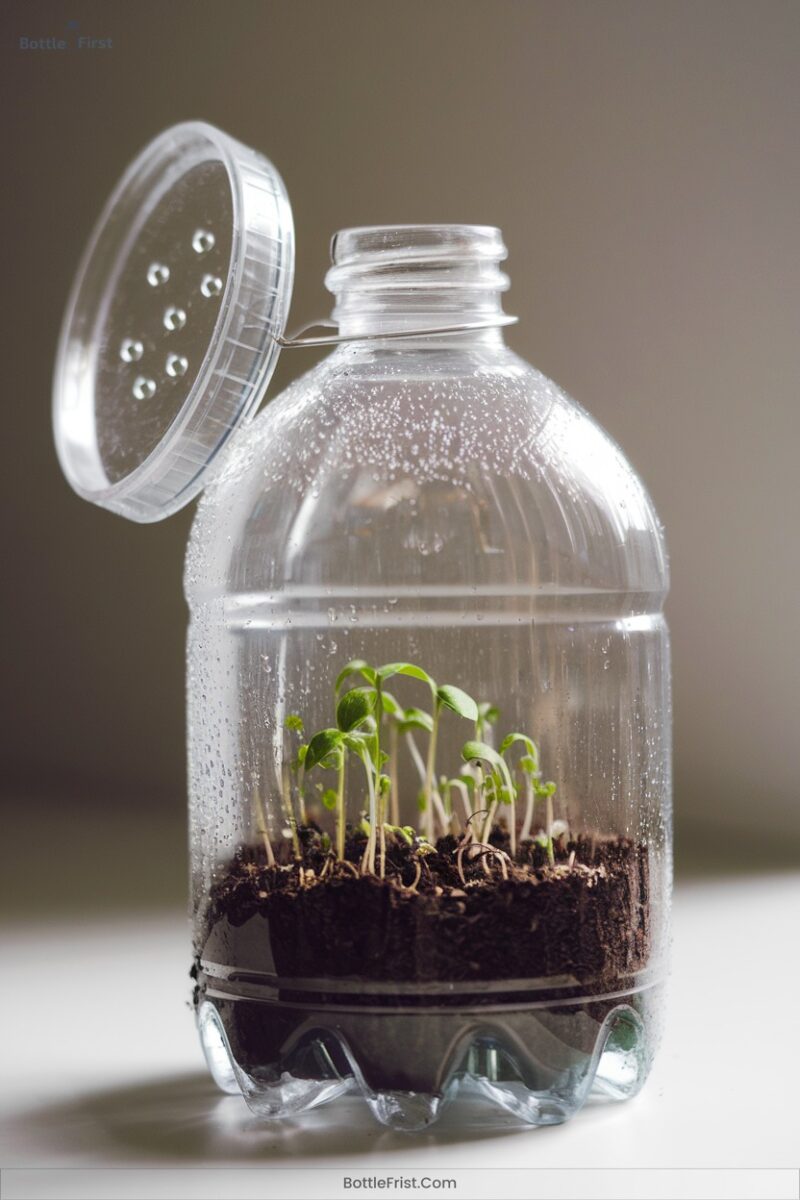
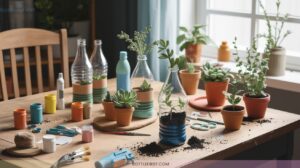
Transform your gardening routine by building a mini greenhouse using 2-liter plastic bottles, a project that’s both eco-friendly and educational.
Create an eco-friendly and educational mini greenhouse with 2-liter plastic bottles for your garden.
Start by cleaning and cutting the bottles in half. Fill the bottom with potting soil and plant your seeds. Secure the top with plastic wrap and a rubber band to maintain humidity.
Guarantee proper airflow by making small holes. Place your greenhouse in a sunny spot to harness natural warmth.
Here’s why it’s a smart choice:
- Science Learning: Teach kids about plant cycles.
- Sustainability: Recycle plastic waste creatively.
- Plant Variety: Grow delicate or tropical plants.
- Hands-on Activity: Engage in interactive planting.
12. Self-Watering Planter Project
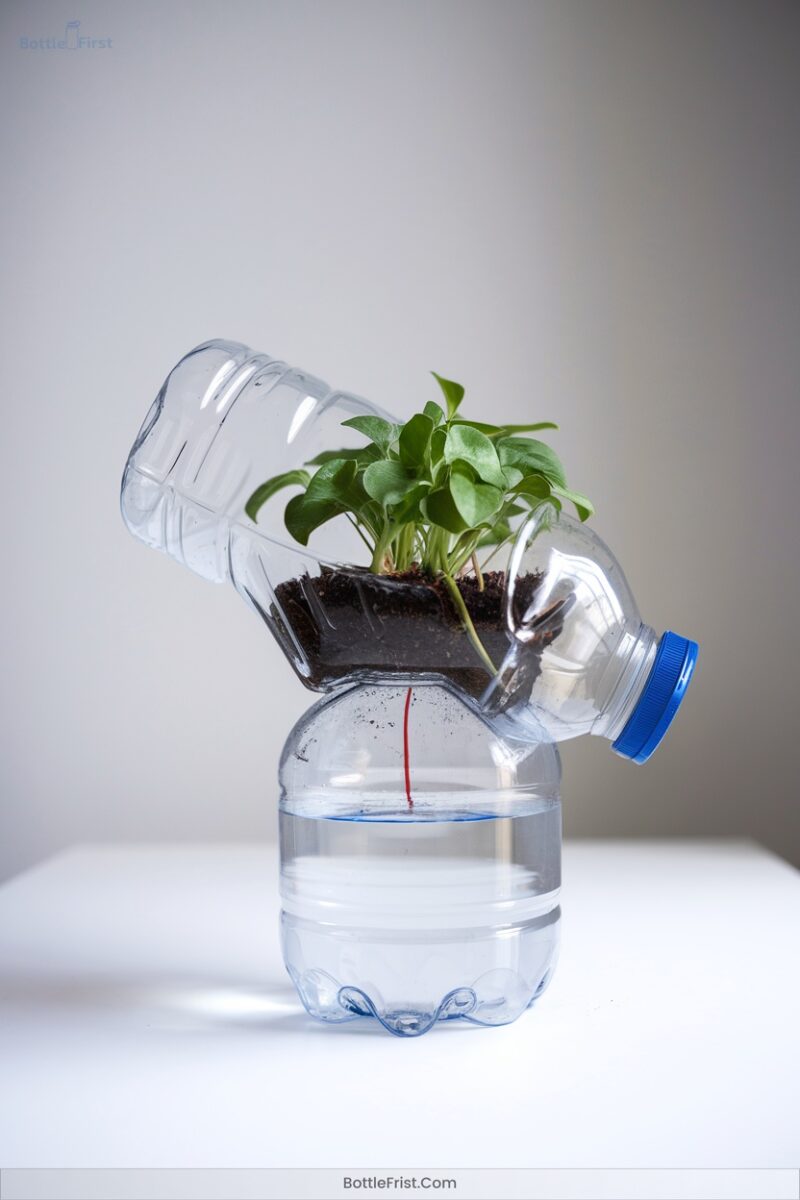
To craft a self-watering planter using a 2-liter plastic bottle, start by gathering your materials: the bottle, a cotton rag or old sock, a knife or scissors, potting mix, and optional spray paint.
Begin by cutting the bottle in half; the top half will hold the potting mix, while the bottom serves as a water reservoir.
Insert the sock through the bottle neck to wick water upward. Fill the top with potting mix, plant your seeds, and watch your creation thrive.
Spray paint adds a personal touch and shields roots from light.
This project is eco-friendly, cost-effective, and ideal for herbs or leafy greens.
13. Hanging Planter Craft
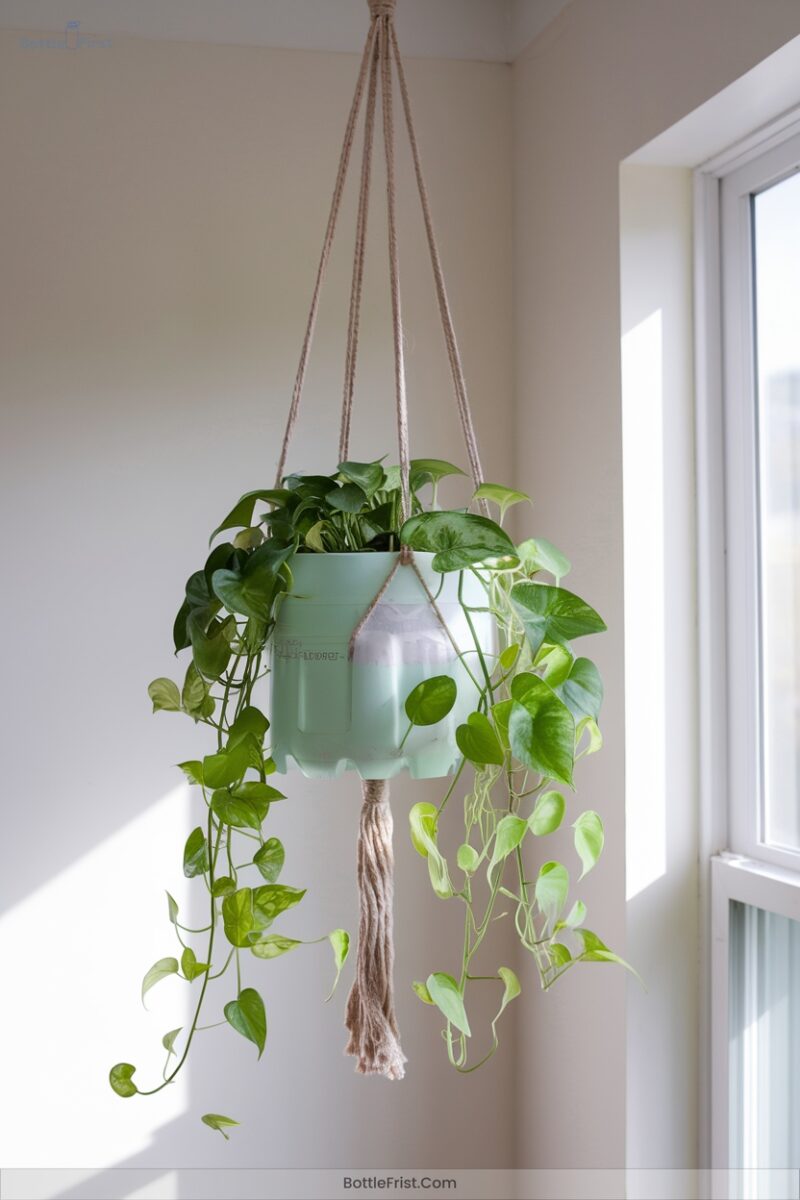
Hanging planters made from 2-liter plastic bottles offer a creative and eco-friendly way to enhance your gardening space.
Start by cutting the top or bottom of the bottle to suit your design. Clean it thoroughly, then punch holes for hanging ropes using a drill or awl. Attach strong string or twine for secure hanging.
Here’s how to innovate:
- Use bottle caps for drainage by drilling holes.
- Cut ventilation windows for better airflow.
- Decorate with spray paint or fabric paints.
- Add whimsical touches like cat ears.
Fill your planter with potting mix and plants, and hang in a sunny spot.
14. Sensory Bottle Creation

Creating sensory bottles is a fun and innovative way to engage both the senses and the mind.
Start by selecting a clean, clear plastic bottle with a tight-sealing lid. Use a funnel to add your chosen liquid—water, clear glue, or baby oil.
Mix in glitter, sequins, or small toys for visual interest. For additional flair, add a few drops of liquid watercolor or food coloring.
Seal the lid with super glue to prevent leaks.
Experiment with layering effects by combining liquids of different densities, like oil and water.
Enjoy the educational and therapeutic benefits as you watch your creation come alive.
15. Rocket Launcher Build
Building a rocket launcher from 2-liter plastic bottles is an exciting and educational project that blends creativity with engineering.
Start by gathering materials like PVC pipes, fittings, hose clamps, and a tubeless bike valve. Assemble the launcher by cutting and connecting PVC pipes, attaching Tee connectors to form the firing tube, and securing the bottle with a ( frac{3}{4} ) inch coupling.
Add a bike valve for air pressure input and create a trigger with a nylon string.
- Guarantee safety by following these guidelines:
- Use adult supervision.
- Pressurize with a bike pump.
- Balance mass and pressure.
- Incorporate fins for stability.
This project teaches physics and inspires innovation.
Frequently Asked Questions
How Do I Clean the Bottles Before Crafting?
Think of cleaning as polishing a diamond. Pour rice and soap into the bottle, swirl vigorously, then rinse. Use vinegar for odors. Dry thoroughly to prevent mold. This process transforms your bottle into a pristine crafting canvas.
Can I Use Recycled Bottles for Food-Related Projects?
You can use recycled bottles for food-related projects, but make certain they’re thoroughly cleaned and made from FDA-approved materials like PET. Always follow safety guidelines by avoiding harmful chemicals and testing for potential contamination. Stay innovative!
Are There Any Safety Precautions to Consider?
Think of safety as your guiding light. Start by washing and sanitizing bottles, handle all tools carefully, and wear protective gear. Store materials properly, and guarantee your workspace is well-ventilated to release your innovative spirit safely.
What Tools Do I Need for Cutting Bottles?
You need a hot wire cutter for precise PET bottle cutting. For glass, use a glass cutting wheel, jig, and sandpaper. A plastic bottle cutter kit transforms bottles into cordage. Guarantee safety with protective gear.
How Can I Ensure the Creations Are Child-Safe?
Guarantee child safety by thoroughly cleaning bottles, using non-toxic supplies, and supervising hot glue use. Set up a hazard-free area, involve kids in design, and communicate potential dangers. Keep emergency supplies handy for quick response.
Conclusion
Now that you’ve got these 15 ingenious 2-liter bottle crafts under your belt, you’re ready to let your creativity run wild. Whether you’re crafting a self-watering planter or launching a rocket, you’ve got the tools and know-how to turn trash into treasure.
Remember, practice makes perfect, so don’t be afraid to make mistakes and learn along the way. Grab your scissors and glue, and plunge into these projects headfirst—you’ll be amazed at what you can create!