How to Draw a Water Bottle Realistic? Steps by Steps Guide!
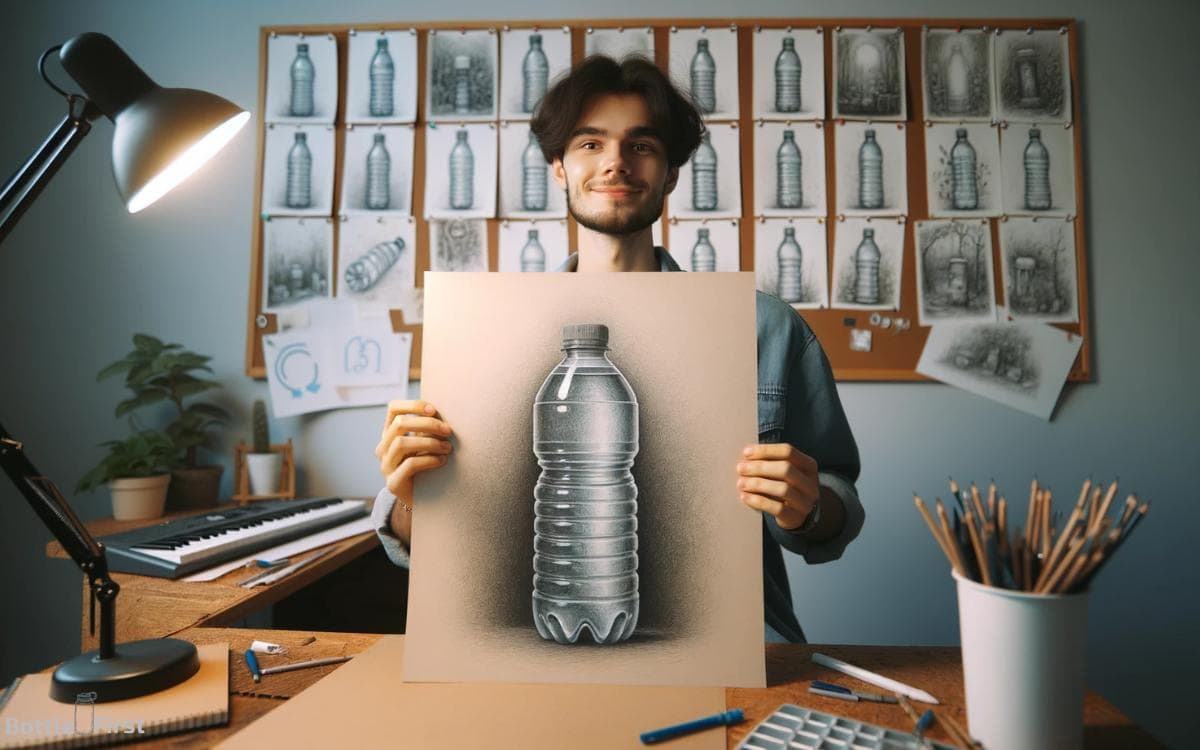
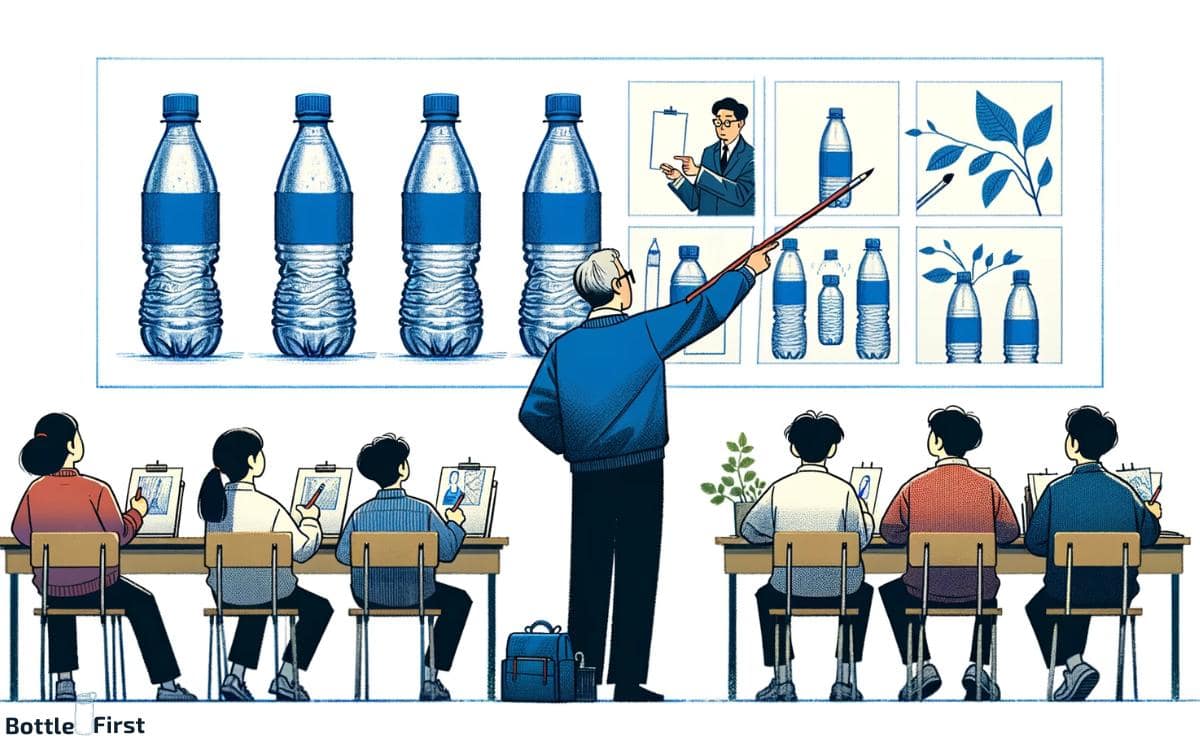
Drawing captures the essence of objects around us. Through this guide, you’ll master the steps to create a lifelike portrayal of a water bottle, blending basic techniques with intricate details for a captivating finish.
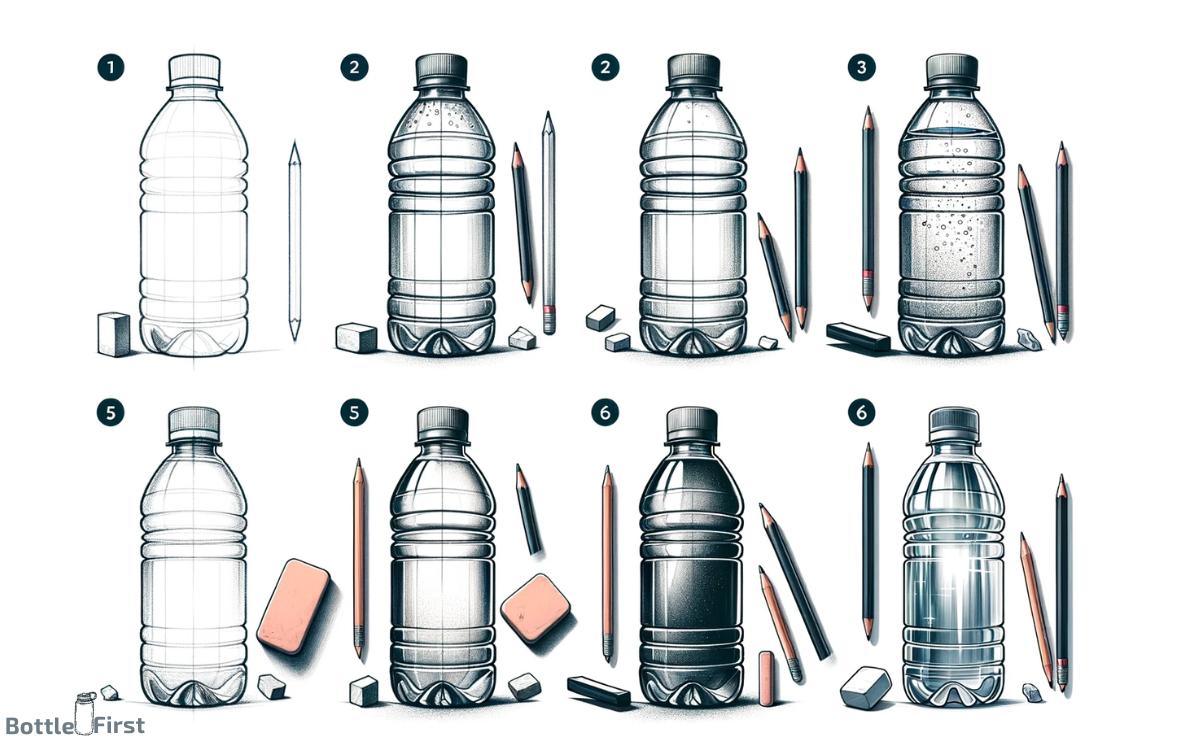
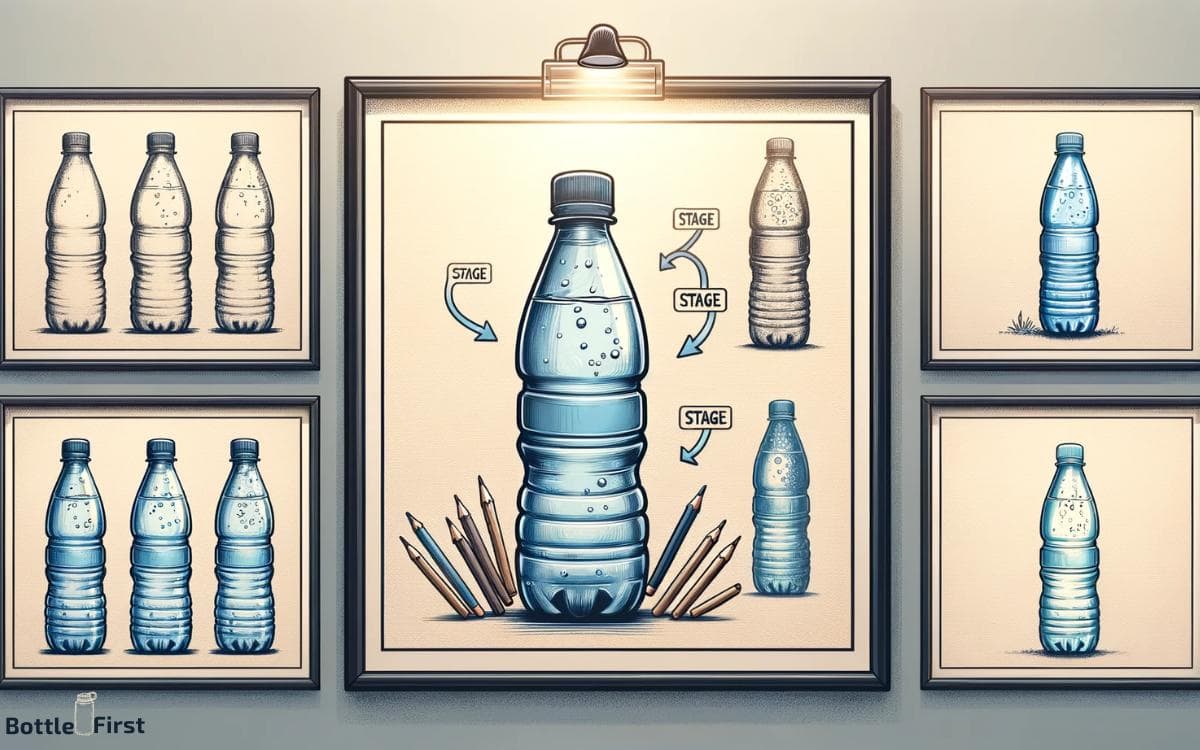
Step-by-Step Guide: Realistic Water Bottle Drawing
Gathering Your Materials
- Pencil
- Eraser
- Paper
- Ruler
- Colored pencils or markers (optional)
Steps 01: Preparing Your Workspace
- Choose a Quiet Place: Opt for a location that’s both quiet and well-lit to ensure optimal visibility.
- Use your ruler to draw a central vertical line.
Steps 02: Sketching the Bottle Shape
- Top Curve: Sketch a gentle curve for the bottle’s neck above the line.
- Main Body: Craft a curved shape below the neck that tapers slightly at the base.
- Base: Illustrate a circular shape for the bottle’s bottom.
Steps 03: Adding Details
- Neck Details: Design the bottle cap or lid. Incorporate features like ridges or threads.
- Label Area: Position a rectangular section in the bottle’s middle for the label, ensuring you leave space for the actual label design.
Steps 04: Refining the Shape
- Refine Curves: Enhance your initial curves for realism.
- Erase Guidelines: Remove extraneous lines to clarify your bottle’s form.
Steps 05: Shading and Textur
- Light Source: Decide on the light source direction, such as top-left or top-right.
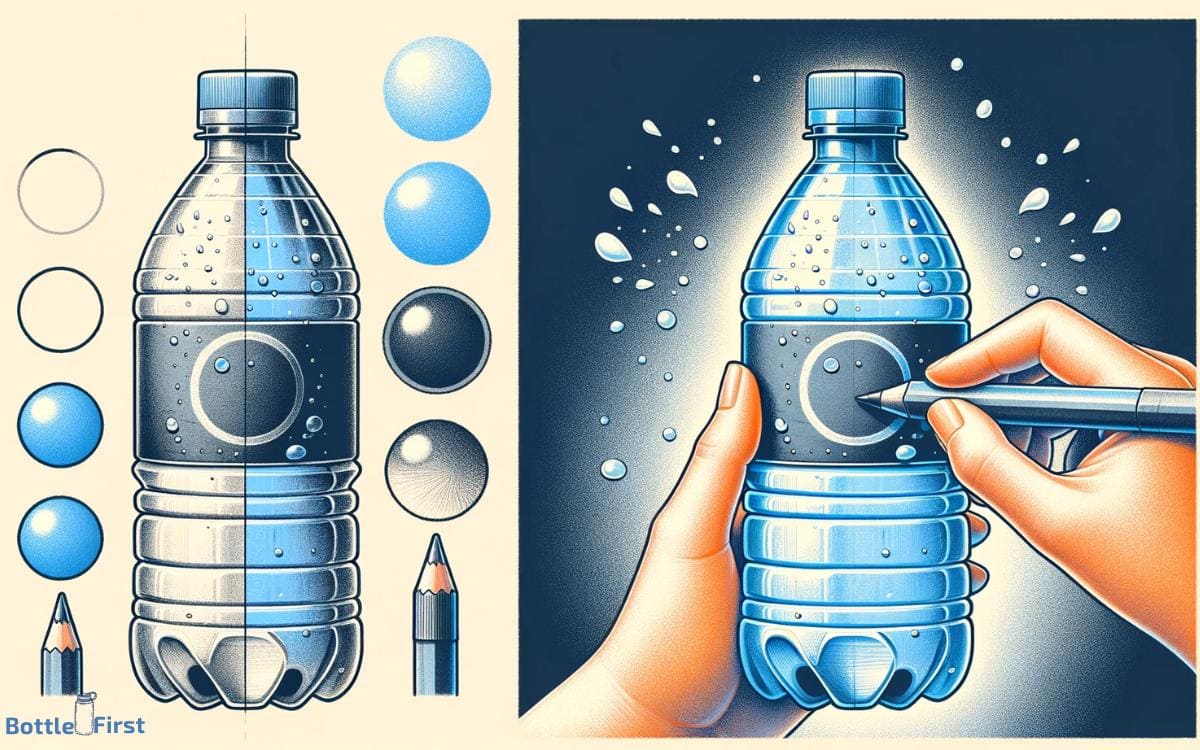
- Shading Techniques: Shade the bottle, making areas opposite the light source darker. Employ methods like hatching or blending.
- Texture: Imbue your drawing with texture elements like condensation or water ripples.
Steps 06: Adding Color (Optional)
- Color Choices: Pick suitable hues for the bottle and its label.
- Color Gradation: Initiate with a soft touch, building layers for depth.
- Highlighting: Introduce lighter shades to manifest reflections.
Steps 07: Final Touches
- Final Check: Revisit your drawing for potential refinements or errors.
- Signature: Optionally, place your signature discreetly.
- Protection: If colored pencils were utilized, a fixative spray can shield against smears.
Understanding The Anatomy Of A Water Bottle
Exploring The Different Parts Of A Water Bottle
Before we dive into the details of how to draw a water bottle realistically, let’s take a moment to understand the anatomy of a water bottle.
Here are the different parts that make up a typical water bottle:
- Cap: The cap is the top part of the water bottle that you twist or pull to open and close the bottle.
- Neck: The narrow section of the bottle that connects the cap to the body of the bottle.
- Label: The label is the wrapping around the bottle that displays the brand name, logo, and other information.
- Body: The main bulk of the bottle that holds the liquid.
- Base: The bottom part of the bottle that rests on a surface.
Understanding The Shape And Size Of Each Part
To draw a water bottle realistically, it’s important to understand the shape and size of each part.
Here’s what you need to know:
- Cap: The cap is typically circular in shape, with a diameter that’s slightly smaller than the diameter of the body of the bottle.
- Neck: The neck is cylindrical in shape, with a height that’s usually one-third of the height of the body of the bottle.
- Label: The label can have various shapes depending on the brand and design. Be sure to pay attention to the position and size of the label.
- Body: The body can be cylindrical or slightly tapered in shape. Pay attention to the width, height, and curvature of the body.
- Base: The base is typically circular in shape, with a diameter that’s similar to the diameter of the body of the bottle.
Sketching The Basic Structure Of The Water Bottle
Now that you understand the different parts and their shapes and sizes, you can start sketching the basic structure of the water bottle.
Here’s how:
- Draw a circle for the base, and then draw a straight line upwards to indicate the height of the bottle.
- Draw a slightly smaller circle on top of the height line for the cap.
- Draw a straight line downwards from the cap circle to indicate the height of the neck.
- Draw a slightly wider cylinder for the body of the bottle, and connect it to the neck with a smooth curve.
- Add the label to the body of the bottle, making sure to follow the brand’s design.
- Add details such as the ridges on the cap and the seam on the body of the bottle.
By following these guidelines and practicing, you can master the art of drawing a water bottle realistically. So grab a pencil and paper, and give it a try!
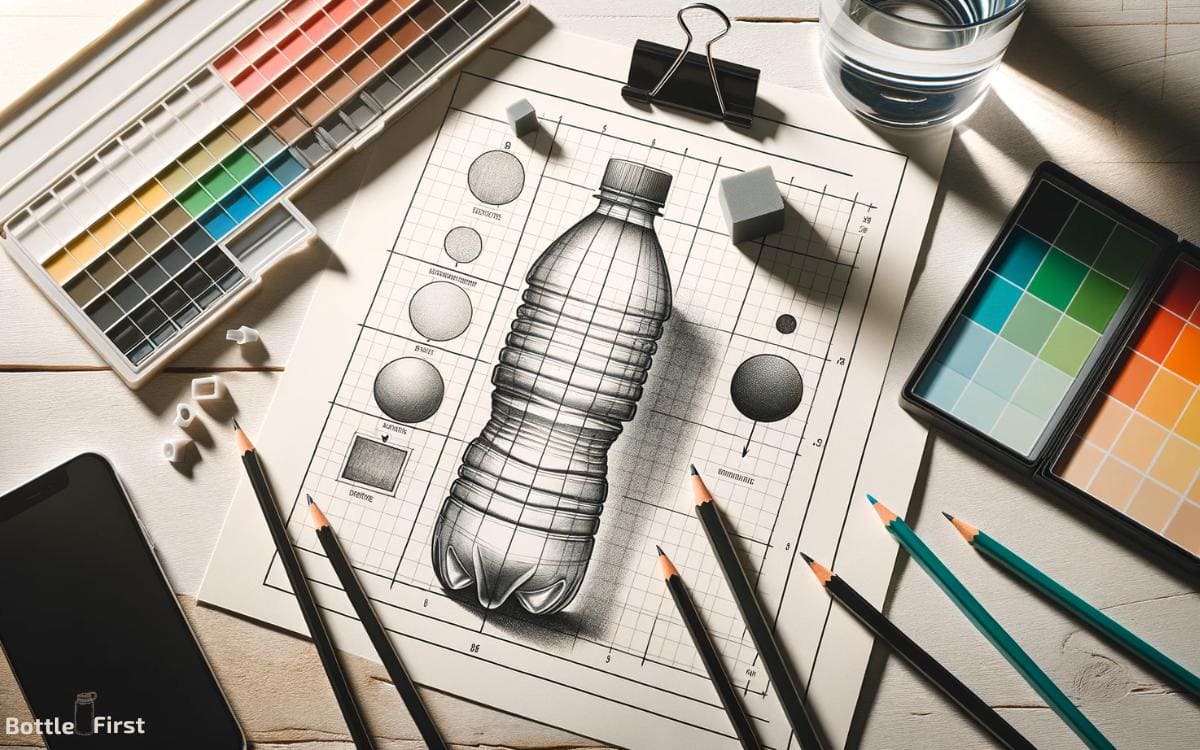
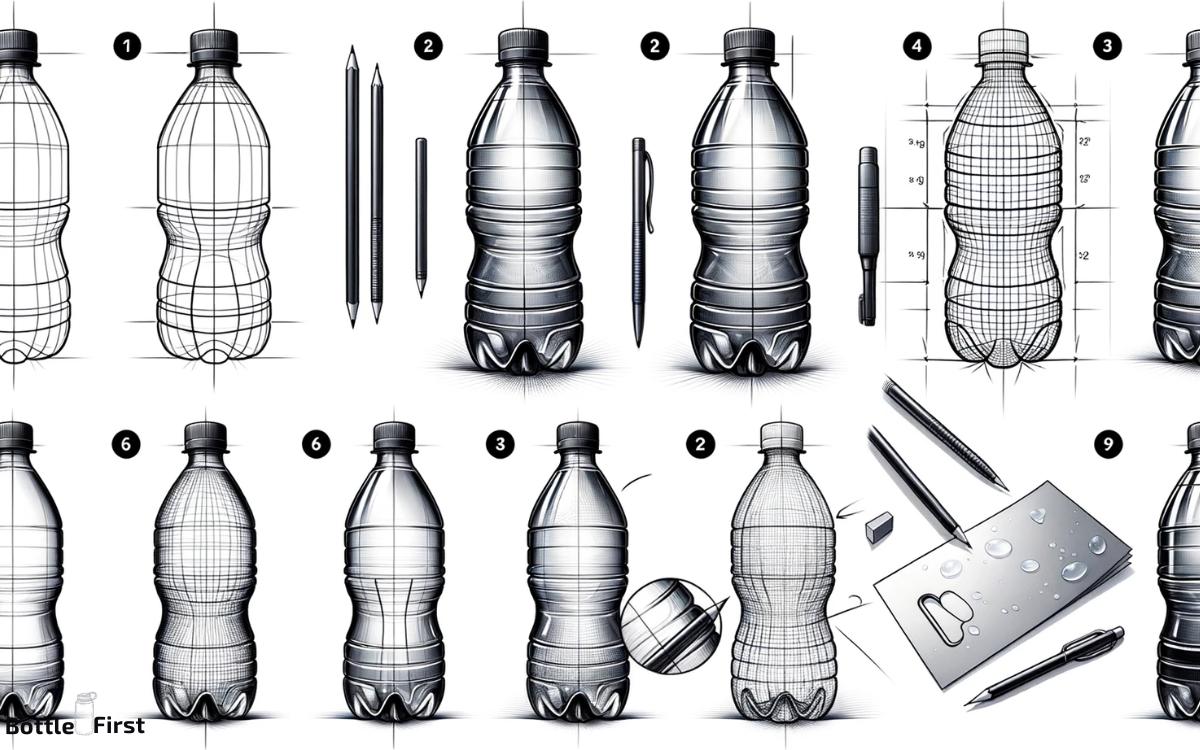
Using A Grid System To Perfect Proportions
Understanding The Benefits Of Using A Grid System
When it comes to drawing a water bottle realistically, using a grid system can be a total game-changer.
Here’s why:
- It helps you to get the proportions of each part of the water bottle accurate.
- It assists in arranging the different elements of the drawing.
- It simplifies the process of outlining the drawing.
- It gives your drawing a more professional and polished look.
Setting Up Your Grid System
To set up your grid system, follow these simple steps:
- Draw a vertical line down the middle of the paper with a pencil.
- Draw a horizontal line across the middle of the paper, perpendicular to the vertical line.
- Divide the top half of the paper with two evenly spaced horizontal lines.
- Repeat step 3 in the bottom half of the paper.
- Now you have a grid system consisting of six equal squares.
Using The Grid To Perfect Your Drawing’s Proportions
Now that you have created your grid system, here are the steps to use it for perfecting your drawing’s proportions:
- Observe the water bottle you’re planning to draw to get an idea of its proportions.
- Draw a rough sketch of the bottle on the paper without any details yet, following the outline of the square that it falls on.
- Use the grid lines to help you divide the rough sketch into further parts, focusing on one square at a time.
- In each square, draw what you observe from the water bottle. Use the grid lines as your reference, focusing on minute details such as curves or angles of the bottle.
- Once you’ve completed drawing on all the squares, you can join them together to create a realistic drawing of your water bottle.
Using a grid system might seem time-consuming initially, but the outcome will make it all worth it.
It helps you streamline your drawing process by getting the proportions right at the beginning, saving time and effort in the long run.
Give it a go and see your drawing skills take a leap!
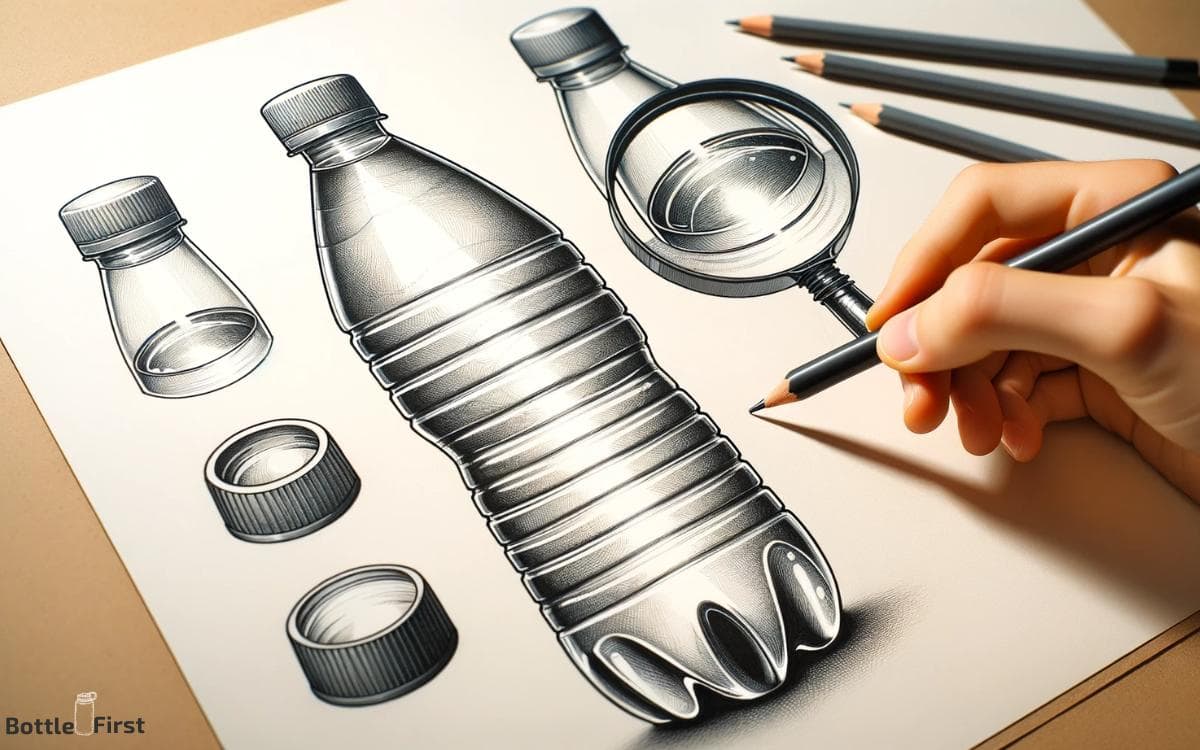
Creating Reflections And Refractions
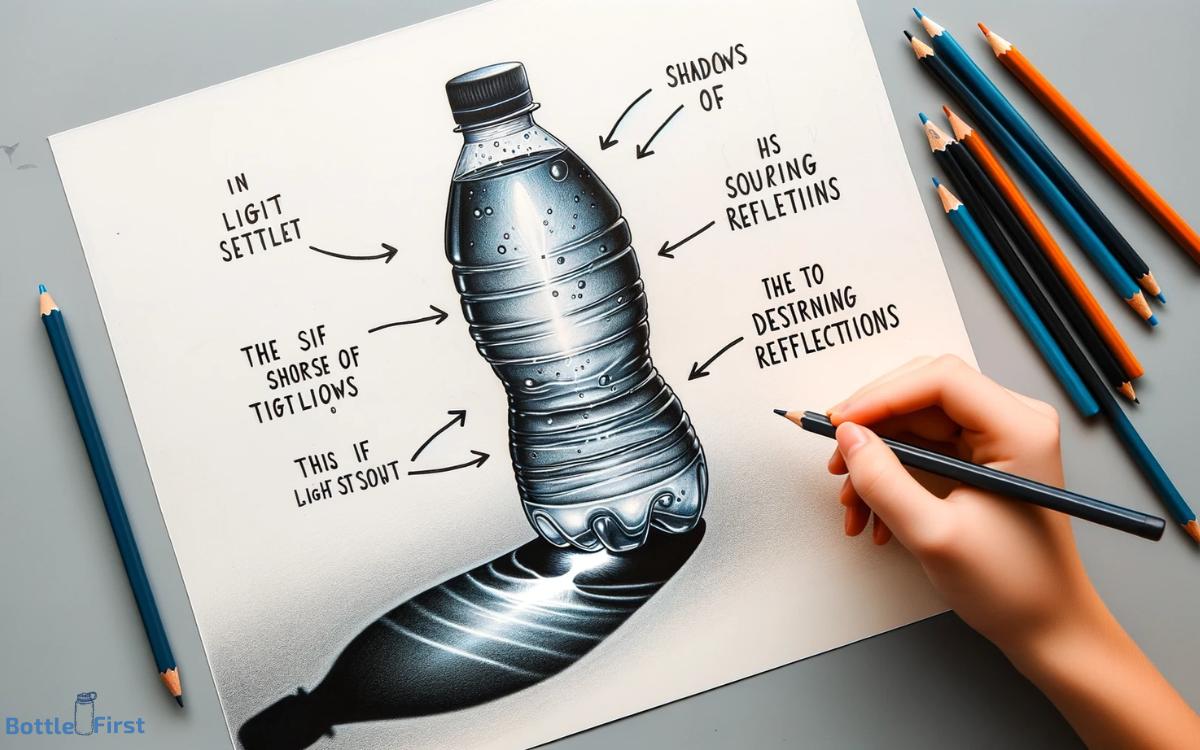
Drawing water bottles can be a challenging task, especially when you want to make them appear realistic. One crucial aspect of drawing realistic water bottles is to create reflections and refractions accurately.
In this section, we will discuss how to add reflections and use refractions to create distorted lines that make the water bottle appear more realistic.
Understanding How Water Distorts Shapes And Colors
Before you start adding reflections and refractions, it is vital to understand how water distorts shapes and colors.
Water has a refractive index that bends light, which means that objects beneath the water surface appear distorted. The amount of bending depends on the angle at which the light hits the water and the depth of the water.
Adding Reflections To Make The Water Bottle Appear More Realistic
Adding reflections is essential in making the water bottle look realistic.
Here are some steps to follow when adding reflections:
- Sketch the reflections of the water bottle on the water surface using light pencil strokes.
- Use darker pencil strokes to add shading to the areas of the reflections that are farther away from the viewer.
- Erase the pencil strokes lightly to make the reflections appear translucent.
- Use a white or light-colored pencil to add highlights to the reflections, making them look more realistic.
Using Refraction To Create Distorted Lines
Refraction is the bending of light as it passes through an object. To make the water bottle appear more realistic, you can use refraction to create distorted lines that show the shape of the bottle under the water surface.
Here’s how you can use refraction:
- Sketch the distorted lines of the water bottle using light pencil strokes.
- Use a darker pencil to add shading to the areas of the distorted lines that are farther away from the viewer.
- Erase the pencil strokes lightly to make the distorted lines appear translucent.
By using these techniques, you can create a realistic-looking water bottle drawing that accurately depicts the reflections and refractions of the water surface.
With some practice and attention to detail, you will be able to produce stunning, lifelike drawings of water bottles that look like they could jump right off the page.
Conclusion
Creating art is a journey of observation and technique. With this guide, you’ve taken a significant step towards refining your skills. Remember, every stroke adds to your artistic growth. Embrace the learning and keep drawing!
