How to Put Glitter on Glass Bottles? 5 Steps!
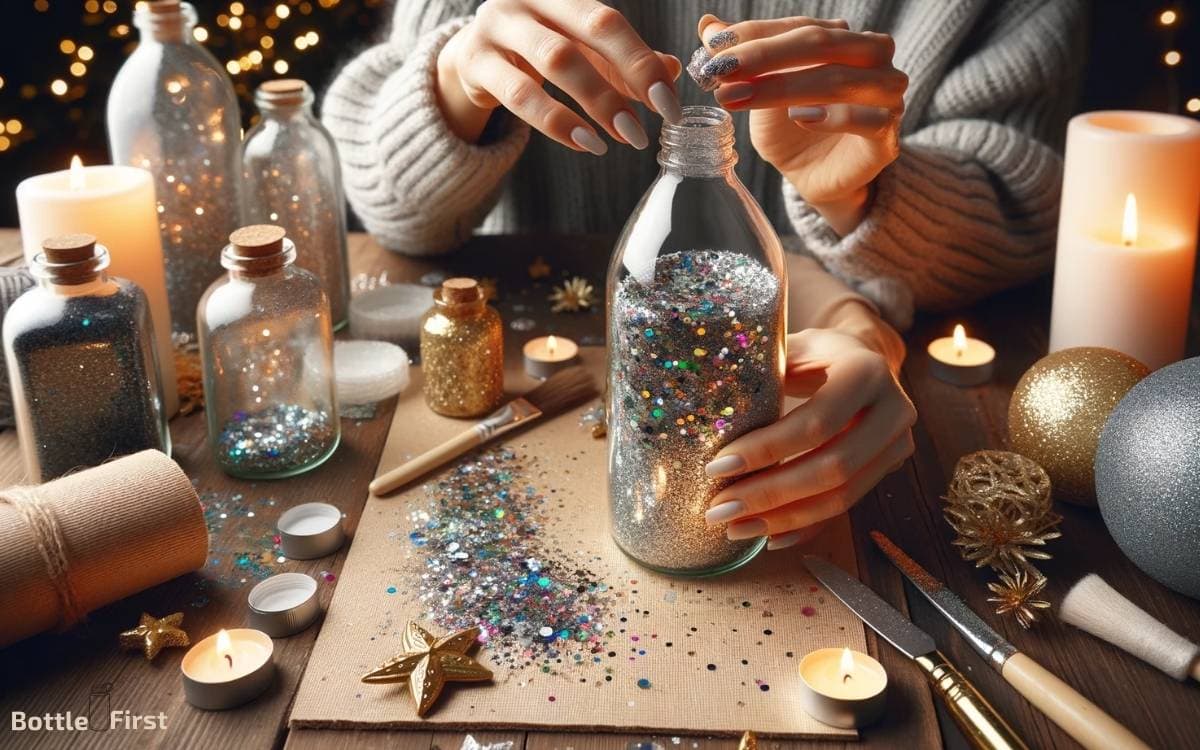
Enhance your glass bottles with a touch of sparkle by applying glitter in a few easy steps. This DIY project is perfect for creating eye-catching vases, centerpieces, or personalized gifts.
Applying glitter to glass bottles involves cleaning the surface, applying an adhesive, sprinkling on the glitter, and sealing it.
Here are some quick steps:
Create stunning, sparkly glass bottles in minutes with these straightforward, mess-free steps.
Upgrade your glass bottles to glamorous decor by adorning them with glitter. This simple DIY enhancement is ideal for crafting standout home accents or unique, glittering gifts.
Key Takeaway
Gather Your Supplies
You’ll need three different colors of fine glitter, a paintbrush, and a bottle of clear-drying adhesive. Look for vibrant and contrasting colors to create a stunning effect. The clear-drying adhesive will ensure that the glitter stays in place and gives a smooth finish.
Consider using a variety of brush sizes to achieve different effects and cover both large and small areas.
To add an extra touch of creativity, you can also gather some small embellishments like rhinestones or beads.
These supplies will allow you to experiment with different textures and finishes, making your glittered glass bottles truly unique.
Now that you have everything ready, it’s time to move on to the next step and start transforming your plain glass bottles into dazzling works of art.
Step 1: Clean the Glass Bottles
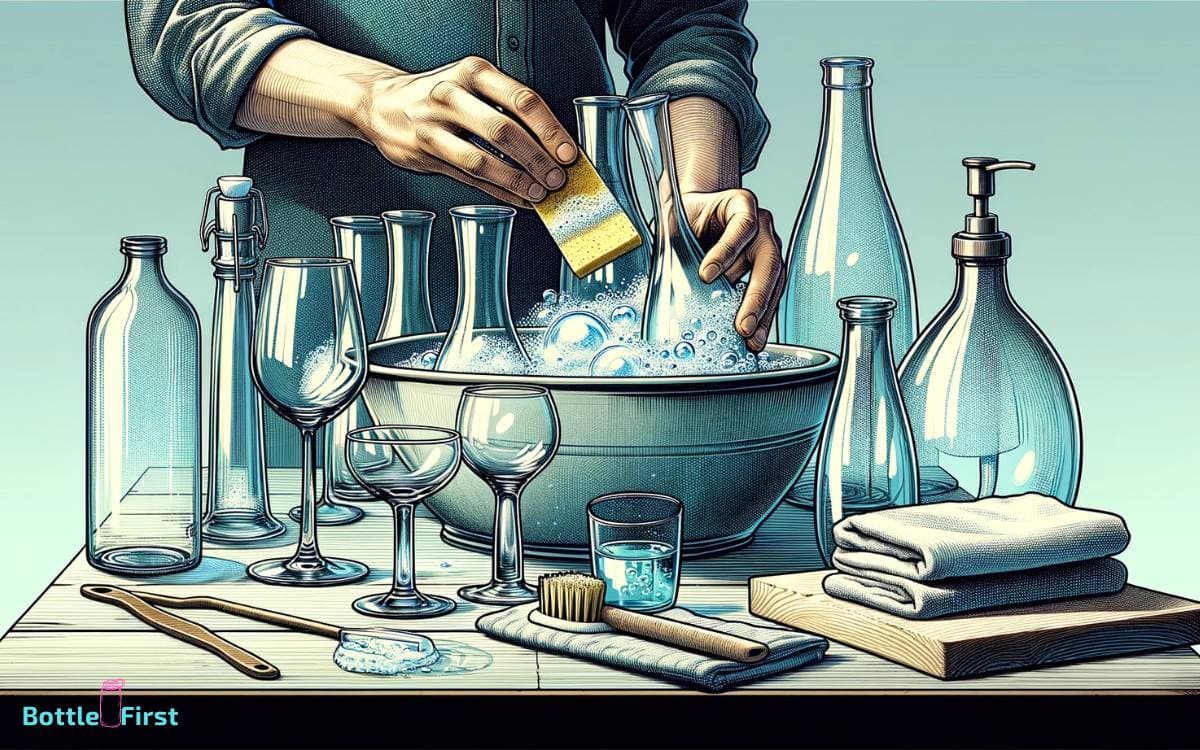
Before you start decorating your glass bottles with glitter, it’s important to ensure they’re clean and dry. Use a mild detergent to remove any dirt or residue from the bottles.
Then, dry them thoroughly before moving on to the next step. This will help the glitter adhere smoothly and ensure a professional-looking finish.
Use Mild Detergent
First, thoroughly wash the glass bottle with a mild detergent and warm water to remove any dirt, oil, or residue. This step is crucial to ensure that the glitter adheres smoothly to the glass surface.
Choose a mild detergent to avoid leaving behind any chemical residue that could interfere with the glitter application.
Gently scrub the bottle inside and out, paying particular attention to any crevices or embossed areas where dirt may accumulate. Rinse the bottle thoroughly with clean water to remove all traces of the detergent.
Once the bottle is clean and dry, you’ll be ready to move on to the next exciting step of adding glitter to create a stunning and personalized decorative piece.
Dry Thoroughly Before Decorating
To ensure optimal adherence of glitter to the glass surface, thoroughly dry the clean bottle before proceeding with the decorating process.
Once you have washed the bottle with a mild detergent and rinsed it thoroughly, follow these steps to ensure it’s completely dry:
- Air Dry: Place the bottle upside down on a clean towel or drying rack to let the air circulate inside and outside the bottle, ensuring it dries completely.
- Use a Hair Dryer: Speed up the drying process by using a hair dryer on a low setting. Hold the hair dryer a few inches away from the bottle and move it around to dry the entire surface.
- Silica Gel Packets: Place a few silica gel packets inside the bottle to absorb any remaining moisture, ensuring a completely dry surface for the glitter application.
Step 2: Apply Adhesive to the Bottles
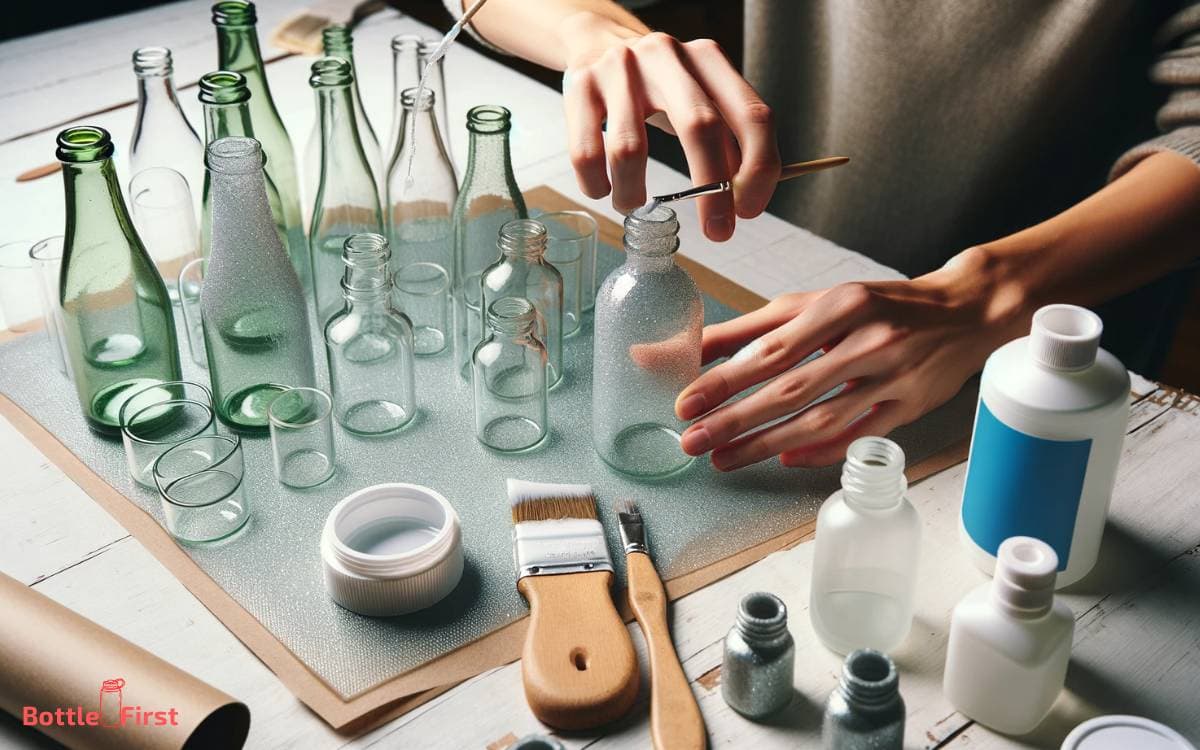
Start by applying a thin, even layer of adhesive to the surface of the glass bottles using a foam brush or a sponge brush.
This step is crucial to ensure that the glitter adheres properly and creates a stunning, long-lasting effect. Make sure to cover the entire surface evenly, avoiding any clumps or streaks.
The type of adhesive you use is key, so consider using a clear-drying, multipurpose adhesive that’s suitable for glass surfaces.
By using the right adhesive and applying it meticulously, you’ll set the perfect foundation for the glitter to adhere to the bottles seamlessly.
Once the adhesive is applied, it’s time to move on to the fun part – sprinkling glitter onto the bottles to create a dazzling, eye-catching finish.
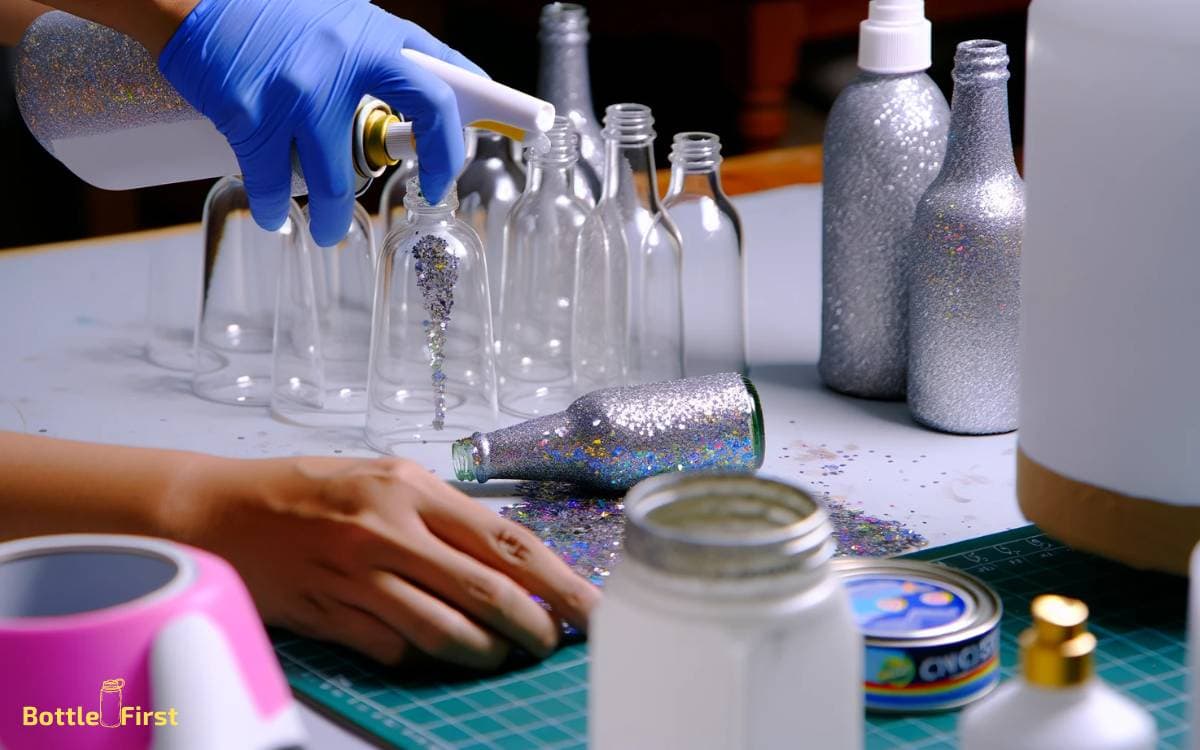
Step 3: Sprinkle Glitter Onto the Bottles
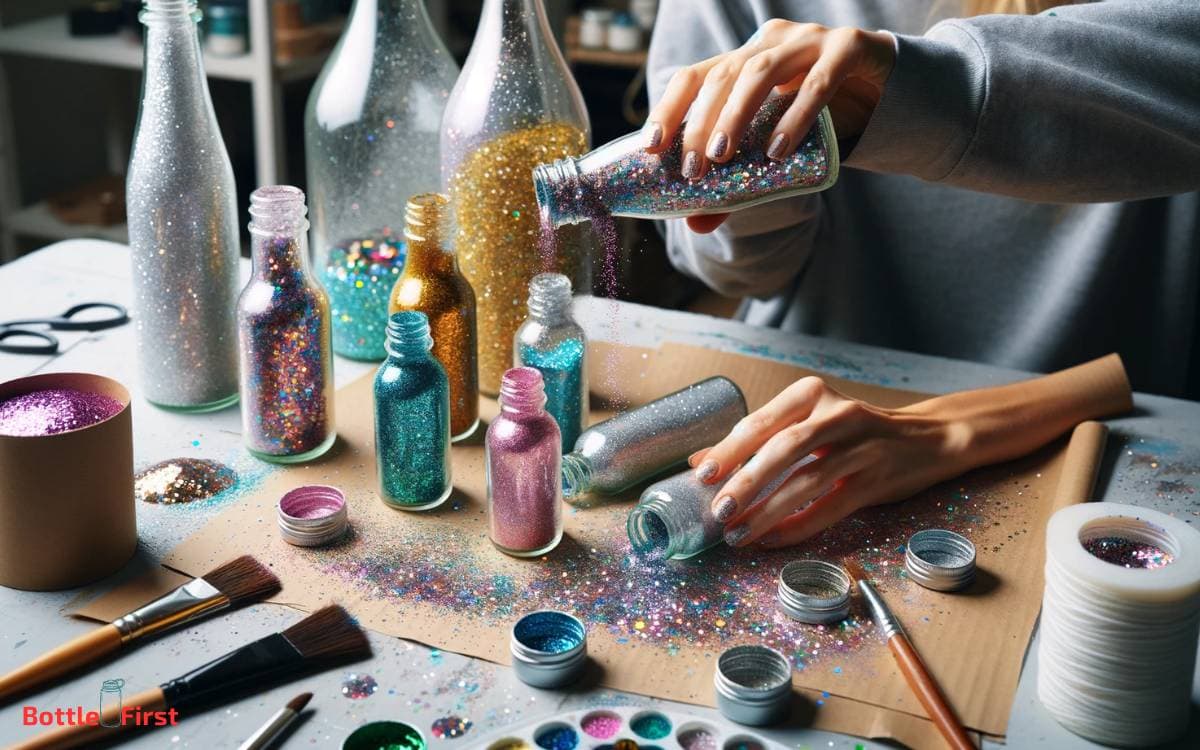
Sprinkle glitter evenly onto the adhesive-coated glass bottles, ensuring full coverage and a sparkling finish.
To achieve a stunning result, follow these steps:
- Hold the bottle over a piece of paper or a tray to catch any excess glitter.
- Gently tap the bottle to disperse the glitter evenly across the adhesive surface.
- Rotate the bottle to ensure that all areas are covered, and add more glitter as needed to fill in any gaps.
Step 4: Seal the Glitter on the Bottles
To seal the glitter on the bottles, use a clear sealant and apply thin coats for the best results. This will ensure that the glitter stays in place and doesn’t rub off easily. Remember to let each coat dry completely before applying the next one.
Use Clear Sealant
To seal the glitter on the glass bottles, apply a clear sealant in thin, even coats using a paintbrush or sponge. This won’t only secure the glitter in place but also give the bottles a smooth, glossy finish.
Here are some innovative tips to make the most of your clear sealant:
- Experiment with different types of clear sealants such as spray-on sealants, brush-on sealants, or epoxy sealants to achieve unique textures and effects.
- Mix a small amount of fine glitter into the clear sealant before applying it for a subtle yet stunning overall sparkle.
- Consider using a UV-resistant clear sealant if you plan to display the glittered bottles in sunlight to prevent fading and ensure long-lasting brilliance.
Apply Thin Coats
How do you ensure the glitter on the glass bottles is securely sealed in place while also achieving a smooth, glossy finish?
The key is to apply thin coats of clear sealant. This innovative technique not only seals the glitter securely but also ensures a professional, polished look.
By using thin coats, you allow each layer to dry completely before applying the next, preventing clumping or uneven coverage. This method also helps in achieving a seamless, glass-like finish, enhancing the sparkle and vibrancy of the glitter.
Additionally, thin coats of sealant enable you to have better control over the application, resulting in a more precise and even coverage.
Embracing this approach won’t only safeguard the glitter but also elevate the overall aesthetic of your glass bottles.
Step 5: Display Your Glittery Glass Bottles
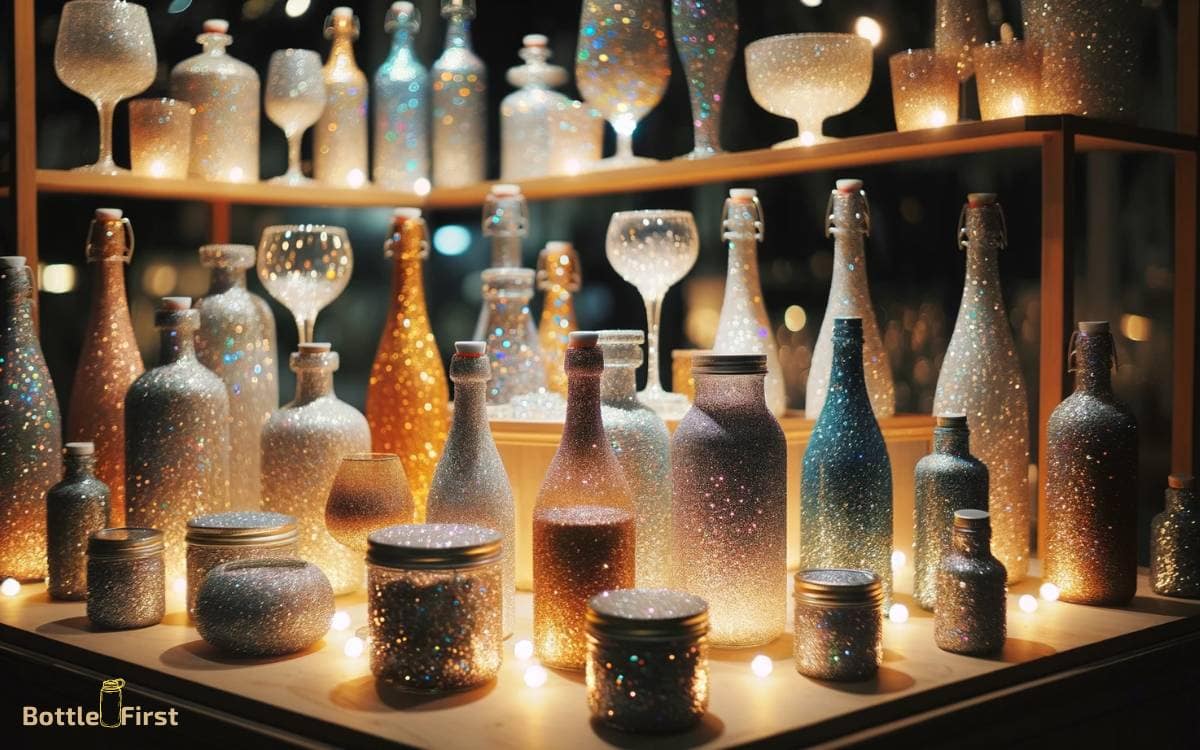
Enhance your decor by showcasing your glittery glass bottles in a well-lit area. The shimmering effect of the glitter will catch the light and create a stunning visual impact.
Here are a few innovative ways to display your glittery glass bottles:
- Grouping: Arrange your bottles in clusters of varying heights to create an eye-catching centerpiece on a mantel or shelf.
- Lighting: Place a string of LED lights inside the bottles to add a magical glow to your display, perfect for evening ambiance.
- Unique Containers: Use the glittery bottles as unique vases for fresh or artificial flowers, adding a touch of glamour to your floral arrangements.
How to Make Glitter Wine Bottles and Glasses
Making glitter wine bottles and glasses is a fun and creative project.
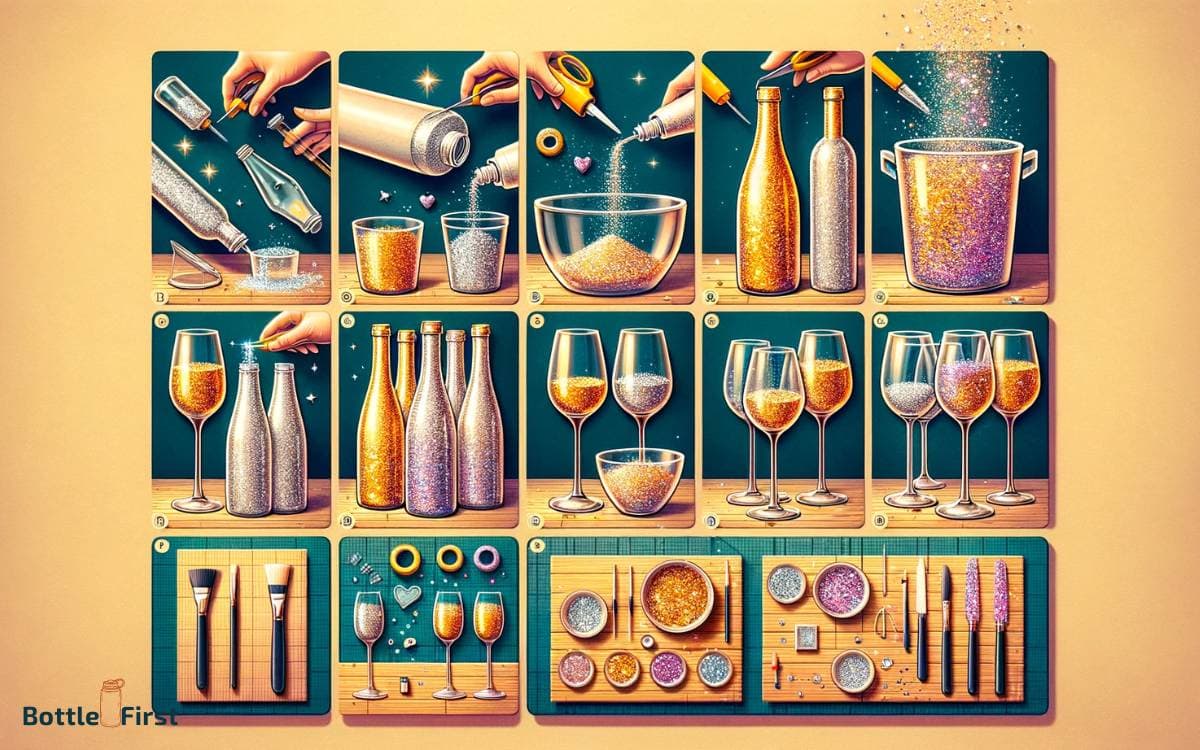
Here’s a step-by-step guide:
Materials Needed
- Wine Bottles or Glasses: Choose clean, empty wine bottles or glasses.
- Glitter: Fine glitter works best for a smooth finish.
- Mod Podge or a Similar Adhesive: This acts as a glue and sealer.
- Paintbrush or Sponge Brush: For applying the adhesive.
- Newspaper or Drop Cloth: To protect your working surface.
- Clear Acrylic Sealer Spray (optional): For additional protection.
- Masking Tape: If you want to create patterns or designs.
- Gloves: To keep your hands clean and avoid fingerprints on the glass.
Steps
- Preparation: Lay out your newspaper or drop cloth to protect your work area. If you’re planning on creating designs or not covering the entire surface, use masking tape to cover the areas where you don’t want glitter.
- Cleaning: Ensure the bottles or glasses are clean and dry. Any residue or fingerprints may affect the adhesive’s ability to stick.
- Applying Adhesive: Using your brush, apply a thin, even layer of Mod Podge or adhesive to the area you want to glitter. Work in small sections if the area is large.
- Applying Glitter: While the adhesive is still wet, sprinkle glitter over it. Make sure to cover all areas evenly. Tap off the excess glitter.
- Drying: Let the adhesive dry completely. This may take several hours or as recommended by the adhesive’s instructions.
- Second Coat (Optional): For a more intense glitter effect, apply a second coat of adhesive and glitter once the first coat is dry.
- Sealing: Once completely dry, apply a thin layer of Mod Podge over the glitter to seal it. Alternatively, use a clear acrylic sealer spray. This step helps prevent the glitter from shedding.
- Final Drying: Allow the final coat to dry completely.
- Removing Masking Tape: If you used masking tape to create designs, carefully remove it after the final coat has dried.
Tips
- Test First: It’s a good idea to test your technique on a small area or a spare bottle/glass.
- Variations: Experiment with different colors of glitter, or combine colors for a unique look.
- Safety Note: Glittered bottles and glasses are generally for decorative purposes. If you plan to use the glasses for drinking, avoid glittering the rim and inside.
Enjoy your sparkling, glittery wine bottles and glasses! They make great decorative pieces for parties or gifts.
Conclusion
Now that you have gathered your supplies, cleaned the glass bottles, applied adhesive, sprinkled glitter, and sealed it all in, it’s time to display your glittery glass bottles!
Show off your sparkling creations and add a touch of glamour to any room.
Enjoy the process of making and displaying these beautiful, eye-catching decorations that are sure to brighten up any space.
