How to Remove Cap from Glass Bottle? 6 Easy Steps!
Discover easy and efficient ways to remove caps from glass bottles with our guide. Learn the best techniques to open your drinks without hassle.
Removing a cap from a glass bottle can be a simple task when you know the right tricks.
Here are some quick steps:
Effortlessly open any glass bottle cap with our quick and easy tips, ensuring a smooth pour every time.
Learn how to swiftly remove caps from glass bottles using simple techniques that are both effective and convenient.
Whether it’s leveraging a bottle opener or applying gentle heat, our guide ensures you can enjoy your favorite beverages hassle-free. With these tips, you’ll never face the frustration of a stubborn bottle cap again.
Key Takeaway
Step 1: Assessing the Cap Type
To determine the best method for removing the cap from a glass bottle, you should start by assessing its type and material.
Innovation in cap removal methods begins with understanding the characteristics of the cap you’re dealing with.
Is it a screw-on cap or a cork? Is it made of plastic, metal, or a combination of materials?
Knowing the type and material of the cap will guide you in choosing the most effective approach for removal.
For example, a screw-on cap may require a different technique than a cork cap. Once you have identified the cap type and material, you can then proceed to the next step of loosening the seal, which is crucial for successful cap removal.
Step 2: Loosening the Seal
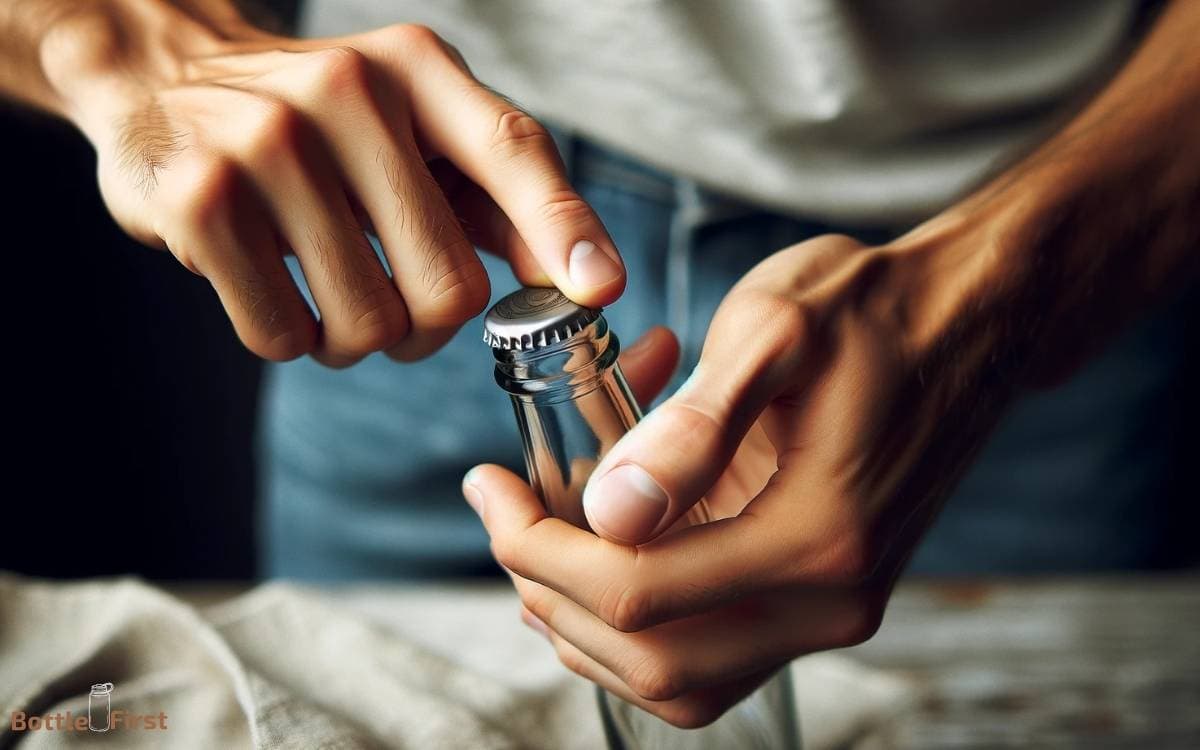
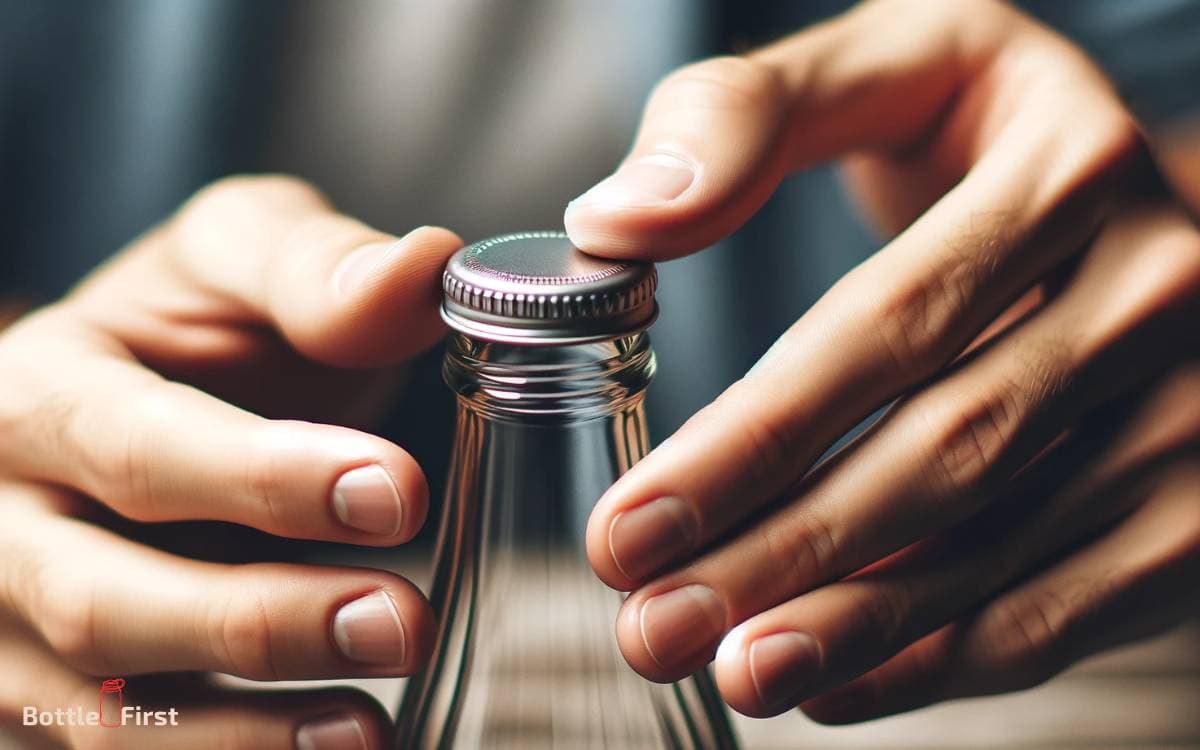
Using a firm grip, twist the cap counterclockwise while applying steady pressure to break the seal. If the cap is still resistant, try tapping the edges gently to create micro-movements that can help release the seal.
Another innovative approach is to use a rubber band for added grip and leverage. Simply wrap the rubber band around the cap for better traction and then attempt to twist it open.
For an even more cutting-edge method, consider using a hot water bath to expand the metal cap slightly, making it easier to unscrew. Submerge the bottle’s neck in hot water for a minute, dry it thoroughly, and then attempt to open the cap.
These inventive techniques can help you break the seal and effortlessly remove the cap from the glass bottle.
Step 3: Using Tools for Assistance
When using tools to remove a cap from a glass bottle, safety should always be your top priority.
It’s important to choose the right type of tool for the job, whether it’s a rubber grip, a jar opener, or a pair of pliers.
Safety When Using Tools
Ensure proper grip and stability when using tools to assist in removing the cap from a glass bottle. Safety is paramount when utilizing tools, and it’s essential to take precautions to prevent accidents or injuries.
Here are some tips to ensure safety when using tools for assistance:
- Use tools with ergonomic handles to reduce strain on your hands and wrists.
- Always wear protective gear such as gloves and eye goggles to shield yourself from potential harm.
- Inspect tools for any damage or defects before using them to ensure they’re safe and functional.
- Keep the work area well-lit to enhance visibility and reduce the risk of accidents.
- Follow the manufacturer’s instructions and recommended safety measures when using tools.
Types of Tools
To effectively assist in removing the cap from a glass bottle, you can utilize a variety of tools that are designed for this specific task.
One innovative option is a rubber grip jar opener, which provides a firm hold and increased torque to twist off stubborn caps.
Additionally, a bottle opener with a non-slip handle can be used to pry off caps with ease.
For those looking for a more traditional approach, a strap wrench is a handy tool that can grip the cap securely and facilitate its removal.
Furthermore, a cap screwdriver with a rubberized handle offers a simple yet effective way to pop off caps.
These tools are designed to provide assistance and make the cap removal process from glass bottles easier and more efficient.
Step 4: Applying Heat Method
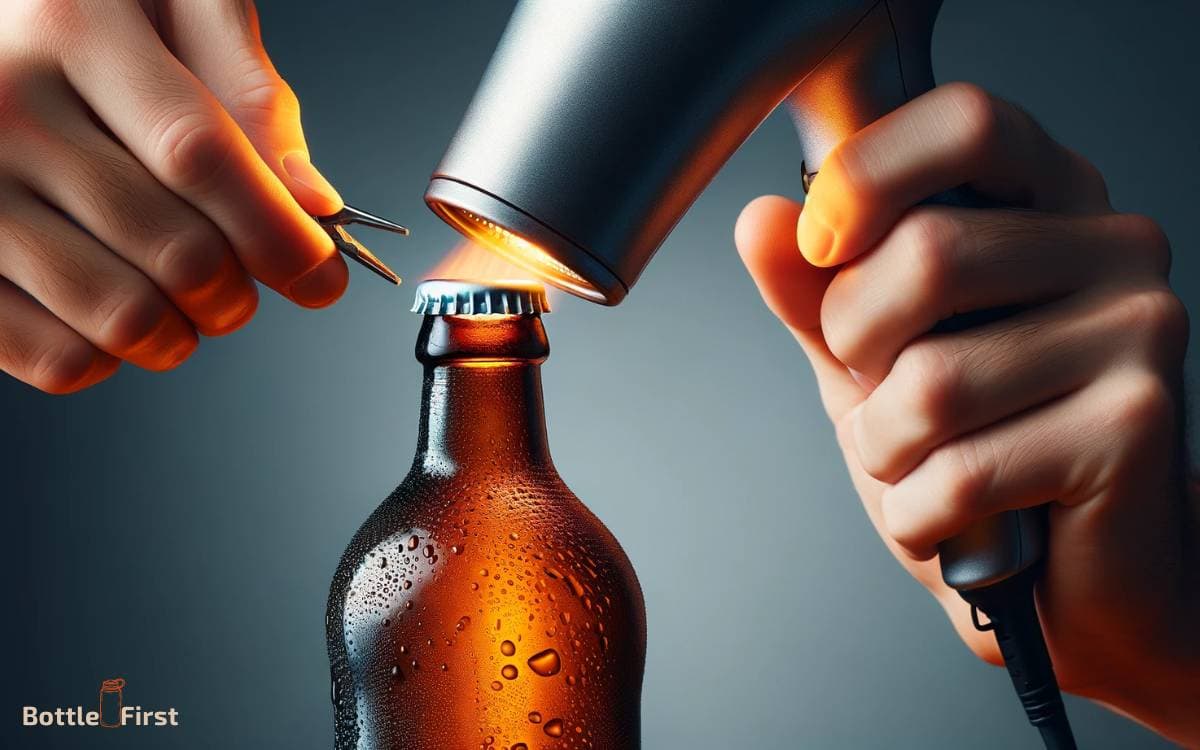
You can start by gently heating the cap using a hairdryer or hot water to loosen it from the glass bottle. Applying heat can be an effective method for loosening stubborn caps.
Here are some innovative ways to apply heat to help remove the cap:
- Using a hairdryer to blow hot air directly onto the cap
- Submerging the bottle in hot water for a few minutes
- Using a heat gun to target the cap and gradually loosen it
- Placing the bottle near a heat source, such as a radiator or in direct sunlight
- Wrapping the neck of the bottle with a hot towel or heating pad to warm the cap
These methods can help to expand the metal or plastic cap, making it easier to twist off the bottle.
Step 5: Tapping and Twisting Technique
To loosen a stubborn cap, start by gently tapping the sides of the bottle cap with the palm of your hand.
This tapping motion can help to break the seal and make it easier to twist off. Once the cap feels loosened, use your hand to twist it off in a counterclockwise direction.
Tapping for Loosening Cap
Using a firm grip, tap the bottom of the glass bottle on a sturdy surface to help loosen the cap before twisting it open. This tapping and twisting technique can be a game-changer in opening stubborn caps.
Here’s why it works so effectively:
- The rhythmic tapping motion stimulates micro-movements that break the seal.
- It enhances your sensory experience, making the process feel more interactive and engaging.
- The sound of the tapping creates a sense of anticipation and excitement.
- It allows you to take a proactive approach and feel empowered in the task.
- The combination of tapping and twisting promotes a feeling of resourcefulness and adaptability.
Now, with the cap loosened, you’re ready to apply the twisting technique for effortless cap removal.
Twisting to Open
With the cap now loosened from the tapping technique, proceed to twist the cap open by gripping the bottle firmly and applying steady pressure in a counterclockwise direction. As you twist, maintain a consistent force to ensure a smooth release.
This tapping and twisting technique harnesses the principles of friction and leverage to efficiently remove the cap from the glass bottle.
By combining these methods, you can achieve a seamless and effortless opening experience, showcasing the power of innovative problem-solving.
Embracing this approach not only simplifies the task but also highlights the ingenuity behind unconventional solutions.
This tapping and twisting technique represents a modern and resourceful way to tackle everyday challenges, demonstrating the potential for creativity and innovation in even the simplest of tasks.
Step 6: Preventing Future Sticking
You can prevent future sticking by applying a thin layer of food-grade lubricant around the threads of the bottle cap. This simple step can save you from the frustration of struggling to open a stubborn bottle cap in the future.
Here are some innovative tips to help you keep your bottle caps from sticking:
- Utilize nanotechnology to create self-lubricating bottle caps
- Develop a smart bottle cap with sensors that detect when the cap is starting to stick and release a small amount of lubricant
- Use 3D printing to create custom-designed bottle caps with improved grip and anti-stick features
- Incorporate magnetic technology into bottle caps to reduce friction and sticking
- Design a bottle cap with a twist-release mechanism for effortless opening
How to Open Glass Bottle with Metal Cap
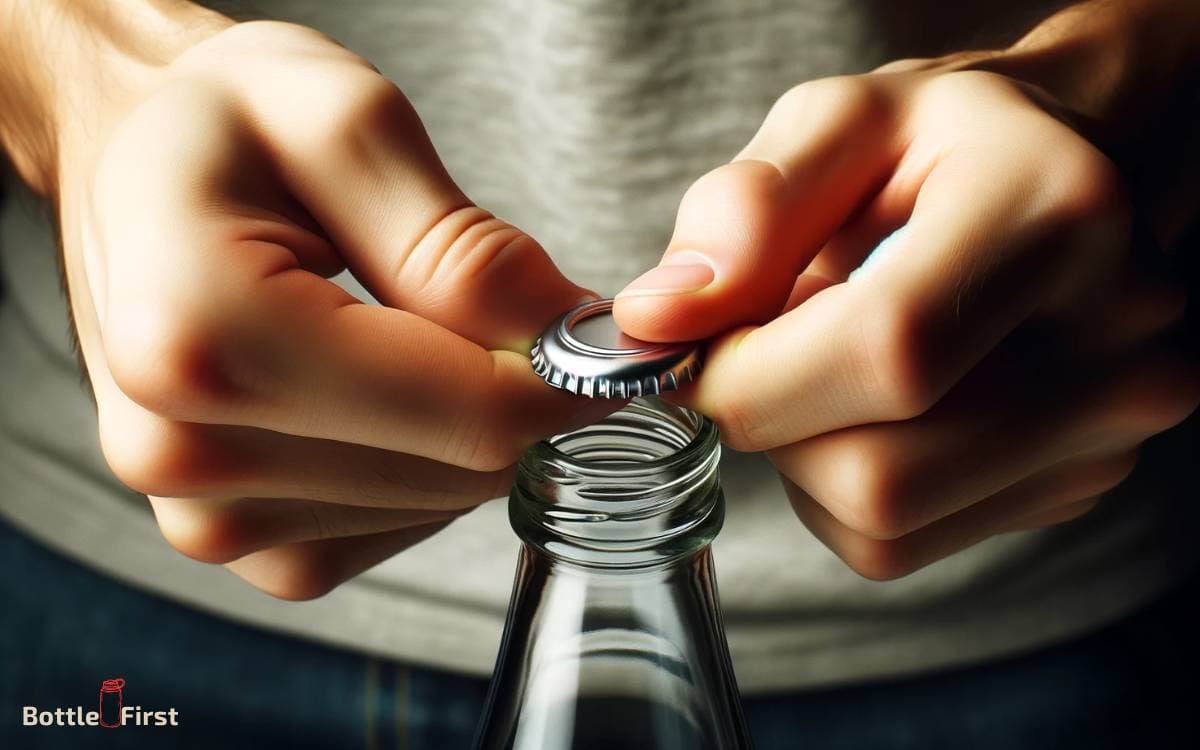
Opening a glass bottle with a metal cap, like those commonly found on beer or soda bottles, can be done in several ways, depending on what tools you have at hand.
Here are some methods:
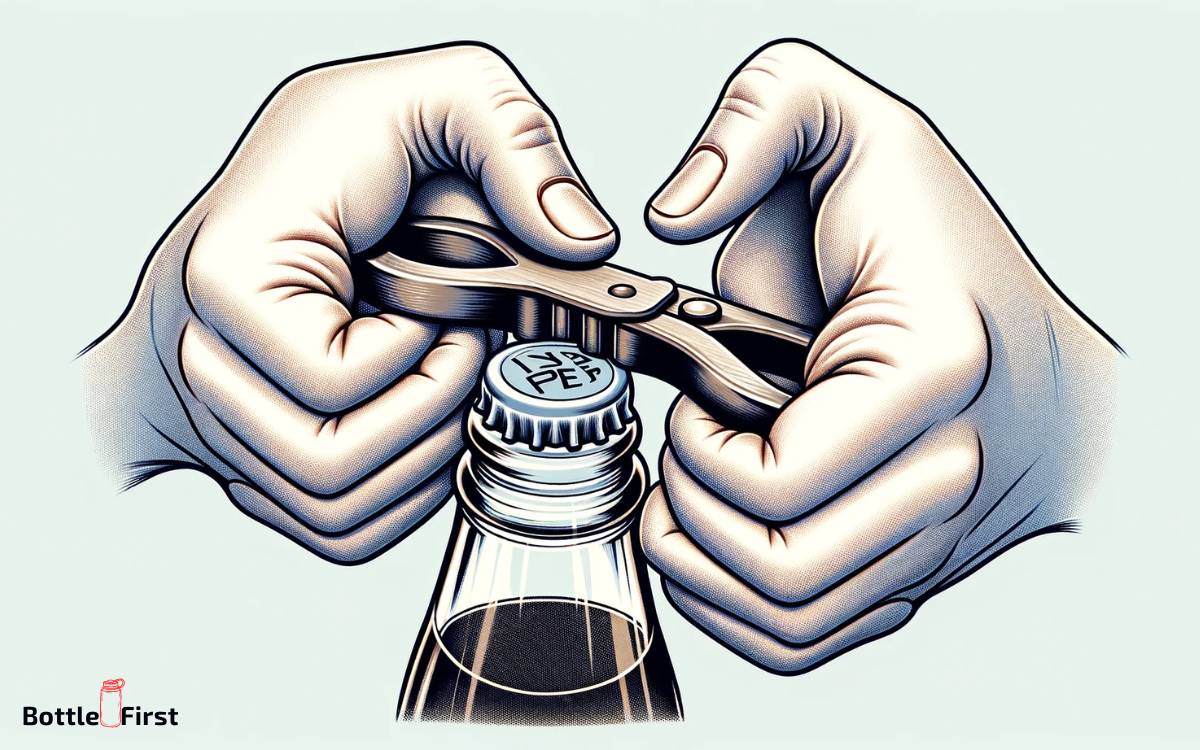
Using a Bottle Opener
This is the most straightforward and safest method:
- Grip the Neck: Hold the bottle firmly by the neck, ensuring it won’t slip.
- Position the Opener: Place the edge of the bottle opener under the cap’s rim.
- Leverage and Lift: Use leverage to push down on the opener, lifting the cap off.
With Household Items
If you don’t have a bottle opener, various household items can be used:
Lighter Method:
- Hold the neck of the bottle firmly.
- Place the bottom of a lighter (or a similar solid object) under the cap’s edge.
- Use your other hand to push down on the lighter, prying the cap off.
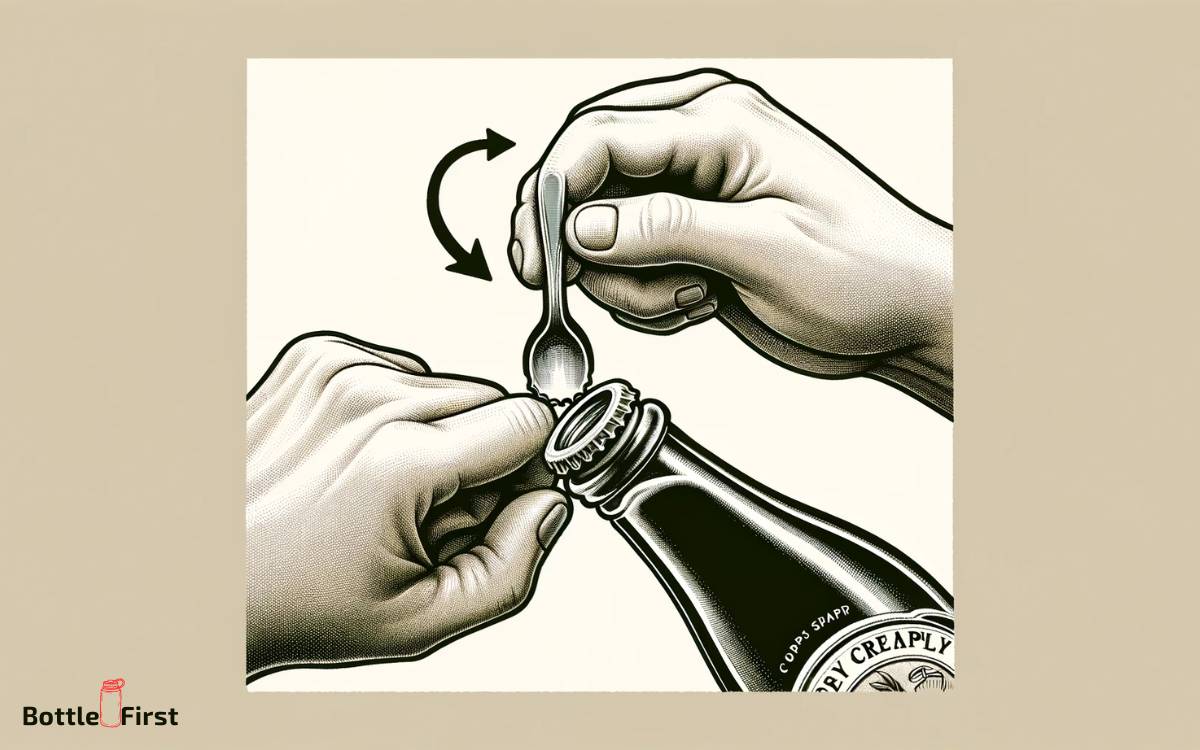
Spoon or Fork:
- Grip the bottle neck.
- Use the edge of a spoon or fork as a lever, placing it under the cap.
- Apply upward pressure to pry the cap off.
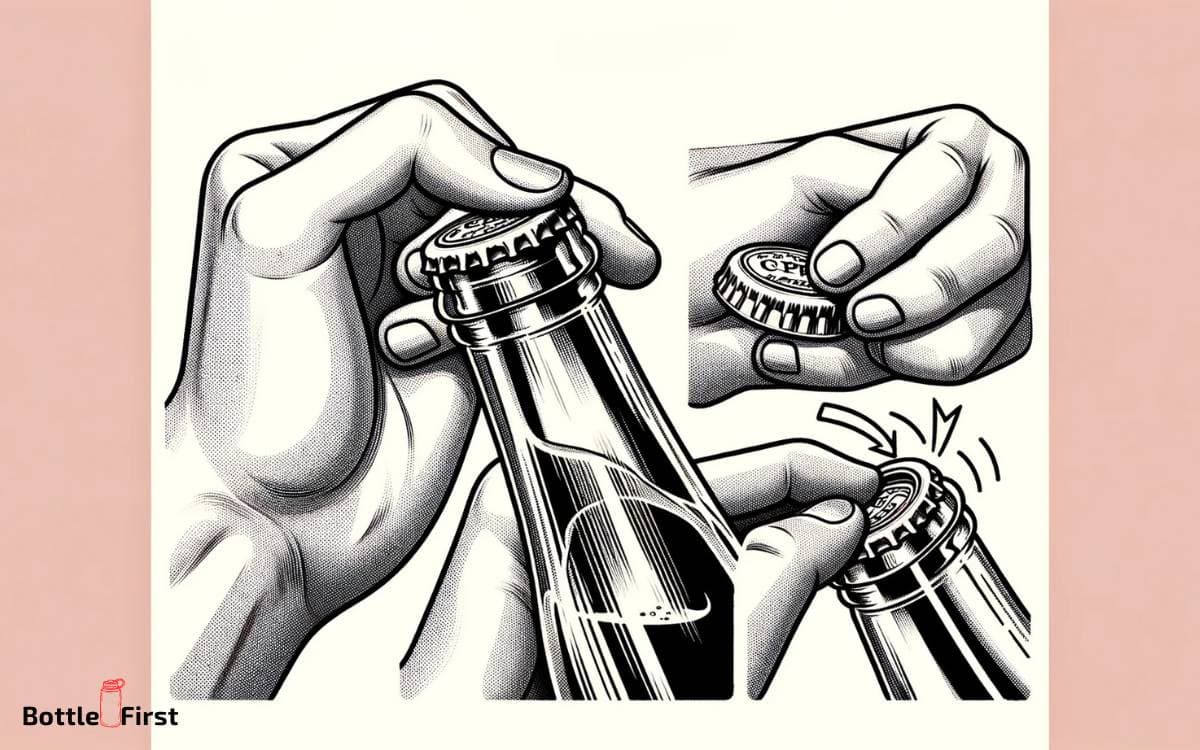
Counter Edge:
- Hold the bottle firmly.
- Place the cap’s edge against a counter edge.
- Hit the bottle’s top with your other hand to pop the cap off. Be cautious with this method to avoid damaging the counter or the bottle.
Key or Dull Knife:
- Use a key or dull knife to lever the cap off.
- Slide the object under the cap’s edge and twist or lift gently.
Safety Tips
- Always grip the bottle securely to prevent it from slipping.
- Be careful not to hurt your hand, especially with the counter edge or key methods.
- If using an unconventional method, be gentle to avoid breaking the bottle.
These methods can be handy when you don’t have a conventional bottle opener. However, using a proper bottle opener is always recommended for safety and ease.
Conclusion
So, next time you’re struggling to remove a stubborn cap from a glass bottle, remember to assess the cap type, loosen the seal, and use tools or heat if necessary.
Tapping and twisting can also help, and be sure to store your bottles in a cool, dry place to prevent future sticking.
With these techniques, you’ll never have to struggle with a stuck cap again!
