How to Remove Labels from Glass Bottles? 5 Easy Steps!
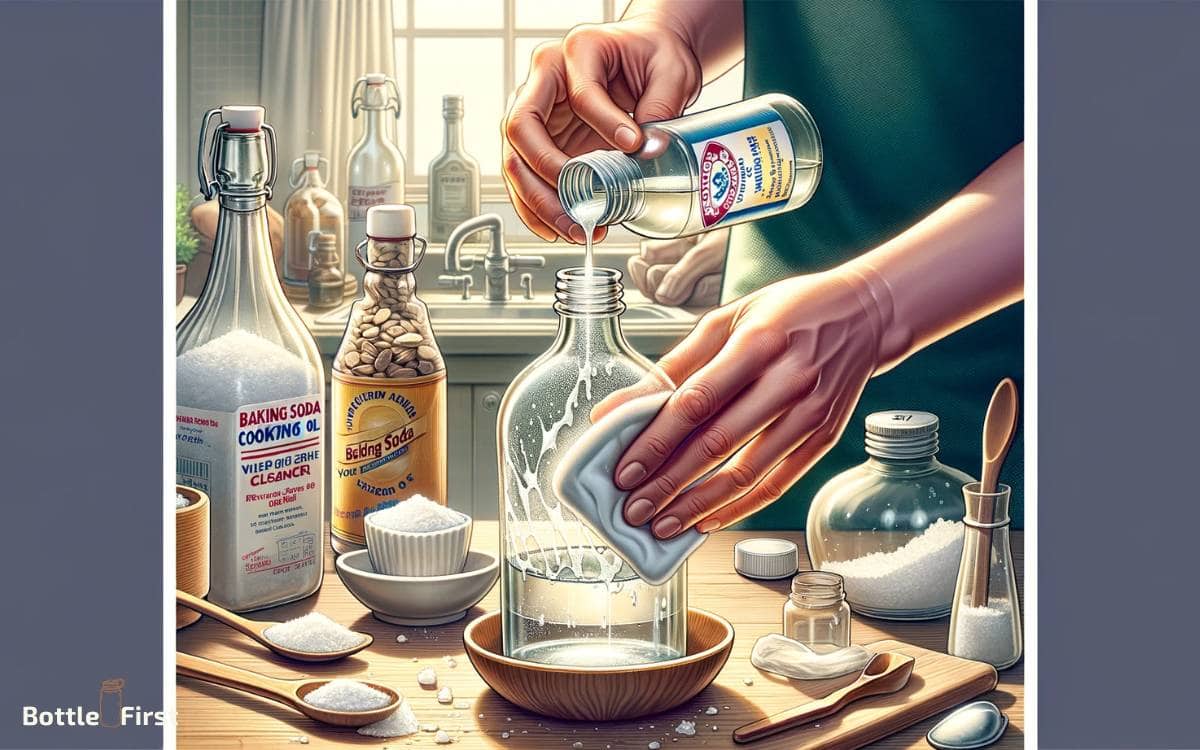
To remove labels from glass bottles effectively, you can employ various methods involving household items such as baking soda and cooking oil, warm soapy water, or a mixture of vinegar and water.
Adhesive removers like Goo Gone are also an option. Each approach requires soaking or applying the solution, waiting for the adhesive to loosen, and then peeling or scrubbing off the label.
Removing labels from glass bottles can be accomplished with several different techniques, depending on the resources available:
Each of these methods may require a bit of patience and scrubbing for complete removal, especially if the adhesive is stubborn.
Effortlessly transform used glass bottles into artistic canvases or functional home decor with these label removal techniques.
Key Takeaway
Gather Your Materials
Gather the materials you’ll need to remove labels from glass bottles:
- Dish soap
- Scrubbing sponge
- Plastic scraper
These materials are essential for an innovative label removal process. The dish soap will help loosen the adhesive, making it easier to scrub off the label.
The scrubbing sponge is perfect for gently but effectively removing the label residue without scratching the glass.
Finally, the plastic scraper will come in handy for any stubborn areas that need a little extra persuasion.
With these innovative tools at your disposal, you’ll be able to efficiently and effectively remove labels from glass bottles. This will make them ready for upcycling or reuse in your innovative DIY projects.
Step 1: Soak the Bottles
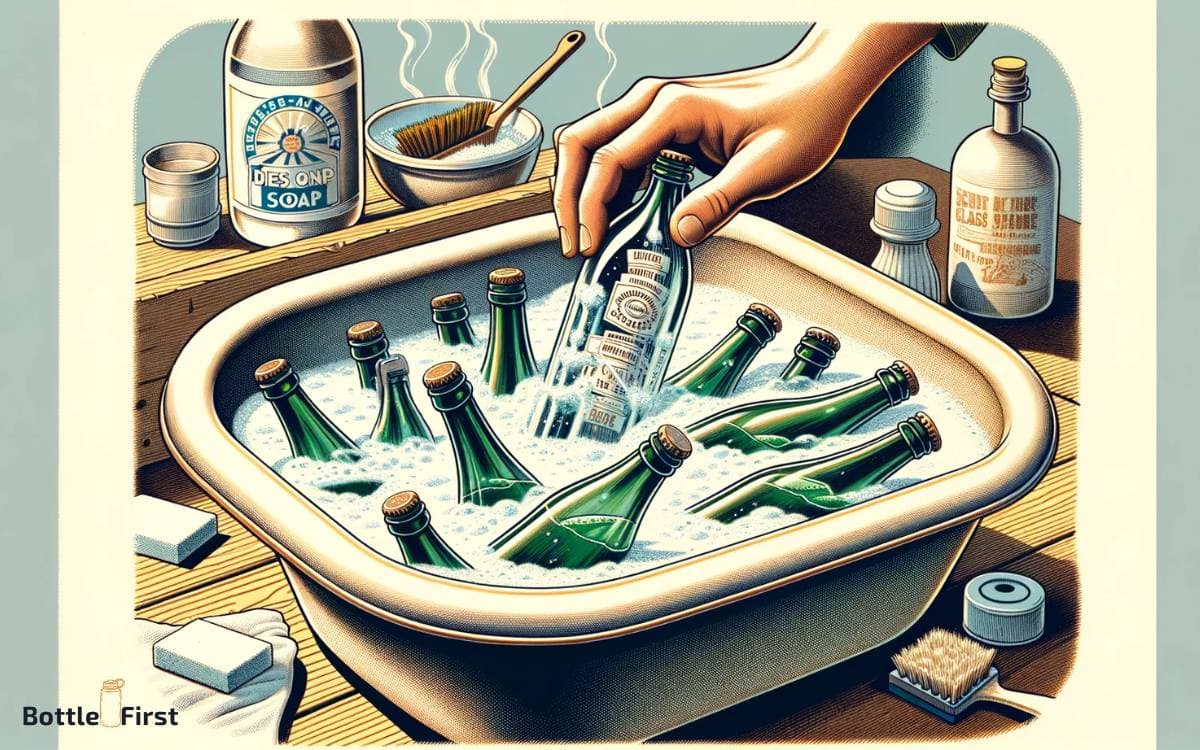
To start soaking the bottles, follow these steps:
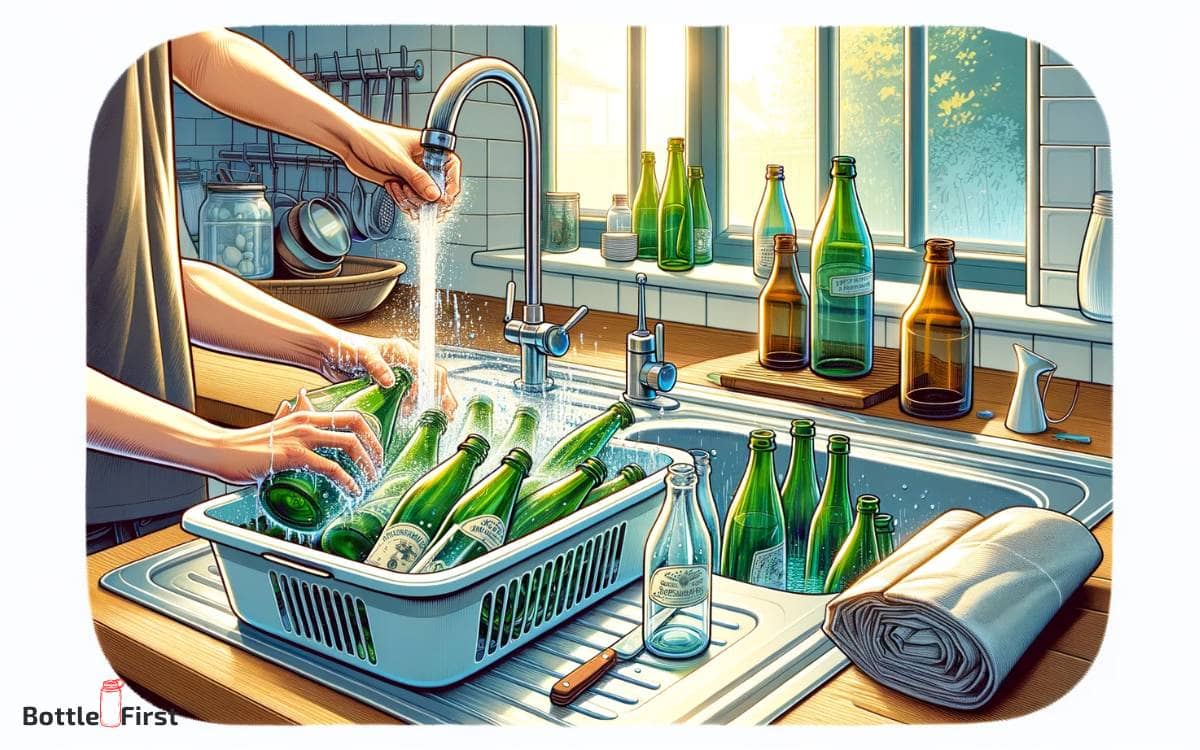
- Fill a sink or bucket with hot water.
- Add a few drops of dish soap to help break down the adhesive.
- Place the bottles in the water and let them soak for at least 30 minutes.
After 30 minutes, you can proceed with removing the adhesive from the bottles.
Use Hot Water
Soak the bottles in hot water to loosen the labels for easy removal. This method harnesses the power of heat to break down the adhesive, making the labels more pliable and easier to peel off.
Start by filling a sink or container with hot water, ensuring that the bottles are fully submerged. Let them soak for 30 minutes to an hour, allowing the hot water to work its magic. The heat will soften the glue, making it simpler to scrape off the labels.
As the hot water penetrates the labels, it weakens the bond, preparing them for effortless removal. Once the labels have loosened, you can proceed to the next step of adding dish soap for a thorough cleaning.
Add Dish Soap
To begin, you’ll need to fill a sink or container with warm water and add a few drops of dish soap. This simple yet effective technique will help to loosen the adhesive of the labels, making them easier to remove.
Here’s what you should do next:
Soak the Bottles
- Submerge the glass bottles in the warm, soapy water, ensuring that the labels are completely covered.
- Allow the bottles to soak for at least 30 minutes to an hour, giving the dish soap enough time to penetrate and break down the adhesive.
By soaking the bottles in warm, soapy water, you’re harnessing the power of both heat and detergent to efficiently loosen the labels. Once the labels are properly soaked, you can move on to the next step of scraping off the labels.
Now, let’s transition into the subsequent section about ‘scrape off the labels’.
Step 2: Scrape off the Labels
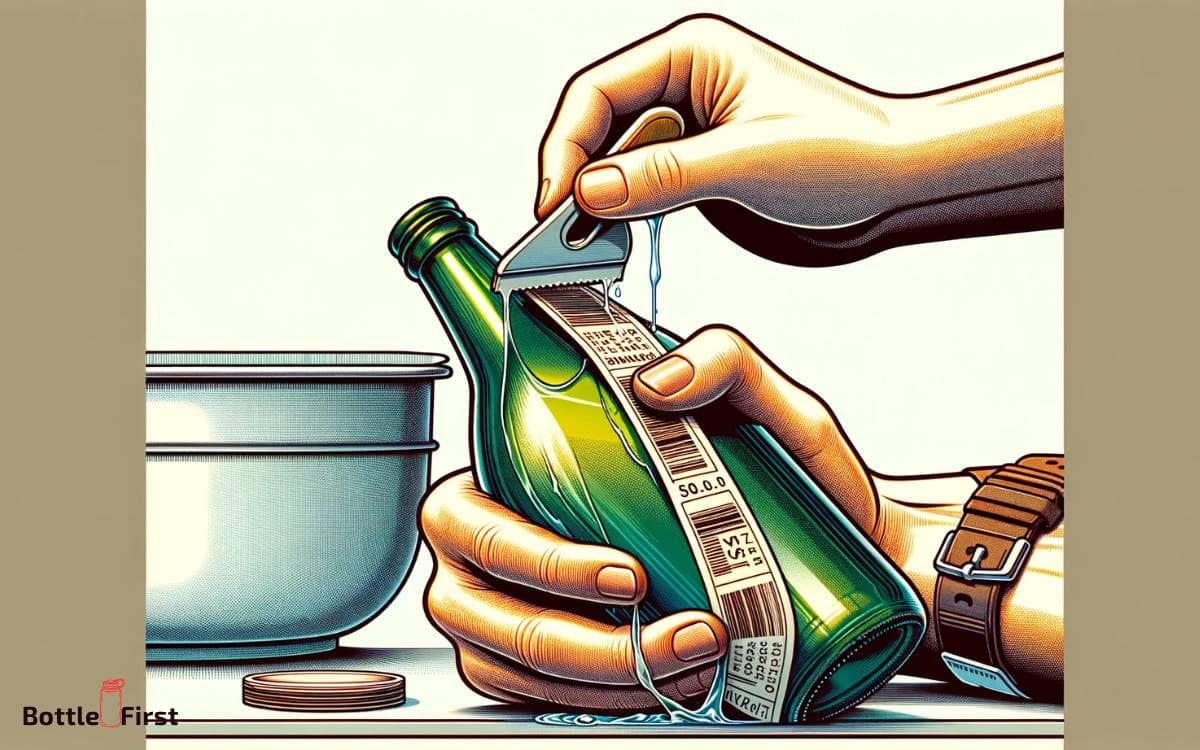
You’ll need a sharp knife or razor blade to carefully scrape off the labels from the glass bottles. Hold the bottle securely and use the blade to gently lift a corner of the label.
Once you have a good grip, slowly peel the label off, taking care not to scratch the glass. If the label is stubborn, you can lightly score it with the blade to help loosen the adhesive. Be cautious and patient to avoid any accidents.
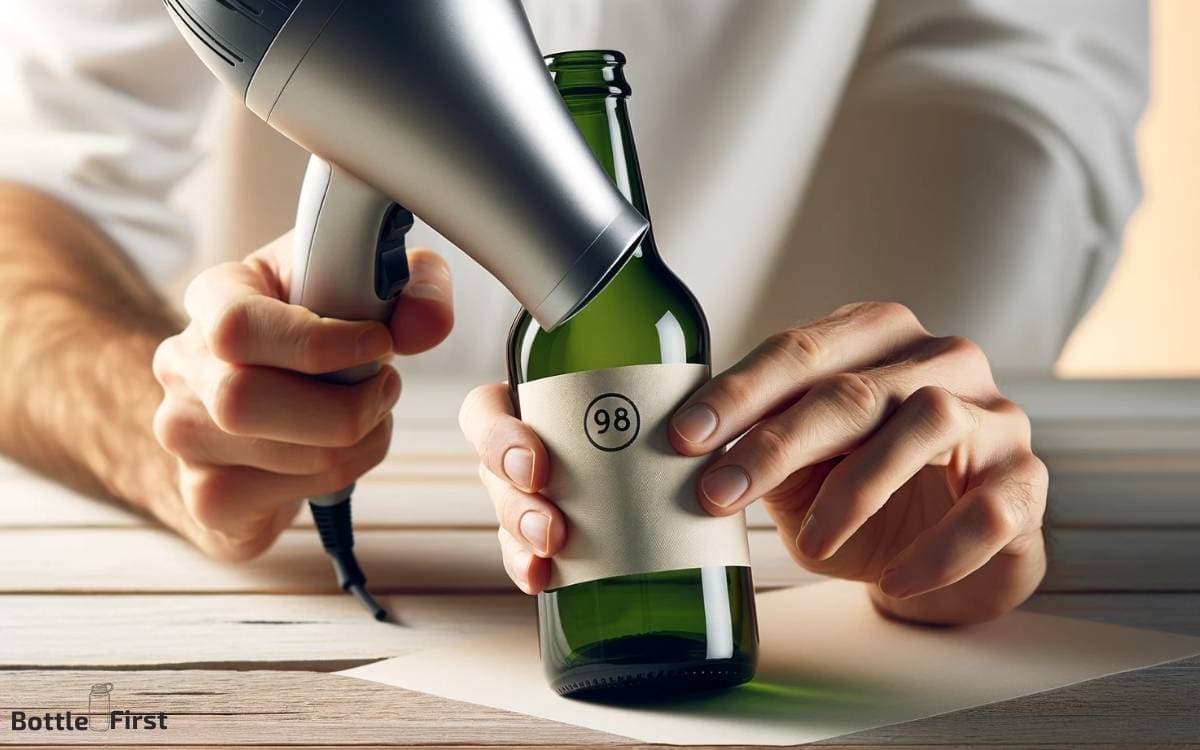
For a more innovative approach, consider using a heat gun or hairdryer to warm up the label, making it easier to remove.
This method can save time and effort, especially for stubborn or large labels. Always prioritize safety and handle sharp objects with care.
Step 3: Use Oil or Solvents
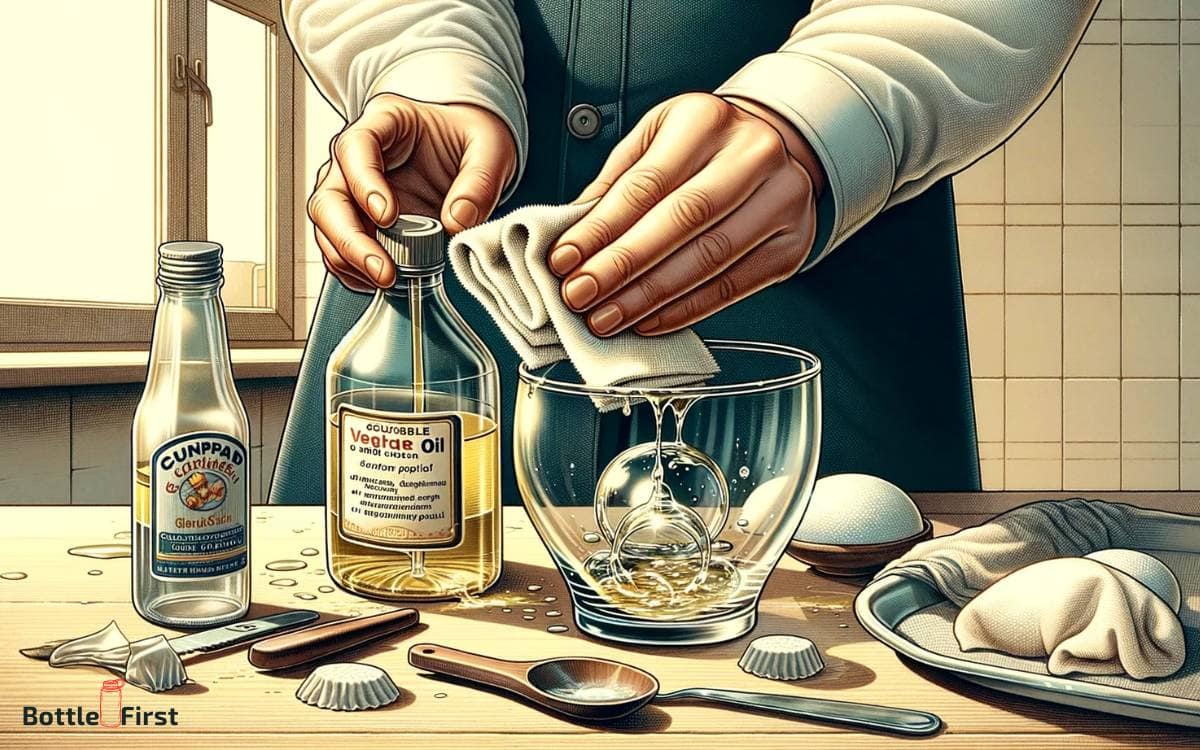
Using a cloth, apply an oil-based substance or solvent to the remaining adhesive residue, gently rubbing it in a circular motion to help dissolve and lift the stubborn remnants.
Consider using citrus oil, cooking oil, or rubbing alcohol, as they effectively break down the adhesive.
- Citrus oil: Known for its strong adhesive-dissolving properties, it leaves behind a pleasant scent.
- Lemon essential oil: A natural solvent that not only removes residue but also leaves a refreshing fragrance.
- Orange oil: Works well on glass surfaces and has a pleasant citrus aroma.
- Cooking oil: Olive oil or coconut oil can be used as an alternative, and they also moisturize the glass, leaving it with a shiny finish.
Once the residue is dissolved, proceed to the next step to wash and dry the bottles, ensuring they’re label-free and ready for reuse.
Step 4: Wash and Dry the Bottles
Now that you’ve removed the labels from your glass bottles, it’s time to wash and dry them thoroughly.
- Soak the bottles in hot water to loosen any remaining adhesive.
- Use an adhesive remover for stubborn residue.
- Finally, scrape off any remaining bits with a razor blade.
- Ensure the bottles are completely dry before using or storing them.
Soak in Hot Water
To remove labels from glass bottles, fill a sink or basin with hot water and place the bottles in it to soak. The hot water helps to loosen the adhesive, making it easier to remove the labels.
Here’s what you need to do:
- Fill the Sink or Basin: Ensure that the water is hot, but not boiling, as extreme heat may damage the glass.
- Submerge the Bottles: Make sure the bottles are fully submerged in the hot water, allowing the labels to soak for at least 30 minutes.
Soaking the bottles in hot water is an innovative and effective way to loosen the labels and adhesive, preparing them for the next step in the removal process. Once the labels have soaked, it’s time to move on to the next method: using adhesive remover.
Use Adhesive Remover
After soaking the bottles in hot water, you can now proceed to use an adhesive remover to wash and dry the bottles.
Adhesive removers are a great innovation for effortlessly getting rid of sticky residue left behind by labels.
Start by applying the adhesive remover to the affected areas on the glass bottles. Let it sit for a few minutes to allow the remover to penetrate the adhesive.
Then, using a sponge or cloth, scrub the area gently to lift off the adhesive. Once the adhesive is completely removed, wash the bottles with soap and water to ensure that all residue is gone. Finally, dry the bottles thoroughly with a clean towel.
The adhesive remover will leave your glass bottles clean and ready for their next use.
Scrape With Razor
Washing and drying the bottles thoroughly after using the adhesive remover is essential before proceeding to the next step.
This next step involves carefully scraping off any remaining label residue with a razor blade.
Prepare the Bottles
- Ensure the bottles are completely dry to prevent any slipping while scraping with the razor blade.
- Check for any residual adhesive or moisture that could hinder the effectiveness of the razor blade.
Using the razor blade, gently scrape the remaining label residue from the glass surface. Start at one edge and work your way across, applying light pressure to avoid scratching the glass. Remember to keep the blade at a low angle to the surface for optimal results.
This method ensures a clean and label-free glass bottle, ready for repurposing or recycling.
Step 5: Finishing Touches
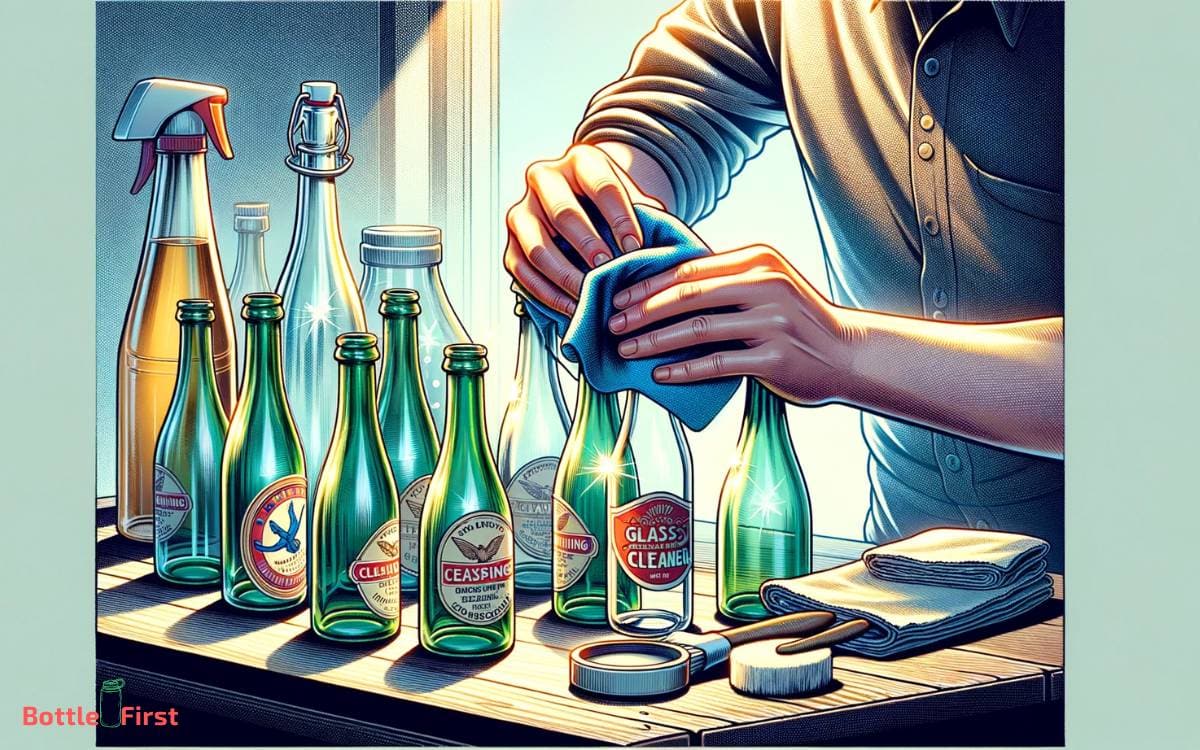
After removing the label from the glass bottle, wipe the surface with a clean, dry cloth to ensure all residue is removed.
Next, consider these finishing touches to give your glass bottle a polished look:
| Finishing Touches | Description |
|---|---|
| Use adhesive remover | Apply a small amount of adhesive remover to a cotton ball and gently rub any remaining adhesive residue. |
| Apply glass cleaner | Spritz the bottle with a glass cleaner and wipe it down with a microfiber cloth to remove any remaining smudges or marks. |
| Polish with a cloth | Use a soft cloth to polish the glass bottle, ensuring it is free from any streaks or remaining residue. |
| Add decorative elements | Consider adding embellishments or labels to enhance the bottle’s appearance, making it uniquely yours. |
These steps will leave your glass bottle looking pristine and ready for its next purpose.
How to Remove Glue from Glass Bottle
Removing glue from a glass bottle can be done effectively with a few household items.
Here’s a step-by-step guide:
- Soak in Warm, Soapy Water: Fill a sink or basin with warm water and add a few drops of dish soap. Submerge the glass bottle in this solution and let it soak for 30 minutes to an hour. This helps to loosen the glue.
- Peel off the Label: After soaking, gently peel off as much of the label or glue as possible. For stubborn areas, you may need to use a plastic scraper or your fingernails. Avoid using metal tools as they can scratch the glass.
- Apply Oil or Rubbing Alcohol: If there’s still glue residue, apply a small amount of cooking oil (like olive or vegetable oil) or rubbing alcohol to a cloth or paper towel and rub it onto the glue. Let it sit for a few minutes.
- Scrub Gently: Use a non-abrasive sponge or cloth to gently scrub the area. The oil or alcohol should help dissolve the glue, making it easier to remove.
- Wash the Bottle: Once the glue is removed, wash the bottle thoroughly with dish soap and warm water to remove any oil or alcohol residue.
- Dry the Bottle: Dry the bottle completely with a clean towel or let it air dry.
Remember to be gentle throughout the process to avoid scratching the glass. If the glue is particularly stubborn, you may need to repeat some of these steps.
Conclusion
Now that you’ve removed the labels from your glass bottles, you’re ready to repurpose them for your DIY projects or simply enjoy them as decorative pieces.
Remember, where there’s a will, there’s a way, and removing labels from glass bottles is no exception.
So go ahead and give it a try, and watch your bottles transform into something new and beautiful!
