How to Reseal a Glass Bottle? 6 Easy Steps!
To reseal a glass bottle effectively, you will need the right materials and a clear understanding of the process. Gather a wax seal or bottle capper, compatible seals or caps, and a heat source if using wax.
Clean the bottle and ensure it’s dry before starting the resealing process. Place the seal or cap on the bottle and apply the capper or melt the wax around the bottle’s neck, ensuring a tight seal.
This method will help maintain the freshness and integrity of the bottle’s contents.
Here are some quick steps:
For example, homebrewers often use a bottle capper and caps to reseal their beer bottles, ensuring carbonation and freshness are preserved.
Resealing glass bottles is a practical skill for preserving the quality of beverages and homemade concoctions, ensuring lasting freshness with a professional touch.
Key Takeaway
Gather Necessary Materials
You’ll need to gather up the supplies for resealing a glass bottle from around your kitchen and pantry.
- Start by finding a clean, dry glass bottle with its original cap or cork.
- Look for a wax seal, a heat gun, or a blow dryer to reseal the bottle.
- Additionally, locate a pot, a stove, and a pair of tongs to handle the hot materials.
- You might also need a small brush for applying wax or a new cork if the original one is damaged.
- Lastly, consider having a clean cloth or paper towels to wipe off any excess wax or sealant.
Gathering these materials will set the stage for successfully resealing your glass bottle with innovative methods.
Step 1: Clean the Bottle and Cap
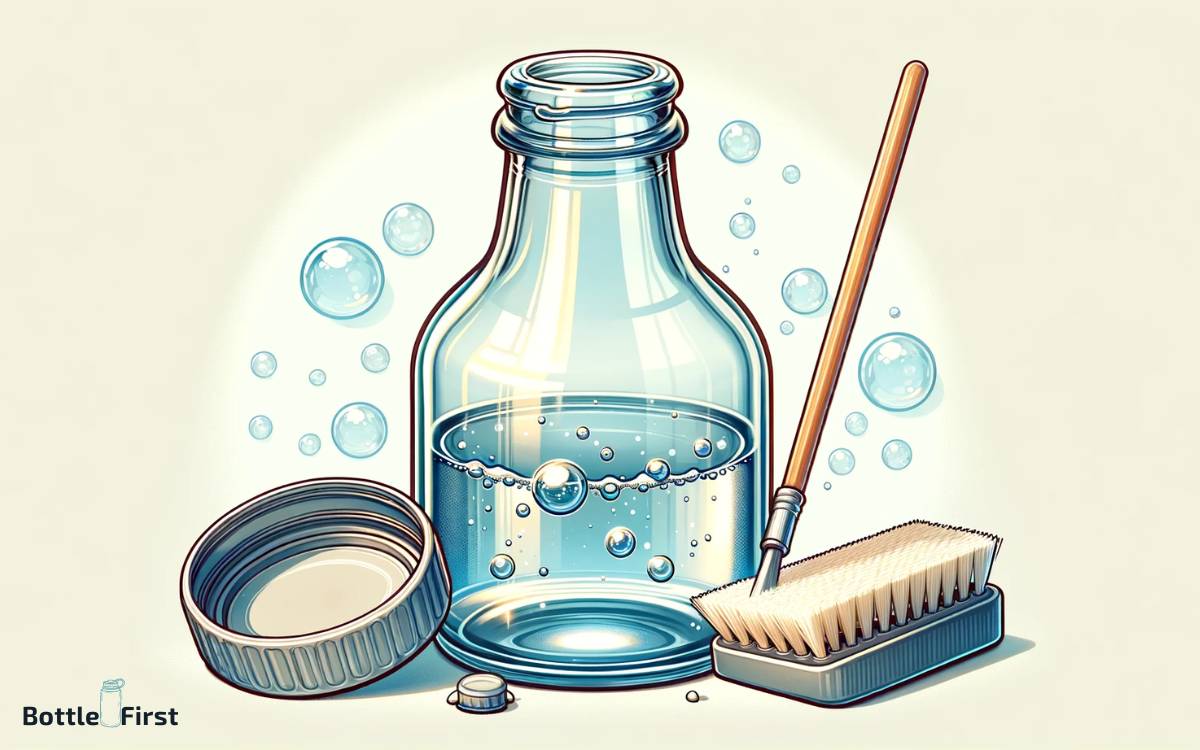
First, make sure to thoroughly clean the bottle and cap to remove any residue or dirt. This will ensure a clean surface for the new seal to adhere to. Additionally, inspect the cap for any damage or wear that may affect the resealing process.
Remove Old Seal
To remove the old seal and prepare the glass bottle for resealing, follow these steps:
- Thoroughly clean both the bottle and cap with warm, soapy water. This step is crucial to ensure that there’s no residue left from the previous seal, which could compromise the effectiveness of the new seal.
- Use a bottle brush to scrub the inside of the bottle. Pay special attention to the areas around the neck and cap, as these are common places for residue to accumulate.
- For the cap, remove any old seal remnants and clean the threads to ensure a proper seal.
- After cleaning, thoroughly rinse both the bottle and cap to remove any soap residue.
- Once dry, you’re ready to apply the new seal. This step will provide a fresh and effective closure for your glass bottle.
Use New Seal
After cleaning the bottle and cap, inspect for any remaining residue or debris that could affect the new seal’s effectiveness. Ensure that both the bottle and cap are completely dry before proceeding.
To use the new seal, carefully place it on the bottle’s rim and press firmly to create a secure seal. Make sure the seal is evenly positioned around the entire circumference of the bottle’s opening.
Once the new seal is in place, firmly screw on the cap to complete the resealing process. This step is crucial for preserving the contents of the bottle and preventing any leaks or contamination.
Step 2: Apply a New Seal
To ensure a successful resealing of your glass bottle, it’s crucial to choose the right seal that fits the bottle opening.
When applying the sealant, make sure to do so evenly to create a uniform and effective barrier. Lastly, take the time to ensure a tight fit to prevent any potential leakage or air exposure.
Choosing the Right Seal
Once you have emptied the glass bottle, carefully inspect the neck to ensure a proper fit for the new seal. When choosing the right seal, consider innovative options such as silicone or rubber gaskets for a tight and secure closure.
These materials provide flexibility, durability, and resistance to temperature and pressure, making them ideal for various liquids and conditions.
Additionally, explore newer seal designs, like flip-top or screw caps, to enhance convenience and functionality.
Selecting a seal with airtight and leak-proof properties is crucial to maintain the freshness and quality of the contents.
After choosing the right seal, the next step is to apply the sealant evenly to ensure a secure and effective resealing of the glass bottle.
Applying Sealant Evenly
Inspect the neck of the glass bottle to ensure a proper fit for the new seal, then carefully apply the sealant evenly to guarantee a secure and effective resealing.
To ensure a smooth and precise application, consider using a sealant applicator tool for accurate dispensing.
Check out the following table for innovative sealant applicator tools that can help you achieve a flawless seal:
| Sealant Applicator Tools | Description | Benefits |
|---|---|---|
| Precision Nozzle | Provides controlled sealant dispensing | Ensures accurate application |
| Adjustable Spatula | Allows for even spread of sealant | Ensures uniform coverage |
| Silicone Caulk Gun | Offers easy and efficient sealant application | Provides quick and consistent dispensing |
Ensuring a Tight Fit
For a tight fit, carefully apply a new seal to the neck of the glass bottle, ensuring that it aligns evenly with the previous sealant application. This step is crucial to maintain the integrity of the bottle’s seal.
When applying the new seal, consider using modern sealant options that offer improved flexibility and durability. Look for innovative sealants designed specifically for glass, as they can provide a superior, long-lasting seal.
Be sure to follow the manufacturer’s instructions for applying the sealant, and consider using a precision applicator for a neat and uniform application.
Taking these innovative approaches will help ensure that the new seal forms a tight, secure fit, effectively preserving the contents of the glass bottle.
Step 3: Use Heat to Reseal
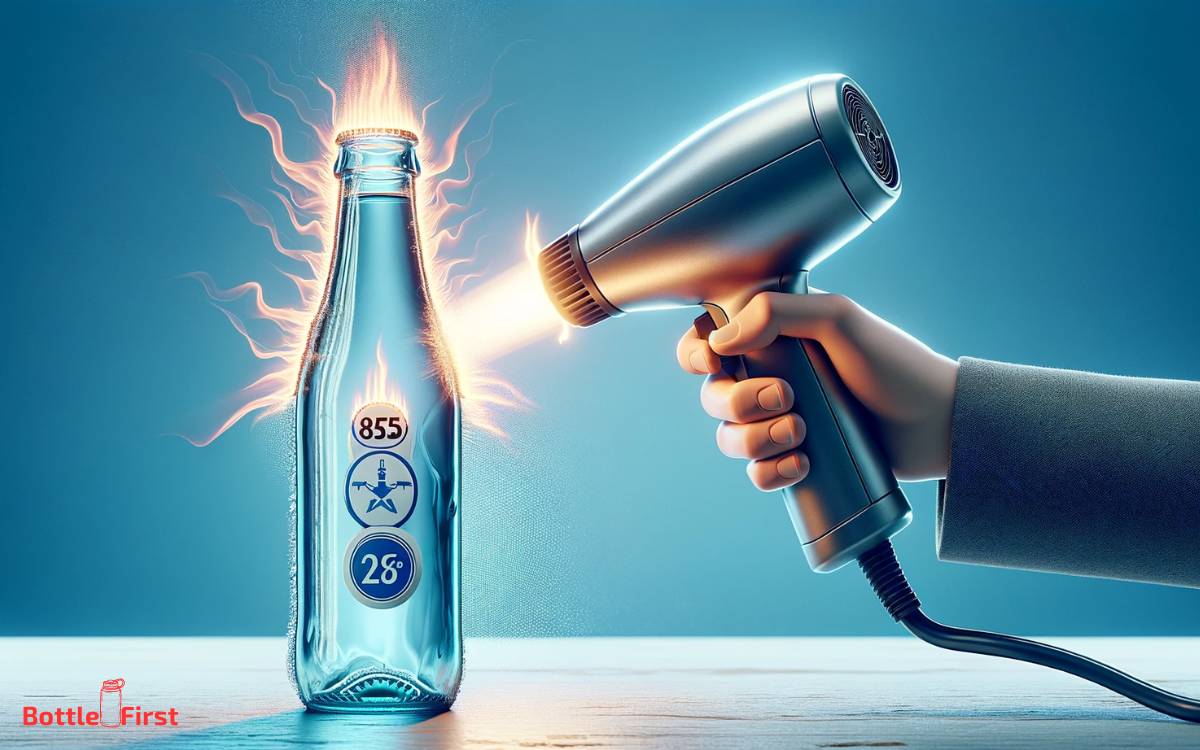
To reseal a glass bottle using heat, you’ll need a heat source such as a heat gun or a blowtorch. First, ensure the bottle is clean and dry.
Then, heat the area around the bottle’s opening evenly and gently. Slowly rotate the bottle to distribute the heat and prevent hot spots.
Once the glass becomes slightly softened, remove the heat and press the bottle opening against a flat surface to create a secure seal.
Keep in mind that this method requires caution and precision to avoid overheating and potentially shattering the glass.
Using heat to reseal a glass bottle offers an innovative approach to preserving liquids and can be a handy technique for those seeking alternative methods for sealing glass containers.
Step 4: Secure With Shrink Bands
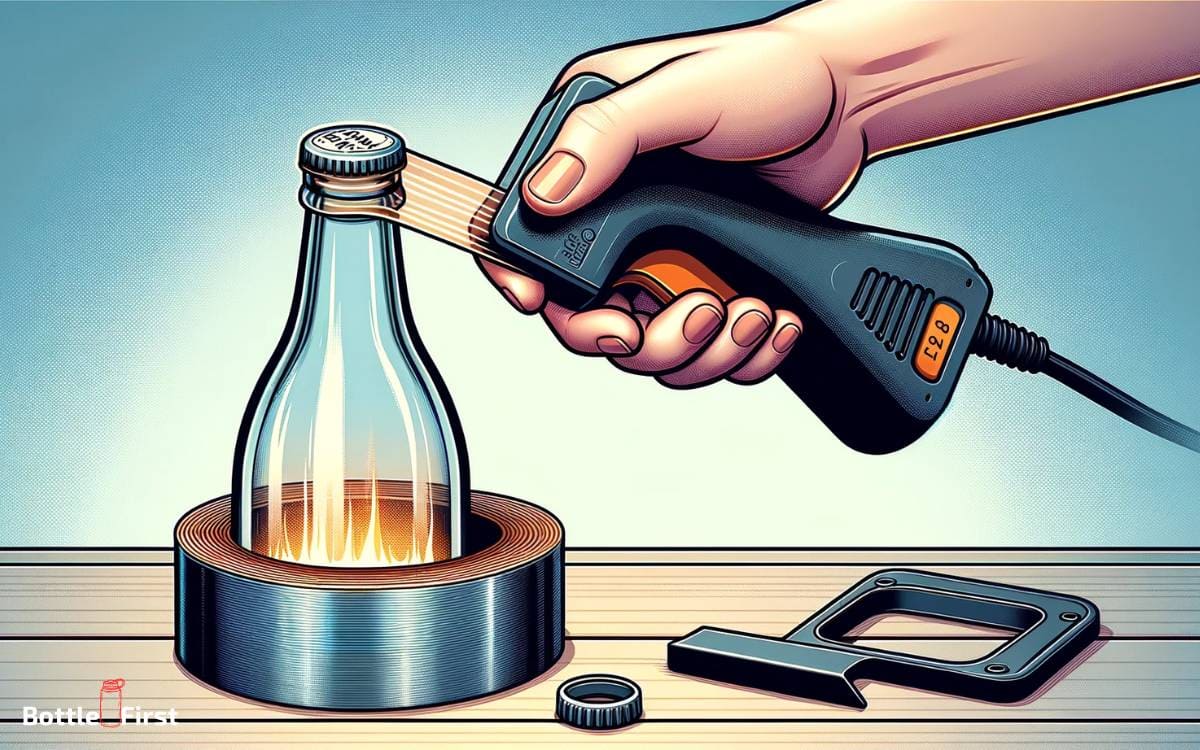
How can you ensure a secure seal by using shrink bands to reseal a glass bottle? Shrink bands are an innovative way to securely reseal glass bottles, providing a tamper-evident seal and maintaining the freshness of the contents.
Here’s how to use shrink bands effectively:
- Select the Right Size: Ensure that you choose shrink bands that fit snugly around the neck of the bottle to provide a tight and secure seal.
- Application of Heat: Use a heat source, such as a heat gun or a hairdryer, to apply even heat around the shrink band, causing it to shrink and conform tightly to the bottle’s neck.
- Tamper-Evident Feature: Shrink bands provide a visual indication of tampering, assuring consumers of the product’s integrity.
Step 5: Store the Bottle Properly
After applying the shrink bands to securely reseal the glass bottle, you should store it properly to maintain the freshness and integrity of its contents. Proper storage is essential to preserve the quality of the contents and extend shelf life.
Consider the following innovative storage tips to ensure optimal freshness and taste:
| Storage Tip | Description |
|---|---|
| Keep away from sunlight | Sunlight can lead to degradation of the contents. |
| Maintain consistent temperature | Fluctuations can affect the quality of the contents. |
| Store upright | Prevents potential leakage and maintains seal integrity. |
| Use airtight containers | Transfer contents to airtight containers for extended freshness. |
| Avoid strong odors | Store away from strong-smelling items to prevent flavor contamination. |
Following these innovative storage tips will help you maintain the quality of the bottle’s contents for an extended period.
Step 6: Test the Seal
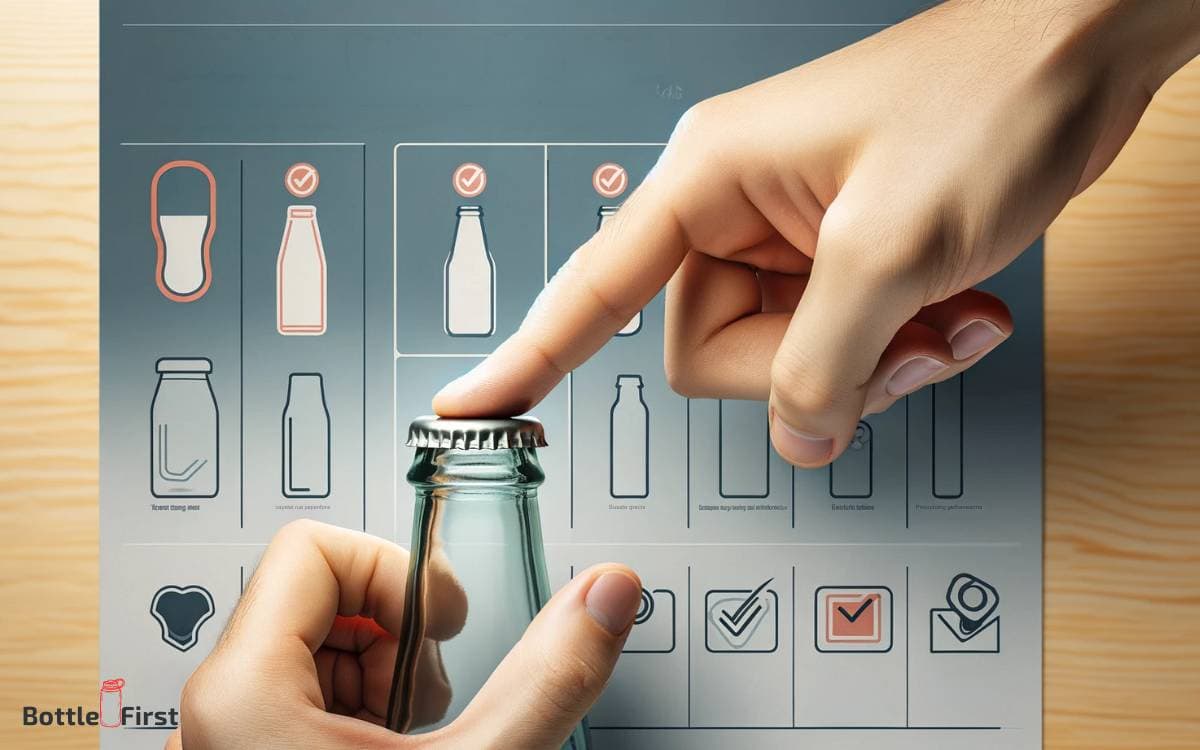
Have you checked if the seal is secure by giving the bottle a gentle shake? Testing the seal of a resealed glass bottle is crucial to ensure that the contents stay fresh and secure.
Here’s how to test the seal:
- Visual Inspection: Examine the edges of the cap to ensure there are no gaps or visible signs of a loose seal.
- Pressure Test: Gently press down on the cap to check for any give or movement, which could indicate a loose seal.
- Leak Test: Tip the bottle slightly to see if any liquid escapes, indicating a faulty seal.
By following these steps, you can confidently ensure that your glass bottle is properly resealed and ready for storage. This innovative approach to testing the seal will help maintain the quality of the bottle’s contents.
Conclusion
Now that you’ve resealed your glass bottle, it’s time to put it to the test. Make sure to store it properly and give it a good shake to see if the seal holds.
Keep an eye on it over the next few days to ensure it remains tightly sealed. Remember, the key to a successful reseal is in the details, so stay vigilant and attentive.
Good luck!


