How to Sandblast Glass Bottles? 6 Easy Steps!
Discover the art of sandblasting glass bottles, a creative method to personalize and stylize glass surfaces.
This guide will provide you with step-by-step instructions on how to sandblast glass bottles effectively, turning them into bespoke pieces of art.
Learn about the necessary equipment, safety precautions, and techniques for achieving professional-looking results.
Sandblasting glass bottles involves a process of propelling fine abrasive material against the glass surface to create a frosted, etched appearance.
Here are some quick steps:
Elevate your home decor or gift-giving with custom-etched glass bottles, showcasing your unique designs and skilled craftsmanship.
Key Takeaway
Gathering the Necessary Materials
You will need to gather the following materials for sandblasting glass bottles:
- Glass bottles
- A sandblaster
- Abrasive material (such as aluminum oxide or silicon carbide)
- A compressor
- A respirator
- Safety glasses
- A well-ventilated workspace
The glass bottles can be ones you want to upcycle or new ones specifically for this project.
The sandblaster is essential for propelling the abrasive material onto the glass surface. The abrasive material is what actually etches the glass.
The compressor powers the sandblaster, so make sure it’s compatible with the sandblaster you choose. A respirator and safety glasses are crucial for protecting yourself from inhaling the abrasive material and for shielding your eyes.
Lastly, ensure you work in a well-ventilated area to prevent inhaling any fumes.
Step 1: Preparing the Glass Bottles
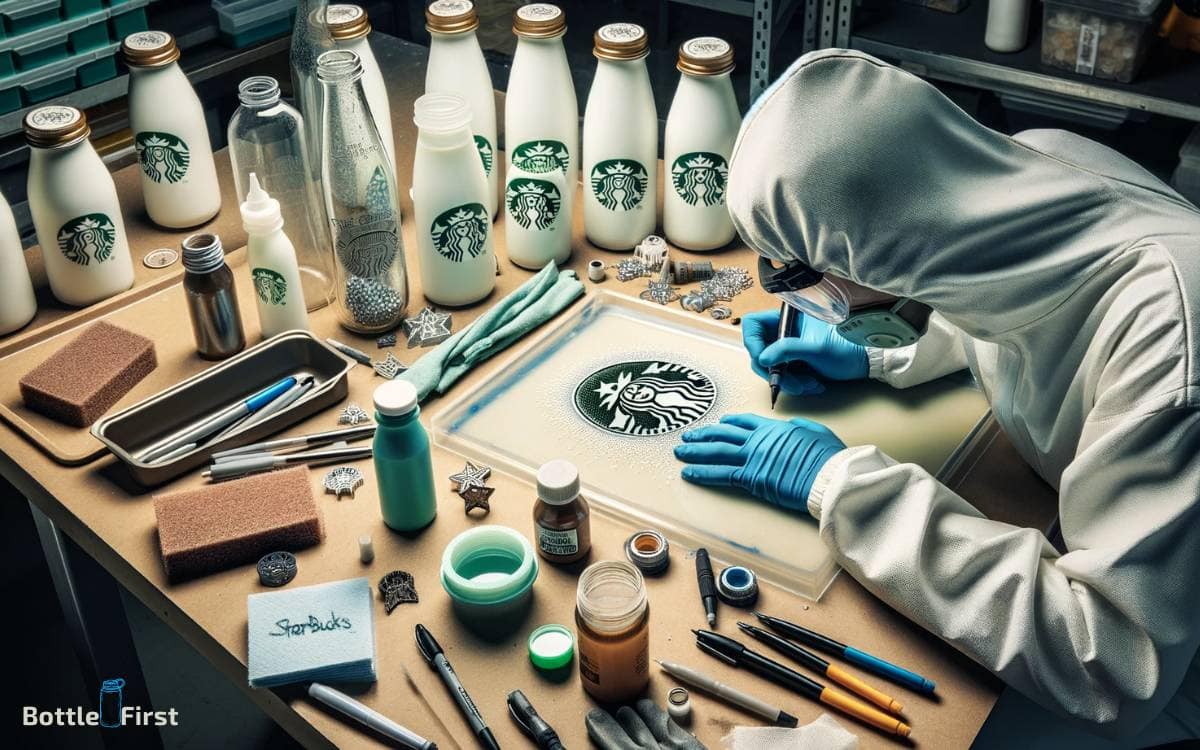
Before you start sandblasting, the first step is to thoroughly clean the glass bottles to remove any dust, dirt, or residue. Next, apply a protective covering to any areas of the bottle that you don’t want to be sandblasted.
Make sure the surface of the glass is even to ensure a smooth and consistent sandblasting result.
Cleaning the Bottles
To start cleaning the glass bottles, gather all the necessary materials and tools for removing labels, dirt, and residue.
Begin by soaking the bottles in warm, soapy water to loosen the labels and any stubborn grime.
Once the labels start to peel off, use a scrub brush or sponge to remove any remaining residue. For tough spots, a mixture of baking soda and cooking oil can work wonders.
After rinsing off the bottles, inspect them for any remaining marks and use a glass cleaner or vinegar to polish them to a pristine finish.
Ensure the bottles are completely dry before moving on to the next step of applying protective covering.
Now that the bottles are clean and ready, it’s time to protect them for the sandblasting process.
Applying Protective Covering
Once the glass bottles are clean and dry, begin by applying protective covering to prepare them for the sandblasting process.
To do this effectively, follow these steps:
- First, choose a high-quality adhesive vinyl stencil that suits your design and carefully apply it to the surface of the bottle.
- Consider using a precision cutter or laser cutter to create intricate and precise designs on the stencil for a truly unique result.
- Next, ensure that the edges of the stencil are firmly pressed down to prevent any sandblasting particles from seeping underneath, which could lead to blurred lines or smudged designs.
Ensuring Even Surface
Ensure the glass bottles are free from any residue or imperfections before proceeding with the sandblasting process. Any leftover labels, adhesives, or dirt can interfere with achieving a smooth, even finish.
To guarantee the best results, follow these steps to prepare the glass bottles for sandblasting:
| Step | Description |
|---|---|
| Clean the Bottles | Wash the bottles with warm, soapy water to remove any dirt, oil, or residue. Dry thoroughly before proceeding. |
| Inspect for Imperfections | Check for any scratches, cracks, or uneven surfaces. Smooth out any imperfections with sandpaper or a glass etching tool. |
| Apply Protective Covering | Use a protective covering to mask off any areas you want to remain unaffected by the sandblasting process. |
Step 2: Designing Your Sandblasting Pattern
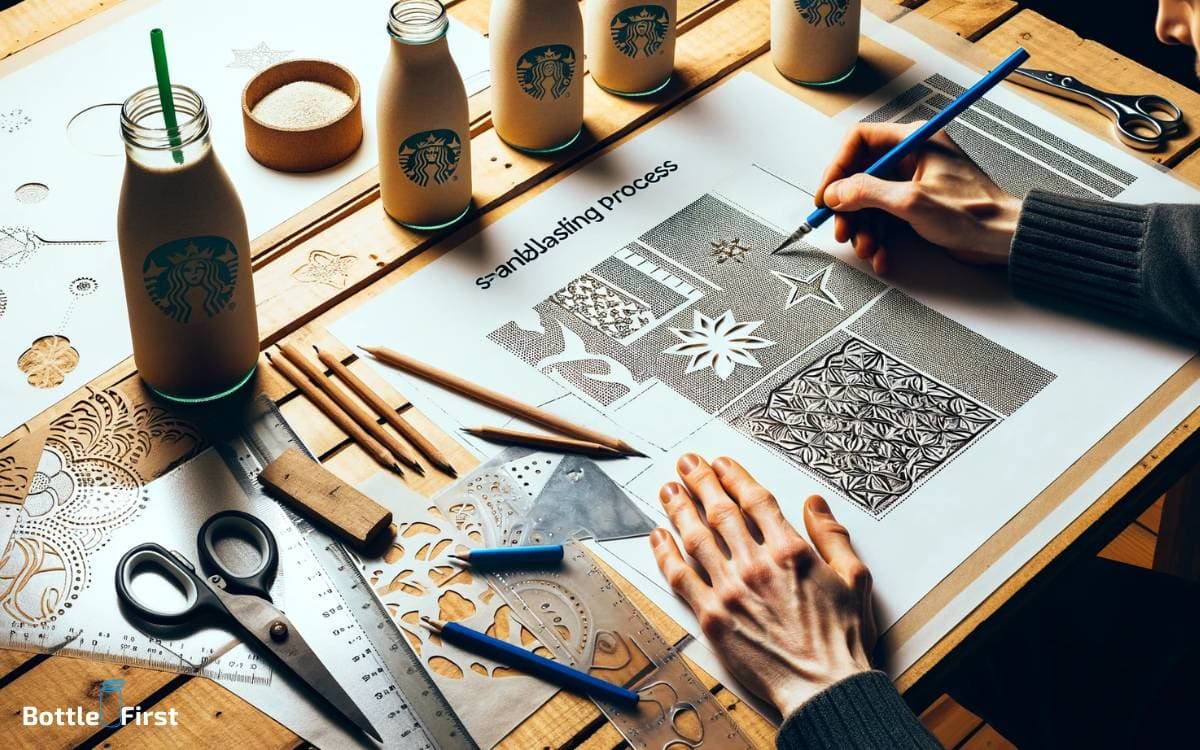
When designing your sandblasting pattern, consider how the placement and density of the stencil will affect the final appearance of the glass bottle.
Experiment with Different Stencil Placements:
- Try asymmetrical designs for a modern and dynamic look.
- Consider using negative space to create visually striking designs.
Play with Stencil Density:
- Vary the opacity of the stencil to create gradients and depth in your design.
- Utilize different stencil thicknesses to achieve intricate details.
These innovative approaches to stencil placement and density will allow you to create unique and eye-catching sandblasted glass bottles.
Once you have finalized your design, it’s time to move on to the next step of setting up the sandblasting equipment.
Step 3: Setting Up the Sandblasting Equipment
Now it’s time to set up your sandblasting equipment for a successful glass bottle project. Ensure you follow safety precautions for setup and carefully position and align the equipment for optimal results.
Let’s get started on preparing your workspace and equipment.
Safety Precautions for Setup
To set up the sandblasting equipment safely, gather all necessary safety gear and ensure the work area is well-ventilated.
Safety is paramount when setting up the equipment, so follow these precautions:
Safety Gear
- Wear protective clothing, including gloves, a mask, and safety goggles to shield yourself from abrasive materials and dust.
- Use ear protection to minimize the noise from the sandblasting process.
By following these safety precautions, you can ensure that the setup process is both secure and efficient.
It’s essential to prioritize safety to prevent any potential hazards and to create a safe environment for the innovative sandblasting process.
Equipment Positioning and Alignment
Once you have ensured that you are wearing the necessary safety gear, position the sandblasting equipment in a well-ventilated area, while also aligning it to minimize potential hazards.
Ensuring proper alignment and positioning of the equipment is crucial for an efficient and safe sandblasting process.
Consider the following table as a guide for the optimal setup:
| Equipment | Positioning |
|---|---|
| Sandblaster | Place on stable surface, secure firmly to prevent tipping or movement |
| Air Compressor | Position in a well-ventilated area, ensure proper airflow and ventilation |
| Work Area | Clear of clutter, provide enough space for movement and maneuvering |
By following these positioning and alignment guidelines, you can ensure a safe and effective sandblasting process.
Step 4: Sandblasting the Glass Bottles
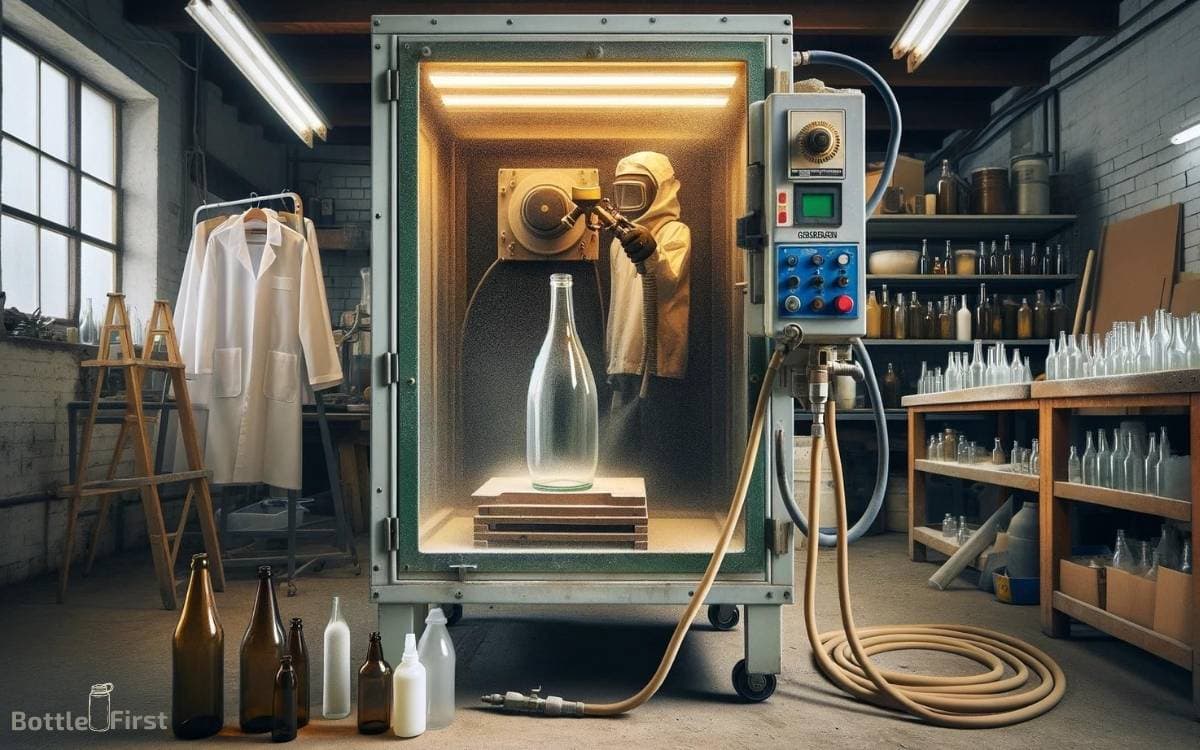
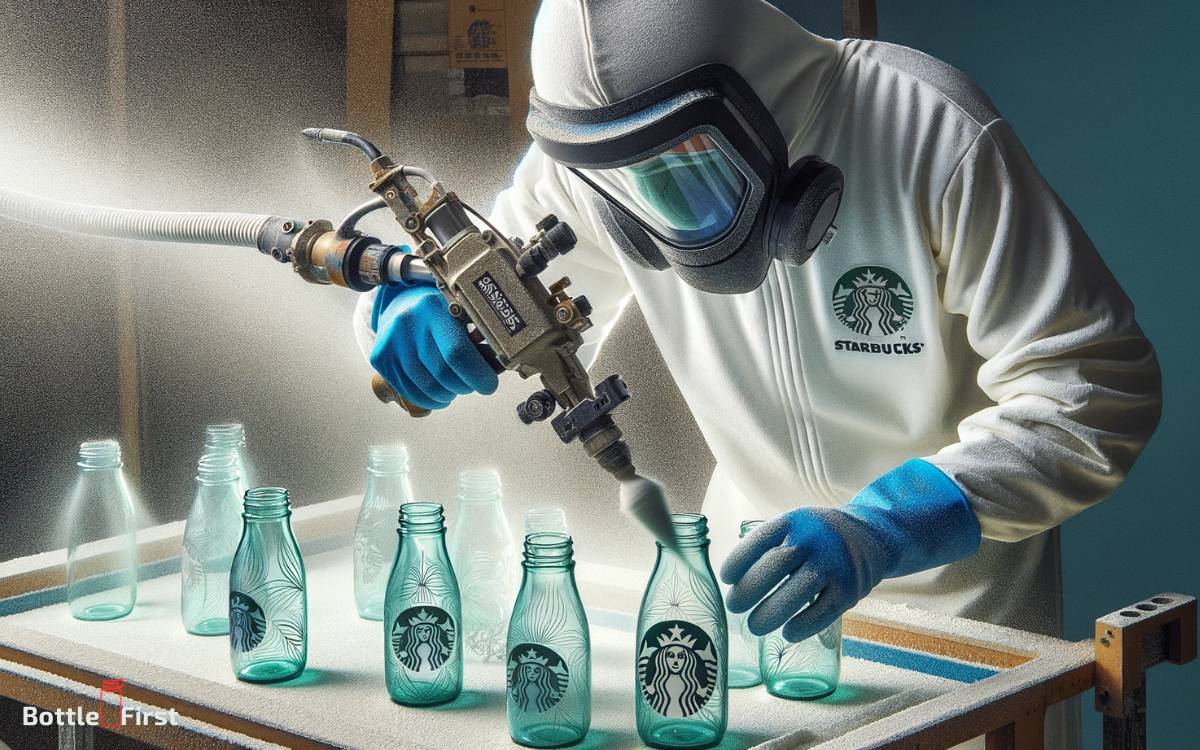
You’ll need to carefully position the glass bottles in the sandblasting cabinet between the nozzle and the abrasive material.
Once the bottles are in place, ensure that the cabinet is securely closed to prevent any abrasive material from escaping.
Here’s how to make the most of sandblasting the glass bottles:
Technique
- Experiment with different nozzle angles and distances to achieve varying levels of etching and texture on the glass.
- Consider using stencils or masks to create intricate designs or patterns on the bottles.
Step 5: Cleaning and Finishing the Sandblasted Bottles
Positioning the sandblasted bottles in the cleaning and finishing area, focus on using a soft cloth to remove any remaining abrasive materials and residue.
This step ensures that the bottles are smooth to the touch and free from any loose particles. Once the bottles are clean, you can proceed to apply a finishing technique to enhance their appearance.
Consider options such as matte, glossy, or colored finishes to add a unique touch to your glass bottles.
Below is a table showcasing various finishing techniques and their effects:
| Finishing Technique | Effect |
|---|---|
| Matte Finish | Gives a smooth, non-shiny appearance. |
| Glossy Finish | Provides a shiny, reflective surface. |
| Colored Finish | Adds a pop of color to the glass bottles. |
Experiment with different finishes to create innovative and eye-catching glass bottles.
Step 6: Displaying and Using Your Customized Glass Bottles
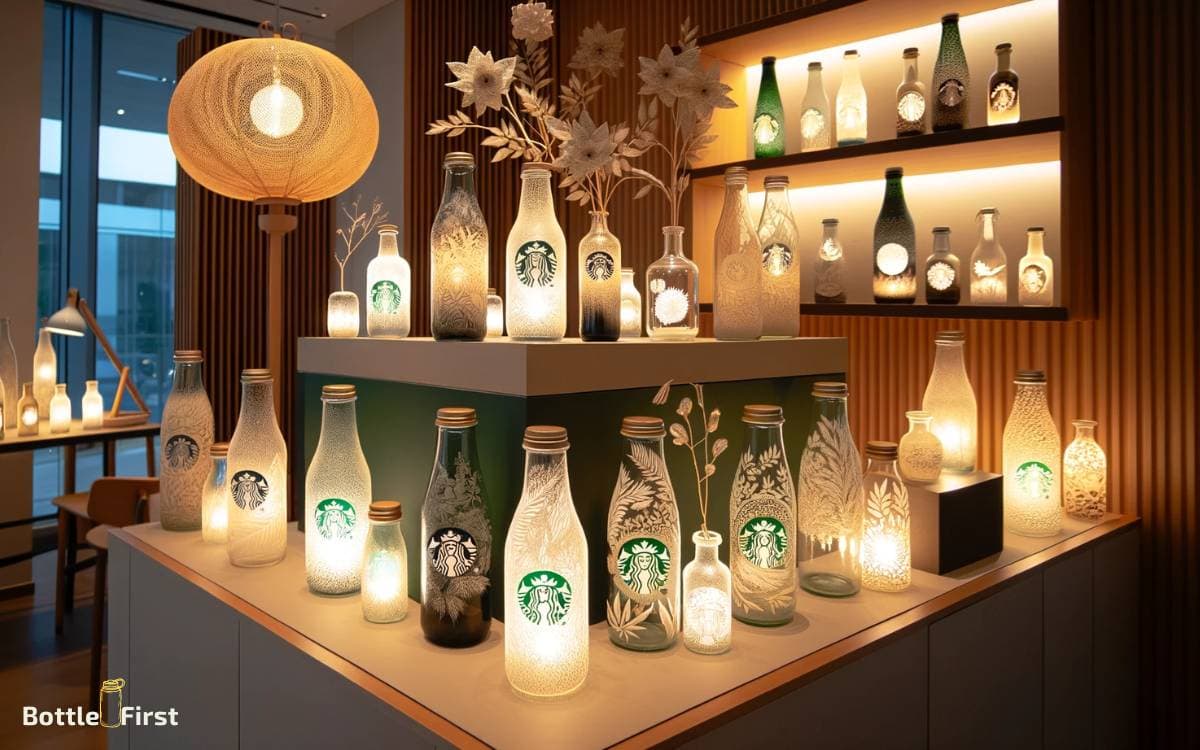
To show off your customized glass bottles, set them up on a well-lit display shelf or table. Illuminate your display using LED strip lights or battery-operated puck lights to create a stunning visual effect.
Experiment with different lighting angles by positioning the lights at different angles to see how the shadows and highlights play on the sandblasted designs. Incorporate themed decor items to enhance the overall display.
For example, surround your beach-themed bottles with seashells or add greenery to nature-inspired designs.
By following these tips, you can create an eye-catching display that showcases the beauty of your customized glass bottles in an innovative and visually appealing way.
Conclusion
As you admire your newly sandblasted glass bottles, remember that just like these bottles, we all have the potential to be transformed into something beautiful through the process of perseverance and hard work.
Embrace the imperfections and unique patterns, for they’re what make each bottle, and each person, truly remarkable.
So go forth and share your creativity with the world, knowing that you have the power to turn something ordinary into something extraordinary.
