How to Seal a Glass Bottle? 5 Easy Steps!
Sealing a glass bottle effectively requires choosing the right materials and following a precise process to ensure a leak-proof closure.
Whether for preserving homemade beverages or creating airtight craft containers, understanding how to seal a glass bottle is essential for maintaining the quality and integrity of its contents.
Here are some quick steps:
When sealing homemade wine, a cork is soaked in water, then inserted using a corker, and finally, the bottle neck is often dipped in sealing wax.
Master the art of sealing glass bottles to maintain freshness and prevent any unwanted spills or contamination.
Key Takeaway
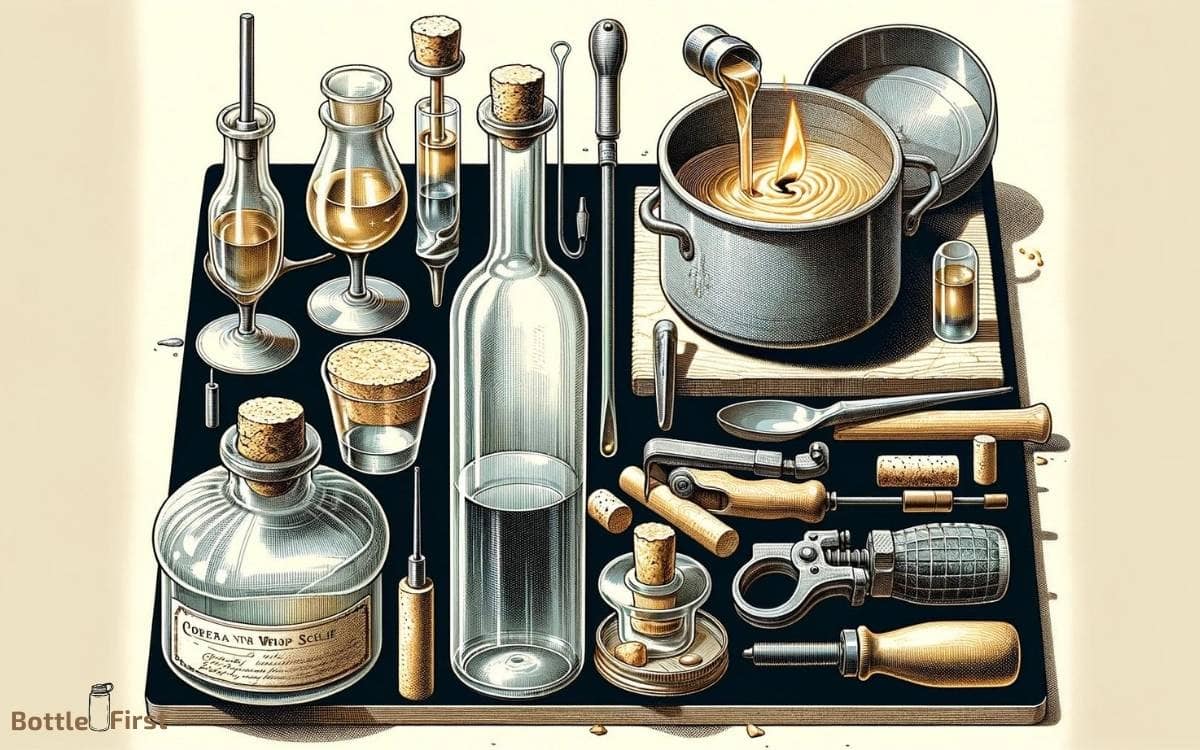
Gather Necessary Materials
You will need a clean glass bottle, a cork or stopper that fits the bottle opening, and a sealing wax or adhesive. The type of sealing wax or adhesive you choose will depend on the contents of the bottle and the level of seal required.
For innovative sealing options, consider using a silicone adhesive for a secure and durable seal, or explore colored sealing waxes to add a creative touch to your bottle.
These materials can be found at your local craft store or online, and they provide an opportunity to personalize your bottle sealing process.
Once you have gathered these materials, you can move on to the next step of cleaning the glass bottle.
Now that you have all the necessary materials, the next step is to clean the glass bottle thoroughly.
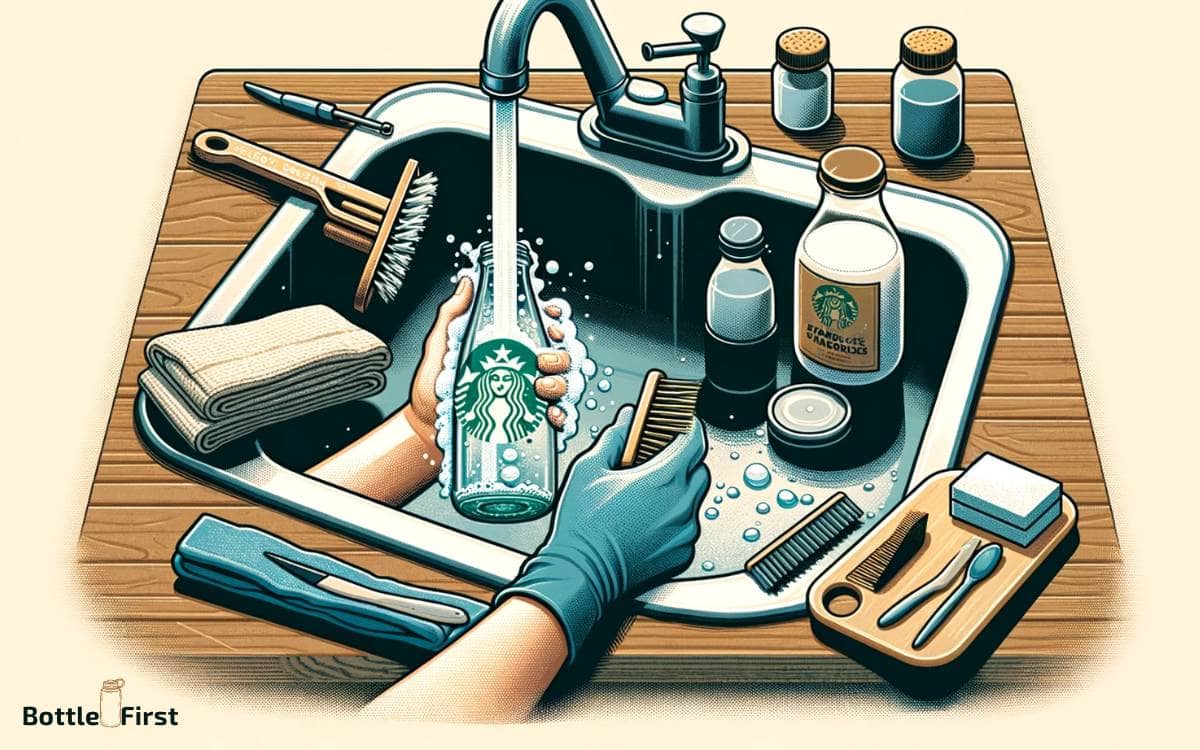
Step 1: Clean the Glass Bottle
After gathering the necessary materials, proceed to thoroughly clean the glass bottle to ensure a proper seal.
Here are some innovative tips to clean the glass bottle effectively:
- Use a bottle brush to reach all corners and crevices.
- Rinse the bottle with hot water to remove any residue.
- Add a few drops of dish soap and shake the bottle vigorously.
- For stubborn stains, create a paste with baking soda and water, then scrub the inside of the bottle.
- Rinse the bottle thoroughly with hot water and allow it to air dry completely.
Now that the glass bottle is sparkling clean, you’re ready to prepare the sealing method for preserving your contents.
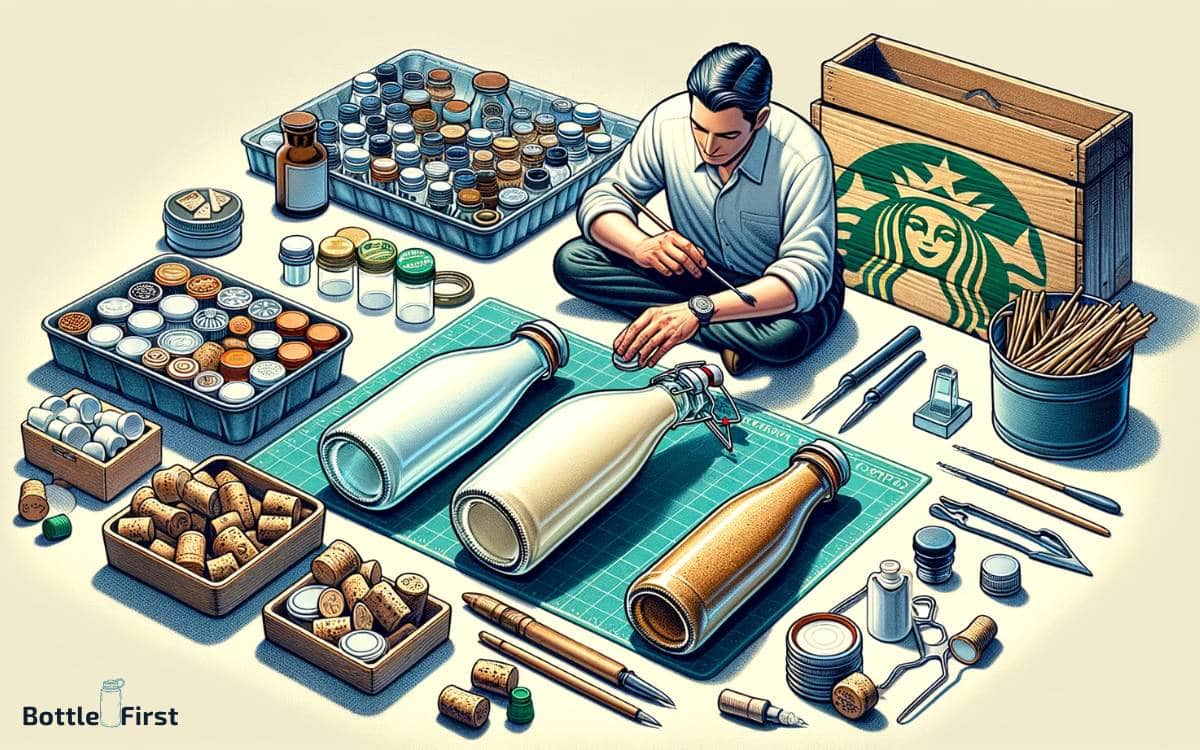
Step 2: Prepare the Sealing Method
With the glass bottle now clean, proceed to prepare the sealing method to ensure a secure closure for your contents.
Before applying the seal, consider using innovative techniques such as applying a layer of silicone around the opening to create an airtight barrier.
Another modern approach is using heat shrink capsules, which can be applied over the bottle’s neck and then shrunk to create a tight seal.
Alternatively, explore the option of using a vacuum sealer to remove air from the bottle and create a vacuum-tight seal.
Whichever method you choose, ensure that the sealing materials are compatible with the contents of the bottle to maintain product integrity.
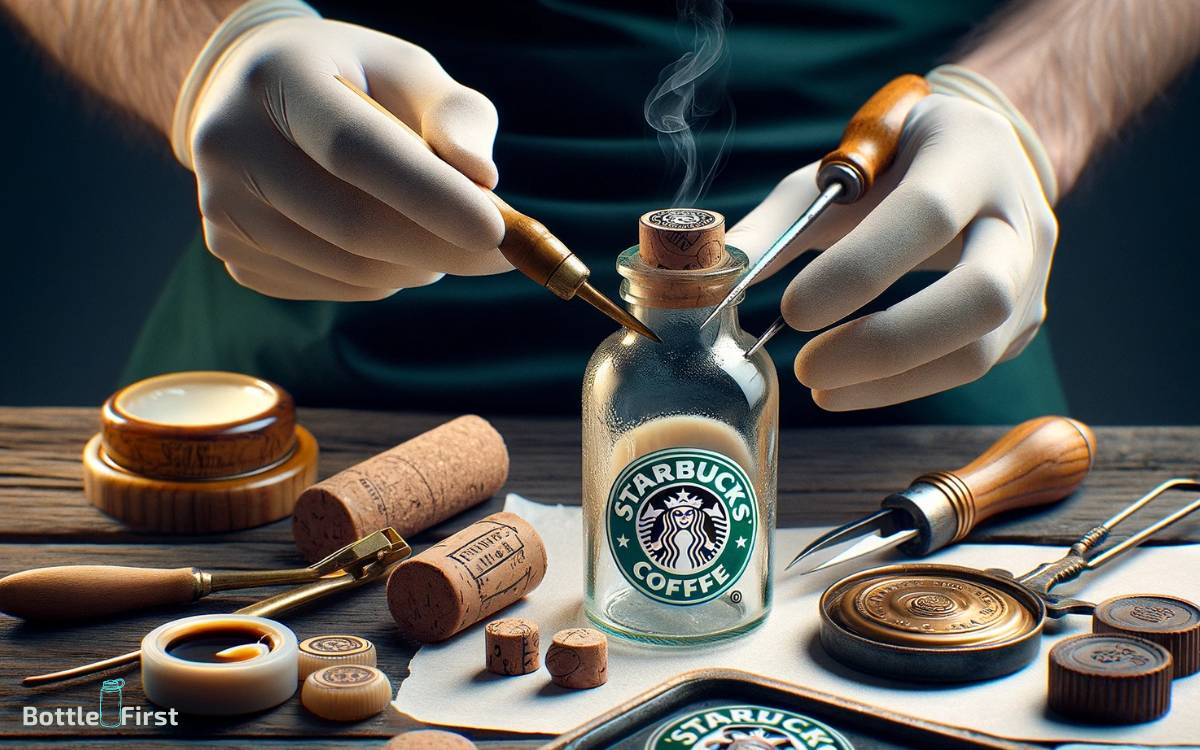
Step 3: Apply the Sealant or Closure
Once the sealing method has been prepared, carefully apply the sealant or closure to ensure a secure and airtight finish for your glass bottle.
To achieve the best results, consider the following innovative tips:
- Choose the Right Sealant: Select a sealant that’s suitable for the contents of your bottle and the type of closure you’ll be using.
- Apply Even Pressure: When sealing the bottle, apply even pressure to ensure a uniform and secure seal.
- Check for Leaks: After applying the sealant, check for any leaks by submerging the bottle in water or using a pressure testing method.
- Use Advanced Closure Techniques: Explore advanced closure techniques such as heat sealing, induction sealing, or specialized closure systems for enhanced security.
- Consider Alternative Closure Materials: Explore innovative closure materials such as silicone-based sealants or eco-friendly cork closures for a unique and sustainable sealing solution.
Step 4: Inspect for Leaks or Gaps
Now it’s time to carefully inspect the sealed bottle for any imperfections.
Check for any gaps or leaks in the sealant or closure. Examine the bottle to ensure it’s completely air-tight.
Check for Imperfections
You should carefully inspect the glass bottle for any leaks or gaps before sealing it. Check for imperfections by running your fingers along the seams and edges, looking for any irregularities that could compromise the seal.
Additionally, hold the bottle up to a light source to spot any tiny cracks or weak points. To ensure a flawless seal, consider using a magnifying glass to examine the bottle closely.
Look for any signs of wear and tear, such as scratches or chips, that could hinder the sealing process.
Examine for Air-Tightness
After inspecting for imperfections, ensure the bottle’s air-tightness by carefully examining for any leaks or gaps that could compromise the seal.
To do this, fill the bottle with water and then tightly seal it with the chosen method. Once sealed, hold the bottle up to eye level and rotate it, checking for any signs of water dripping or air bubbles escaping.
Another method is to submerge the sealed bottle in a container of water and observe for any bubbles rising to the surface, indicating a leak.
Additionally, run your fingers along the seal to feel for any irregularities or gaps.
Step 5: Store the Sealed Bottle Properly
To store the sealed bottle properly, place it in a cool, dry location away from direct sunlight and extreme temperatures. Proper storage ensures the integrity of the seal and the contents of the bottle.
Here are some innovative tips for storing your sealed bottle:
- Utilize a temperature-controlled storage unit for optimal conditions.
- Consider vacuum-sealing the bottle for added protection against air and moisture.
- Use specialized bottle racks or storage containers to prevent accidental breakage.
- Implement smart sensors to monitor environmental factors such as temperature and humidity.
- Explore UV-resistant glass or coatings to shield the bottle from harmful light exposure.
By following these storage guidelines, you can maintain the quality of your sealed bottle and its contents.
Troubleshooting and Tips
Ensuring proper storage of the sealed bottle is crucial for maintaining its integrity, but troubleshooting and implementing additional preservation tips can further safeguard the contents.
Here are some innovative troubleshooting tips and preservation techniques to ensure the longevity of your sealed glass bottle:
| Common Issue | Possible Solution | Emotion Evoked |
|---|---|---|
| Leakage | Check seal and reapply if needed | Frustration |
| Discoloration | Store bottle away from direct sunlight | Concern |
| Odor | Clean bottle with baking soda and vinegar | Disgust |
How to Seal Glass Bottles at Home
Sealing glass bottles at home is a useful skill, especially for those interested in home brewing, making homemade vinegars, oils, or even for preserving.
Here’s a basic guide on how to do it:
- Choose the Right Bottle and Cap: Select glass bottles that are clean and free from cracks or chips. Ensure the caps or lids fit snugly. If you’re using cork, make sure they are the right size for your bottles.
- Sterilization: Before sealing, it’s crucial to sterilize both the bottles and caps to prevent contamination. You can do this by boiling them in water for about 10 minutes, or using a sterilizing solution following its instructions.
- Filling the Bottle: Carefully fill your bottle with the liquid you want to preserve, leaving some headspace at the top. This is especially important if the contents might expand (like in carbonated beverages).
- Sealing with a Cap or Lid: If using screw caps or lids, simply place them on the bottle and tighten. Make sure it’s secure to prevent leakage or exposure to air.
- Sealing with Cork: For cork, you might need a corker, a tool that helps you insert the cork into the bottle. Soak the cork in warm water for about 10 minutes before sealing to make it more pliable.
- Wax Sealing (Optional): For an extra seal, especially for long-term storage, you can dip the bottle neck into melted wax. Make sure the cap or cork is already in place. Let the wax cool and harden.
- Labeling and Storing: Label your bottles with the contents and the date of bottling. Store them in a cool, dark place to preserve the contents.
Remember, the method might slightly vary depending on what you’re sealing (like wine, beer, or non-alcoholic beverages). Always follow specific instructions related to the type of liquid you are bottling.
Conclusion
Now that your glass bottle is properly sealed, imagine the satisfaction of seeing it standing tall and secure, ready to preserve its contents for weeks or even years to come.
The careful steps you took to seal it will ensure that whatever is inside remains safe and untouched, just like a treasure waiting to be discovered.
With the right sealing method, your bottle will be a symbol of preservation and protection.
