How to Seal Glass Bottle Caps? 5 Easy Steps!
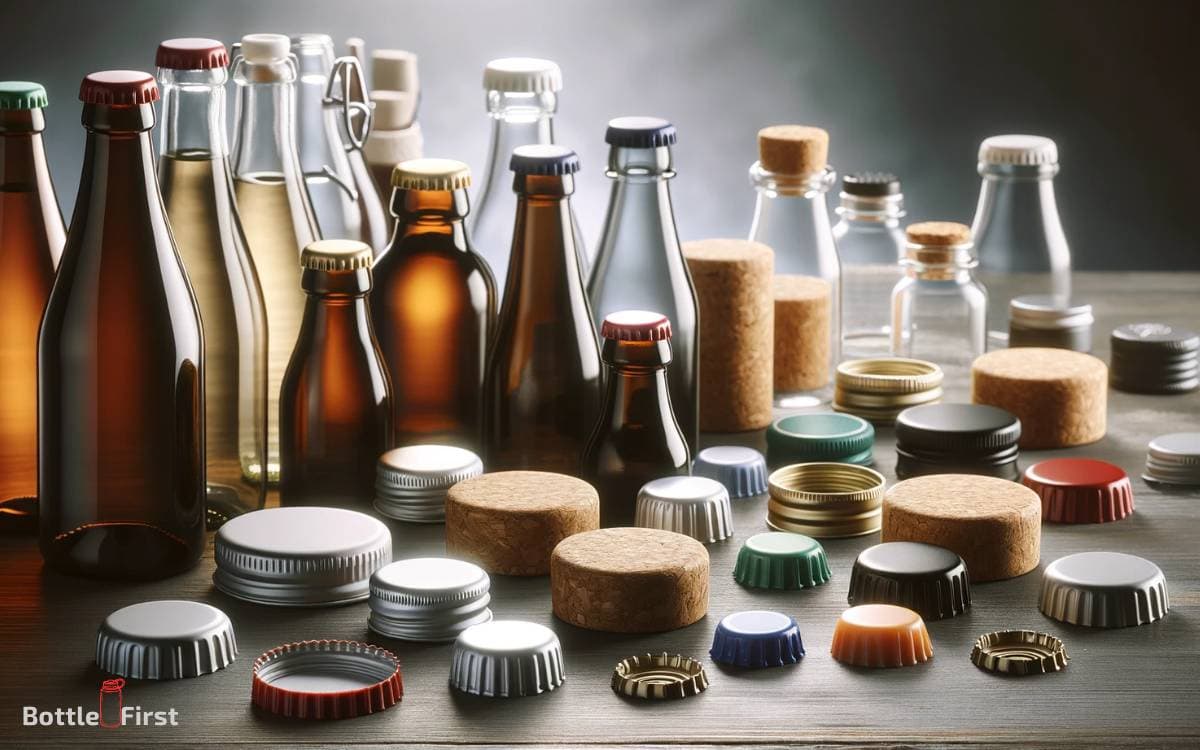
To seal glass bottle caps effectively, you need the right materials and method. Start by choosing a cap that fits snugly on your bottle.
Clean both the bottle rim and cap thoroughly to remove any contaminants. Apply a food-grade sealant or wax, if necessary, for added protection.
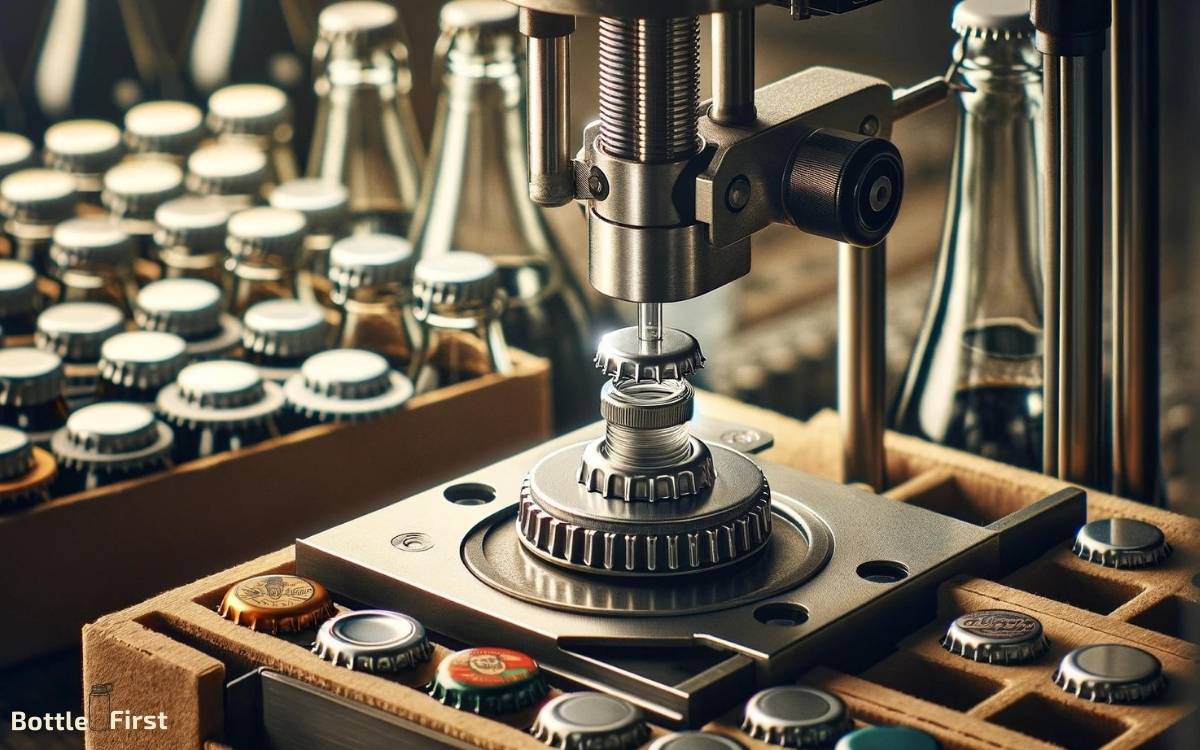
Position the cap on the bottle and use a capping machine or tool to secure it tightly, ensuring a proper seal to keep the contents fresh and prevent leakage.
Sealing glass bottle caps is a crucial step in packaging to preserve the contents and prevent contamination. The process often depends on the type of cap and the content of the bottle.
Here are some quick methods:
Key Takeaway
Step 1: Choosing the Right Bottle Caps
You should select bottle caps that fit tightly and securely onto your glass bottles. When choosing the right bottle caps for sealing, consider innovative designs that provide a reliable seal.
Look for caps with advanced sealing mechanisms, such as silicone liners or double-seal systems, to ensure maximum freshness and prevent leaks.
Opt for caps made from high-quality materials like stainless steel or BPA-free plastic, as these materials offer durability and long-term sealing effectiveness.
Additionally, explore unique cap designs that offer convenient features like easy-grip ridges or flip-top openings for a modern and user-friendly sealing experience.
Step 2: Preparing the Bottle Neck
Before sealing the bottle caps, start by cleaning the bottle neck thoroughly. Make sure to apply the sealant evenly around the neck to ensure a tight seal.
After applying the sealant, remember to remove any excess to prevent leaks and ensure a secure closure.
Cleaning the Bottle Neck
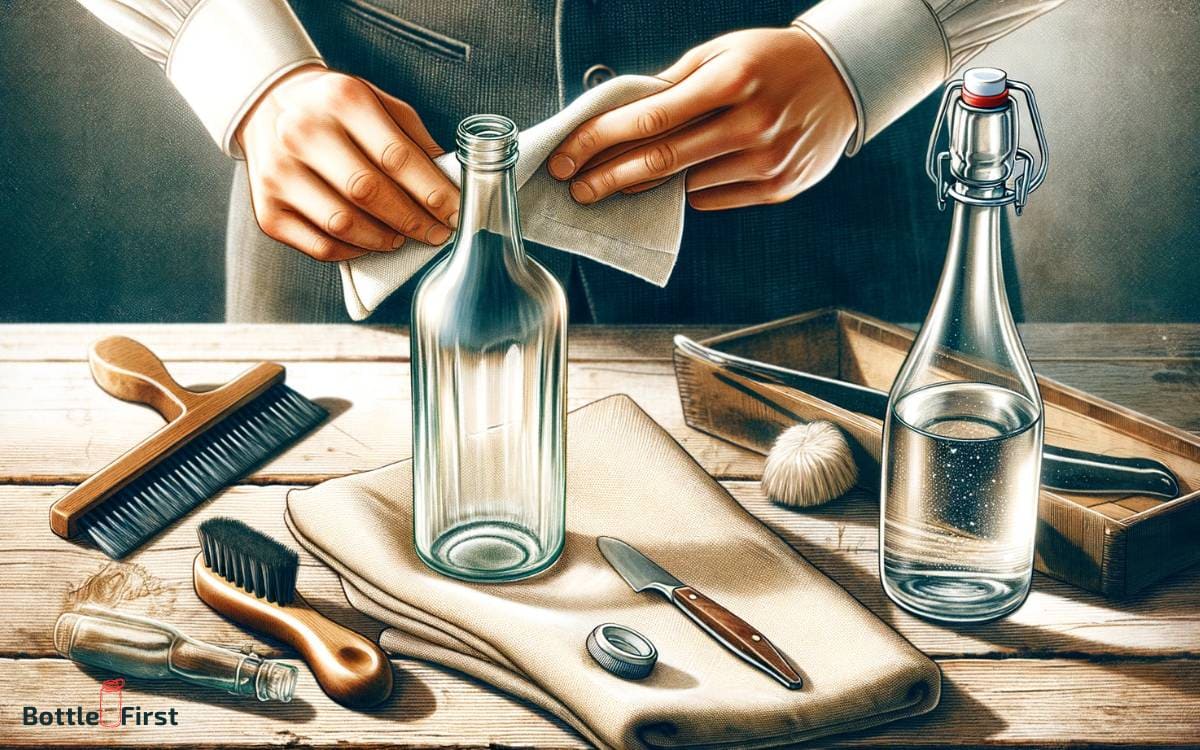
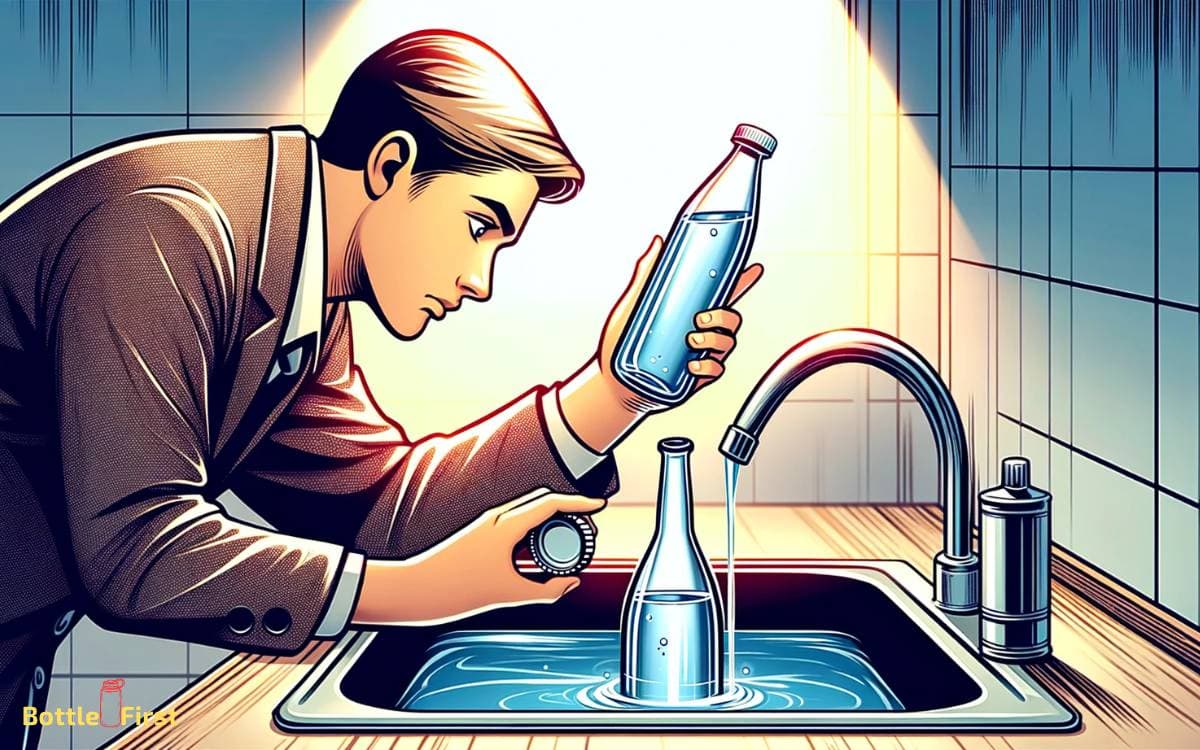
To prepare the bottle neck for sealing, start by wiping it clean with a dry cloth or paper towel. This ensures that the surface is free from any dust, dirt, or residue that could prevent a proper seal.
Next, inspect the bottle neck to make sure there are no chips or cracks that could compromise the seal. If any imperfections are found, consider using a glass file to smooth them out.
Finally, if the bottle neck has any stubborn residue, consider using a small amount of glass cleaner to thoroughly remove it. Once the bottle neck is clean and free from any imperfections, it will be ready for the sealing process.
Now you’re ready to move on to the next step of sealing the glass bottle caps.
Applying Sealant Evenly
After ensuring the bottle neck is clean and free from imperfections, it’s important to apply the sealant evenly to ensure a proper and secure seal for the glass bottle caps.
To achieve this, follow these steps:
- Center the Bottle: Place the bottle on a flat surface and ensure it’s centered to prevent uneven application.
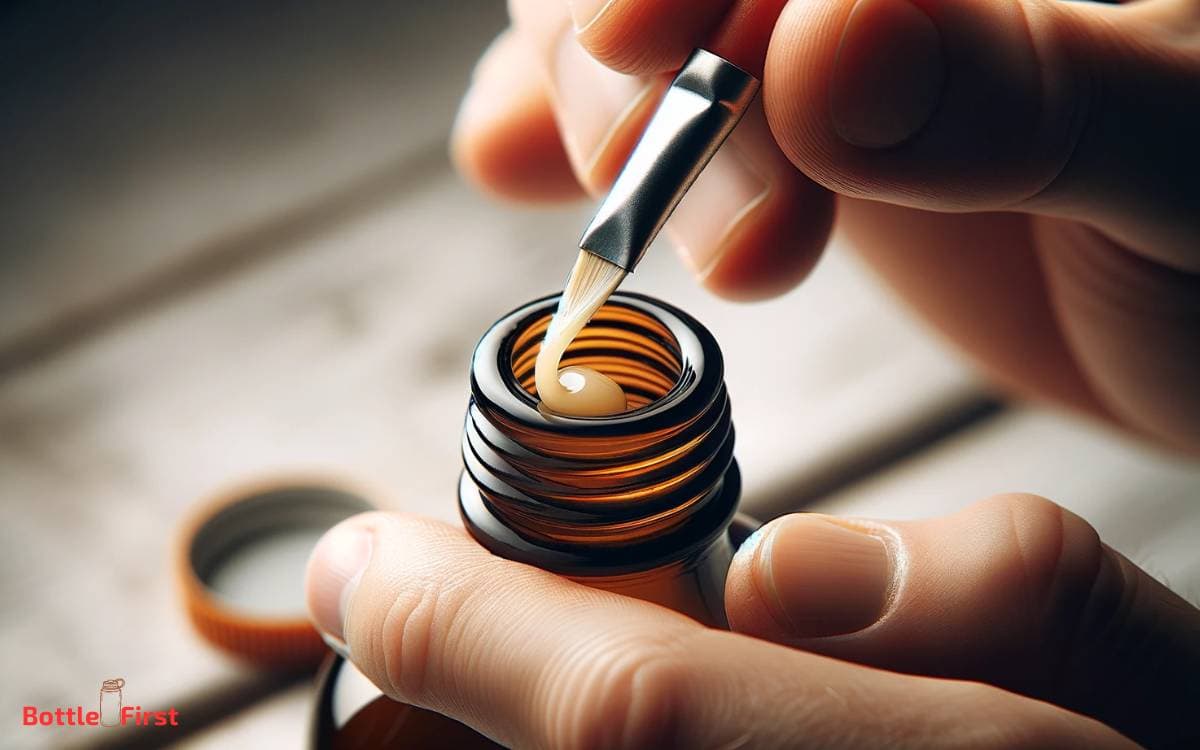
- Use Applicator: Utilize a fine-tipped applicator to control the flow of sealant and apply it evenly around the rim of the bottle neck.
- Rotate the Bottle: Rotate the bottle as you apply the sealant to ensure consistent coverage and to prevent any gaps or excess sealant.
Removing Excess Sealant
Once you have applied the sealant evenly around the rim of the bottle neck, carefully wipe away any excess sealant using a clean cloth.
Follow these steps to ensure a perfectly sealed bottle cap:
- Use a gentle, circular motion to remove the excess sealant. This will help in creating a smooth and clean finish.
- Inspect the bottle neck from different angles to ensure that no sealant residue remains. This step is crucial to prevent any potential leakage or contamination.
- Allow the sealant to dry completely before capping the bottle. This will guarantee a tight and secure seal, preserving the contents of the bottle.
Step 3: Applying a Sealant
You’ll want to choose the right type of sealant for your glass bottle caps, such as silicone or polyurethane.
Once you’ve selected the sealant, it’s important to master the proper application techniques to ensure a tight and secure seal.
Be mindful of the drying and curing time, as this will determine when your bottle caps will be fully sealed and ready for use.
Types of Sealants
To seal glass bottle caps, you’ll need to select a suitable sealant for your specific needs and apply it according to the manufacturer’s instructions.
When choosing a sealant, consider the following options:
- Silicone Sealant: This versatile option provides excellent adhesion to glass and is resistant to extreme temperatures, making it ideal for both hot-fill and cold-fill products.
- Polyurethane Sealant: Known for its durability and flexibility, this sealant is great for applications requiring a strong bond that can withstand movement and vibration.
- Epoxy Sealant: Offering exceptional strength and chemical resistance, epoxy sealants are suitable for sealing glass bottle caps for products that require a high level of protection.
Now that you’ve selected the right sealant, let’s move on to the application techniques for effectively sealing glass bottle caps.
Application Techniques
When applying a sealant to glass bottle caps, start by thoroughly cleaning the cap surface with a solvent or alcohol-based cleaner.
This ensures that the surface is free from any dirt, dust, or residue, allowing the sealant to adhere effectively.
Once the surface is clean and dry, you can apply the sealant using various techniques depending on the type of sealant being used.
Here are some innovative application techniques to consider:
| Technique | Description |
|---|---|
| Brush application | Using a small brush to evenly apply the sealant to the cap surface. |
| Dipping method | Submerging the cap into the sealant for complete coverage. |
| Spray application | Using a spray gun or aerosol can for quick and uniform application. |
| Roller application | Applying the sealant using a small roller for smooth and even coverage. |
| Precision dispensing | Using a syringe or precision dispenser for accurate and controlled application. |
Experiment with these techniques to find the best method for your specific sealant and bottle cap requirements.
Drying and Curing Time
After applying the sealant to the glass bottle caps using the innovative techniques mentioned earlier, it’s crucial to allow for sufficient drying and curing time before handling or using the sealed bottles.
To ensure the best results, follow these steps:
- Air Dry: Place the sealed bottles in a well-ventilated area at room temperature for at least 24 hours to allow the sealant to dry thoroughly.
- Curing Time: After air drying, let the bottles sit undisturbed for an additional 48 hours to allow the sealant to fully cure and form a strong bond with the glass and cap.
- Check for Readiness: Before moving or using the bottles, check that the sealant has completely dried and cured by gently touching the surface to ensure it’s no longer tacky.
Once the sealant has dried and cured, it’s time to proceed with using heat shrinks for added protection and security.
Step 4: Using Heat Shrinks
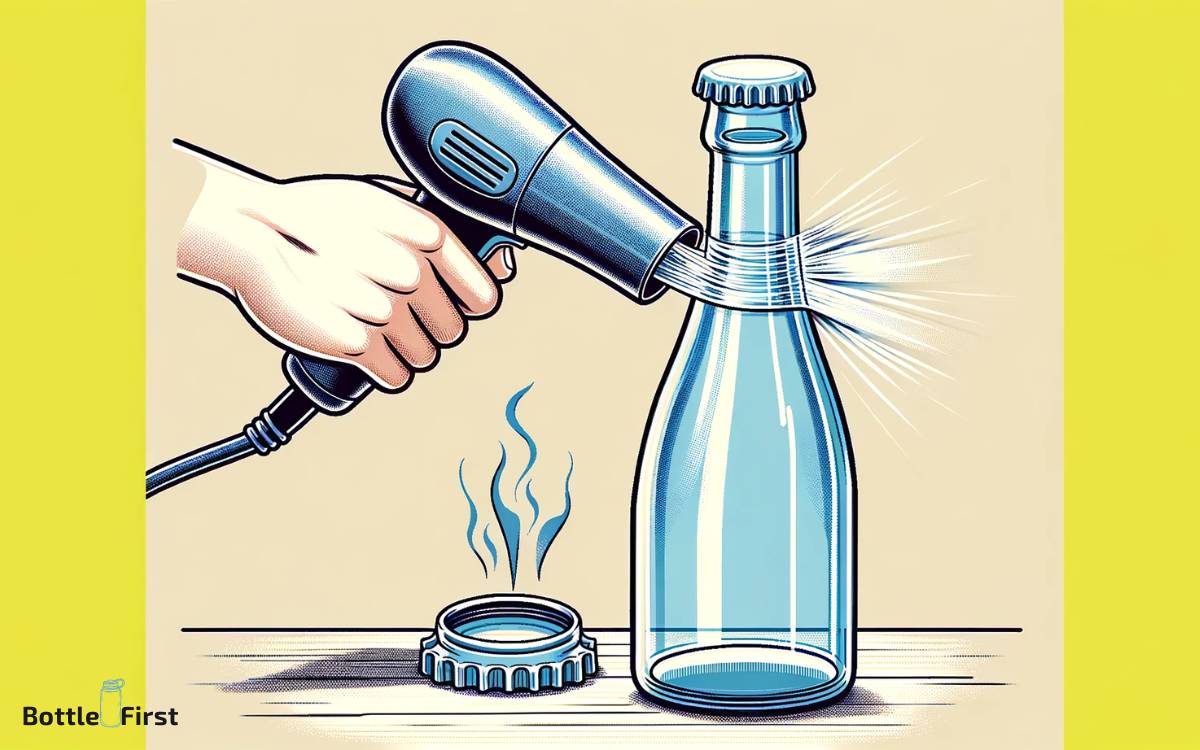
Using heat shrinks is a reliable method for sealing glass bottle caps, ensuring a tight and secure closure.
The heat shrink process involves placing a heat shrink sleeve over the cap and then using heat to shrink the sleeve, creating a tight seal around the cap.
This method is popular for its effectiveness in providing a tamper-evident seal and preventing leakage.
Consider the following table to compare the advantages and disadvantages of using heat shrinks for sealing bottle caps:
| Advantages | Disadvantages |
|---|---|
| Provides tamper-evident seal | Requires heat source |
| Prevents leakage | Additional equipment needed |
| Professional appearance | Time-consuming process |
| Offers secure closure | Potential for uneven shrinkage |
When using heat shrinks, consider the specific needs of your product and the production process to determine if this method is the right choice for sealing your glass bottle caps.
Step 5: Testing the Seal
To test the seal of your glass bottle caps, conduct a simple visual inspection for any signs of tampering or damage. Look for any irregularities in the heat shrink or any gaps between the cap and the bottle mouth.
Next, gently press and twist the cap to ensure it feels secure and doesn’t easily come off.
Finally, tilt the bottle to check for any leaks or seepage around the cap. Innovatively, consider using a magnifying glass or a smartphone camera with a macro lens to closely examine the seal for any minute defects.
These modern approaches can help you detect even the smallest imperfections that may compromise the seal.
Once you have completed the visual inspection, you can confidently move on to the subsequent section about additional tips and considerations.
Additional Tips and Considerations
When inspecting the seal, consider examining the cap under different lighting conditions to detect any potential flaws. Utilize a handheld LED light to check for any irregularities in the seal.
Additionally, consider investing in a magnifying glass to closely inspect the edges and ensure a perfect seal.
To enhance the seal’s durability, apply a thin layer of silicone sealant to the inside of the cap before sealing. This will provide an extra layer of protection against leaks and contamination.
When sealing glass bottle caps, always ensure that the bottle’s rim is clean and free of any debris or moisture, as this can compromise the effectiveness of the seal.
Conclusion
After following these steps, your glass bottle caps will be securely sealed, ready to preserve your favorite beverages or homemade concoctions.
The juxtaposition of the simplicity of the process with the importance of a properly sealed bottle creates a sense of satisfaction and confidence in your DIY skills.
So go ahead, seal those bottle caps and enjoy the peace of mind that comes with knowing your goods are safely stored.
