How to Seal Stickers on Water Bottle: 9 Easy Steps!
Personalizing your water bottle with stickers can add a touch of individuality and style to your hydration companion.
However, stickers are prone to wear and tear, especially if your water bottle is frequently exposed to moisture or rough handling. To ensure your stickers stay vibrant and in place, it’s essential to know how to seal them effectively.
In this step-by-step guide, we will walk you through the process of sealing stickers on a water bottle, preserving their appearance and durability.
Whether you want to protect your favorite designs or prevent them from peeling, this guide will help you enjoy a customized water bottle that truly reflects your personality.
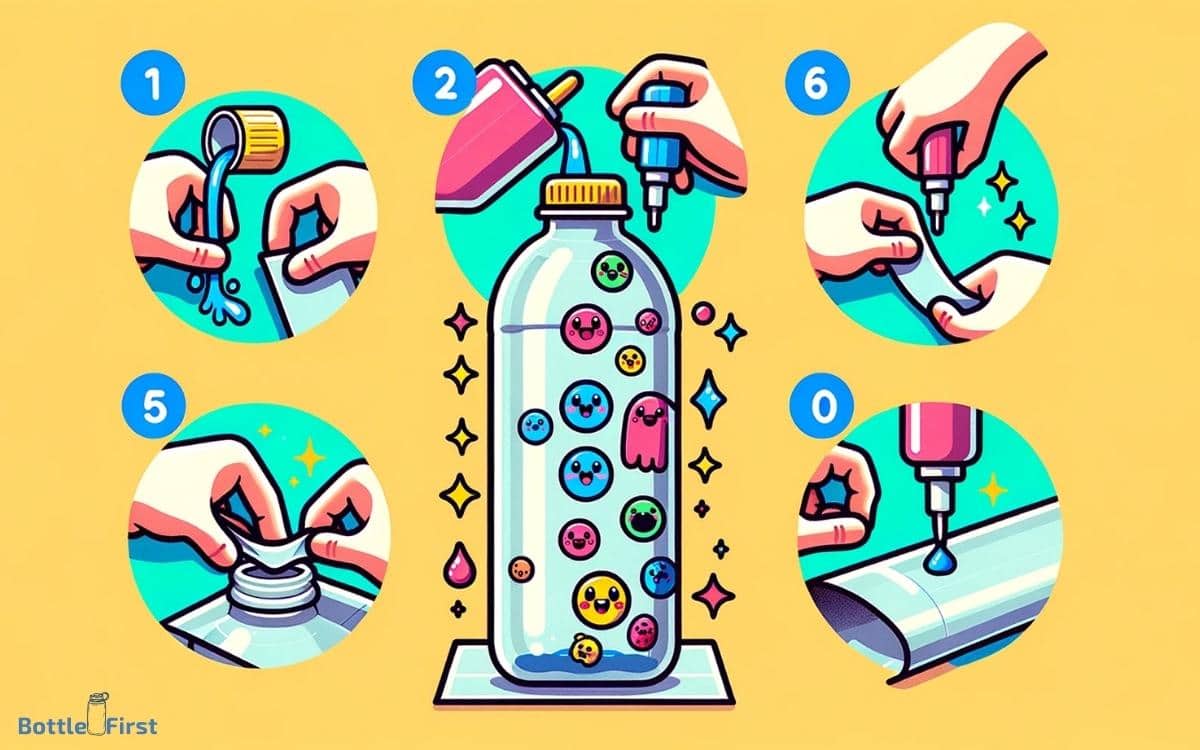
Sealing Stickers on a Water Bottle: A Step-by-Step Guide
Adding stickers to your water bottle is a fun way to personalize it and make it uniquely yours.
However, to ensure those stickers stay in place and don’t get damaged, it’s essential to seal them properly. This step-by-step guide will show you how to seal stickers on a water bottle effectively.
Materials You’ll Need
Before you start, gather the following materials:
Water Bottle
- The water bottle with the stickers you want to seal.
Clear Adhesive Sealant
- You can use clear adhesive sealant or sticker laminate sheets available at most craft stores.
Scissors
- If you’re using sticker laminate sheets, you’ll need scissors to cut them to the appropriate size.
Soft Cloth
- To clean the water bottle surface.
Step 1: Clean the Surface
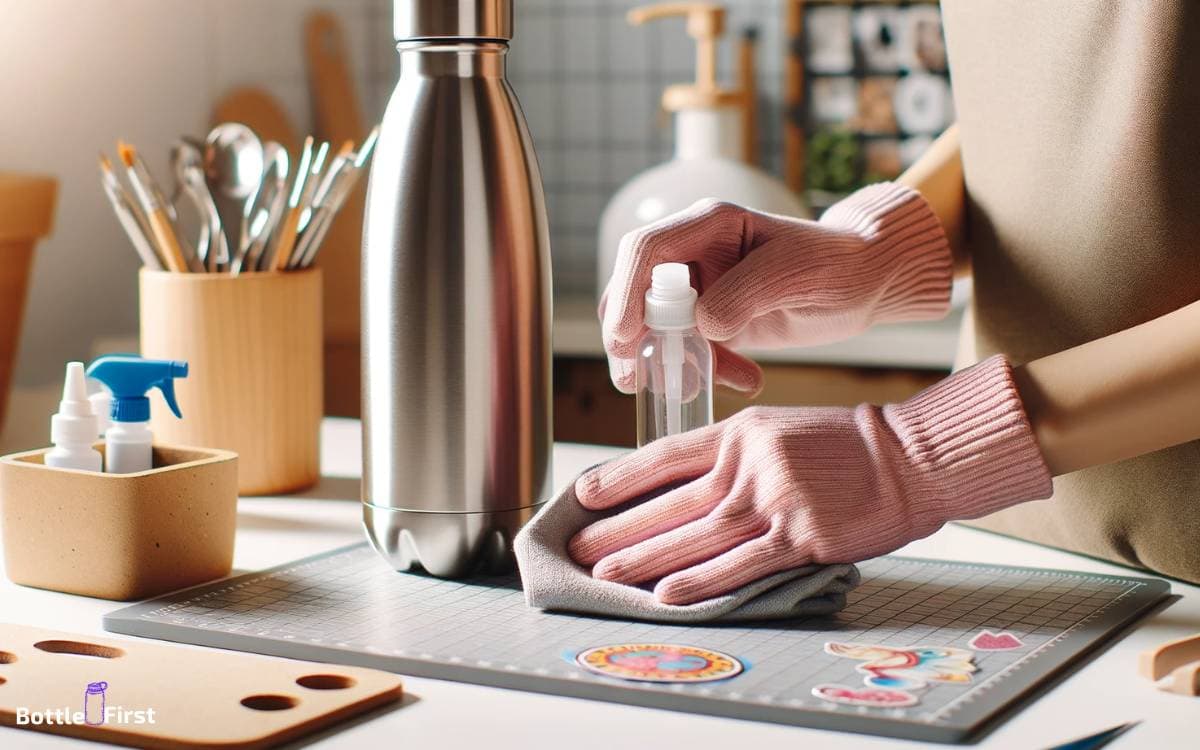
Before applying any sealant, use a soft cloth to clean the water bottle’s surface. Ensure it’s free from dirt, dust, and any residue that might interfere with the adhesion of the stickers.
Step 2: Position the Stickers
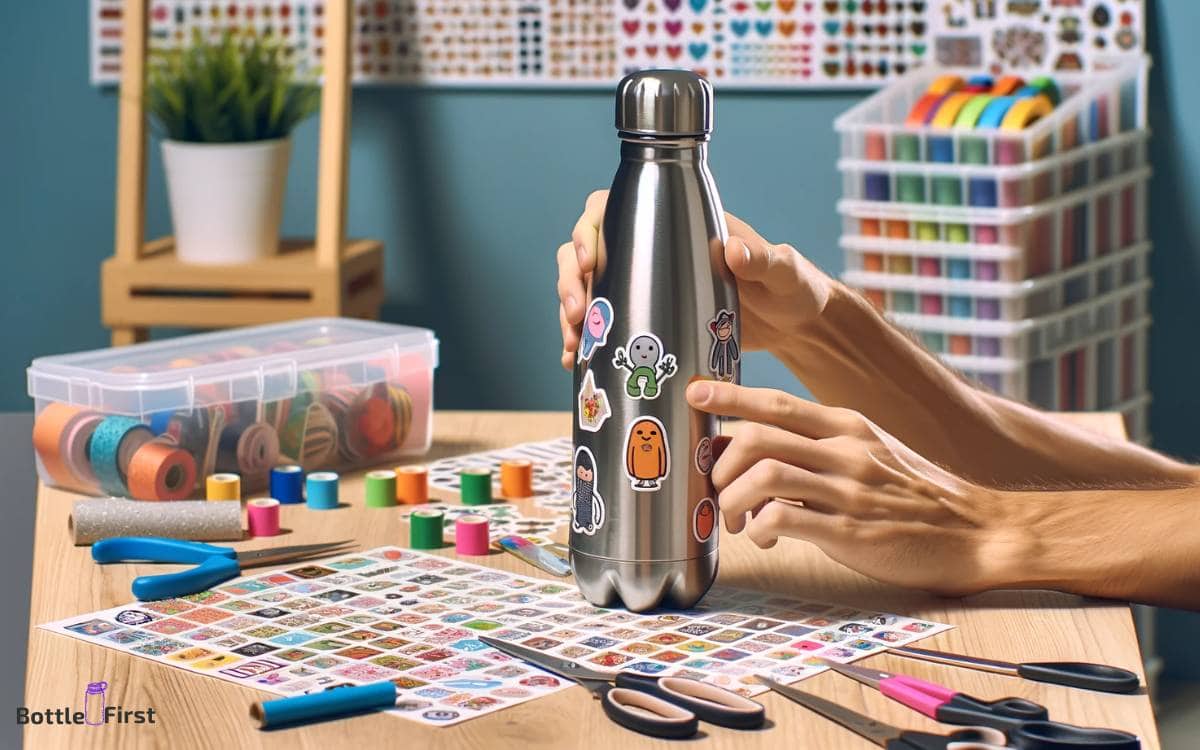
Carefully place the stickers on your water bottle in the desired positions. Make sure they are firmly adhered to and without any air bubbles.
Step 3: Cut the Sealant
If you’re using sticker laminate sheets, cut a piece that’s slightly larger than the sticker you want to seal.
Step 4: Apply the Sealant
Peel the backing off the sticker laminate sheet or, if you’re using clear adhesive sealant, apply it directly over the sticker. Make sure it covers the entire sticker.
Step 5: Smooth Out Air Bubbles
Use a flat, smooth object like a credit card to gently press out any air bubbles or wrinkles in the sealant, starting from the center and moving outward.
Step 6: Trim Excess Sealant
If you used a sticker laminate sheet, trim any excess sealant around the sticker with scissors, leaving a small border.
Step 7: Allow to Dry
Give the sealant some time to dry and set, following the manufacturer’s instructions on the product you used.
Step 8: Test for Adhesion
Once the sealant is dry, make sure the stickers are firmly attached to the water bottle and that there are no loose edges.
Step 9: Enjoy Your Sealed Stickers
Your stickers are now sealed and protected on your water bottle. You can use your personalized water bottle without worrying about the stickers peeling or getting damaged.
Sealing stickers on a water bottle is a great way to preserve their appearance and make them more durable, allowing you to enjoy your custom-designed bottle for a long time.
Creative Tips and Design Ideas
Creating visually appealing designs and artworks requires a blend of inspiration and technical know-how.
Whether you’re a graphic designer, illustrator, or just someone looking to get creative, here are some tips and design ideas to spark your creativity:
Embrace Minimalism:
- Less can be more. Experiment with minimalist designs by using simple shapes, colors, and clean lines.
- Focus on essential elements to convey your message or idea effectively.
Play with Color:
- Color can evoke emotions and set the mood. Explore color combinations and contrasts to create eye-catching designs.
- Consider color psychology to influence how viewers perceive your work.
Typography as Art:
- Typography is not just about conveying information; it can be an art form itself. Experiment with fonts, sizes, and styles to make text an integral part of your design.
- Consider custom lettering or calligraphy to add a personal touch.
Mix Media:
- Combine different artistic mediums such as watercolors, digital art, photography, and hand-drawn elements in your designs.
- The juxtaposition of these elements can result in unique and captivating visuals.
Nature and Organic Elements:
- Incorporate elements from nature, like leaves, branches, or flowers, into your designs for a fresh and organic feel.
- Nature-inspired designs often resonate with viewers.
Texture and Depth:
- Add depth to your designs by using textures. Experiment with different brushes or overlays to give your artwork a tactile quality.
- Consider incorporating 3D elements for an extra dimension.
Negative Space:
- Don’t underestimate the power of negative space. Use it to guide the viewer’s eye and create a sense of balance in your design.
- Negative space can make your subject stand out more effectively.
Experimental Layouts:
- Break away from traditional grid-based layouts. Experiment with asymmetrical and dynamic compositions for a unique look.
- Use unconventional shapes and arrangements to create visual interest.
Cultural and Historical References:
- Explore the art and design of different cultures and historical eras for inspiration.
- Incorporating elements from various cultures can add depth and meaning to your designs.
Mood Boards:
- Create mood boards with images, color swatches, and textures to establish the mood and style of your project before diving into the design.
- Mood boards can help you stay focused and inspired throughout the creative process.
User Interaction:
- If designing for digital platforms, consider user interaction. How will your design respond to user actions or gestures?
- Incorporate subtle animations or interactive elements to engage your audience.
Personal Storytelling:
- Infuse your personal experiences and stories into your designs. Authenticity can resonate with viewers on a deeper level.
- Use your artwork to convey a message or share a narrative.
Remember, creativity knows no bounds, and the best designs often come from experimentation and pushing the boundaries of your comfort zone.
Don’t be afraid to take risks, learn from your mistakes, and keep refining your skills to create captivating and meaningful art and designs.
Troubleshooting and Common Issues
Applying stickers to a water bottle is a fun and creative way to personalize your belongings.
However, ensuring that the stickers stay securely adhered and are protected from water and wear requires proper sealing.
Here are common issues you might encounter and how to troubleshoot them:
Sticker Peeling or Lifting:
Issue: Stickers may start to peel or lift at the edges, especially when the water bottle is exposed to moisture.
Troubleshooting:
- Ensure the water bottle’s surface is clean and dry before applying the sticker.
- Use high-quality adhesive stickers or decals designed for outdoor or waterproof use.
- Apply the stickers evenly and press out any air bubbles during application.
- Seal the edges with a clear, waterproof sealant, such as clear nail polish, waterproof craft sealant, or clear adhesive tape.
Fading or Bleeding Ink:
Issue: The colors on the stickers may fade or bleed when exposed to water or sunlight.
Troubleshooting:
- Choose stickers with UV-resistant ink or apply a UV-resistant clear coat over the stickers.
- Avoid exposing the water bottle to direct sunlight for prolonged periods.
Sticker Wrinkling:
Issue: Stickers may develop wrinkles or creases, impacting their appearance.
Troubleshooting:
- Ensure the water bottle’s surface is clean and smooth before applying the sticker.
- Smooth out the sticker carefully during application to prevent wrinkles.
- Use stickers that are appropriate for curved surfaces, or cut them into smaller sections and apply them individually, overlapping slightly, to accommodate the bottle’s curvature.
Difficulty in Removing Old Stickers:
Issue: If you need to replace or remove old stickers, they may leave residue or be challenging to remove.
Troubleshooting:
- Soak the water bottle in warm, soapy water to loosen the adhesive.
- Gently scrape off any residue with a plastic or rubber scraper to avoid scratching the bottle.
Waterproofing Stickers:
- To proactively waterproof your stickers, you can use a clear, waterproof sealant like clear waterproof epoxy resin, clear adhesive laminate, or a waterproof sticker cover.
Proper Cleaning:
- Avoid using abrasive cleaning materials or excessive scrubbing, as these can damage the stickers. Instead, use a soft cloth or sponge to clean the water bottle.
Avoid Extreme Temperatures:
- Avoid exposing the water bottle to extreme temperatures, as this can affect the sticker’s adhesive and cause it to peel or fade.
Quality Stickers:
- Start with high-quality stickers, as they are more likely to withstand exposure to water and other elements.
By troubleshooting these common issues and taking preventative measures, you can ensure that stickers on your water bottle remain in good condition, adding a personalized touch to your belongings for an extended period.
Ensuring Proper Adhesion
Sealing stickers on a water bottle is essential to ensure they stay securely attached and are protected from moisture and wear.
Here’s how to ensure proper adhesion and effectively seal stickers on a water bottle:
Clean the Surface: Start by cleaning the surface of the water bottle where you plan to apply the sticker. Use a mild detergent and warm water to remove any dirt, oil, or residue. Rinse thoroughly and let it dry completely.
High-Quality Stickers: Use high-quality, waterproof stickers or decals designed for outdoor use. These are more durable and resistant to water and environmental factors.
Proper Positioning: Carefully position the sticker on the water bottle. Make sure it’s aligned the way you want it because repositioning may damage the sticker or affect adhesion.
Smooth Application: Smooth out the sticker from the center towards the edges to remove any air bubbles or creases. You can use a credit card or a similar flat object to do this.
Seal the Edges: To prevent water from getting under the edges of the sticker, seal them.
There are a few options for this:
- Clear Nail Polish: Apply a thin layer of clear nail polish over the edges of the sticker. Make sure it dries completely.
- Waterproof Craft Sealant: Use a waterproof craft sealant or adhesive specifically designed for this purpose. Apply it around the edges of the sticker and let it dry according to the manufacturer’s instructions.
- Clear Adhesive Tape: Cut a piece of clear adhesive tape to the size of the sticker and wrap it around the edges to provide a waterproof barrier.
UV Protection (Optional): If your water bottle will be exposed to direct sunlight, consider applying a UV-resistant clear coat over the sticker to prevent fading or color bleeding.
Let It Cure: Allow the sealed sticker to cure for the recommended time. This ensures that the adhesive and sealant bond properly with the water bottle.
Avoid Extreme Temperatures: To maintain the sticker’s adhesion and quality, avoid exposing the water bottle to extreme temperatures, both hot and cold.
Gentle Cleaning: When cleaning the water bottle, use a soft cloth or sponge. Avoid abrasive materials or excessive scrubbing, as this can damage the sticker and the sealant.
Regular Inspection: Periodically check the sticker for any signs of wear or peeling. If you notice any issues, address them promptly to maintain the sticker’s integrity.
By following these steps, you can ensure proper adhesion and effective sealing of stickers on your water bottle, allowing you to enjoy your personalized design while keeping it protected from the elements.
Conclusion
Sealing stickers on a water bottle is an easy and cost-effective way to add some personal touch to your hydration gear.
By preparing the stickers, gathering the necessary materials, and following a step-by-step guide, you can quickly and efficiently create a high-quality seal that will last.
It’s important to make sure the bottle is clean and dry before applying the sticker and to use a sealant that is durable and waterproof.
With a little bit of practice, you’ll be able to create stunning and unique water bottles that reflect your personal style.
FAQ
What is the best way to seal stickers on a water bottle?
The best way to seal stickers on a water bottle is to apply a thin layer of clear sealant or a clear acrylic spray after properly adhering the sticker to the bottle.
How do I ensure the sticker will stay affixed to the water bottle?
Securely and evenly applying the sticker to the bottle’s surface and then applying the sealant or spray with an even sweeping motion are the best ways to ensure that the sticker will remain affixed.
Are there alternatives to using a sealant to apply stickers to a water bottle?
Yes, you can alternatively use adhesive tape or a strong permanent glue. However, these must also be accompanied by a thin layer of clear sealant spray to ensure the best bond.
How can I tell if the sealant or spray I am using is suitable for use on a water bottle?
Look for products that are rated for outdoor use and are labeled as weatherproof, waterproof or water-resistant.
Most clear sealants will also include instructions on how to properly apply them to water bottles.


