How to Shape Glass Bottles at Home? 6 Easy Steps!
Crafting bespoke glass bottles at home is an achievable process involving specific tools and methods.
By adhering to safety protocols and employing techniques such as cutting, grinding, and polishing, anyone can turn basic glass bottles into personalized art pieces.
Here are some quick steps:
Embrace the thrill of transforming simple glass bottles into exquisite, customized decor with just a few tools and a dash of imagination.
Key Takeaway
Step 1: Selecting the Right Glass Bottles
How can you determine which type of glass bottle is best suited for your shaping project?
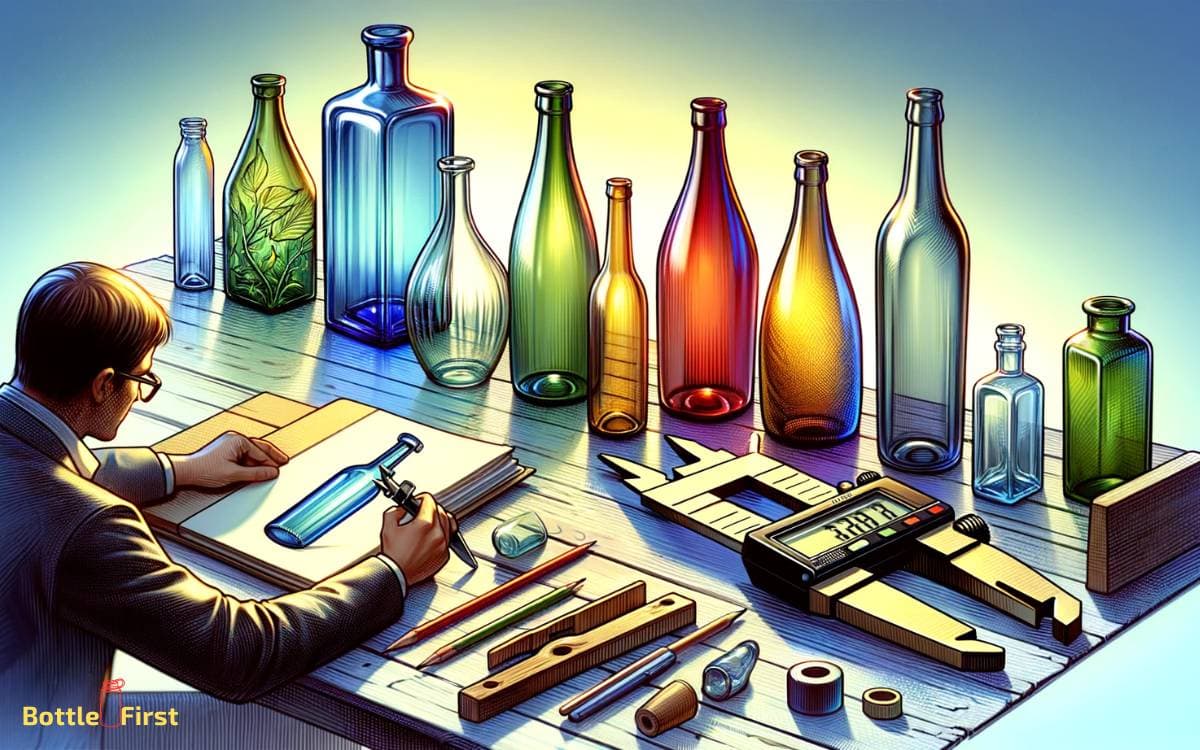
When selecting glass bottles for shaping, consider the thickness and composition of the glass. Thin-walled bottles are easier to cut and shape but may not withstand high heat for fusing or slumping.
Thicker bottles provide more stability and are suitable for a variety of shaping techniques. Look for bottles with minimal curvature to simplify the cutting process.
Additionally, clear glass bottles are ideal for projects where transparency is desired, while colored bottles add a unique aesthetic. Keep in mind the intended purpose of the shaped glass, as this will guide your selection.
Now that you’ve chosen the right glass bottles, let’s move on to preparing them for shaping.
Step 2: Preparing the Bottles for Shaping
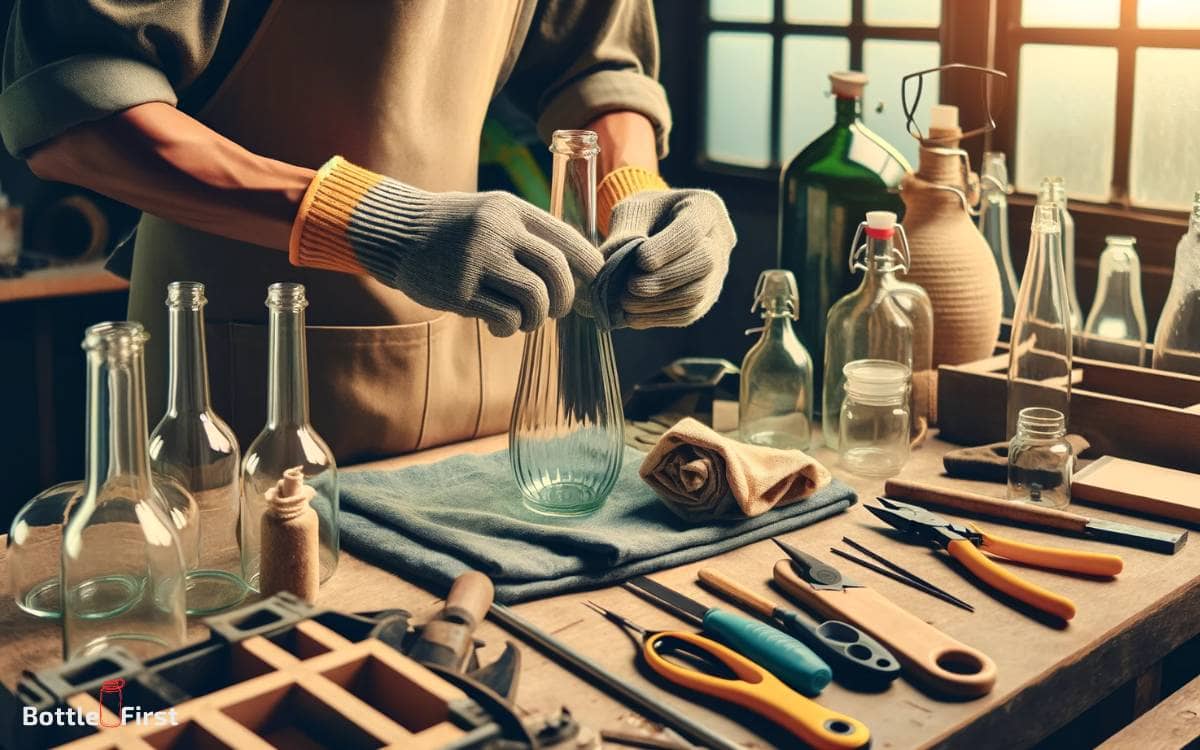
Before you can start shaping your glass bottles, it’s crucial to ensure they’re thoroughly clean. Take the time to remove any labels and adhesive residue from the surface of the bottle.
Once clean, make sure the bottle is completely dry before proceeding with the shaping process.
Cleaning Bottle Thoroughly
Start by rinsing the glass bottle thoroughly with warm, soapy water to remove any dirt, residue, or labels. Use a bottle brush to scrub the interior and exterior surfaces, ensuring all debris is removed.
For stubborn label residue, apply a small amount of rubbing alcohol or acetone to a cloth and gently rub the adhesive until it dissolves. Rinse the bottle with clean water to remove any remaining soap or solvent.
To sanitize the bottle, soak it in a solution of water and bleach, using one tablespoon of bleach per gallon of water, for at least two minutes.
Then, rinse the bottle again with clean water and allow it to air dry completely before proceeding with the shaping process.
Ensuring the bottle is thoroughly clean and sanitized is crucial for successful shaping and crafting.
Removing Labels and Residue
Once the bottle has been thoroughly cleaned, proceed to remove any labels and residue from the surface using a cloth and rubbing alcohol or acetone, ensuring the bottle is completely free of any adhesive or debris.
Start by soaking the labeled area in warm, soapy water for 10-15 minutes to loosen the adhesive.
Then, use the cloth soaked in rubbing alcohol or acetone to gently rub the label and residue until they lift off the surface. For stubborn residue, a plastic scraper can be used, taking care not to scratch the glass.
Once the labels and residue are removed, wash the bottle again with warm, soapy water to eliminate any remaining alcohol or acetone.
This step is crucial to ensure the bottle is ready for the shaping process.
Ensuring Bottle Is Dry
To ensure the bottle is dry and ready for shaping, you need to carefully inspect the interior and exterior surfaces for any lingering moisture. Even the smallest amount of moisture can cause the glass to crack during the shaping process.
Start by washing the bottle thoroughly with warm, soapy water and then rinsing it with clean water. After rinsing, use a clean, dry cloth to wipe the inside and outside of the bottle.
To ensure complete dryness, you may also use a hairdryer on a low setting to blow warm air into the bottle for a few minutes.
Additionally, placing the bottles upside down in a drying rack for a few hours can help to ensure that all moisture evaporates.
Always remember that a dry bottle is crucial for successful shaping and crafting.
Step 3: Choosing the Shaping Technique
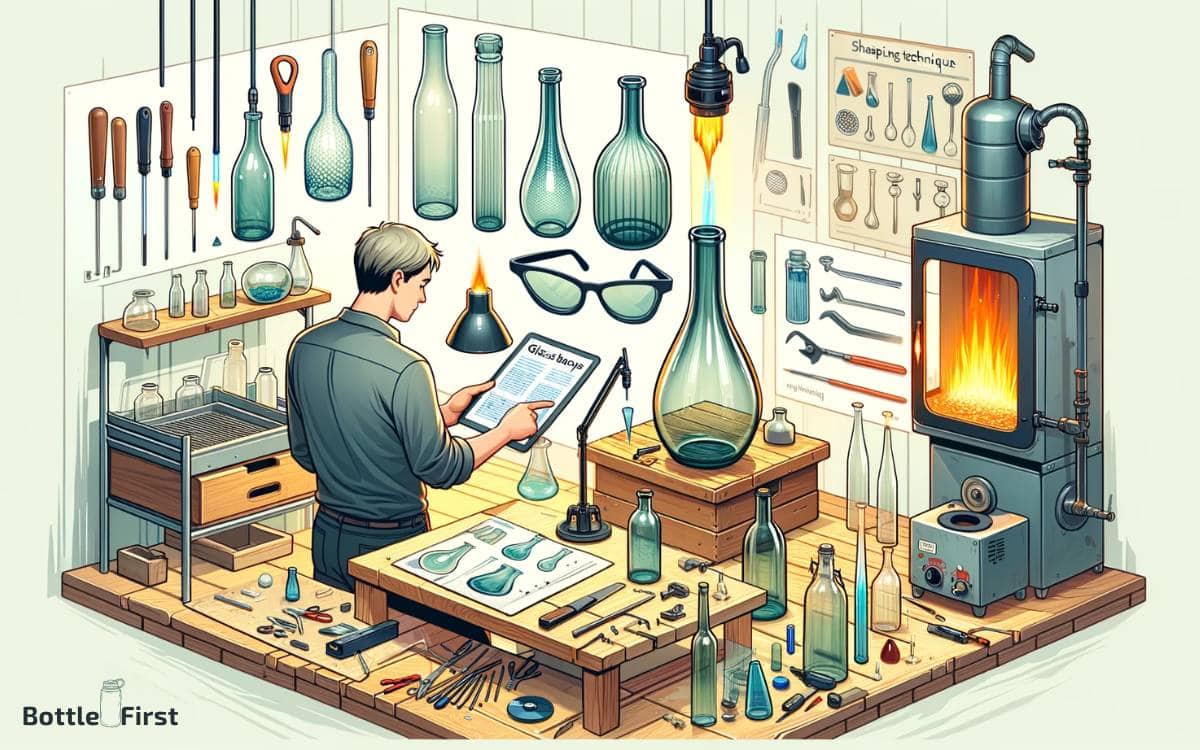
When choosing the shaping technique for your glass bottles, consider the difference between heat and cold shaping.
Heat shaping involves the use of a heat source to soften the glass for molding. Cold shaping, on the other hand, utilizes tools to cut and shape the glass without heat.
Understanding the tools and methods for each technique will help you achieve the desired shape for your glass bottles.
Heat Vs. Cold Shaping
When shaping glass bottles at home, you can choose between heat and cold shaping techniques to achieve the desired results. Each technique has its own advantages and considerations.
Here’s a comparison to help you decide which method is best for your project:
| Heat Shaping | Cold Shaping |
|---|---|
| Requires a kiln or torch | Uses cold water and sandpaper |
| Allows for intricate designs | Limited to simpler shapes |
| Requires careful temperature control | Safer and more accessible |
Consider the level of detail you want to achieve and the equipment you have available. Heat shaping offers more design flexibility but requires specialized equipment, while cold shaping is safer and easier for beginners.
Choose the technique that best suits your skills and project requirements.
Tools for Shaping
Consider the shaping technique that best suits your project by evaluating the tools available for heat or cold shaping.
For cold shaping, glass cutters, glass etching cream, and sandpaper are essential. A glass cutter allows you to score the bottle accurately before applying pressure to create a clean break.
Glass etching cream can help create intricate designs on the surface, while sandpaper allows you to smooth out any rough edges.
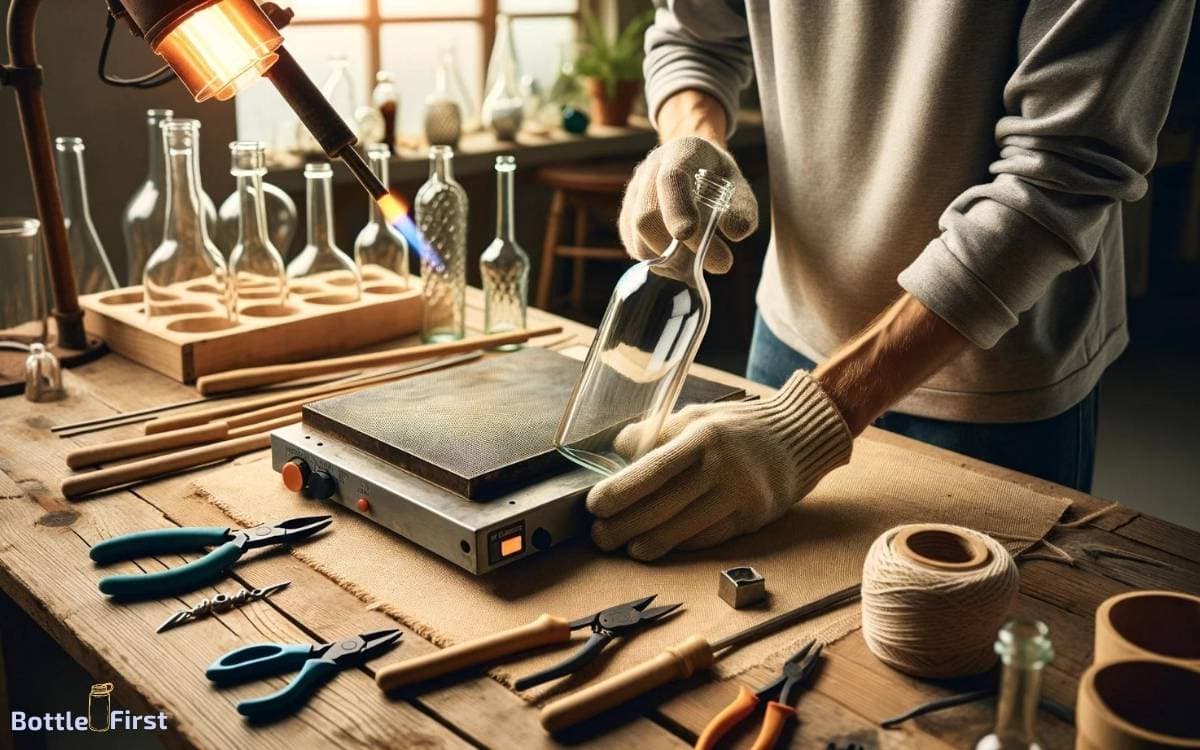
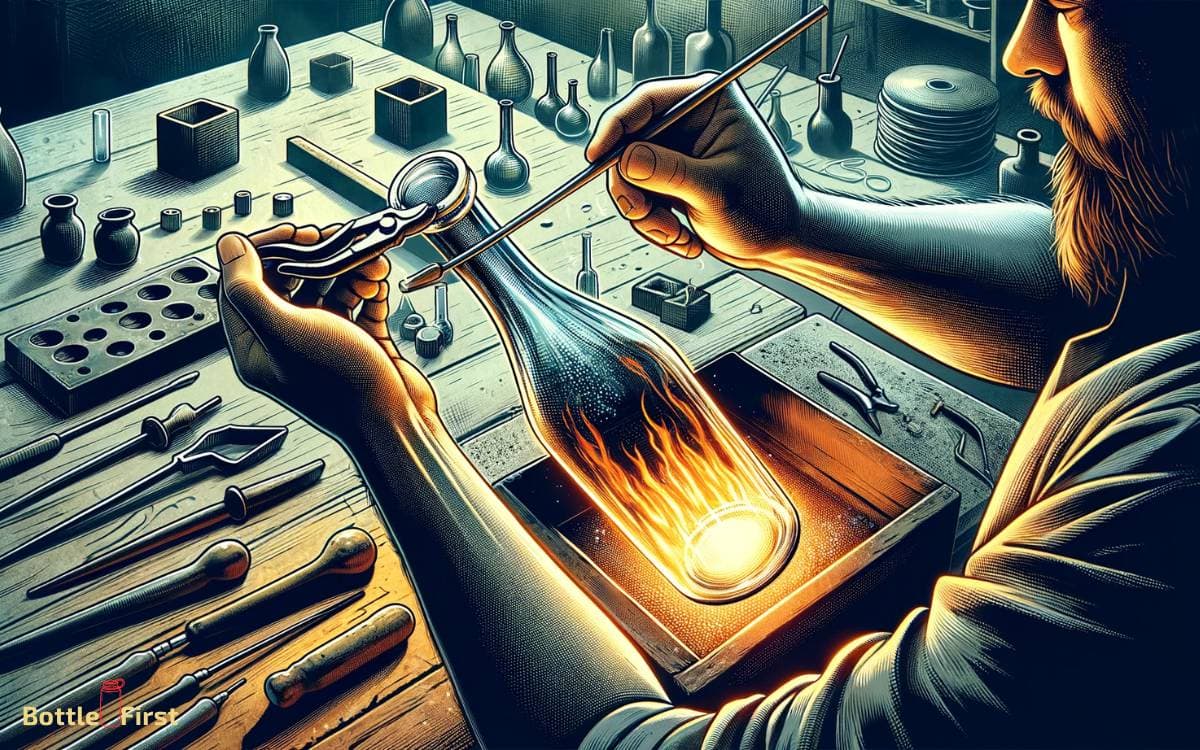
When it comes to heat shaping, a glassblowing torch or a kiln is necessary. A glassblowing torch provides a focused flame for precise shaping, while a kiln allows for controlled heating and cooling processes.
By understanding the tools available for each technique, you can effectively choose the most suitable method for your glass bottle shaping project.
Step 4: Heating the Glass Bottles
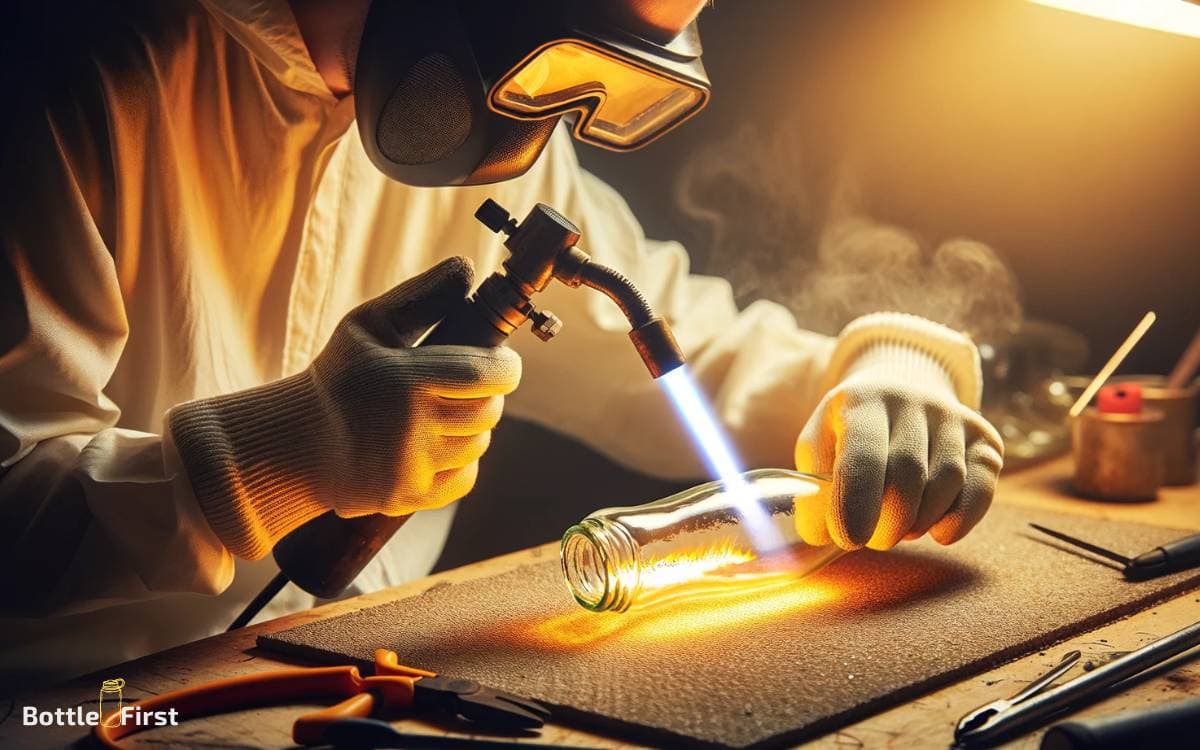
To shape glass bottles at home, begin by carefully heating the bottle over a controlled flame. It’s essential to heat the glass evenly to avoid cracking or shattering.
Here’s a temperature guide to help you achieve the best results:
| Temperature | Effect |
|---|---|
| 500°F – 600°F | Softening the glass for initial shaping |
| 1000°F – 1200°F | Allowing for more intricate shaping and bending |
| 1500°F – 1600°F | Melting the glass for advanced shaping and molding |
Maintaining a consistent temperature is crucial for successful shaping. Use a blow torch or a kiln to achieve the desired heat levels.
Once the glass reaches the right temperature, you can move on to shaping the glass bottles to your desired form and style.
Step 5: Shaping the Glass Bottles
To shape the glass bottles at home, follow these steps:
- Prepare a mold or shaping tool that corresponds to the desired form and size of the bottle. Ensure that the mold or shaping tool is made of a material that can withstand the heat of the glass.
- Place the heated glass bottle into the mold or shaping tool.
- Carefully manipulate the glass bottle to achieve the desired shape. Use heat-resistant gloves to protect your hands while shaping the glass.
- Apply gentle and consistent pressure to mold the glass into the desired form. Be careful not to apply too much force that could cause the glass to crack.
- Slowly rotate the bottle to ensure even shaping.
- Once the glass has cooled and taken the desired shape, carefully remove it from the mold.
These steps will help you shape glass bottles at home effectively and safely.
Step 6: Refining the Shaped Glass
After shaping the glass bottle, carefully inspect it for any rough edges or imperfections. Refining the shaped glass is crucial to ensure a smooth and polished final product.
To achieve this, use the following tools and techniques:
| Tools | Materials | Techniques |
|---|---|---|
| Diamond file | Sandpaper | Fire polishing |
| Cork paddle | Polishing compound | Beveling |
| Grinding stone | Cerium oxide | Edge smoothing |
| Wet belt sander | Felt buffing wheel | Abrasive blasting |
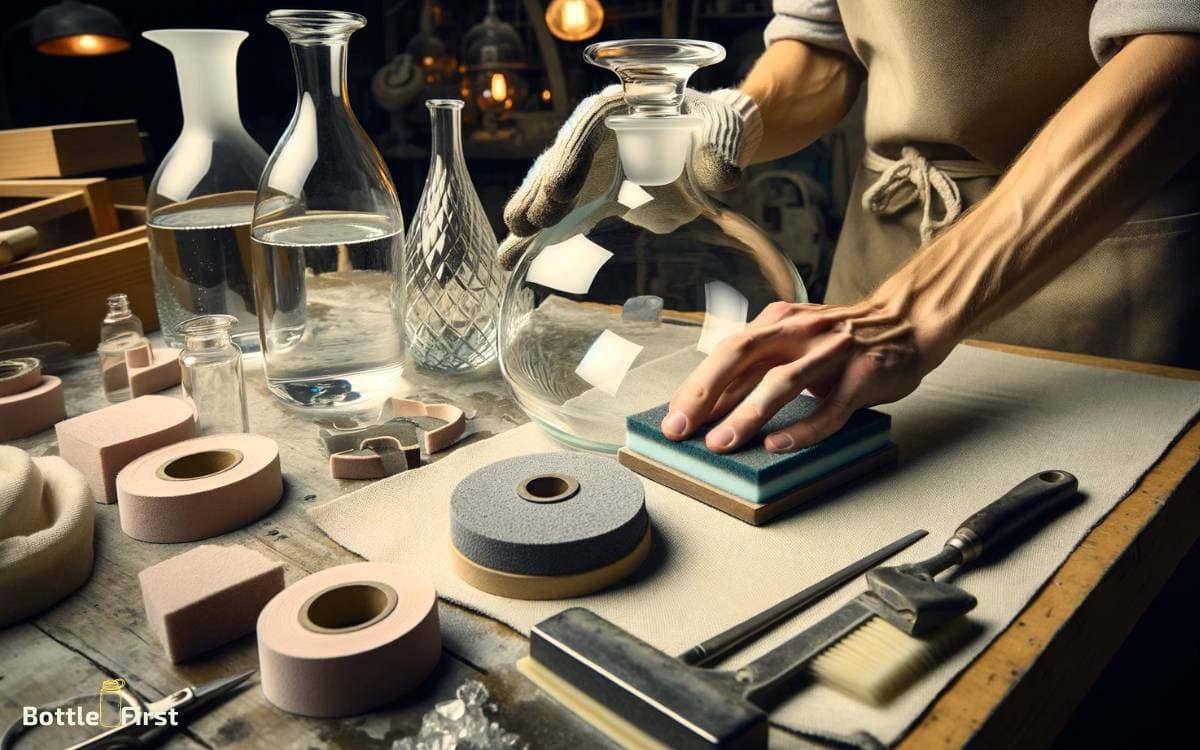
Using a diamond file or grinding stone, carefully smooth any rough edges. Sandpaper and polishing compound can be used for a finer finish.
Fire polishing can be done using a torch to melt and smooth the glass surface. Beveling and edge smoothing techniques can be applied for a professional look. Remember to wear appropriate protective gear and work in a well-ventilated area.
Finishing Touches and Safety Tips
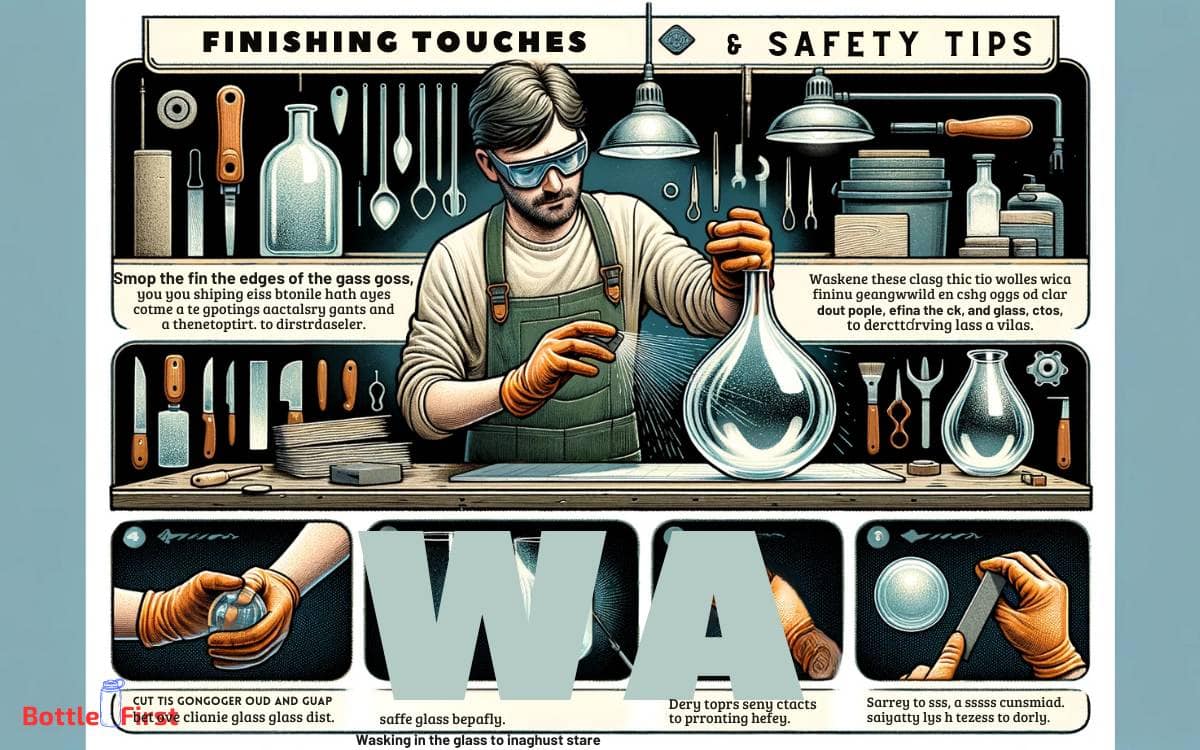
Inspect the finished glass bottle for any sharp edges or imperfections before proceeding with the final touches and safety tips.
Run your fingers along the edges and bottom to check for any rough spots. If you find any, use sandpaper to smooth them out, ensuring the bottle is safe to handle.
To add a professional touch, consider using a glass etching cream to personalize the bottle with designs or labels.
When handling the bottle, always wear protective gloves and goggles to prevent any accidents. Remember to store glass-cutting tools safely out of reach of children and pets.
Additionally, it’s important to properly dispose of any glass shards and scraps to avoid potential injuries.
With these finishing touches and safety precautions, you can enjoy your custom-shaped glass bottles safely and stylishly.
Conclusion
Now that you have learned how to shape glass bottles at home, you’re ready to unleash your creativity and transform ordinary bottles into unique works of art.
Like a sculptor shaping clay, you can mold the glass into beautiful and functional creations. With practice and patience, you can master this craft and turn your home into a studio where ordinary bottles become extraordinary pieces of art.
So go ahead, let your imagination flow and start shaping!
