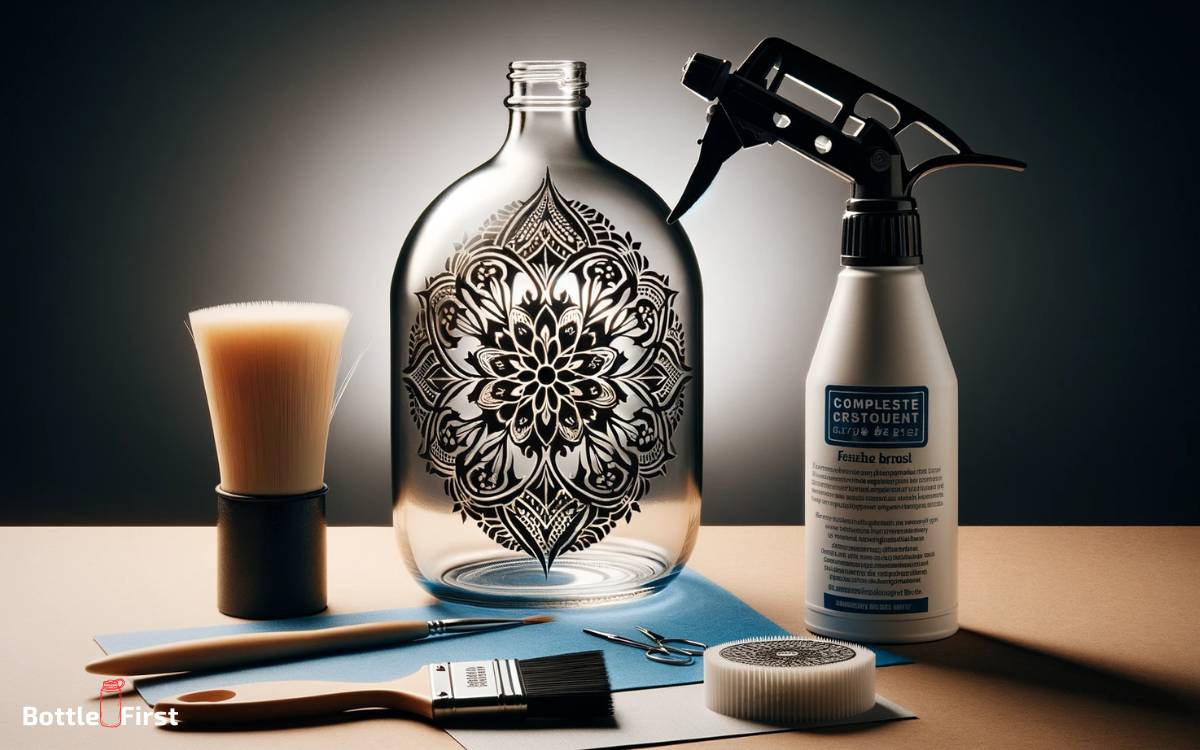
How to Stencil on Glass Bottles? 4 Easy Steps!
Transforming glass bottles into stunning decorative pieces is easily achievable with a bit of stenciling.
The process involves selecting an appropriate stencil, securing it onto the bottle, applying paint or etching cream, and then removing the stencil to reveal the design.
This art project is a great way to personalize home decor or create unique gifts. Stenciling on glass bottles requires some preparation and the right materials.
Here are some quick steps:
For example, when using glass paint, after stenciling, you may need to bake the bottle in the oven to set the paint.
Embellish your glassware with ease – stenciling on glass bottles adds a personalized flair to any decor.
Key Takeaway
Materials Needed
You’ll need to gather the following materials to stencil on glass bottles:
- Glass bottles
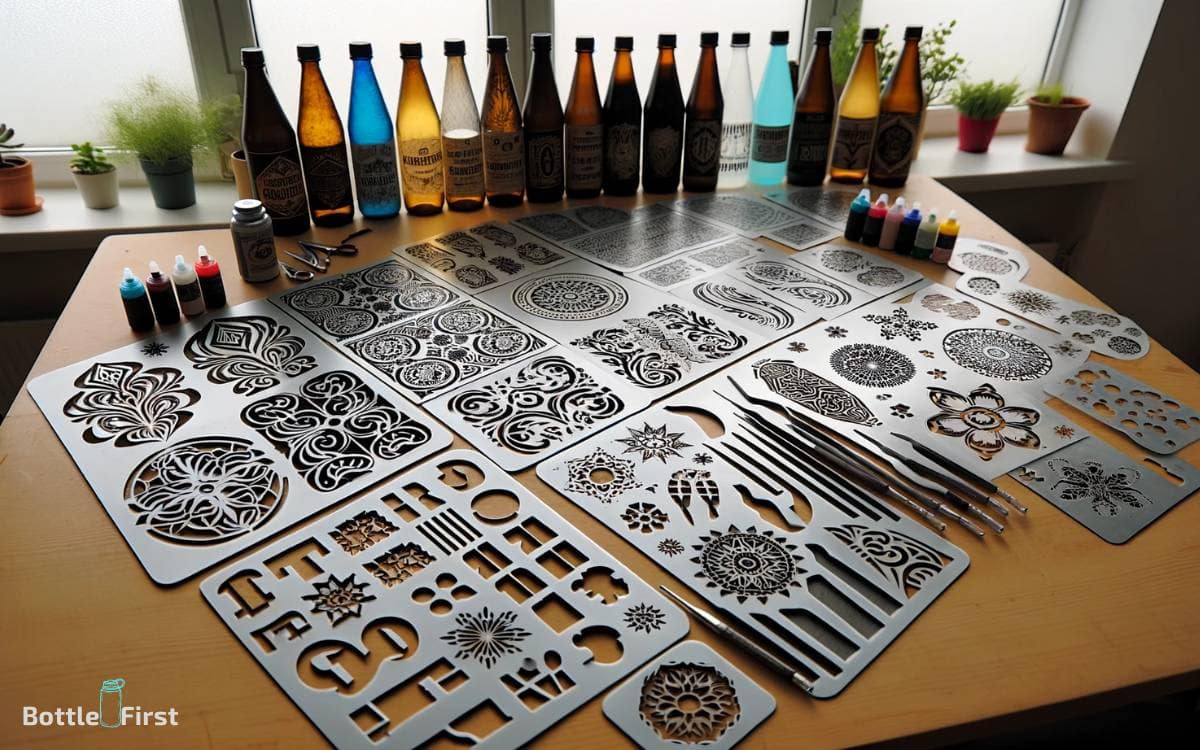
- Stencils
- Adhesive stencil spray
- Glass etching cream
- A foam brush
- Painter’s tape
- Gloves
The glass bottles can be any size or shape, allowing for creativity and variety in your designs. Stencils with innovative patterns or quotes will add a unique touch to your glass bottles.
Adhesive stencil spray will help keep the stencil in place while you work. Glass etching cream is essential for creating a permanent stencil on the glass surface.
A foam brush will ensure smooth and even application of the etching cream. Painter’s tape is useful for securing the stencil and protecting the surrounding areas. Lastly, gloves will protect your hands during the stenciling process.
Step 1: Choosing the Right Stencils
When selecting stencils for glass bottle stenciling, consider the size and design of the bottle as well as the patterns and quotes you want to incorporate.
Take into account the shape of the bottle and whether you want to stencil on the entire surface or just a portion of it.
Additionally, think about the style you want to achieve, whether it’s intricate designs, geometric patterns, or inspiring quotes.
Below is a table to help you visualize the different types of stencils you can use for glass bottle stenciling:
| Stencil Type | Description |
|---|---|
| Adhesive Stencils | Easily stick to the glass surface, perfect for curved bottles |
| Reusable Plastic Stencils | Durable and can be used multiple times, ideal for intricate designs |
| Alphabet and Number Stencils | Great for adding personalized quotes or dates to the bottles |
| Nature and Floral Stencils | Perfect for creating a natural and organic look on the bottles |
| Geometric Stencils | Ideal for modern and contemporary designs on glass bottles |
Consider these options to find the perfect stencils for your glass bottle stenciling project.
Step 2: Preparing the Glass Bottles
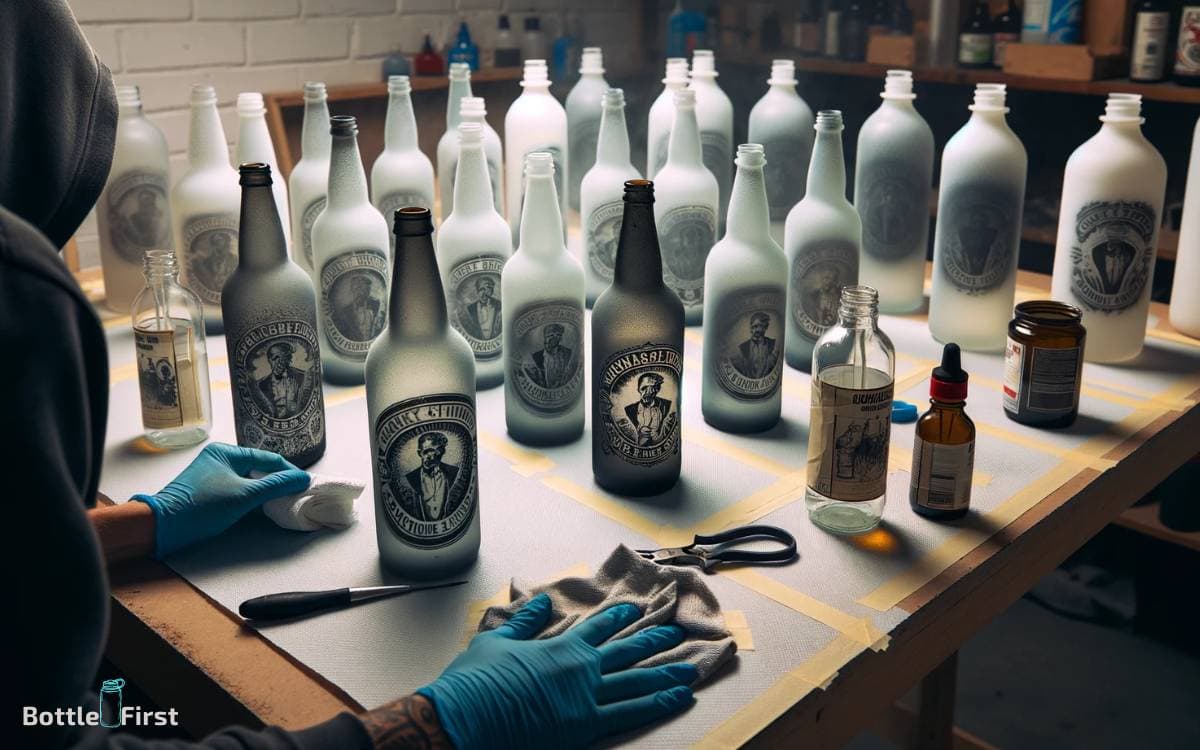
To prepare the glass bottles for stenciling, thoroughly clean the surface with soap and water, ensuring it’s free from any dirt, oil, or residue. This step is crucial for achieving a smooth and flawless stencil application.
Once the bottles are clean and dry, consider using rubbing alcohol to further remove any lingering residue. This will help the stencil adhere better to the glass surface.
Additionally, ensure that the bottles are completely dry before proceeding to the stenciling process to prevent any smudging or smearing.
Now that the glass bottles are prepped and ready, it’s time to move on to the exciting part – the stenciling process.
Step 3: Stenciling Process
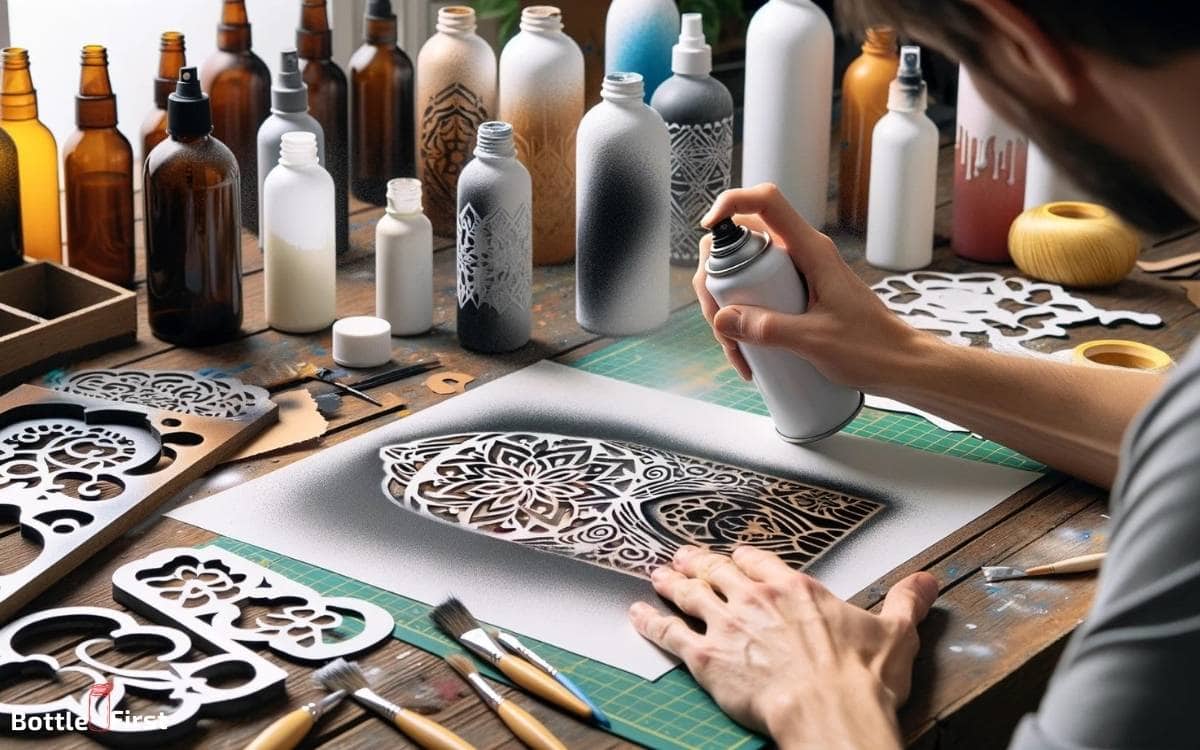
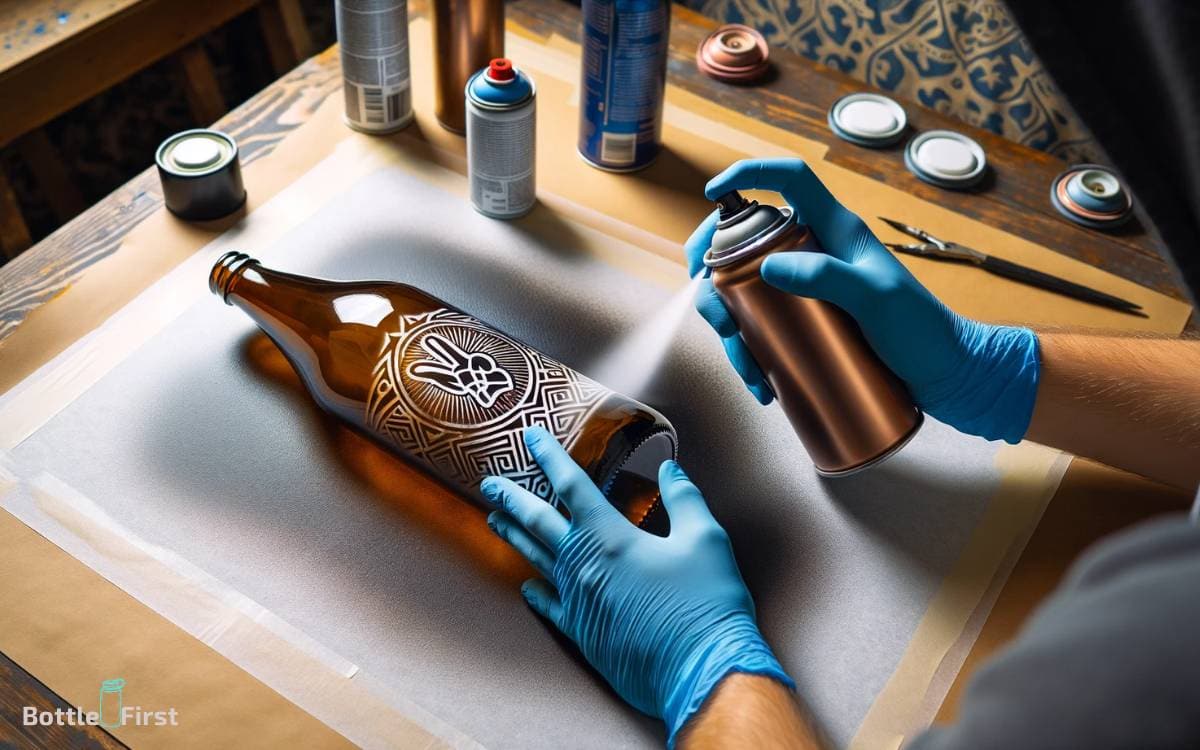
Once the glass bottles are prepped and ready, begin by securing the stencil firmly onto the surface using stencil adhesive or painter’s tape. With the stencil in place, it’s time to bring your creative vision to life.
Here’s how to execute the stenciling process:
- Apply glass etching cream or acrylic paint within the stencil.
- Use a stencil brush or sponge to dab the paint or etching cream evenly.
- Carefully lift the stencil to reveal the design.
- Allow the paint or etching cream to dry completely before handling the bottle.
- Clean the stencil immediately to prevent any dried paint from affecting future projects.
Now that you’ve mastered the stenciling process, let’s move on to the finishing touches to complete your stunning glass bottle design.
Step 4: Finishing Touches
Once you have completed the stenciling process, the next step is to add the finishing touches to enhance the overall look of your glass bottle design.
Consider using metallic or glitter paints to add a touch of shimmer and elegance to your stenciled design.
You can also incorporate embellishments such as rhinestones, charms, or decorative ribbons to give your glass bottle a unique and personalized look.
Experiment with different sealing techniques to protect the paint and ensure the longevity of your design. For a modern twist, try incorporating a mix of matte and glossy finishes to create visual interest.
Don’t be afraid to think outside the box and combine various textures and materials to elevate the final look of your stenciled glass bottle.
Conclusion
Now that you have learned how to stencil on glass bottles, you can create beautiful and personalized décor for your home or special events.
By choosing the right stencils, preparing the glass bottles, and carefully applying the stenciling process, you can achieve stunning results. Don’t forget to add your own finishing touches to make each bottle unique.
Get ready to impress your friends and family with your new stenciling skills!
