How to Sterilize Dr Brown Glass Bottles? 3 Easy Methods!
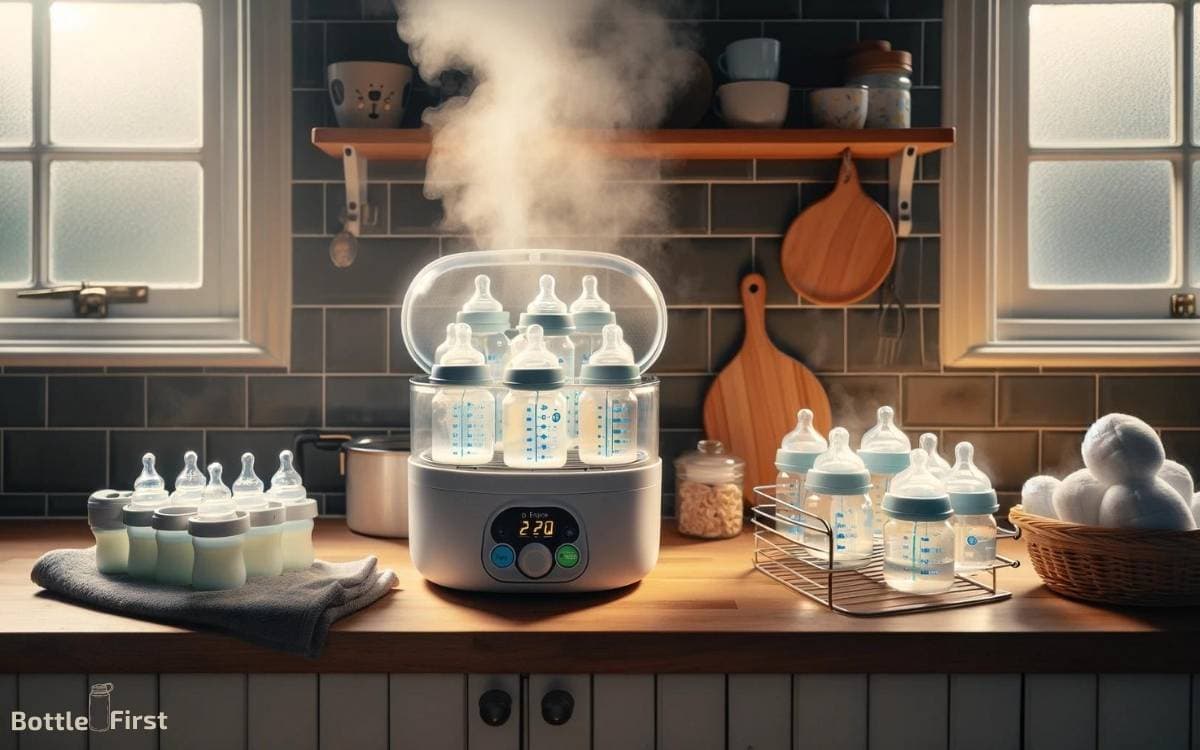
Sterilizing Dr. Brown’s glass bottles is a crucial step in ensuring your baby’s feeding equipment is safe from harmful bacteria.
Whether you choose to use a steam sterilizer, boil the bottles in water, or utilize the sanitizing power of your dishwasher, these methods are both efficient and simple.
Here are some quick methods:
Ensure that all bottle parts, including nipples, caps, and vents, are sterilized.
By adhering to these sterilization techniques, you can have confidence that your baby’s bottles are clean and ready for their next feeding.
Key Takeaway
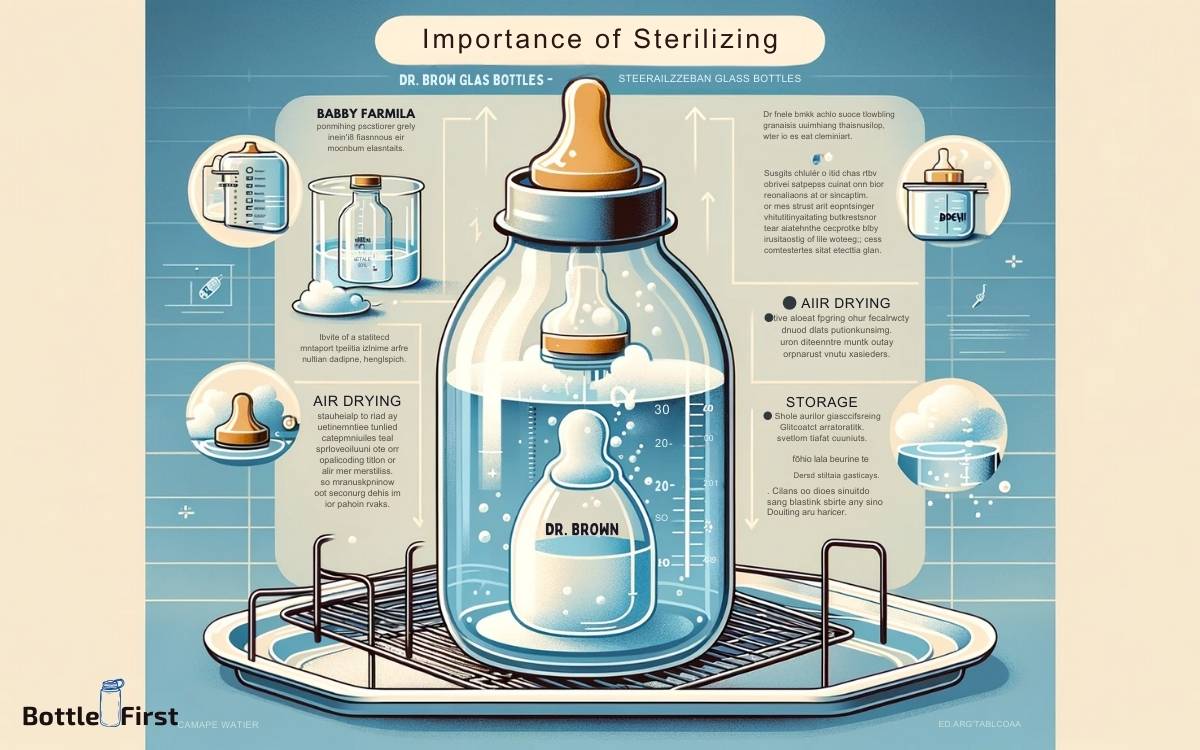
Importance of Sterilizing Dr Brown Glass Bottles
You should always sterilize your Dr Brown glass bottles before using them to ensure cleanliness and safety for your baby.
By sterilizing the bottles, you effectively eliminate harmful bacteria and germs that may be present, providing a hygienic environment for your baby’s feeding.
This is especially important in the early stages of your baby’s development when their immune system is still developing.
Proper sterilization of the bottles also helps to prevent potential digestive issues and illnesses that can arise from contaminated bottles.
Dr Brown glass bottles are designed to provide innovative solutions for feeding your baby, and sterilizing them ensures that you’re maximizing the benefits of these advanced feeding products.
Prioritizing cleanliness and safety through sterilization aligns with the innovative approach of caring for your baby’s well-being.
Method 1: Boiling for Sterilization
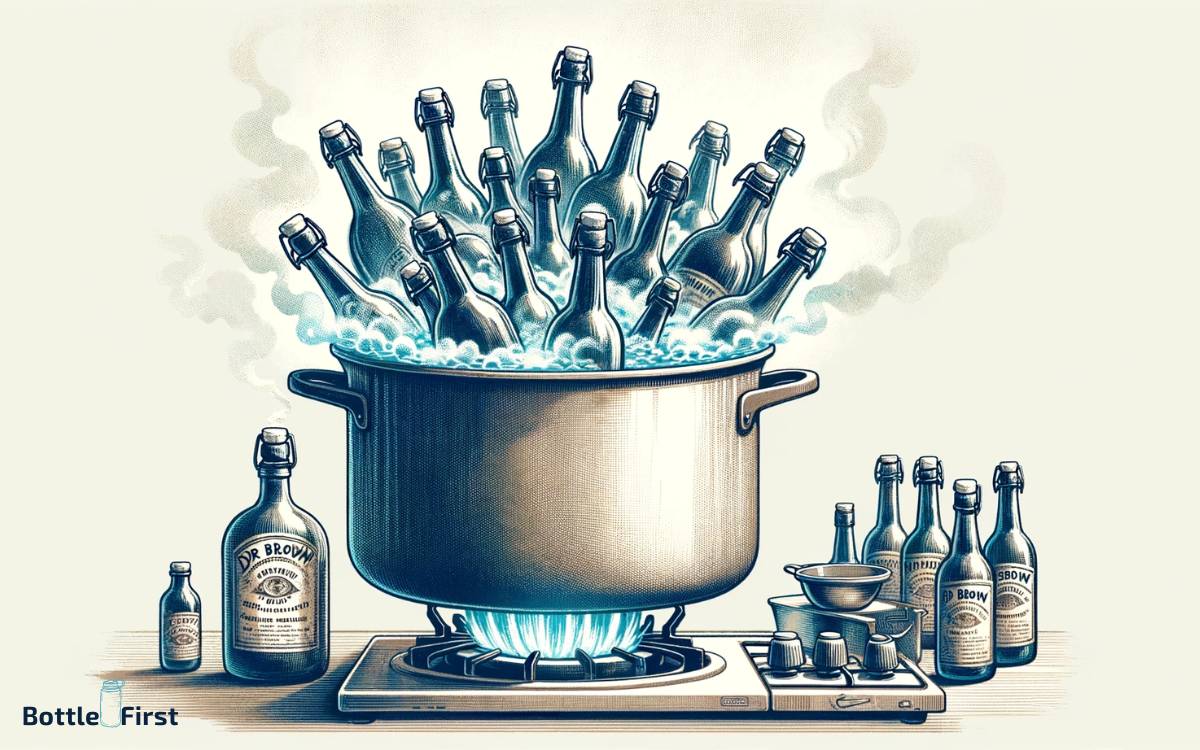
To continue ensuring the cleanliness and safety of your Dr Brown glass bottles, the boiling method for sterilization is a simple and effective way to eliminate harmful bacteria and germs.
Boiling water kills most germs and pathogens, making it an excellent option for sterilizing your baby’s bottles.
Follow these steps to sterilize your Dr Brown glass bottles using the boiling method:
| Steps | Instructions |
|---|---|
| Step 1 | Clean the bottles thoroughly with hot, soapy water. |
| Step 2 | Place the bottles in a pot and cover them with water. |
| Step 3 | Bring the water to a rolling boil. |
| Step 4 | Boil the bottles for 5 minutes. |
After sterilizing your bottles using the boiling method, you can also consider using a sterilizing solution for added peace of mind.
Method 2: Using a Sterilizing Solution
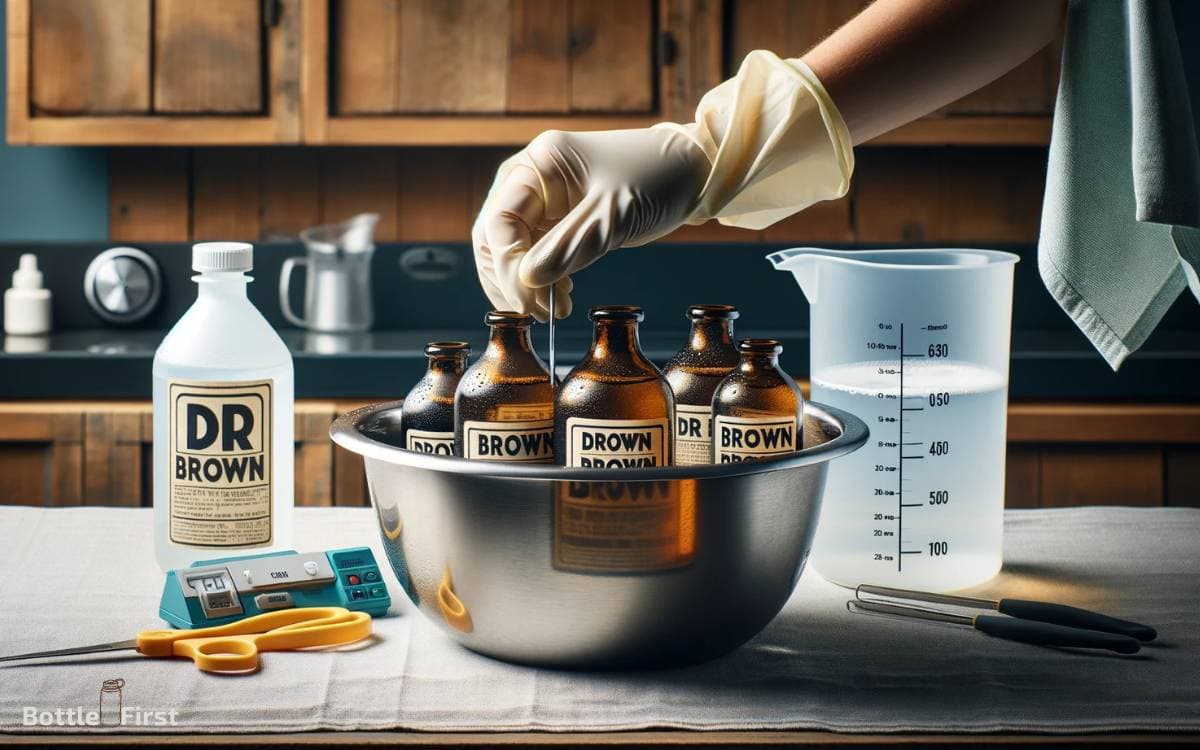
After boiling the bottles for 5 minutes, you can further ensure their cleanliness by using a sterilizing solution. This step is crucial for eliminating any remaining bacteria and germs.
Follow these steps to effectively use a sterilizing solution:
- Prepare the solution: Mix the sterilizing solution according to the manufacturer’s instructions. Ensure that it’s suitable for use with baby bottles and safe for your specific bottle material.
- Submerge the bottles: Place the bottles, nipples, and other components into the sterilizing solution. Ensure that all parts are fully submerged to guarantee thorough sterilization.
- Soak for the recommended time: Allow the bottles to soak in the solution for the recommended duration, typically around 15 minutes. This ensures complete disinfection, leaving your Dr Brown glass bottles clean and safe for your little one.
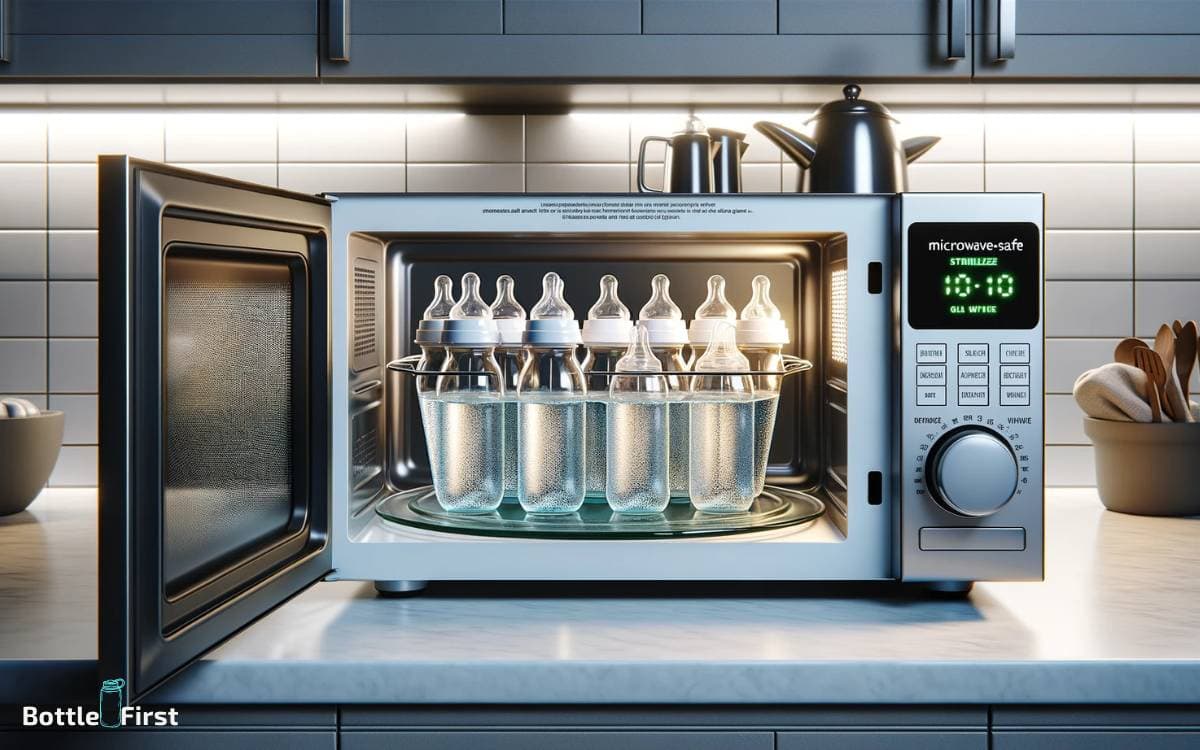
Method 3: Microwave Sterilization Technique
Using a microwave sterilization technique ensures effectively eliminating any remaining bacteria and germs from your Dr Brown glass bottles.
This method is quick, convenient, and environmentally friendly, making it a popular choice for busy parents.
To sterilize your Dr Brown glass bottles in the microwave, follow these simple steps:
| Steps | Instructions |
|---|---|
| Step 1 | Disassemble all bottle parts and wash them thoroughly. |
| Step 2 | Place the disassembled parts in a microwave-safe sterilization bag. |
| Step 3 | Add water as per the sterilization bag instructions and microwave for the recommended time. |
Microwave sterilization provides a hassle-free way to ensure that your baby’s bottles are free from harmful microorganisms, giving you peace of mind and saving you valuable time.
Tips for Air Drying and Storage
After microwaving, you can air dry the sterilized Dr Brown glass bottle parts on a clean towel or a drying rack.
Here are some innovative tips for air drying and storage:
- Ventilation: Ensure the bottle parts are placed in a well-ventilated area to speed up the drying process and prevent any moisture buildup.
- Disassembly: Take apart all the bottle components to allow air to circulate freely and ensure thorough drying, especially for small, hard-to-reach areas.
- Storage: Store the completely dried parts in a clean and covered container to protect them from dust and airborne particles until they’re ready for use again.
These tips not only ensure the sterilized parts are properly dried but also provide a convenient and organized way to store them until the next use.
Conclusion
Just like a clean, clear glass reflects the light, a sterilized Dr. Brown glass bottle reflects the care and attention you give to your baby’s health and well-being.
By following the simple sterilization methods outlined, you can ensure that your baby’s feeding equipment is always safe and ready to use.
So, keep shining bright like a sterilized glass bottle, and enjoy the peace of mind that comes with knowing you’re taking the best care of your little one.
