How to Sterilize Glass Bottles in Microwave? 3 Easy Steps!
Sterilizing glass bottles in a microwave is a swift and efficient process.
Here are some quick steps:
Achieve thoroughly sterilized glass bottles quickly and safely using your microwave, streamlining your kitchen routine.
Key Takeaway
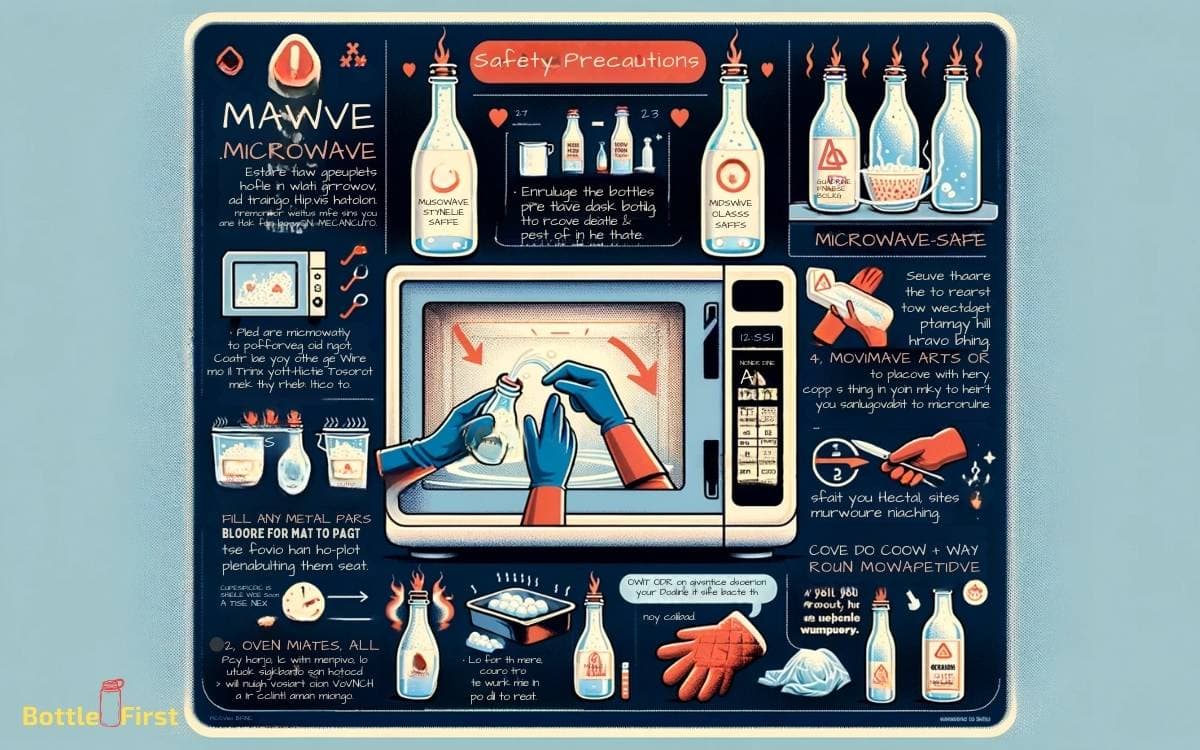
Safety Precautions
Before placing the glass bottles in the microwave, ensure that they’re free from any metal parts or lids. You don’t want any sparks flying inside your microwave!
Also, make sure the bottles are microwave-safe. Check for any cracks or damage, as these can make the glass susceptible to shattering.
When sterilizing, don’t tightly seal the bottle with a lid, as pressure can build up and cause the glass to explode. Instead, use a microwave-safe cover to allow steam to escape.
Always handle the hot bottles with care, using heat-resistant gloves or a towel. Be cautious when removing them from the microwave, as they can be scalding hot.
Step 1: Preparing the Bottles
To prepare the glass bottles for sterilization in the microwave, ensure they are free from any metal parts or lids, and check for cracks or damage that could compromise their safety.
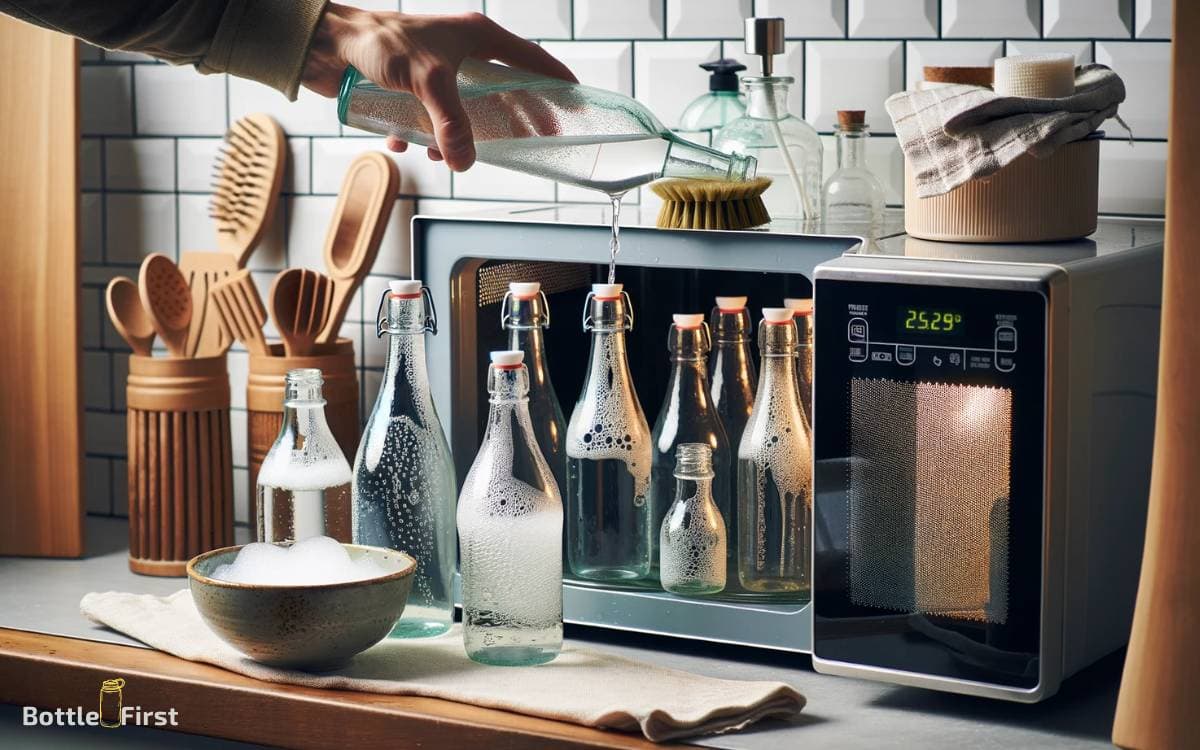
Once you have inspected the bottles, wash them thoroughly with hot soapy water and rinse them well.
Here’s a helpful table to guide you through the preparation process:
| Preparation Step | Description |
|---|---|
| Remove any metal parts or lids | Make sure the bottles are free from any metal components, including lids or caps. |
| Check for cracks or damage | Inspect the bottles for any cracks, chips, or damage that could weaken the glass. |
| Wash with hot soapy water | Use hot water and soap to thoroughly clean the bottles, ensuring all residue is removed. |
| Rinse well | After washing, rinse the bottles with clean water to remove any soap or detergent residue. |
Following these steps will ensure that your glass bottles are properly prepared for sterilization in the microwave.
Step 2: Sterilization Process
Once you have prepared the glass bottles, how do you proceed with the sterilization process in the microwave?
First, ensure the bottles are empty and have been thoroughly cleaned. Then, pour a small amount of water into each bottle, swish it around, and discard the water.
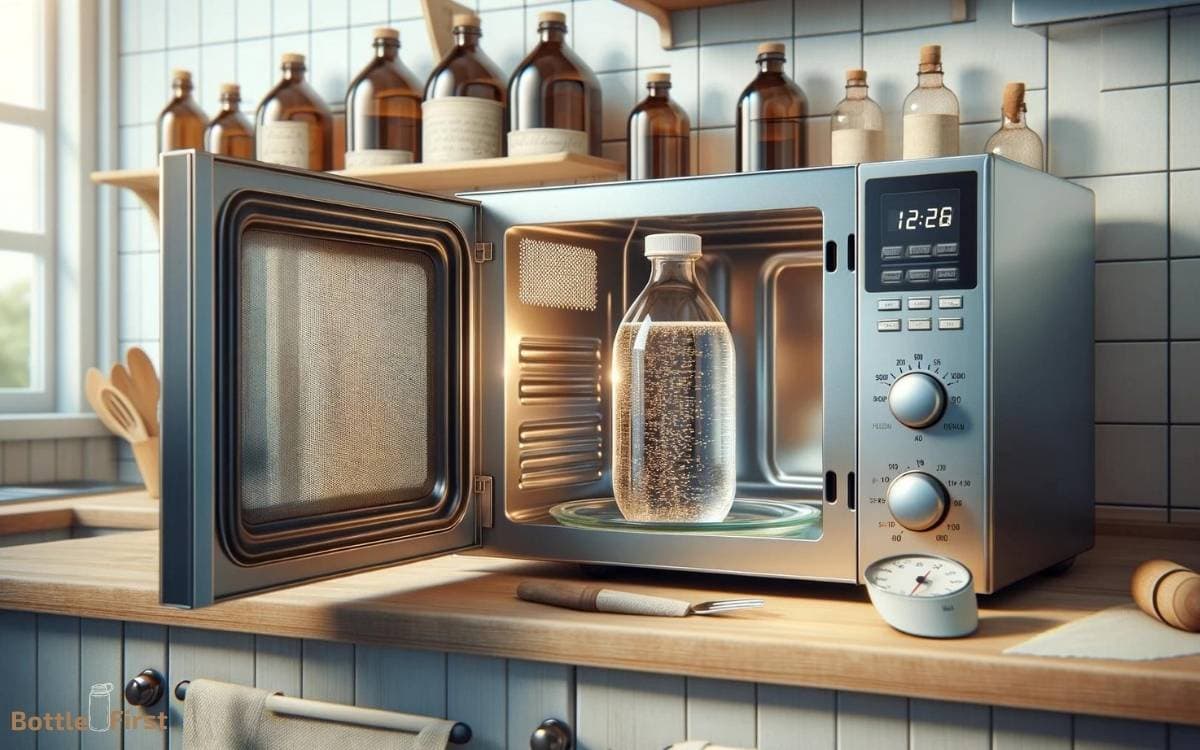
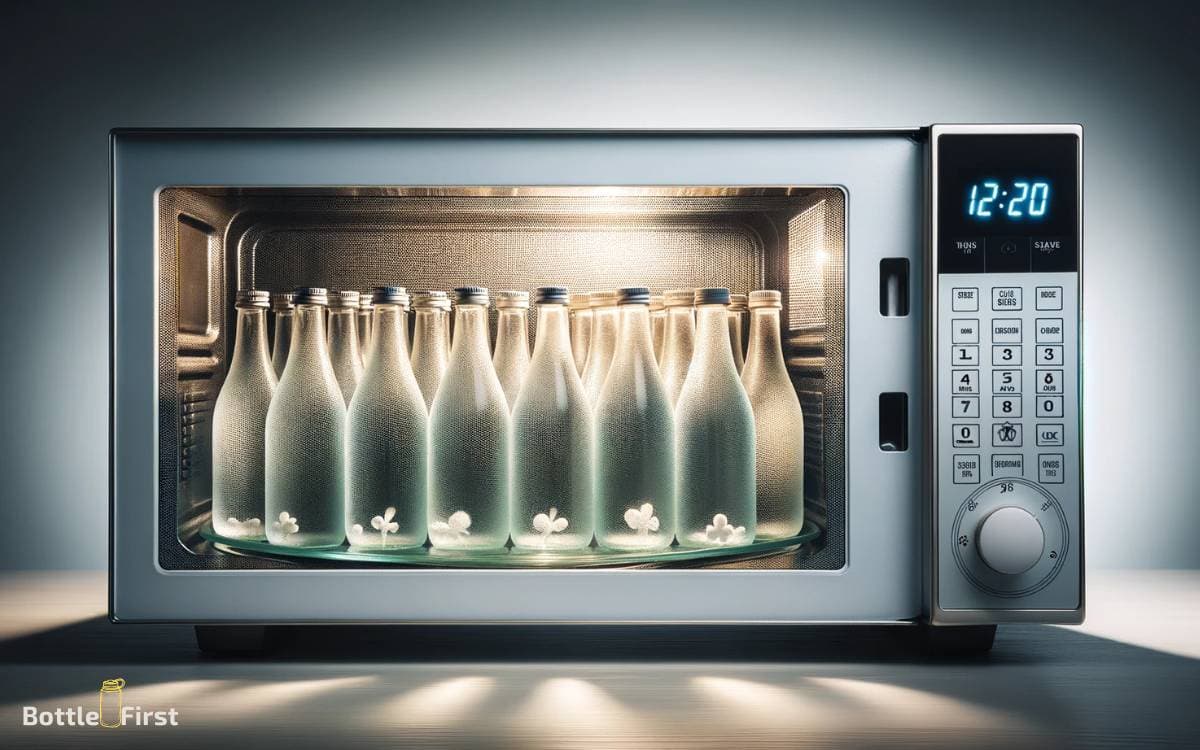
Next, place the bottles in the microwave with the openings facing downwards on the glass turntable. It’s crucial to leave the lids off to allow steam to escape.
Microwave the bottles on high for 60 seconds to kill any lingering bacteria. After microwaving, use oven mitts to carefully remove the bottles as they’ll be hot. Let them cool before use.
This quick and efficient method ensures that your glass bottles are thoroughly sterilized and ready for use.
Step 3: Cooling and Drying
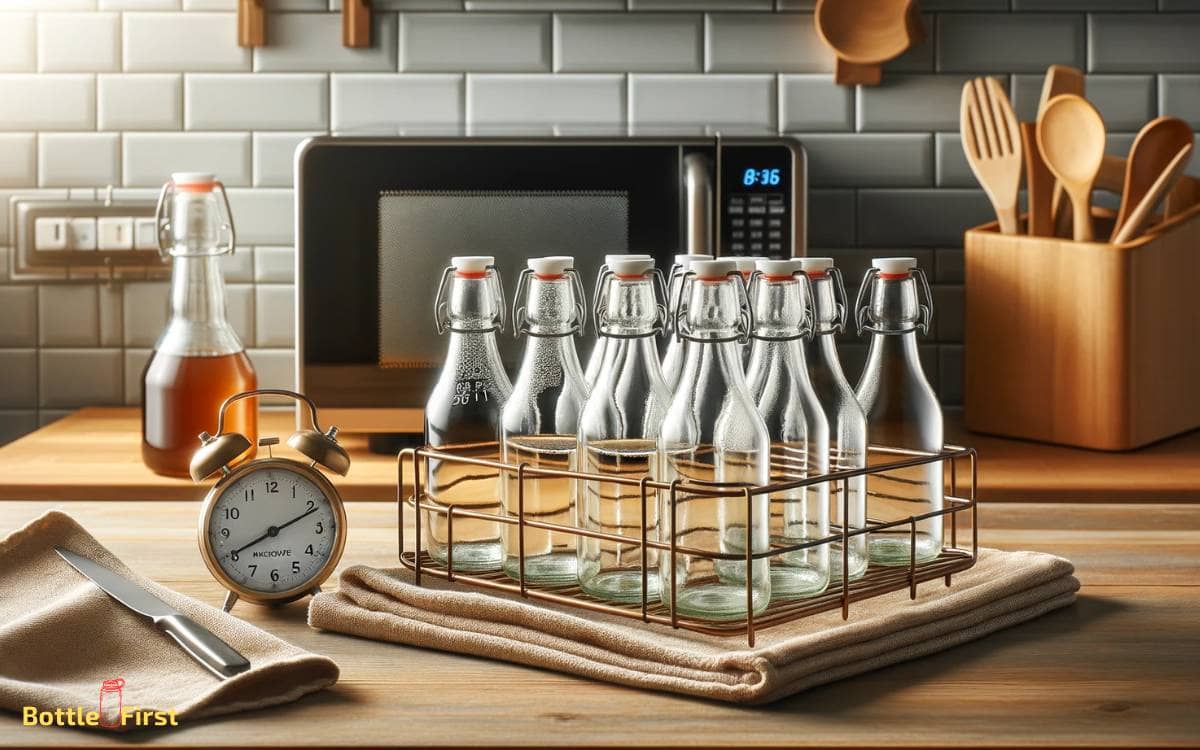
After microwaving the bottles, carefully use oven mitts to remove them as they’ll be hot. Place the hot glass bottles on a heat-resistant surface and allow them to cool naturally.
Avoid immersing the hot bottles in cold water, as this can cause thermal shock and lead to breakage. Additionally, don’t place the hot bottles directly on a cold surface.
Once the bottles have cooled to a safe temperature, use a clean, lint-free cloth to dry the inside and outside of the bottles thoroughly. Ensure that there’s no moisture remaining before using the sterilized bottles for storing or packaging.
This careful cooling and drying process will help maintain the sterilized condition of the glass bottles, ensuring their safety for future use.
Storage Tips
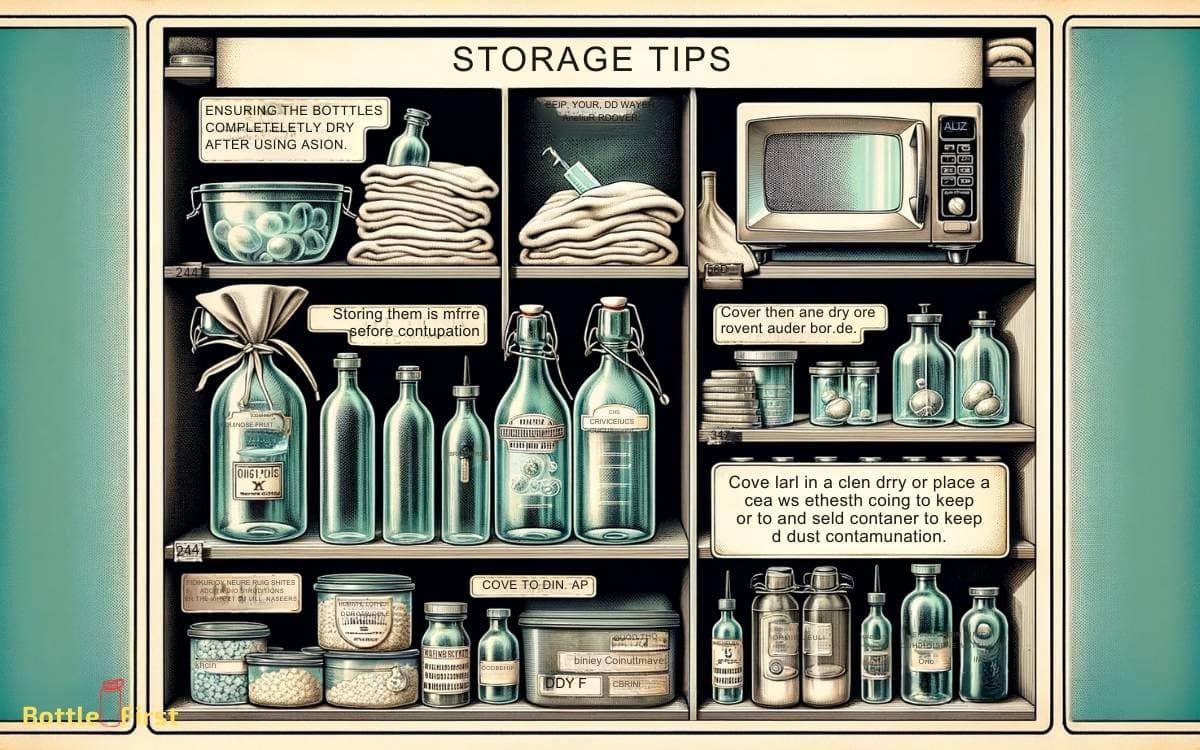
Place the sterilized glass bottles in a clean, dry, and well-ventilated storage area to maintain their sterilized condition and prevent contamination. Consider using a dedicated cabinet or shelf to keep them organized and easily accessible.
Opt for a storage area away from direct sunlight to prevent potential UV exposure, which can compromise the sterilization.
Additionally, ensure that the storage area is free from dust and debris to maintain the bottles’ cleanliness.
To further enhance the sterilization, consider using a storage method that minimizes contact with outside elements, such as sealing the bottles with clean caps or lids.
Conclusion
Now that your glass bottles are sterilized and ready to use, you can feel confident that your homemade concoctions will be safe and clean.
Just like a knight prepares their armor for battle, you’ve prepared your bottles for the task ahead.
With proper sterilization, you can now bottle up your potions and elixirs with peace of mind.
Get ready to conquer the world of homemade goodness!
