How to Stick Glass Bottles on Wall? 5 Easy Steps!
To stick glass bottles on a wall, you will need to follow these key steps: select the right adhesive, clean the bottles and wall, apply the adhesive, and securely place the bottles on the wall.
A good choice of adhesive is a strong silicone-based glue or a construction adhesive designed for glass.
Here are some quick steps:
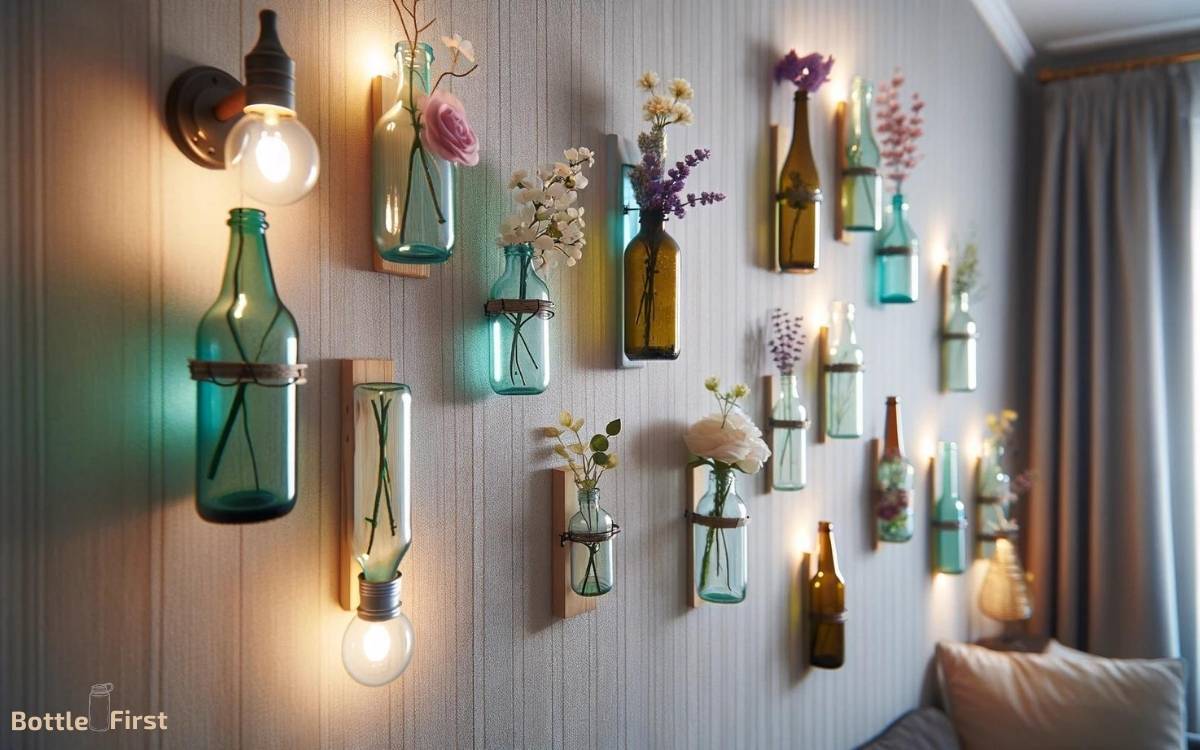
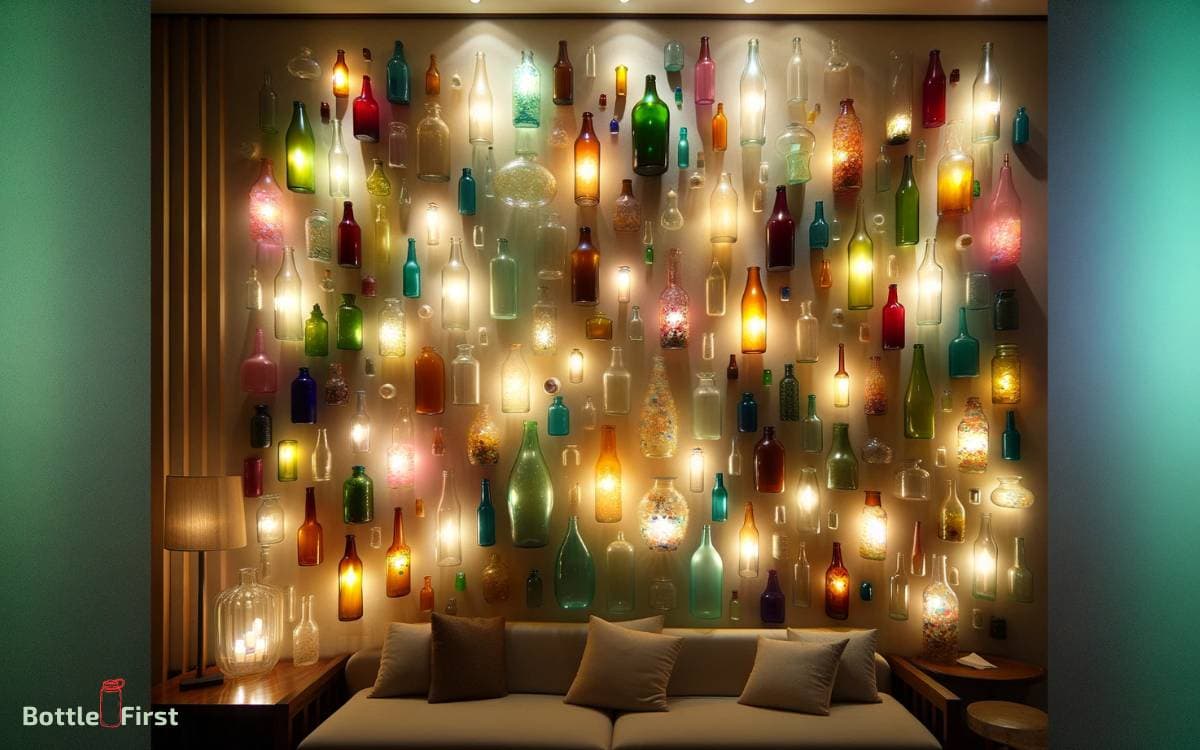
Create a stunning visual centerpiece by affixing glass bottles to your wall with the proper technique and adhesive.
Revamp dull walls into a dynamic mosaic with our comprehensive guide on adhering glass bottles to walls.
Assemble the necessary items, prep the glass, choose a suitable glue, and embark on crafting an attention-grabbing arrangement.
This walkthrough will assist you in transforming your wall into an artistic statement, outlining straightforward methods to infuse creativity into your environment.
Key Takeaway
Gather the Right Materials
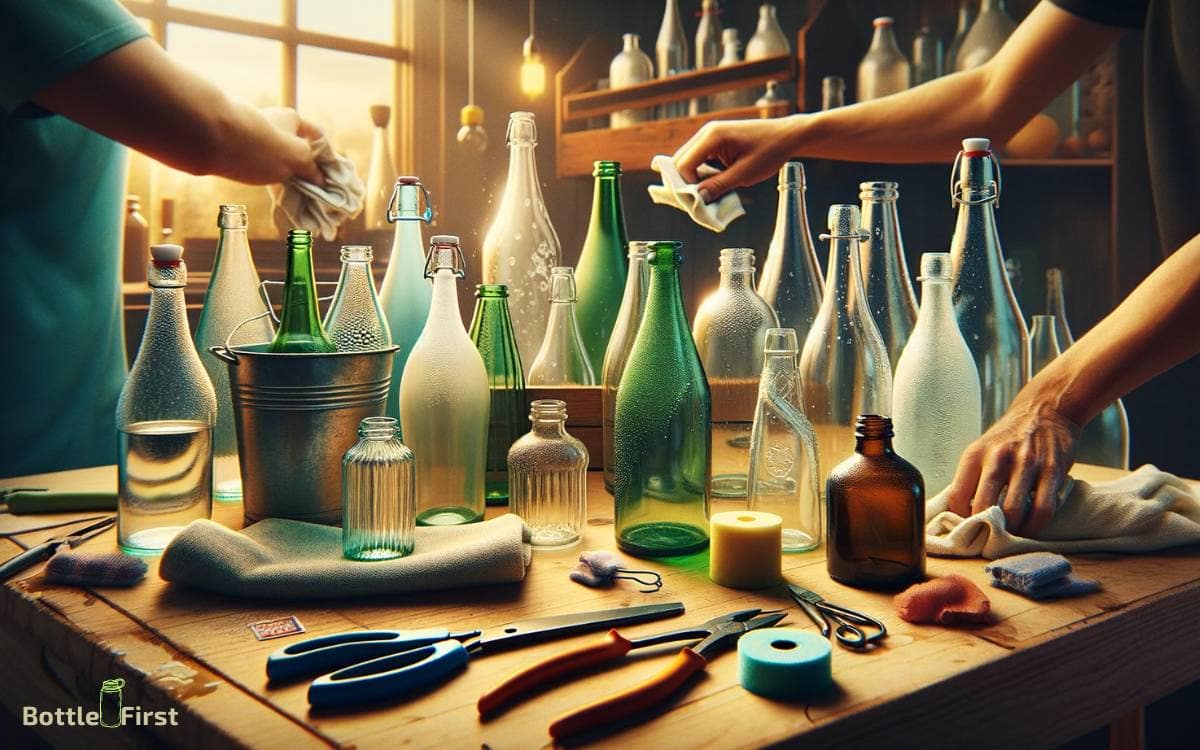
You should always carefully gather the right materials before attempting to stick glass bottles on the wall. Start by selecting a strong adhesive that’s specifically designed for bonding glass to the wall.
Look for a high-quality, transparent adhesive that will provide a secure and long-lasting bond without compromising the visual appeal of the glass bottles.
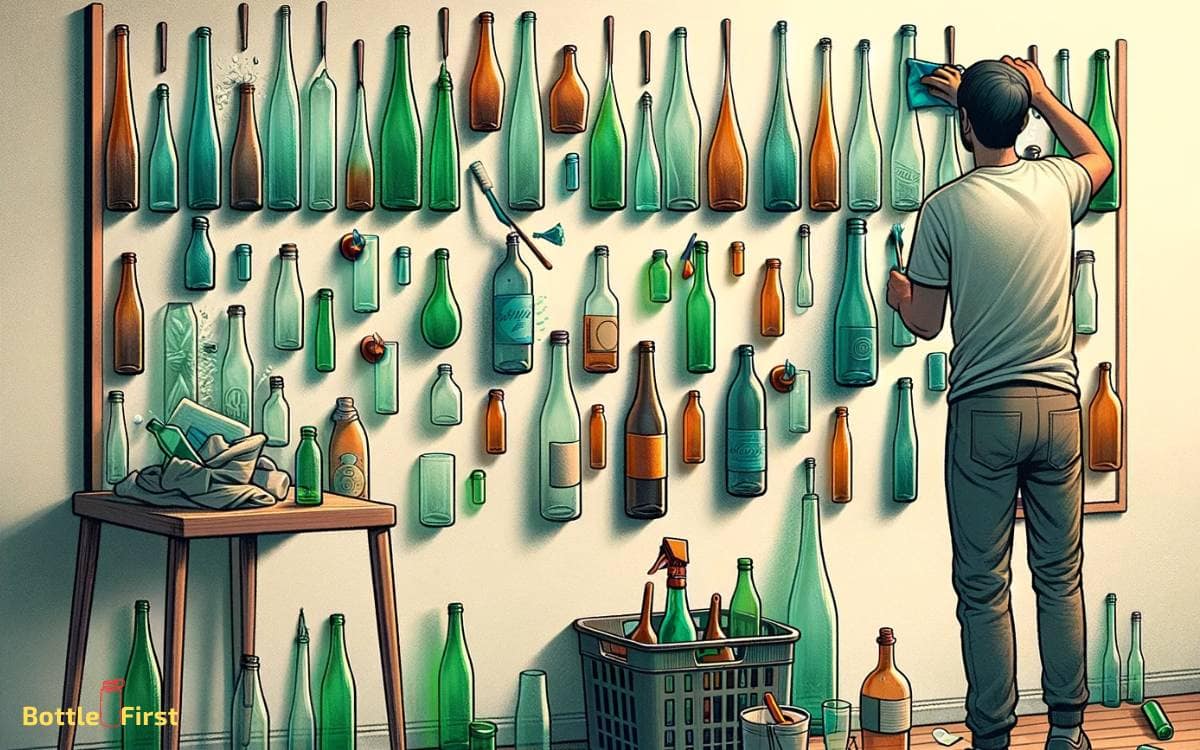
Additionally, ensure that you have a clean and dry surface to work with by using a glass cleaner and a lint-free cloth to remove any dust, dirt, or grease from both the bottles and the wall.
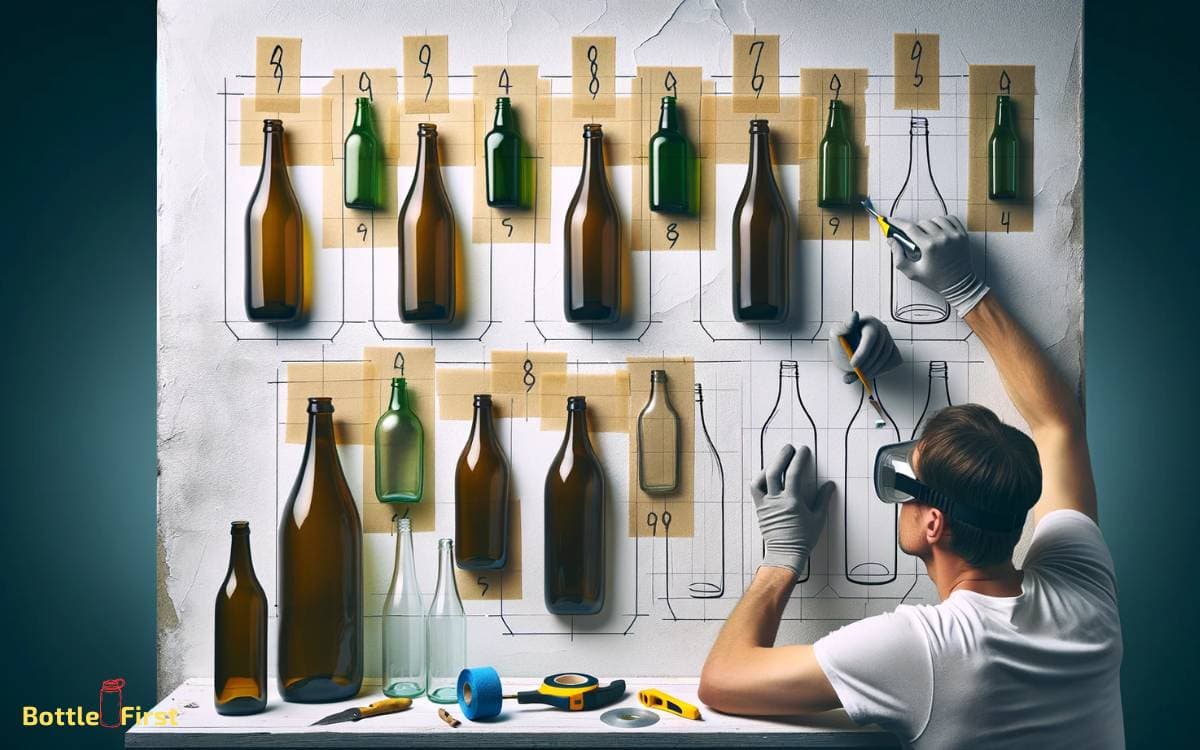
Lastly, consider using a level and measuring tape to ensure precise positioning of the bottles on the wall.
Step 1: Prepare the Glass Bottles
Carefully inspect each glass bottle for any cracks or imperfections before proceeding with the wall-sticking process. Regularly check for chips or damage that may compromise the bottle’s integrity.
To prepare the glass bottles effectively for sticking them on the wall, follow these essential steps:
- Clean the bottles thoroughly to ensure there’s no residue or dirt that could affect adhesion.
- Remove any labels or stickers from the bottles using a gentle adhesive remover for a clean surface.
- Let the bottles dry completely before applying any adhesive to guarantee a secure and long-lasting bond.
Step 2: Select a Suitable Adhesive
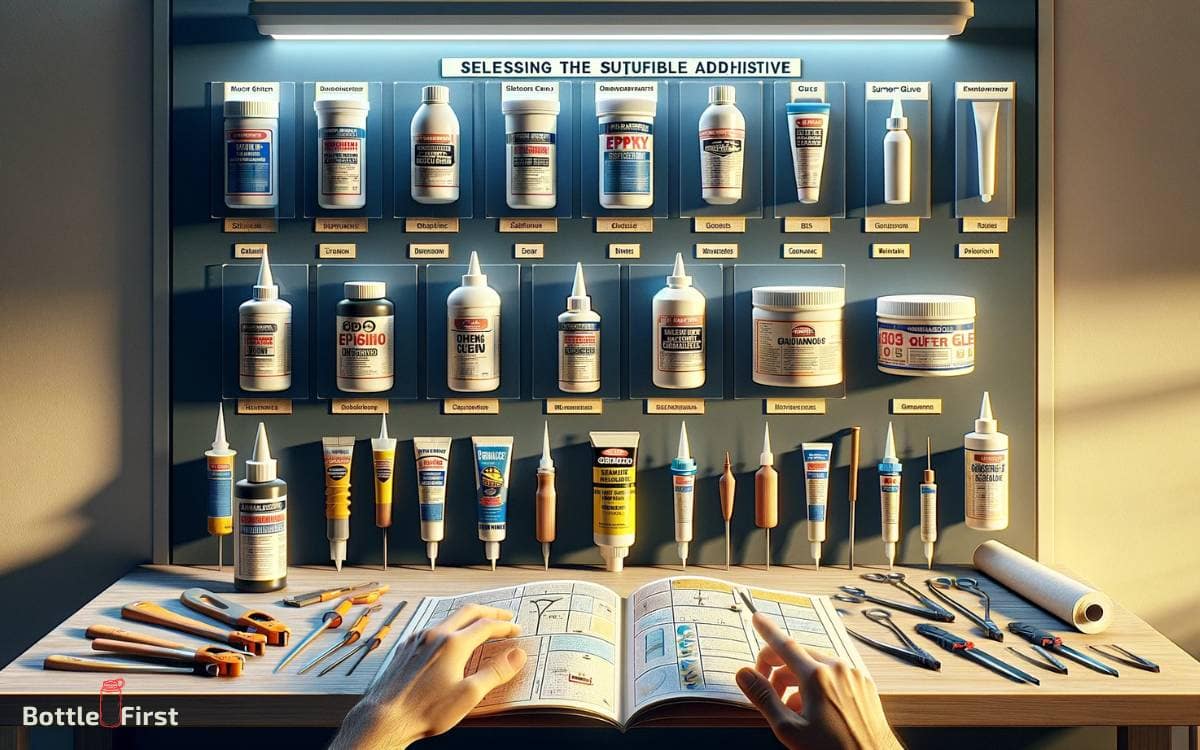
Selecting a suitable adhesive is crucial for securely attaching glass bottles to the wall. Look for adhesives specifically designed for glass and suitable for the wall surface.
Consider using high-strength epoxy adhesives that bond well with both glass and the wall material. These adhesives provide a strong and durable bond, ensuring that the glass bottles stay securely in place.
Additionally, opt for adhesives that are transparent or can be painted over to maintain the aesthetic appeal of the glass bottles.
It’s also important to choose an adhesive that’s resistant to temperature changes and moisture, especially if the wall is exposed to outdoor elements.
Step 3: Attach the Bottles to the Wall
Now it’s time to attach the bottles to the wall. First, consider your adhesive options to ensure a secure bond. Then, think about the arrangement on the wall and any safety precautions you need to take during installation.
Bottle Adhesive Options
To attach glass bottles to the wall, you’ll need an appropriate adhesive.
There are several innovative options available to securely attach the bottles to the wall:
- Double-sided adhesive tape: This is a quick and easy option for lightweight bottles. Look for a strong adhesive designed for glass and ensure the wall surface is clean for maximum effectiveness.
- Epoxy resin: Ideal for a more permanent and durable bond, epoxy resin provides a strong hold for heavier bottles. It requires mixing and careful application, but it offers a reliable and long-lasting attachment.
- Mounting putty: For a non-permanent solution, consider using mounting putty. This option allows for easy removal and repositioning of the bottles without damaging the wall surface.
Explore these adhesive options to creatively display your glass bottles on the wall.
Wall Arrangement Techniques
Consider arranging the glass bottles on the wall using a grid pattern to create a visually appealing display. Start by measuring the wall space and marking the points where the bottles will be placed.
Use adhesive putty or hooks to securely attach the bottles to the wall. To add a modern twist, experiment with asymmetrical arrangements for a more eclectic look.
Alternatively, try arranging the bottles in a diagonal pattern to create a dynamic and eye-catching display.
Another innovative approach is to mix and match bottle sizes and colors to create a captivating visual effect. Remember to step back periodically to assess the overall arrangement and make adjustments as needed.
Embracing creativity and thinking outside the box will result in a unique and striking wall display.
Safety Precautions for Installation
Securely attaching glass bottles to the wall requires careful consideration of safety.
Here are three important precautions to follow:
- Check the Weight Capacity: Before attaching the bottles, make sure the adhesive putty or hooks can support their weight. Exceeding the weight capacity could cause the bottles to fall and result in damage or injury.
- Ensure Proper Surface Preparation: Thoroughly clean and dry the wall surface before applying the adhesive putty or hooks. This will create a strong bond and reduce the risk of the bottles detaching unexpectedly.
- Regularly Inspect the Installation: Periodically check the attachment points to ensure the bottles remain securely fastened. Ongoing monitoring is crucial to prevent accidents and maintain the integrity of the installation.
Step 4: Arrange the Bottles Creatively
Now that the bottles are securely attached to the wall, it’s time to unleash your creativity and arrange them in a visually appealing manner. Consider different bottle layout ideas to create a unique and eye-catching display.
Wall bottle arrangement can be a fun and artistic way to showcase your collection and add a personalized touch to your space.
Bottle Layout Ideas
Arrange your glass bottles creatively to create an eye-catching and visually appealing bottle layout on your wall.
Here are three innovative ideas to inspire your bottle layout:
- Color Coordination: Group bottles by color to create a stunning visual effect. Arrange them in a gradient or pattern to add depth and dimension to your wall.
- Mixed Shapes and Sizes: Mix and match different bottle shapes and sizes for a dynamic and eclectic look. Experiment with varying heights and widths to add visual interest.
- Themed Arrangement: Arrange bottles based on a theme or pattern, such as a geometric design, floral motif, or abstract layout. This approach adds a unique and artistic touch to your bottle arrangement.
With these creative bottle layout ideas, you can transform your wall into a captivating display. Now, let’s dive into the next section about ‘wall bottle arrangement’.
Wall Bottle Arrangement
To create an eye-catching wall bottle arrangement, consider utilizing the creative bottle layout ideas mentioned earlier to maximize visual appeal and impact.
Experiment with arranging the bottles in geometric patterns such as spirals, diamonds, or honeycomb shapes to add a modern and artistic touch to your wall. Try incorporating different bottle sizes and shapes to create depth and dimension.
Additionally, mixing in some decorative elements like fairy lights or artificial flowers can enhance the overall aesthetic. Don’t be afraid to play with color combinations and create a captivating gradient effect.
For a more eclectic look, mix in some vintage bottles or jars with unique textures. By incorporating these innovative ideas into your wall bottle arrangement, you can achieve a truly striking and personalized display.
Step 5: Maintain and Update the Display
Regularly assess the condition of your glass bottle display to ensure it remains visually appealing and secure.
Check for any signs of wear or damage to the bottles, such as chips or cracks, and replace or repair them as needed to maintain a polished look.
Experiment with different arrangements and configurations to keep the display fresh and engaging, considering factors such as color, size, and shape to create an eye-catching visual impact.
Incorporate new bottles or decorative elements into the display to reflect your evolving style and interests, keeping the display dynamic and reflective of your personality.
Conclusion
Now you know how to stick glass bottles on the wall. It’s as easy as gathering the right materials, preparing the bottles, selecting a suitable adhesive, and attaching them to the wall.
Get creative with arranging the bottles and keep them maintained for a stunning display.
Trust me, it’s a piece of cake!
