How to Stick Labels on Glass Bottles? 6 Easy Steps!
To successfully stick labels on glass bottles, begin by selecting the appropriate label material that suits your needs.
Clean the glass surface thoroughly to remove any dirt, oils, or residues that could hinder adhesion. Dry the bottle completely before applying the label smoothly to avoid air bubbles.
For easy removal, consider using labels with a water-soluble adhesive. Additionally, to prevent issues like label peeling due to condensation, opt for water-resistant labels if the bottles will be chilled or exposed to moisture.
Here are some quick steps:
Master the art of bottle labeling with precision and ease, ensuring your labels stay put and look professional every time.
Discover the art of flawlessly labeling glass bottles by selecting the ideal label material, prepping the bottle surface, and securing strong label adhesion.
Our expert tips allow for smooth label application and removal, while also providing solutions for common problems like condensation. Elevate your bottle presentation with these straightforward yet impactful strategies.
Key Takeaway
Step 1: Choosing the Right Label Material
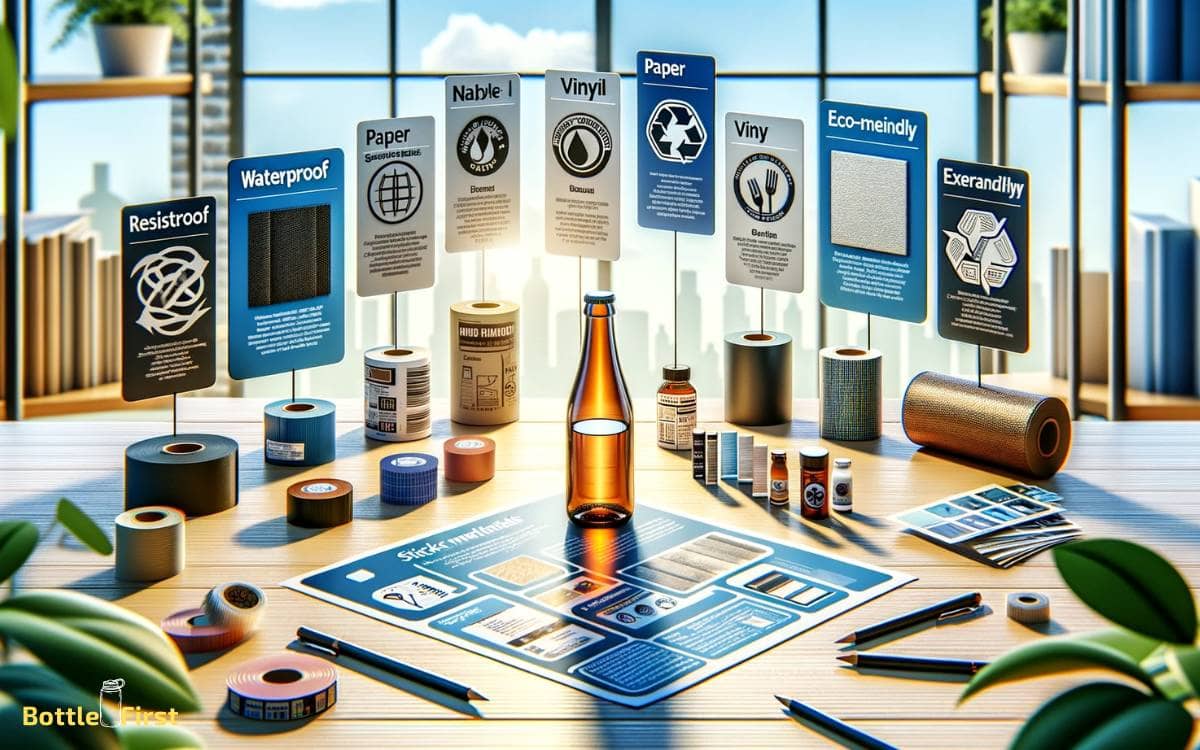
Choose a label material that’s specifically designed for glass surfaces to ensure proper adhesion and longevity.
Look for innovative options like clear polyester or vinyl labels with a strong adhesive that can withstand the challenges of glass surfaces.
These materials offer a sleek, modern look and can handle exposure to moisture, oils, and varying temperatures.
Additionally, consider materials with a protective laminate to enhance durability and resistance to scratches and chemicals.
These advanced label materials are engineered to meet the demands of modern packaging and product presentation, ensuring that your labels stay securely in place and maintain their visual appeal over time.
Step 2: Preparing the Bottle Surface
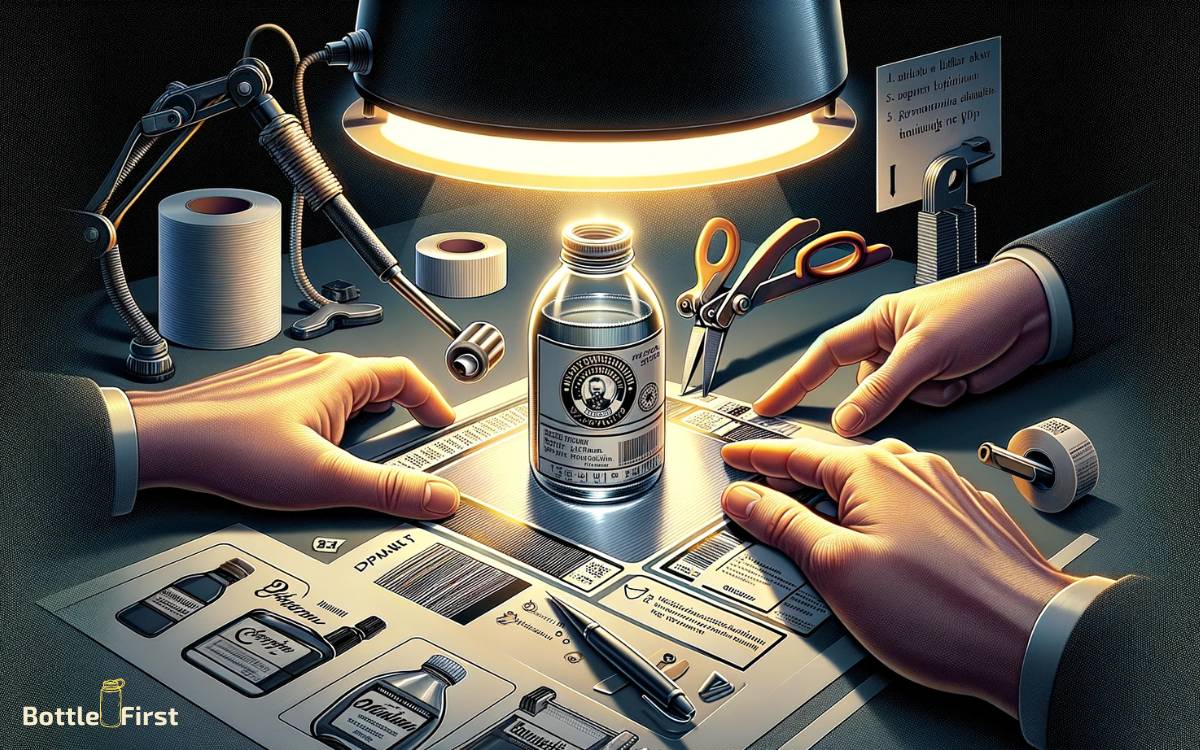
Before applying labels to your glass bottles, it’s crucial to ensure the surface is clean and free of any residue or dirt.
Start by thoroughly cleaning the glass to remove any dust, fingerprints, or other contaminants.
Additionally, make sure to remove any existing labels or adhesive residue from previous labels to create a smooth and even surface for the new labels.
Cleaning the Glass
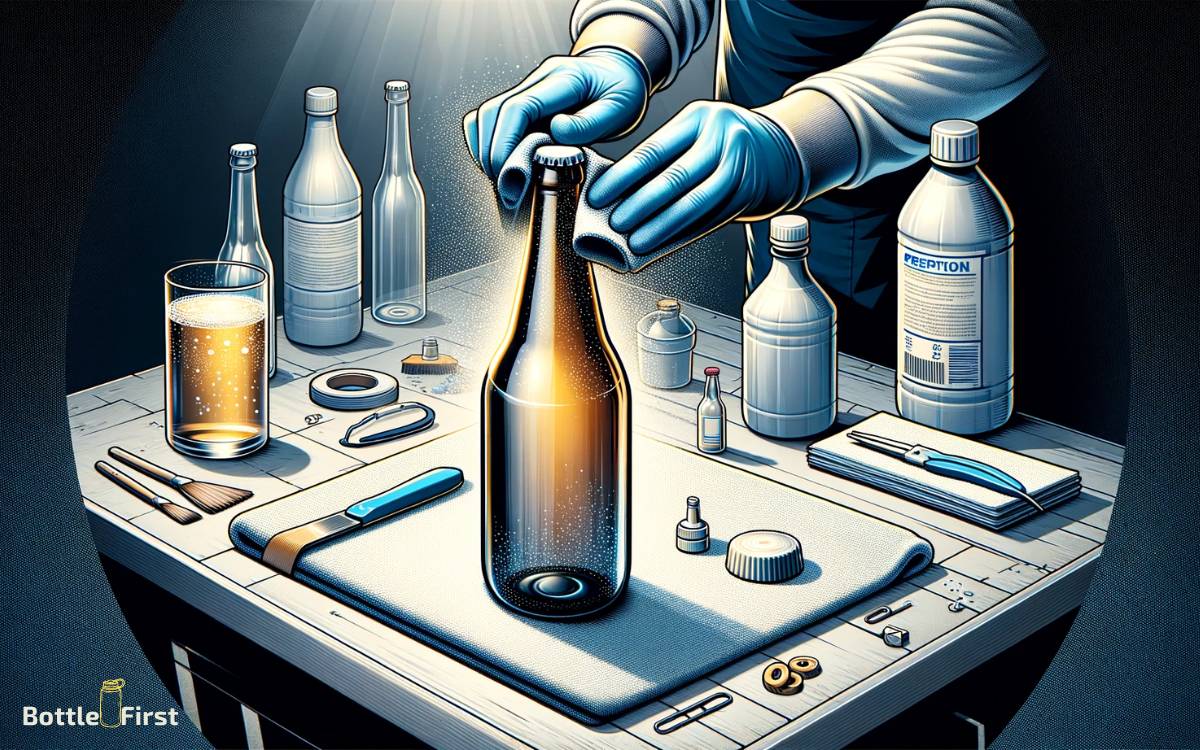
Once you have gathered your glass bottles, start by thoroughly cleaning the surfaces with a glass cleaner to remove any dirt or residue.
This step is crucial to ensure that the labels adhere properly to the glass. Use a lint-free cloth to wipe the surfaces dry after cleaning to avoid leaving any streaks or lint behind.
For an innovative approach, consider using a glass etching solution to create a slightly roughened surface that will help the labels adhere better. This can be especially useful for bottles that will be exposed to moisture or varying temperatures.
Additionally, you may want to try using a vinegar solution for a more natural and eco-friendly cleaning option. Experiment with different cleaning methods to find the best approach for your specific bottles.
Removing Residue and Dirt
To prepare the bottle surface for label application, thoroughly remove any residue and dirt from the glass using a glass cleaner and a lint-free cloth to ensure optimal adhesion. Start by spraying the glass cleaner onto the bottle surface, ensuring that it covers the entire area.
Then, use the lint-free cloth to wipe the surface in a circular motion, ensuring all residue and dirt are removed. For stubborn residue, consider using a gentle abrasive cleaner or rubbing alcohol.
Once the bottle surface is clean, rinse it with water and dry thoroughly to avoid streaks. Finally, inspect the surface against light to ensure no residue or dirt is left.
Now that the bottle surface is clean and residue-free, you can proceed to the next step of applying the label.
Step 3: Applying the Label
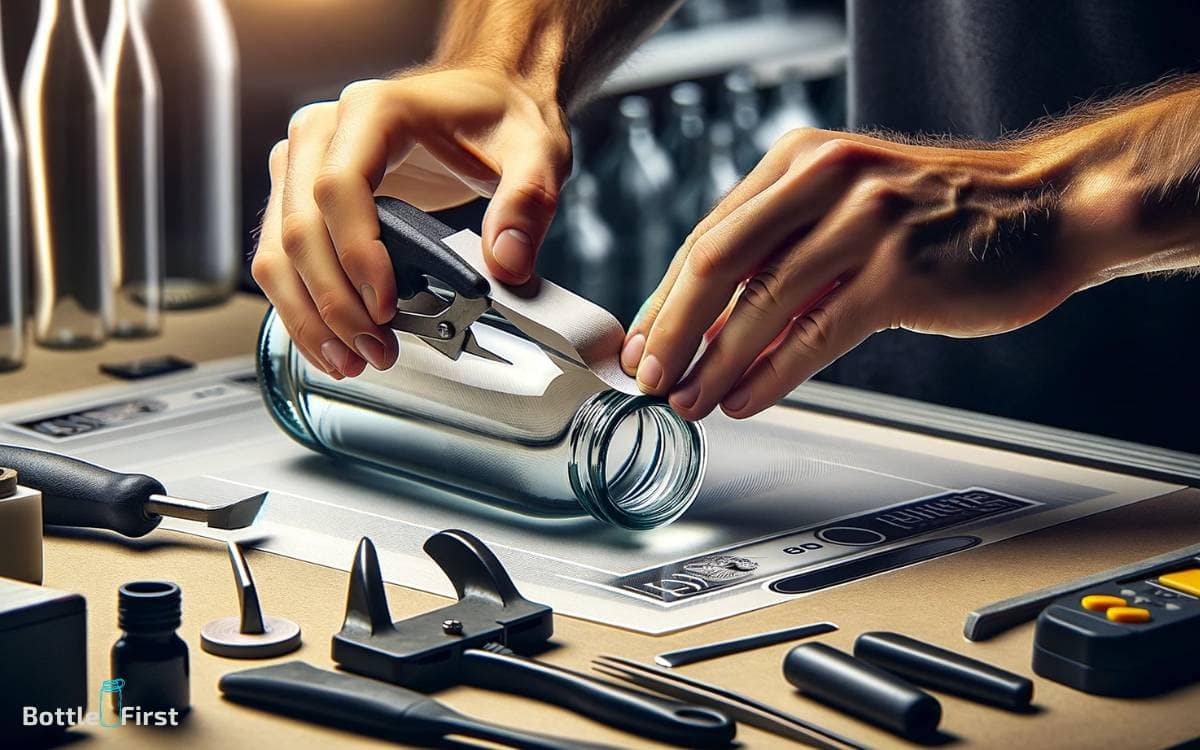
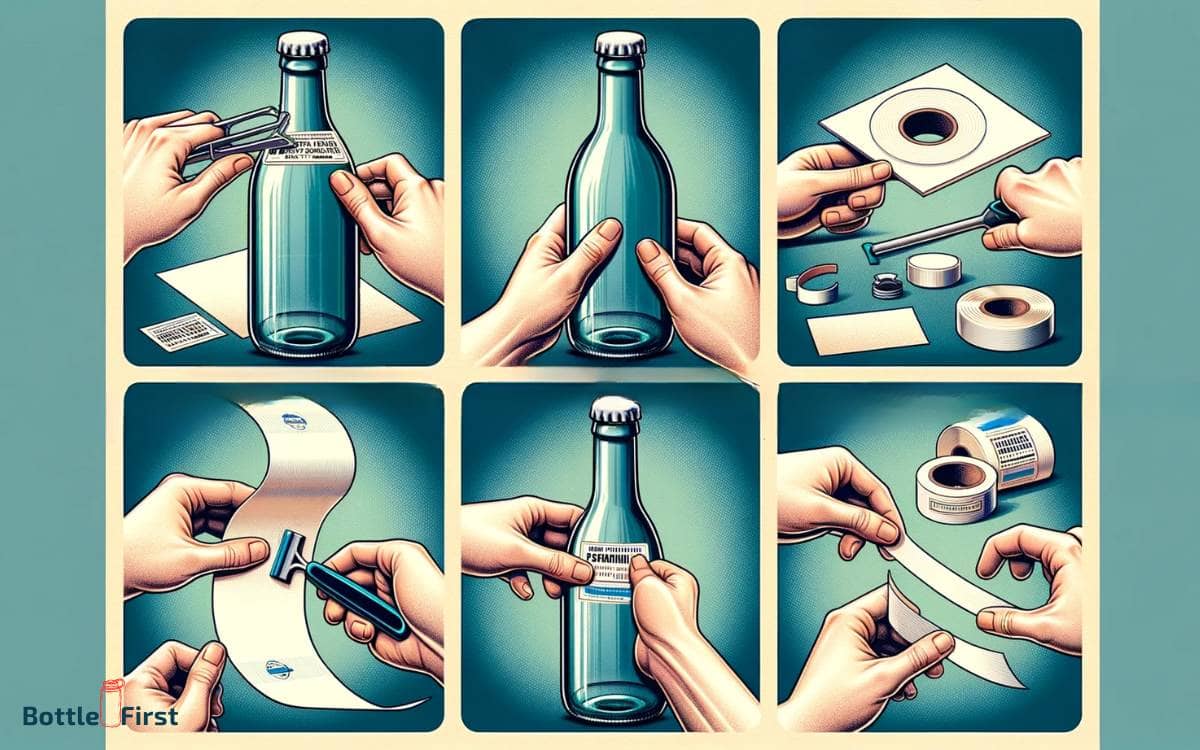
You should always carefully align the label with the edge of the glass bottle to ensure a smooth and professional application.
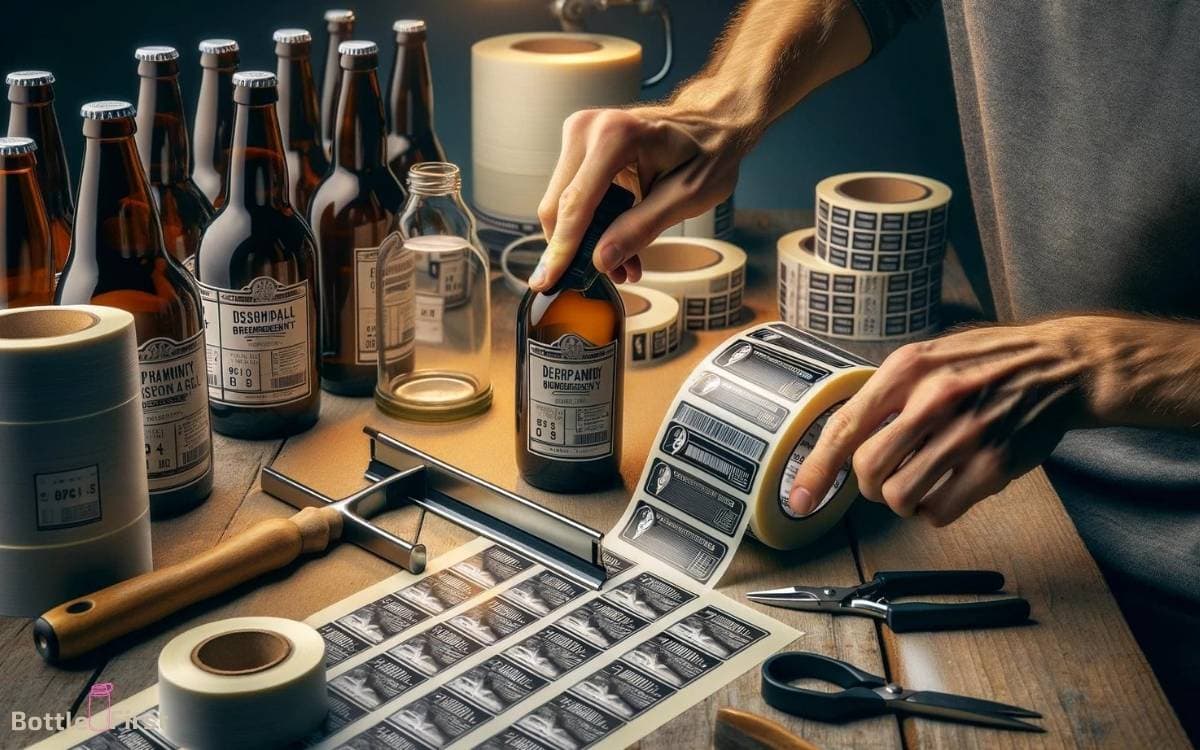
Start by peeling the backing from one edge of the label and then line it up with the edge of the bottle. Slowly apply pressure and smooth out the label as you go, ensuring there are no air bubbles or wrinkles.
For a truly innovative touch, consider using clear labels for a seamless, almost printed-on look. Another creative idea is to use custom-shaped labels that fit the contours of your bottle, adding a unique and eye-catching element to your packaging.
Step 4: Ensuring Adhesion
Make sure the label sticks securely by pressing firmly along the edges and smoothing out any air bubbles or wrinkles.
To ensure maximum adhesion, consider the following tips:
- Use a clean, dry surface to apply the label.
- Apply gentle heat to the label using a hairdryer to activate the adhesive.
- Consider using a specialized adhesive or primer for extra strength.
- Store the labeled bottles in a cool, dry place to prevent the label from peeling off due to moisture or temperature changes.
- If using a clear label, ensure the surface of the glass is completely transparent to maintain the label’s clarity and visibility.
Step 5: Dealing With Condensation
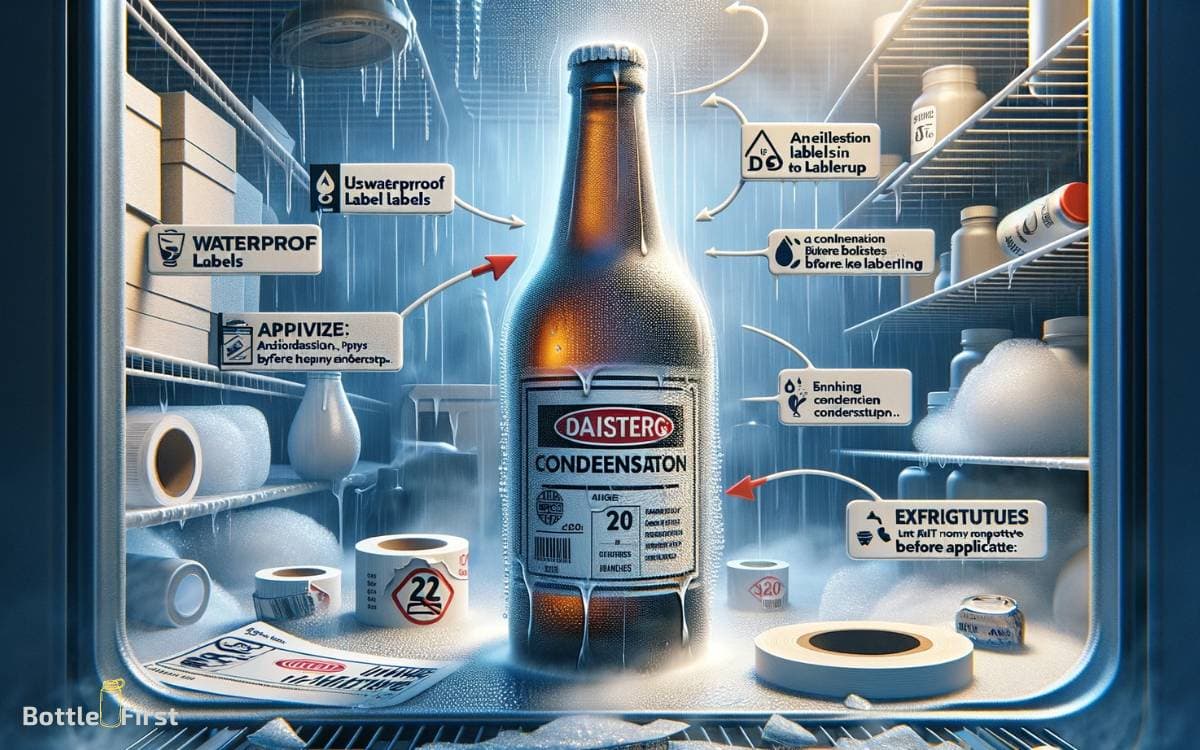
After ensuring the label is securely adhered to the glass bottle, it’s important to address how to deal with condensation to prevent the label from peeling off.
To combat condensation, consider using a waterproof sealant over the label. This will create a protective barrier against moisture, ensuring that the label remains intact even in humid environments.
Additionally, incorporating moisture-absorbing silica gel packets inside the packaging can help minimize the buildup of condensation.
Another innovative approach is to use specialty label materials designed to withstand high levels of moisture, such as vinyl or polyester labels.
These materials are specifically engineered to repel water and maintain their adhesion, even in challenging conditions.
Step 6: Removing Labels for Repurposing
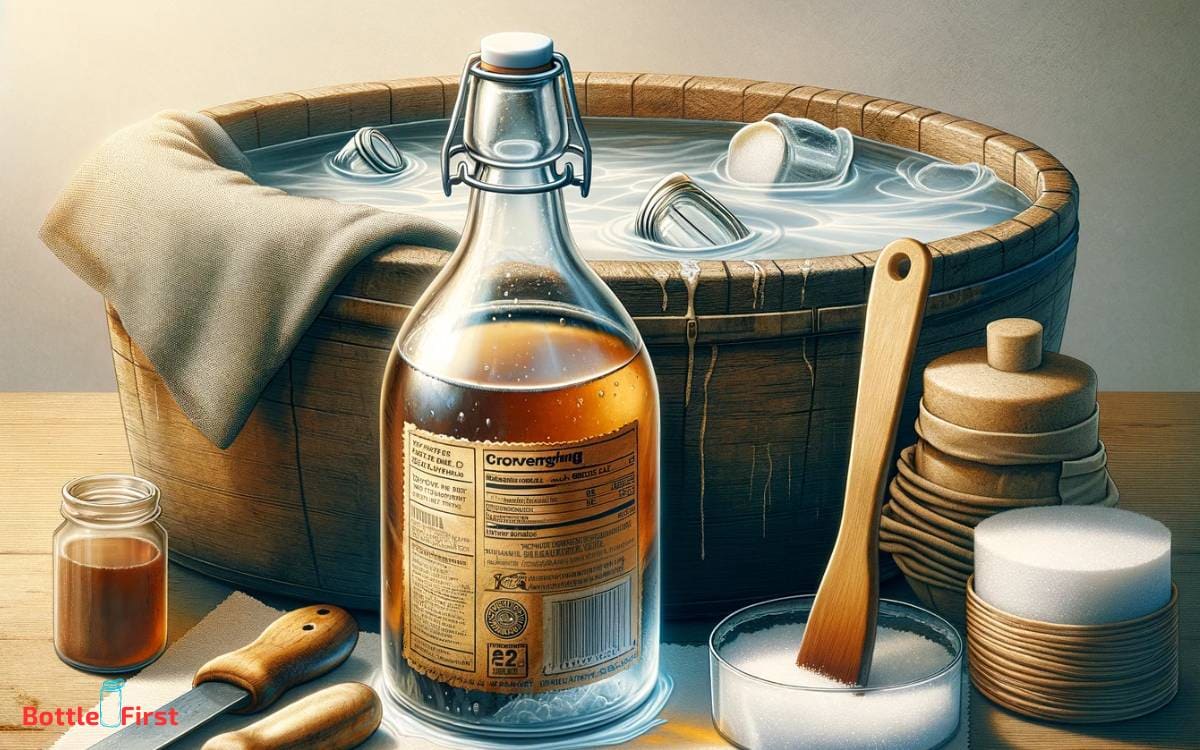
To repurpose glass bottles, removing old labels is essential to ensure a clean surface for applying new labels or designs.
Follow these steps to effectively remove labels for repurposing:
- Soak in hot, soapy water: Submerge the bottles in hot, soapy water and let them soak for 30 minutes to loosen the adhesive.
- Use a scraper or razor blade: Gently scrape off the label using a scraper or razor blade to remove any remaining residue.
- Try rubbing alcohol or adhesive remover: Apply rubbing alcohol or adhesive remover to a cloth and rub off any stubborn adhesive.
- Use a mixture of baking soda and oil: Create a paste using baking soda and oil, then rub it onto the label to help lift off stubborn residue.
- Wash and dry thoroughly: After removing the labels and adhesive, wash the bottles with warm, soapy water and dry them completely before repurposing.
Troubleshooting Common Issues
When labeling glass bottles, you may encounter common issues that require troubleshooting to ensure a successful application.
To troubleshoot these issues effectively, refer to the following table for quick solutions:
| Common Issue | Troubleshooting Solution |
|---|---|
| Label peeling off | Ensure the bottle surface is clean and dry before application. |
| Bubbles under the label | Smooth out the label during application to remove air pockets. |
| Label not sticking evenly | Use a label applicator for consistent and smooth application. |
| Label wrinkling | Apply the label slowly and smoothly, avoiding creases. |
| Label smudging or smearing | Allow the adhesive to dry completely before handling the bottle. |
Conclusion
So there you have it – sticking labels on glass bottles is a breeze when you follow the right steps.
With a little preparation and the right materials, you can ensure your labels stay put and look great.
Just remember, like a label on a bottle, sometimes the right adhesive can help us stick through even the toughest situations.
Happy labeling!
