How to Stick Paper to Glass Bottle? 6 Easy Steps!
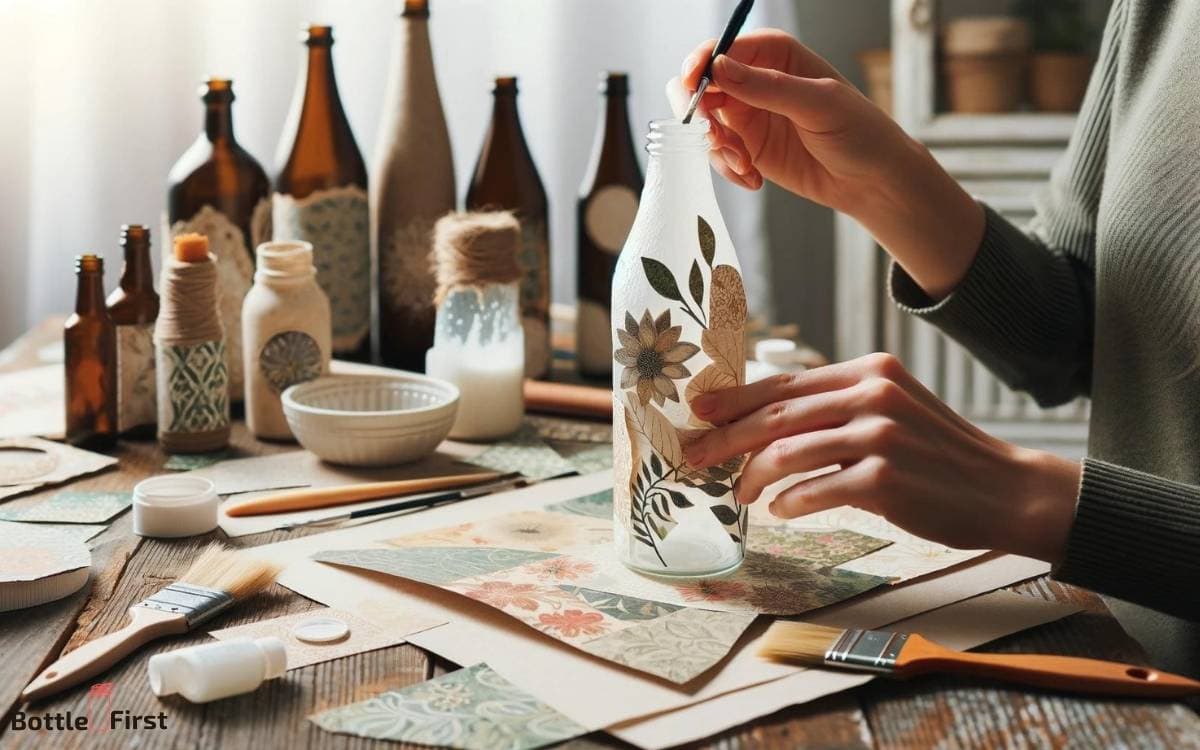
To stick paper to a glass bottle, you will need the proper adhesive, such as Mod Podge or double-sided tape, and a clean surface.
Apply the adhesive evenly, position the paper carefully, and smooth out any bubbles for a flawless finish.:
Adhering paper to glass requires a few key steps:
If using Mod Podge, brush a thin layer onto the glass, place the paper, then apply another layer over the paper to seal it.
Create personalized glass bottles with ease using the right adhesive and a touch of creativity.
Key Takeaway
Step 1: Choosing the Right Paper
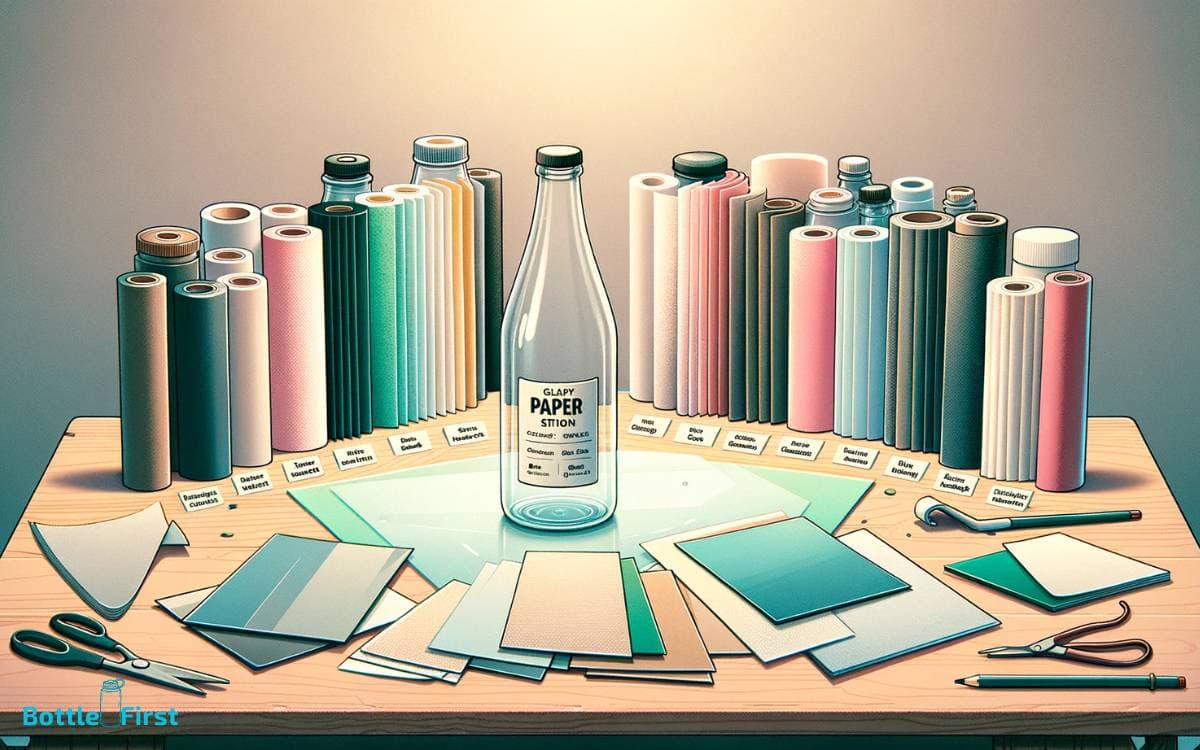
Choose a durable paper that can withstand moisture and adhere well to glass. Look for innovative options like waterproof vinyl or clear adhesive film.
These materials provide a strong and long-lasting bond, perfect for creating unique designs on glass bottles.
Additionally, consider the thickness of the paper; a thicker paper will offer more stability and durability. Keep in mind that the paper should also be easy to cut and manipulate to fit the shape of the bottle.
Once you have chosen the right paper, you can move on to preparing the glass surface for the application. This step is crucial to ensure a smooth and secure attachment of the paper to the glass bottle.
Step 2: Preparing the Glass Surface
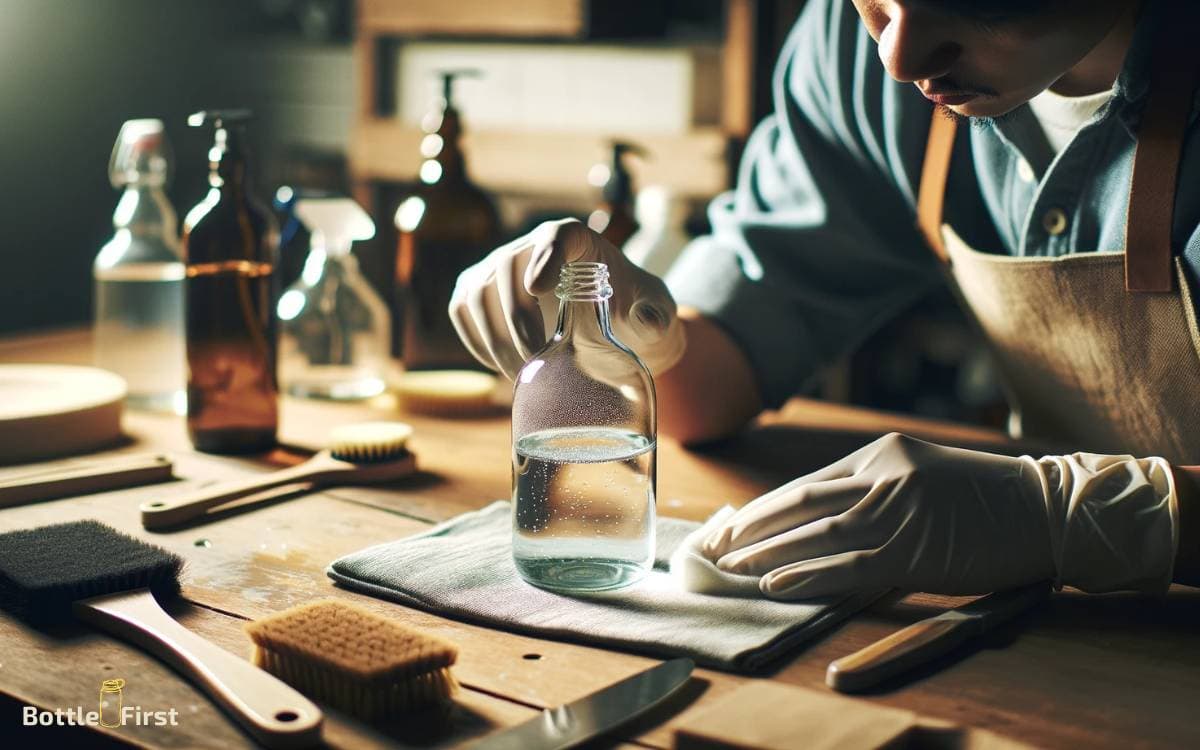
To ensure a successful adhesion of the paper to the glass bottle, thoroughly clean the glass surface with a lint-free cloth and rubbing alcohol, removing any dust, dirt, or oils. This step is crucial for achieving a strong bond between the paper and the glass.
The rubbing alcohol helps to remove any residual oils or dirt that could interfere with the adhesive properties. Make sure to dry the glass surface completely before proceeding to apply the paper.
A clean and dry surface will ensure that the paper adheres effectively to the glass, creating a professional and polished look.
Step 3: Selecting the Adhesive
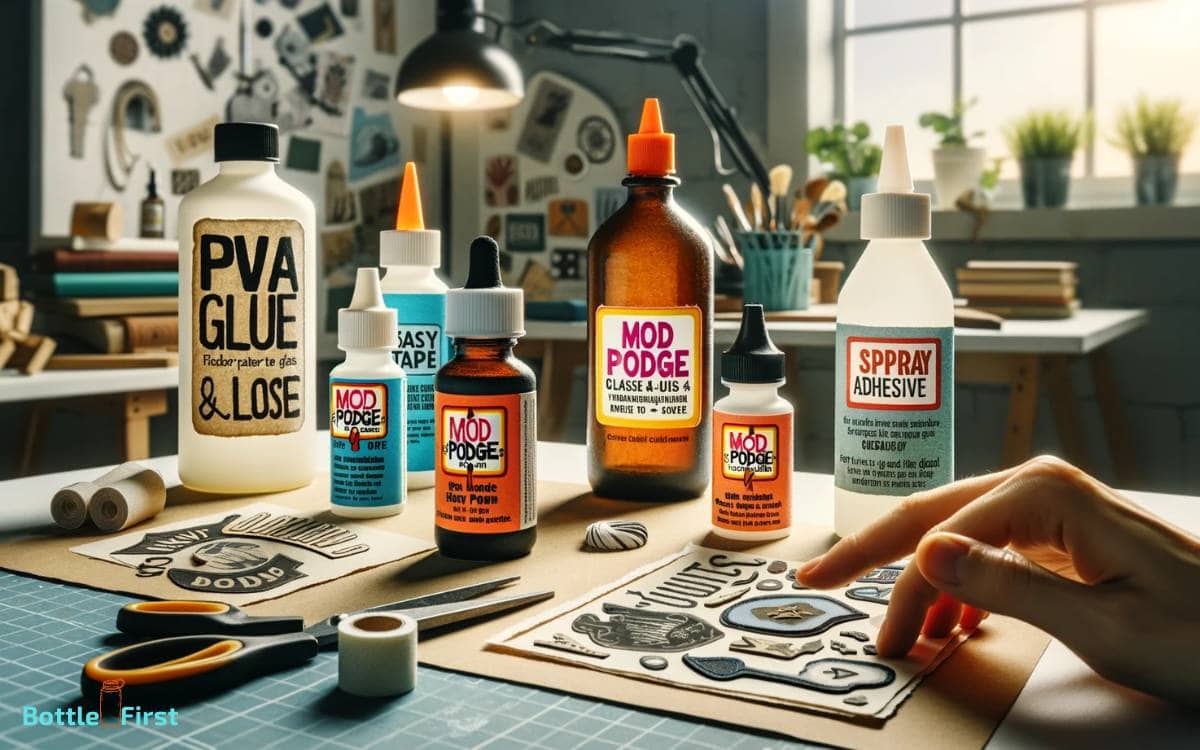
When selecting the adhesive for sticking paper to a glass bottle, consider using a clear, multipurpose craft glue that’s specifically designed for bonding paper to glass surfaces.
This type of adhesive offers a strong and durable bond while maintaining transparency, allowing the beauty of the glass and paper to shine through.
Additionally, look for a glue that’s quick-drying to minimize the risk of paper wrinkling or shifting during the application process.
It’s also beneficial to choose an adhesive that’s water-resistant, ensuring that your paper creations stay securely attached even when exposed to moisture.
Lastly, opt for an adhesive that’s easy to apply, whether through a fine-tip applicator or a spray format, for precise and effortless application.
Step 4: Applying the Paper to the Bottle
Once you’ve prepared the adhesive, begin by carefully positioning the paper on the glass bottle, ensuring it’s aligned and smooth.
Gently press the paper onto the bottle, starting from the center and working your way outwards to avoid air bubbles or creases.
Use a soft cloth or sponge to firmly smooth out the paper, ensuring it adheres well to the glass surface. If you’re using a wet adhesive, be cautious not to tear the paper as you work with it.
For a seamless finish, trim any excess paper around the edges of the bottle using a sharp craft knife. Take your time and pay attention to detail to achieve a professional and polished look.
Step 5: Sealing and Protecting the Paper
Once the paper is securely attached to the glass bottle, it’s essential to seal and protect it.
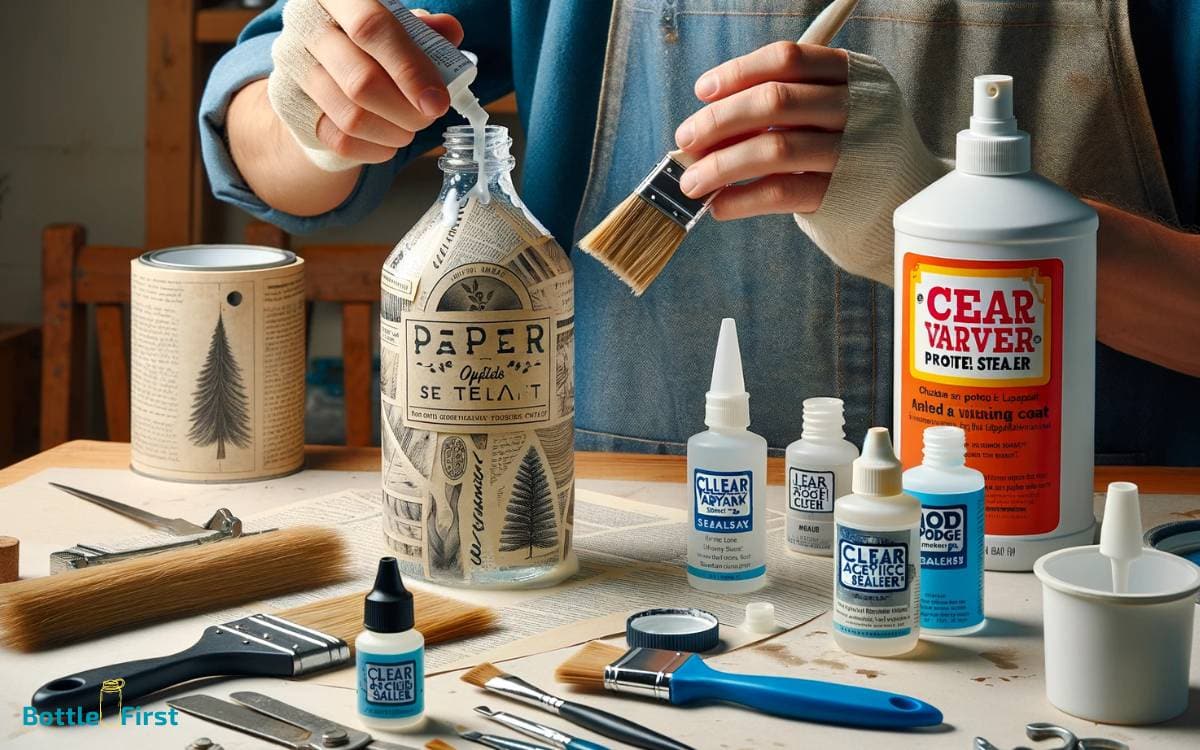
You can achieve this by using a clear adhesive sealant, applying Mod Podge, or using varnish to provide a protective layer.
These methods will help ensure that your paper decoration on the bottle remains intact and looks great for a long time.
Clear Adhesive Sealant
- Choose a high-quality clear adhesive sealant designed specifically for bonding paper to glass. Look for a product that offers strong adhesion and dries transparent to maintain the visual appeal of your design.
- Use a small, fine brush to apply the sealant evenly over the entire surface of the paper. Ensure that the edges are well-sealed to prevent any peeling or lifting over time.
- Allow the sealant to dry completely according to the manufacturer’s instructions before handling the bottle to prevent smudges or imperfections.
Apply a thin layer of clear adhesive sealant to the paper on the glass bottle, ensuring complete coverage and protection.
This won’t only secure the paper in place but also provide a protective barrier against moisture and wear, preserving the appearance of your craft for a long time.
Mod Podge Application
After sealing the paper with clear adhesive sealant, you can further protect and enhance its appearance by applying a layer of Mod Podge to the glass bottle. Mod Podge is a versatile sealer, glue, and finish all in one, making it perfect for this project.
To apply Mod Podge, simply brush on a thin, even layer over the entire surface of the paper and bottle.
This won’t only protect the paper from moisture and wear but also give it a professional-looking finish. Mod Podge dries clear, so it won’t affect the colors or design of your paper.
Once the Mod Podge is completely dry, you can proceed to the next step of applying varnish for additional protection and a glossy finish.
Varnish for Protection
To ensure long-lasting protection for the paper on the glass bottle, consider applying a layer of varnish as the final step in sealing and safeguarding the paper.
- Choose a high-quality varnish specifically designed for crafts and suitable for the type of paper used.
- Apply the varnish evenly using a soft brush or sponge, ensuring complete coverage over the paper and the surrounding glass surface.
- Allow the varnish to dry completely according to the manufacturer’s instructions, typically for 24-48 hours, to ensure a durable and protective finish.
Step 6: Displaying and Caring for the Finished Bottle
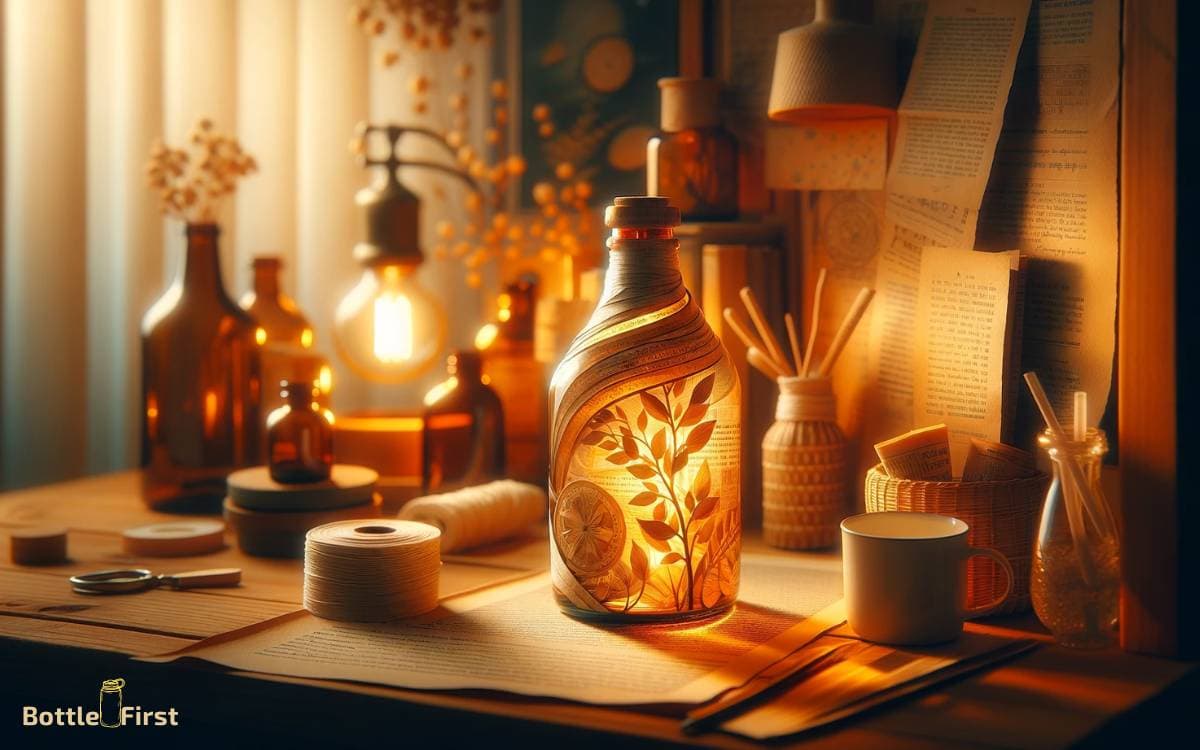
Now, you can show off your finished bottle by placing it on a prominent shelf or table. The transparent glass will beautifully display the intricate paper design you’ve created.
To keep your bottle looking its best, gently dust it with a soft cloth or use a can of compressed air to blow away any particles. Avoid placing the bottle in direct sunlight for extended periods to prevent the paper from fading.
If you need to clean the bottle, use a mild glass cleaner and a soft cloth, being careful not to soak the paper.
Conclusion
Now that you know how to stick paper to a glass bottle, you can create beautiful and personalized decorations for your home or gifts for your friends.
Did you know that 80% of people feel more connected to a handmade gift? By incorporating this technique into your crafting, you can create meaningful and heartfelt gifts that will be cherished by your loved ones.
Start creating and sharing your personalized glass bottles today!
