How to Stop a Glass Water Bottle from Leaking? 7 Easy Steps!
Ensure your glass water bottle remains leak-free by regularly checking the seal, tightening the lid properly, and using a silicone sleeve for additional protection.
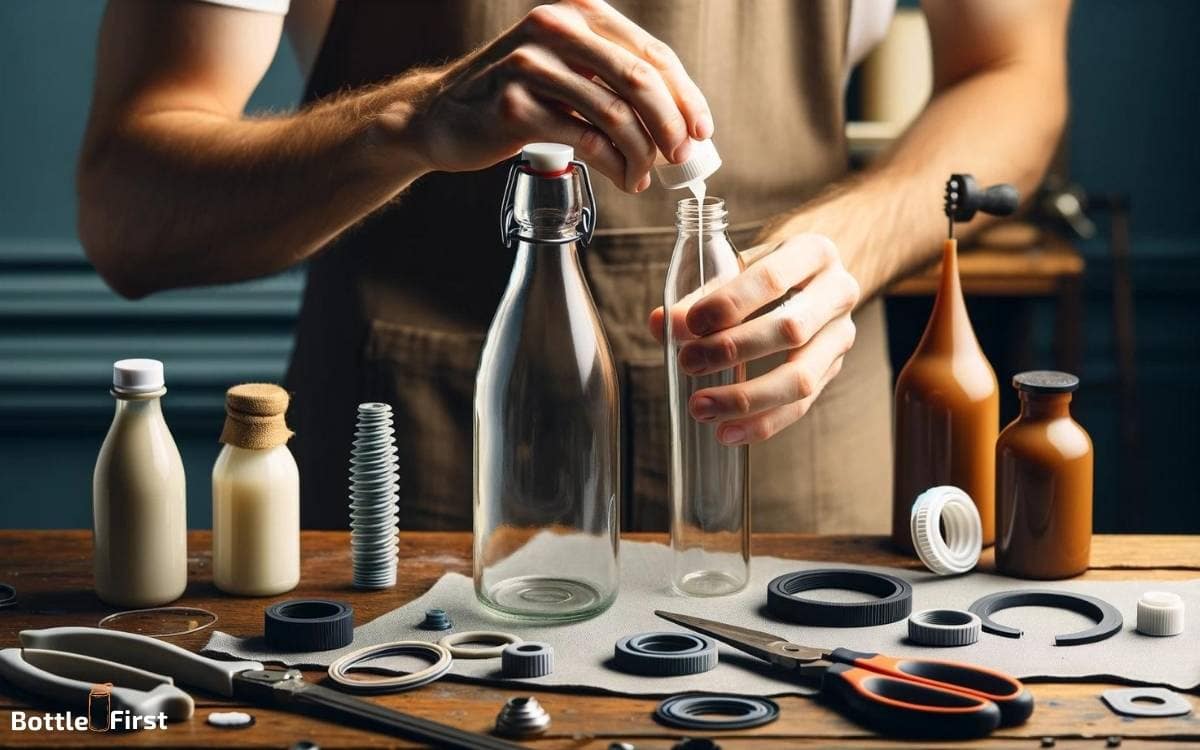
Here are some quick methods:
Maintain a dry, mess-free bag by keeping your glass water bottle leak-proof with consistent care and proper usage.
Key Takeaway
Step 1: Choosing the Right Bottle
To prevent leaks, assess the durability of potential glass water bottles before purchasing.
Look for bottles made from borosilicate glass, known for its strength and resistance to thermal shock. Check for silicone or rubber seals on the lid to ensure a secure closure.
Innovative designs, such as double-walled insulation and protective sleeves, can enhance durability and prevent breakage.
Consider bottles with wide mouths for easy cleaning and filling, and look for options with dishwasher-safe components for convenience.
Additionally, opt for bottles with a reputation for leak-proof performance and positive customer reviews.
Prioritize quality and durability over flashy features to ensure your glass water bottle stands the test of time and prevents leaks effectively.
Step 2: Inspecting for Cracks or Damage
First, visually inspect the bottle for any visible damage, such as chips or cracks.
Next, carefully examine the bottle for hairline cracks that may not be immediately noticeable.
If you find any damage, it’s important to address it before using the bottle to prevent leaks or potential breakage.
Check for Visible Damage
Inspect the glass water bottle for any visible cracks or damage that could be causing the leaks. Look closely at the entire surface of the bottle to ensure no damage goes unnoticed. If you spot any cracks or chips, take action immediately to prevent further leakage.
Here are some important points to consider:
- Cracks or chips could compromise the structural integrity of the bottle, leading to potential leaks and breakage.
- Small hairline cracks may not be immediately obvious, so inspect the bottle under different lighting conditions to catch any hidden damage.
- Even minor damage can worsen over time, so it’s crucial to address any issues promptly to keep your glass water bottle in optimal condition.
Examine for Hairline Cracks
Start by carefully examining the entire surface of your glass water bottle for any hairline cracks or damage.
Even the smallest crack can lead to leaks, so a thorough inspection is crucial. Hold the bottle up to a light source and rotate it slowly, checking for any faint lines or imperfections.
Be sure to pay close attention to the bottom and around the neck of the bottle, as these areas are common spots for hairline cracks to develop. Additionally, run your finger along the surface to feel for any subtle irregularities.
Identifying and addressing these hairline cracks early on can prevent potential leaks and extend the lifespan of your glass water bottle. Regular inspections are key to maintaining a leak-free and durable container for your hydration needs.
Step 3: Proper Lid and Seal Maintenance
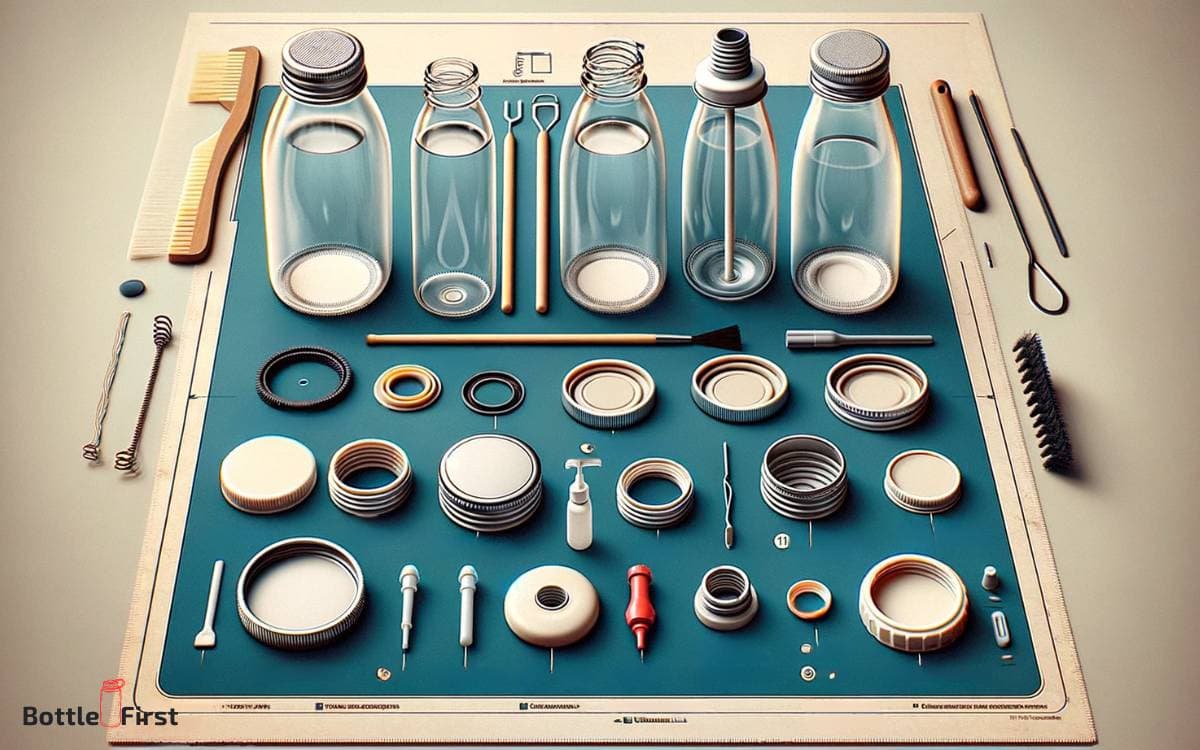
To prevent leakage, make sure to regularly screw on the lid tightly and check for any cracks or damage to the seal. Proper lid and seal maintenance is crucial for ensuring a water-tight seal.
Here’s what you need to do:
- Inspect Regularly: Take a few moments each week to inspect the lid and seal for any signs of wear or damage. This proactive approach can help you catch issues early on and prevent leaks.
- Clean Thoroughly: Keeping the lid and seal clean is essential for maintaining a tight seal. Use a gentle brush or cloth to remove any debris or buildup that could compromise the seal.
- Replace When Necessary: If you notice any cracks, tears, or deformities in the seal, don’t hesitate to replace it. Investing in a high-quality replacement seal can extend the life of your glass water bottle.
Step 4: Adjusting the Lid Tightness
First, check the lid seal for any damage or debris that could be preventing a tight seal.
Then, adjust the silicone gasket by tightening it if it feels loose or replacing it if it’s worn out. This simple step can often resolve the issue of a leaking glass water bottle.
Checking Lid Seal
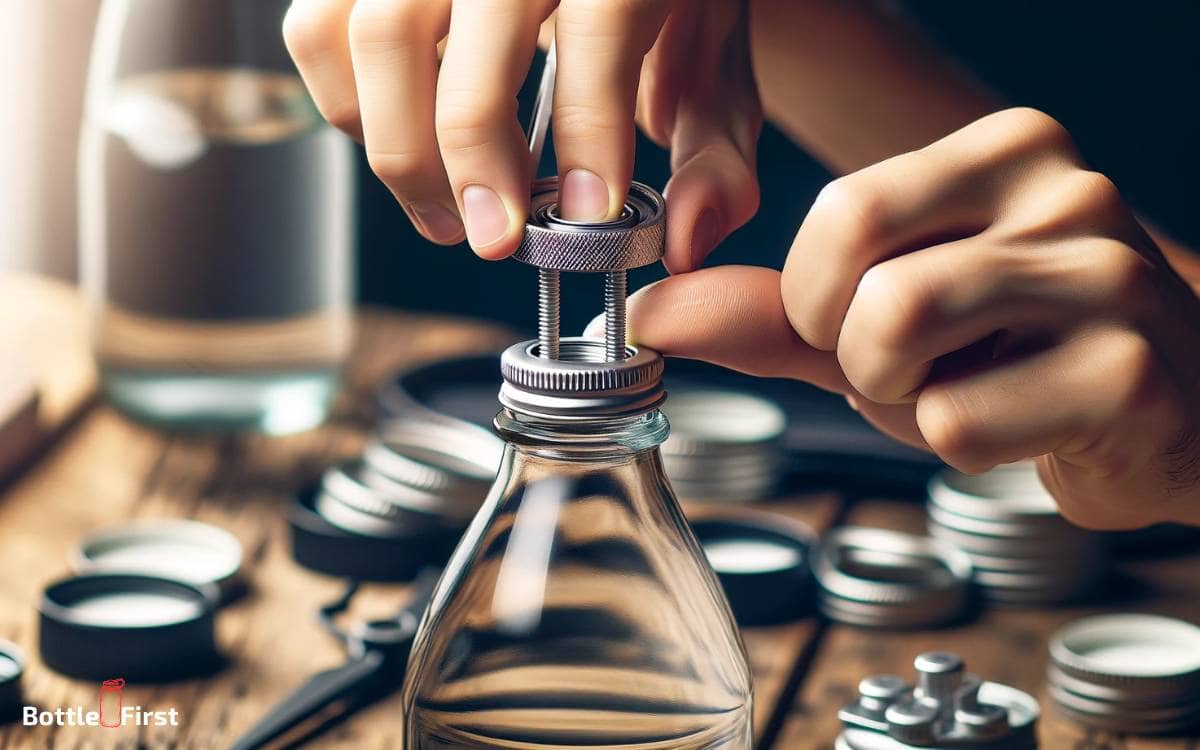
Check the lid seal on your glass water bottle by adjusting the tightness of the lid to prevent leaks. Start by ensuring the lid is screwed on securely, but not too tight, to create a proper seal.
Next, check for any cracks or damage on the lid that could compromise the seal.
Lastly, consider applying a food-grade silicone lubricant to the lid threads to improve the seal and prevent leaks.
By taking these steps, you can ensure that your glass water bottle maintains its integrity and prevents any unwanted leaks.
Now, let’s move on to the next step of adjusting the silicone gasket for further prevention of leaks.
Adjusting Silicone Gasket
Ensure the silicone gasket on your glass water bottle is adjusted to the correct tightness to prevent any potential leaks. To adjust the silicone gasket, first, remove the lid from the bottle.
Inspect the gasket for any signs of damage or wear. If it appears worn, consider replacing it with a new gasket to ensure a proper seal.
Next, check the alignment of the gasket and make sure it sits evenly in the lid groove.
Then, adjust the tightness of the lid by tightening or loosening it until you feel a secure but not overly tight seal.
Test the bottle by filling it with water and tipping it at different angles to ensure there are no leaks. Adjust the silicone gasket as needed until the lid provides a secure and leak-proof seal.
Step 5: Avoiding Extreme Temperature Changes
To prevent your glass water bottle from leaking, always avoid exposing it to extreme temperature changes. Sudden shifts in temperature can cause the glass to expand or contract rapidly, leading to cracks or damage that may result in leaks.
To keep your glass water bottle in top condition, follow these tips:
- Avoid drastic temperature shifts: Keep your bottle away from direct sunlight or extreme heat, such as leaving it in a hot car or placing it in the freezer.
- Use a protective sleeve: Invest in a high-quality insulated sleeve to help regulate the temperature of your bottle and protect it from sudden changes.
- Opt for tempered glass: Consider purchasing a glass water bottle made from tempered glass, which is more resistant to thermal shock and less likely to leak.
Step 6: Cleaning and Drying Techniques
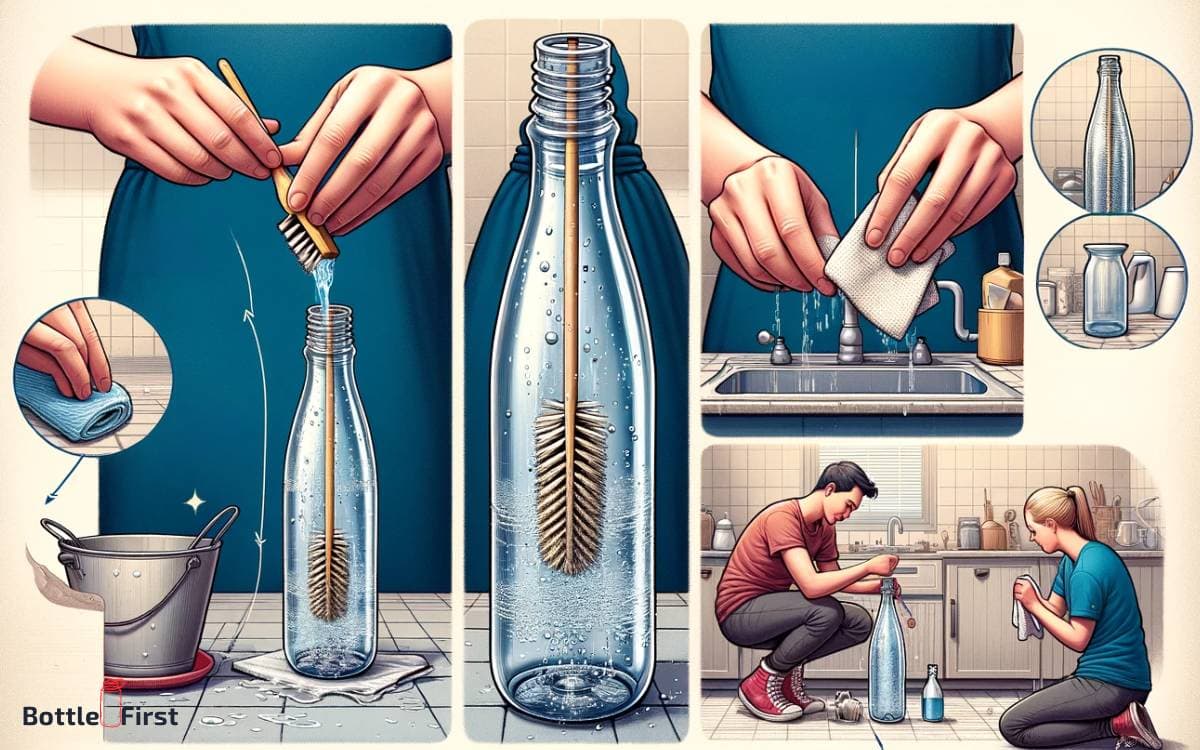
After avoiding extreme temperature changes, the next crucial step is properly cleaning and thoroughly drying your glass water bottle to prevent leaks. To ensure the longevity of your bottle, it’s essential to use innovative cleaning and drying techniques.
Below, you’ll find a table outlining some effective methods for cleaning and drying your glass water bottle:
| Cleaning Techniques | Drying Techniques |
|---|---|
| Use a Bottle Brush | Air Dry Upside Down |
| Lemon Juice and Baking Soda Paste | Microfiber Cloth |
| Vinegar and Hot Water | Silicone Drying Mat |
| Denture Tablets | Air Drying Rack |
| Dish Soap and Hot Water | Absorbent Paper Towel |
These techniques will help you maintain a clean and leak-free glass water bottle. Once the bottle is thoroughly cleaned and dried, you can move on to identifying and repairing any potential leaks.
Step 7: Identifying and Repairing Leaks
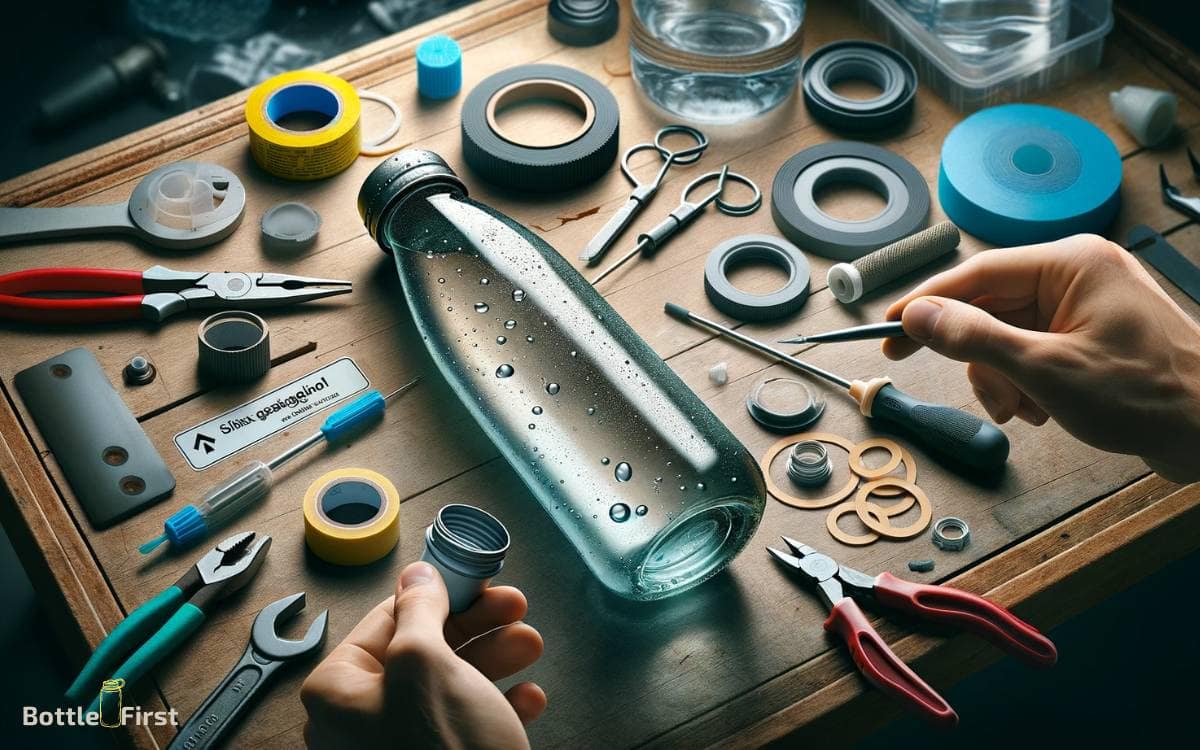
Once you have thoroughly cleaned and dried your glass water bottle, you can begin identifying and repairing any potential leaks by carefully inspecting the bottle for cracks or damaged seals.
Start by running your fingers along the entire surface, paying close attention to any irregularities.
Next, fill the bottle with water and observe it closely for any signs of leakage. If you notice any leaks, try tightening the lid to see if that resolves the issue.
If the problem persists, consider applying a thin layer of food-grade silicone sealant around the seals to create a more secure barrier.
Finally, if you spot any cracks, use a glass adhesive specifically designed for repairing glassware to seal them effectively.
Your innovative approach to identifying and repairing leaks will ensure your glass water bottle remains watertight.
Conclusion
So, next time you notice your glass water bottle leaking, you’ll know just what to do. By choosing the right bottle, maintaining the lid and seal, and being mindful of temperature changes, you can keep your bottle leak-free.
Just like a ship sailing smoothly on calm waters, your water bottle can stay secure and reliable.
With these simple tips, you can enjoy a leak-free hydration experience every time.
