How to Use Glass Bottle Cutter? 6 Easy Steps!
Upcycling with a glass bottle cutter is an eco-friendly and creative way to give old glass bottles a new purpose.
By following a few straightforward steps, you can turn discarded bottles into decorative items or practical household objects.
Here are some quick steps:
Transforming a wine bottle into a candle holder by cutting it in half and sanding down the edges.
Repurpose with precision and create bespoke glassware from your recyclable bottles using a glass bottle cutter.
Key Takeaway
Step 1: Selecting the Right Glass Bottles
Choose sturdy, smooth-surfaced glass bottles for optimal results when using a glass bottle cutter. Look for bottles without intricate designs or patterns, as these can make cutting more challenging.
The ideal bottles are those with consistent thickness and no imperfections, such as cracks or chips. This is essential for achieving clean, precise cuts.
Innovative glass bottle cutters allow you to upcycle these bottles into various creative projects, from vases to drinking glasses. By selecting the right bottles, you set yourself up for success in your glass cutting endeavors.
This attention to detail ensures that the process of cutting and repurposing glass bottles is as seamless and efficient as possible, leading to stunning, high-quality results.
Step 2: Preparing the Glass Bottle
To begin preparing the glass bottle for cutting:
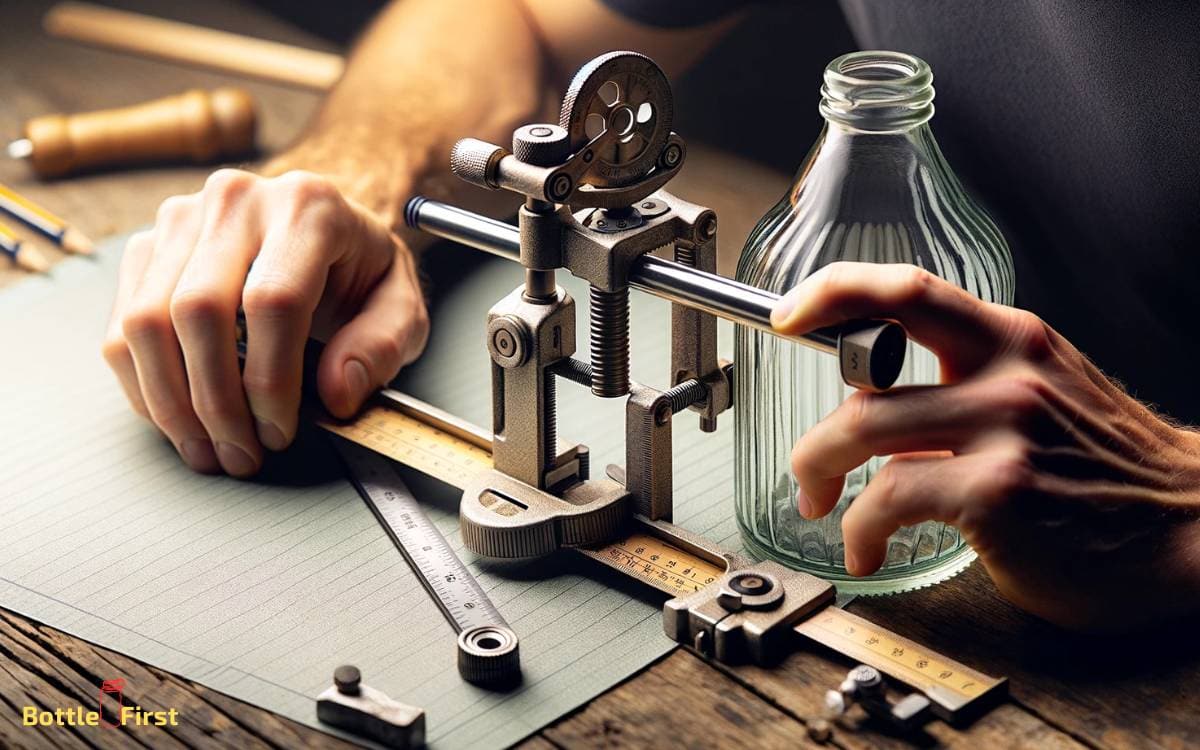
- Carefully measure and mark the desired cutting line around the circumference of the bottle.
- Use a ruler or a specialized glass bottle cutter tool to ensure precision.
Next, thoroughly clean the bottle:
- Remove any dirt or residue, as this will prevent the cutter from smoothly scoring the glass.
- Dry the bottle completely before moving on to the next step.
Once the bottle is clean and dry:
- Securely hold it in place using a bottle holder or a jig to prevent it from rolling while cutting.
- This will ensure a straight and even cut.
Properly preparing the glass bottle is crucial for a successful cutting process and achieving the desired results.
Step 3: Adjusting and Securing the Cutter
First, ensure the blade is positioned correctly for the desired cut. Then, make sure the glass bottle is securely fastened in place before making any adjustments.
Proper Blade Positioning
Position the blade securely to ensure accurate cutting when using a glass bottle cutter. Before starting, adjust the blade to the desired cutting height by loosening the screws and sliding it into place.
Ensure that the blade is straight and level to achieve a precise cut. Once in position, tighten the screws firmly to secure the blade in place. Confirm that the blade is secure by gently attempting to move it.
A properly positioned blade is crucial for achieving clean and even cuts on glass bottles. Take the time to double-check the positioning before scoring the bottle to avoid any mishaps.
With the blade securely positioned, you’re ready to proceed with the cutting process and transform your glass bottles into innovative creations.
Securing Glass Securely
Once the blade is securely positioned, you can proceed to adjust and secure the glass bottle cutter to ensure a stable and controlled cutting process.
Start by adjusting the cutting wheel to the desired height for your specific bottle. The cutting wheel should be at the same level all around the bottle to ensure an even cut.
Next, tighten the screws or clamps to secure the bottle in place. It’s important to make sure the bottle is held firmly and doesn’t wobble during the cutting process.
Additionally, ensure that the glass scoring is in line with the cutting wheel. This will help create a smooth and precise score line.
Adjusting for Different Sizes
To adjust and secure the glass bottle cutter for different bottle sizes, carefully set the cutting wheel to the desired height and tighten the screws or clamps to hold the bottle firmly in place.
Here are some tips to help you adjust and secure the glass bottle cutter for different sizes:
- Use adjustable screws: Look for a glass bottle cutter with adjustable screws or clamps to accommodate various bottle sizes.
- Position the cutting wheel: Ensure the cutting wheel is at the appropriate height for the specific bottle size you’re working with.
- Secure the bottle: Tighten the screws or clamps securely to hold the bottle in place during the cutting process.
- Check alignment: Verify that the bottle is aligned properly with the cutting wheel to achieve a straight and even cut.
- Test with scrap bottles: Practice with different bottle sizes to get comfortable with adjusting and securing the cutter effectively.
Step 4: Scoring the Glass
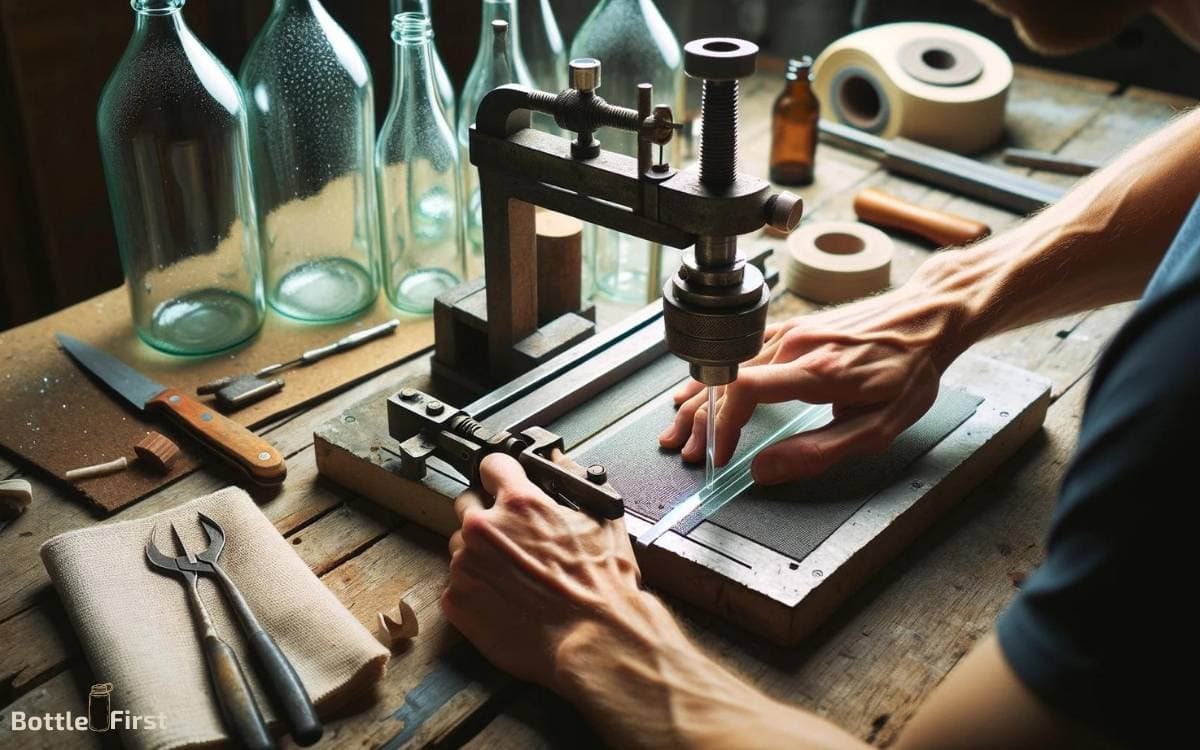
You’ll need to carefully score the glass bottle along the cutting line using the glass bottle cutter tool.
First, make sure the cutting wheel of the bottle cutter is adjusted to the correct position for the desired cutting line.
Place the bottle on a stable surface and rotate it against the cutting wheel, making a continuous, even line around the circumference of the bottle.
Apply consistent pressure and ensure the line is well-defined. This step is critical for a clean break. Remember, the quality of your score line will greatly affect the success of the cutting process.
Once you’ve scored the glass, you’re ready to move on to the next step of separating the glass.
Step 5: Separating the Glass
After scoring the glass, grasp the bottle firmly and carefully apply a consistent, even pressure to separate the glass along the scored line using the bottle cutter tool.
- Ensure that the pressure is applied evenly along the scored line to prevent uneven breaks.
- Consider using safety gloves to protect your hands from any sharp edges during the separation process.
- Slowly rotate the bottle while maintaining the pressure to facilitate a clean separation.
- Check for any rough edges or imperfections after separation and use sandpaper to smooth them out.
- Practice patience and precision to achieve the desired clean break, allowing for a perfect upcycled glass creation.
Step 6: Smoothing the Edges
Once you’ve separated the glass, it’s important to smooth the edges for safety and aesthetics. Sanding the edges will give them a smooth finish, while deburring will remove any sharp points.
Then, using a polishing compound will add a professional touch to the edges of your newly cut glass.
Sanding for Smoothness
To achieve a smooth edge on the glass bottle, start by using a fine-grit sandpaper to gently sand the cut edges in a circular motion. This step is essential for creating a professional and safe finish.
Here are some tips to make the sanding process more effective:
- Use water to lubricate the sandpaper and prevent overheating.
- Gradually switch to a finer grit sandpaper for a polished result.
- Keep the bottle and sandpaper wet to minimize dust and achieve a smoother finish.
- Use a sanding sponge for curved edges to ensure an even and uniform smoothness.
- Check the smoothness of the edges by running your fingers along them to avoid any sharp spots.
Deburring the Edges
Smooth the edges of the glass bottle by carefully deburring them to ensure a safe and polished finish. After cutting the bottle, use a deburring tool to remove any sharp or jagged edges.
Hold the tool at a slight angle and gently run it along the edge of the glass to smooth out any imperfections. Be sure to wear protective gloves during this process to avoid any potential injuries.
Once the edges are deburred, run your finger along the rim to check for any remaining rough spots. This step is crucial to ensure that the edges are safe to touch and handle.
Now that the edges are smooth, you can proceed to the next step of using a polishing compound to achieve a flawless and professional-looking finish.
Using Polishing Compound
You can apply a small amount of polishing compound to the edges of the glass bottle, rubbing it in a circular motion to achieve a smooth and polished finish.
When using the polishing compound, keep the following tips in mind:
- Start with a small amount of compound and gradually add more if needed.
- Use a soft cloth or sponge to apply the compound evenly across the edges.
- Continue rubbing the compound in a circular motion until the edges begin to feel smooth.
Wipe off any excess compound and inspect the edges for desired smoothness. Repeat the process if necessary to achieve the level of smoothness you desire.
Using the polishing compound allows you to achieve professional-looking, smooth edges on your glass bottle creations.
Safety Precautions and Tips
When using a glass bottle cutter, always wear safety goggles to protect your eyes from flying glass shards. Additionally, it’s important to wear gloves to shield your hands from sharp edges.
Before cutting, thoroughly inspect the bottle for any cracks or flaws that could cause it to shatter unpredictably. Make sure to work in a well-lit and ventilated area, and keep children and pets away during the cutting process.
When scoring the glass, apply consistent pressure and make a smooth, continuous motion to create a clean cut.
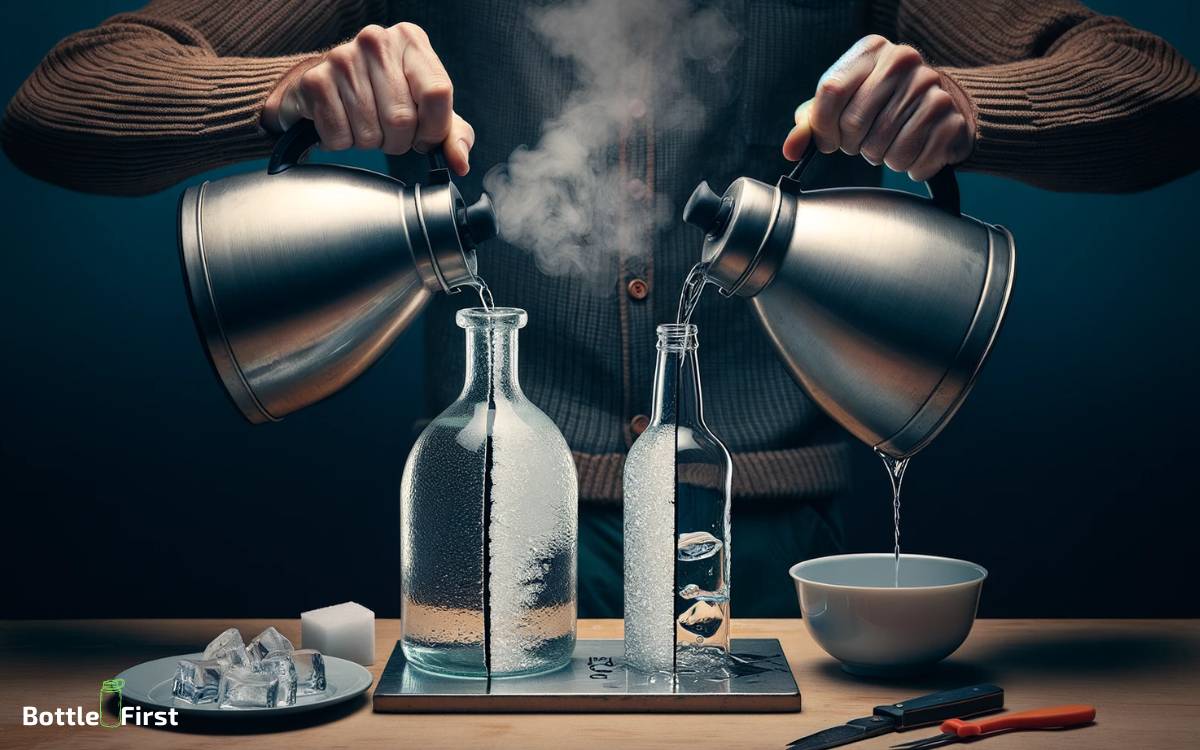
After scoring, use hot and cold water to separate the glass along the score line, being careful to avoid sudden temperature changes that could cause the glass to break unevenly. Always dispose of glass scraps properly to prevent injuries.
Conclusion
So there you have it, now you can easily turn your empty glass bottles into beautiful, upcycled creations.
Just remember to always practice caution and safety when using a glass bottle cutter.
It’s ironic how something so delicate can be transformed into something new and useful with a little bit of skill and creativity.
Happy crafting!


