How to Wrap a Glass Bottle? 6 Easy Steps!
Ever wondered if there’s a sleek and creative way to wrap a glass bottle? Well, you’re in luck! Wrapping a glass bottle can be an innovative way to present a gift or add an artistic touch to your home decor.
With a few simple techniques, you can transform a plain bottle into a stunning and personalized masterpiece.
From choosing the perfect bottle to adding decorative elements, the process is all about infusing your creativity.
So, get ready to elevate your gifting game and add a touch of innovation to your presentation. Let’s explore the art of wrapping a glass bottle!
Key Takeaway
Step 1: Choosing the Right Bottle
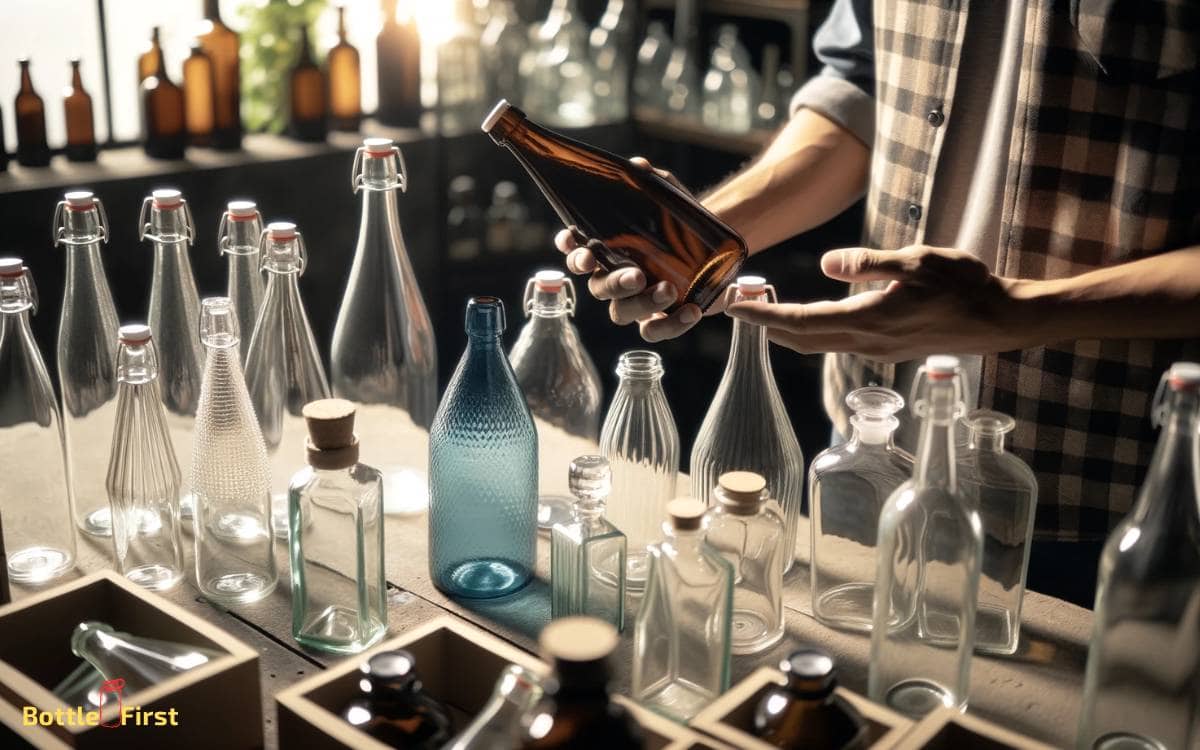
You should select a glass bottle with smooth, even surfaces to ensure easier and neater wrapping.
Look for a bottle that doesn’t have any ridges or indentations, as these can make the wrapping process more challenging.
Additionally, consider the shape of the bottle. A straight, cylindrical bottle is often easier to wrap than one with curves or irregularities.
Keep in mind that a sleek, modern design can also enhance the overall aesthetic of your wrapped bottle. Opt for a bottle with a clean, minimalist look to appeal to those who appreciate innovation and modernity.
Step 2: Preparing the Wrapping Materials
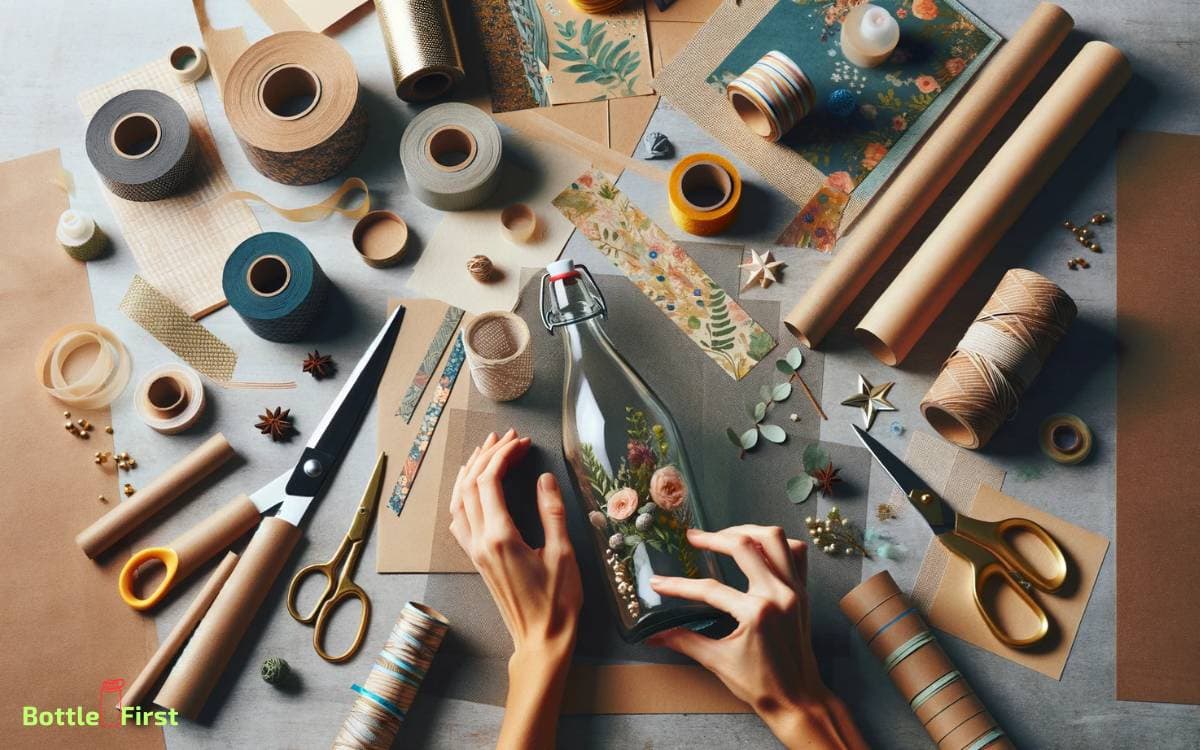
First, you’ll want to choose suitable wrapping materials that will securely protect the glass bottle.
Once you have the right materials, organize your wrapping supplies in a convenient and accessible manner.
This will make the wrapping process smoother and more efficient, ensuring that everything is within reach when you need it.
Selecting Suitable Wrapping Materials
When choosing suitable wrapping materials for a glass bottle, consider the thickness and protective properties of the material.
Look for innovative options like bubble wrap, which provides cushioning to protect the bottle from impacts.
Additionally, consider using foam sleeves or pouches to provide extra padding and insulation.
Innovative materials such as air pillows or inflatable packaging can also be effective, as they can be customized to fit the shape of the bottle, providing a snug and secure fit.
Another option is to use corrugated cardboard or kraft paper for a more sustainable and eco-friendly approach. These materials offer sturdy protection while also being recyclable.
Organizing Wrapping Supplies
To prepare the wrapping materials for organizing, gather all the selected materials in one place. Once you have everything together, it’s time to get organized.
Here are some innovative ways to prepare your wrapping supplies:
- Clear Workspace: Ensure you have a clean and clear workspace to spread out your materials and work efficiently.
- Divide and Conquer: Use dividers, containers, or trays to separate different types of wrapping materials, such as ribbons, papers, and embellishments.
- Labeling: Consider using innovative labeling techniques to easily identify and access your wrapping supplies when needed.
- Creative Storage Solutions: Explore unique and creative storage solutions to keep your wrapping materials organized and easily accessible for future use.
Step 3: Applying Decorative Techniques
Once you have wrapped the glass bottle securely, you can begin applying decorative techniques to personalize and enhance its appearance.
Adding decorative elements can elevate the visual appeal of the wrapped bottle, making it an eye-catching piece.
Here are some innovative decorative techniques you can use:
| Technique | Description |
|---|---|
| Decoupage | Use decorative paper and adhesive to create unique designs on the bottle. |
| Paint and Stencil | Apply paint to the bottle and use stencils to add intricate designs or patterns. |
| Embellishments | Adorn the bottle with beads, charms, or ribbons to add texture and flair. |
These techniques offer a creative way to transform a simple wrapped bottle into a personalized and visually appealing decor item. Experiment with different methods to find the perfect decorative style for your glass bottle.
Step 4: Adding Personalized Touches
Enhance the wrapped glass bottle by incorporating your own personalized touches, such as adding meaningful symbols or incorporating your favorite colors. Personalizing the bottle can make it a unique and thoughtful gift.
Here are some innovative ideas to add a personal touch:
- Custom Labels: Create custom labels with the recipient’s name, a special message, or a significant date.
- Handwritten Notes: Include a handwritten note or a small card expressing your sentiments and well-wishes.
- Decorative Charms: Attach small charms or trinkets that hold personal significance, such as initials, hearts, or lucky charms.
- Unique Wrapping Styles: Experiment with different wrapping techniques, like incorporating origami elements or using fabric instead of traditional wrapping paper.
Step 5: Securing the Wrapping
Adding personalized touches to the wrapped glass bottle can help in securing the wrapping and ensuring that it stays in place. To further secure the wrapping, consider using innovative techniques and materials.
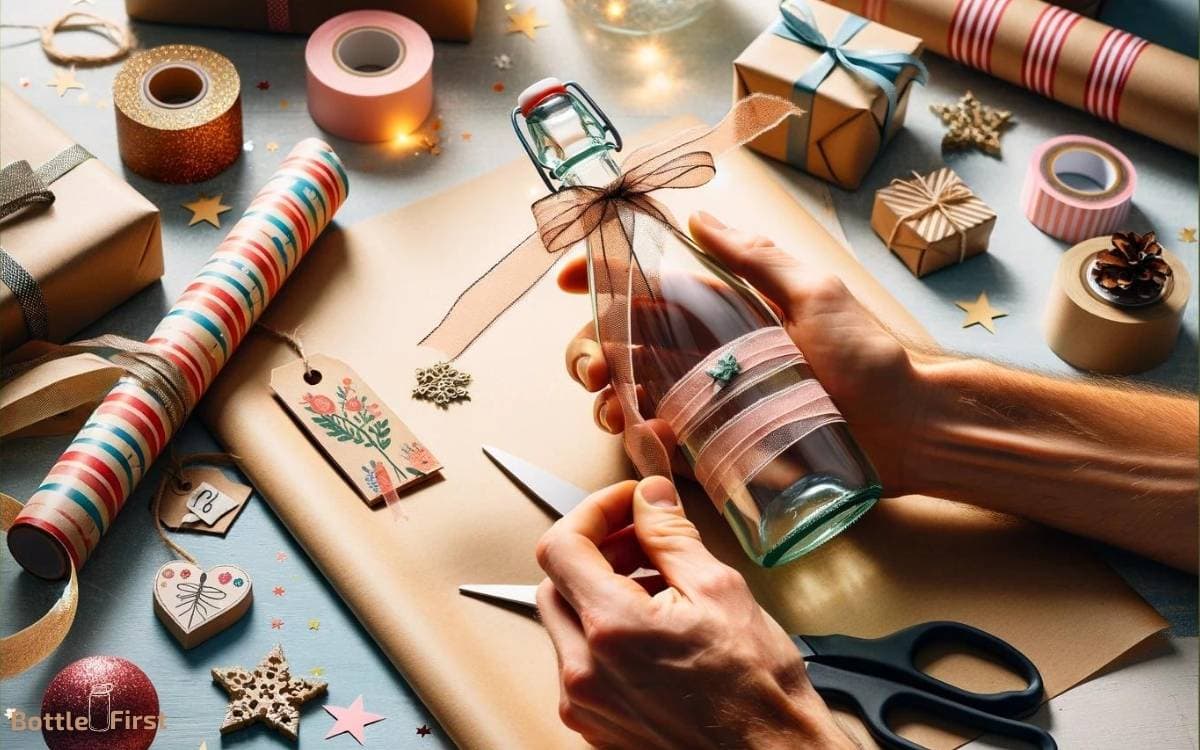
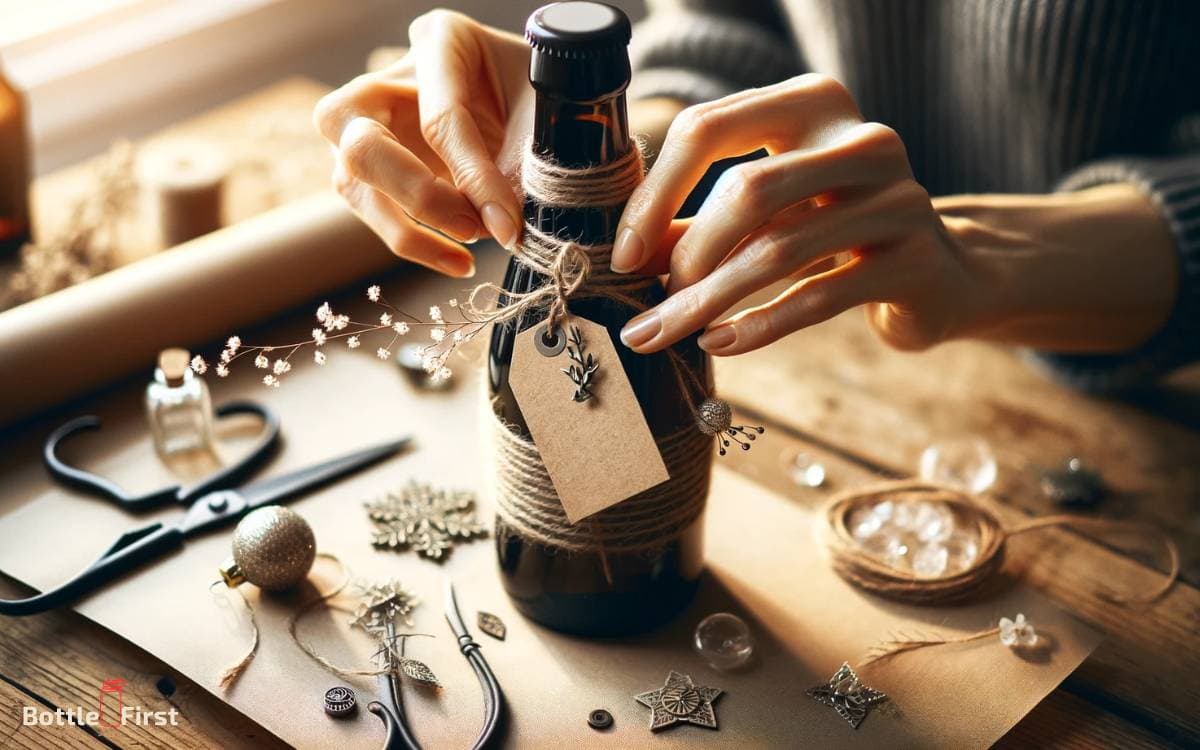
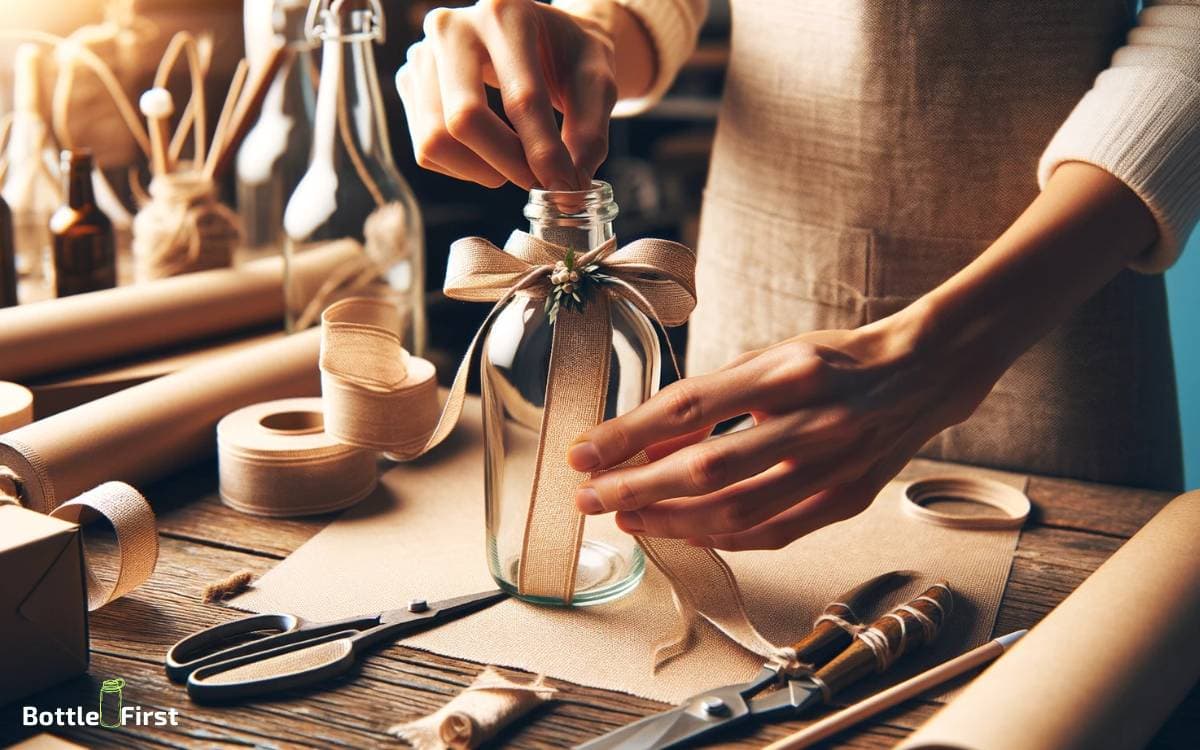
One effective method is to incorporate a decorative ribbon or twine into the wrapping. This not only adds a personal touch but also provides additional support to keep the wrapping in place.
Another innovative idea is to use heat shrink sleeves, which can be customized with designs and patterns. These sleeves provide a snug fit around the bottle, keeping the wrapping secure and adding a unique aesthetic.
By incorporating these innovative methods, you can ensure that the wrapping stays in place while also adding a personalized and creative touch to your gift.
| Innovative Techniques | Materials |
|---|---|
| Decorative ribbon or twine | Personalized heat shrink sleeves |
Step 6: Presenting the Finished Gift
When presenting the finished gift, you can elevate the overall appeal by carefully considering the presentation of the wrapping and incorporating elements that reflect the recipient’s taste and style.
To add a touch of innovation and personalization, consider the following:
- Add a handwritten note or a custom-made gift tag to convey a heartfelt message.
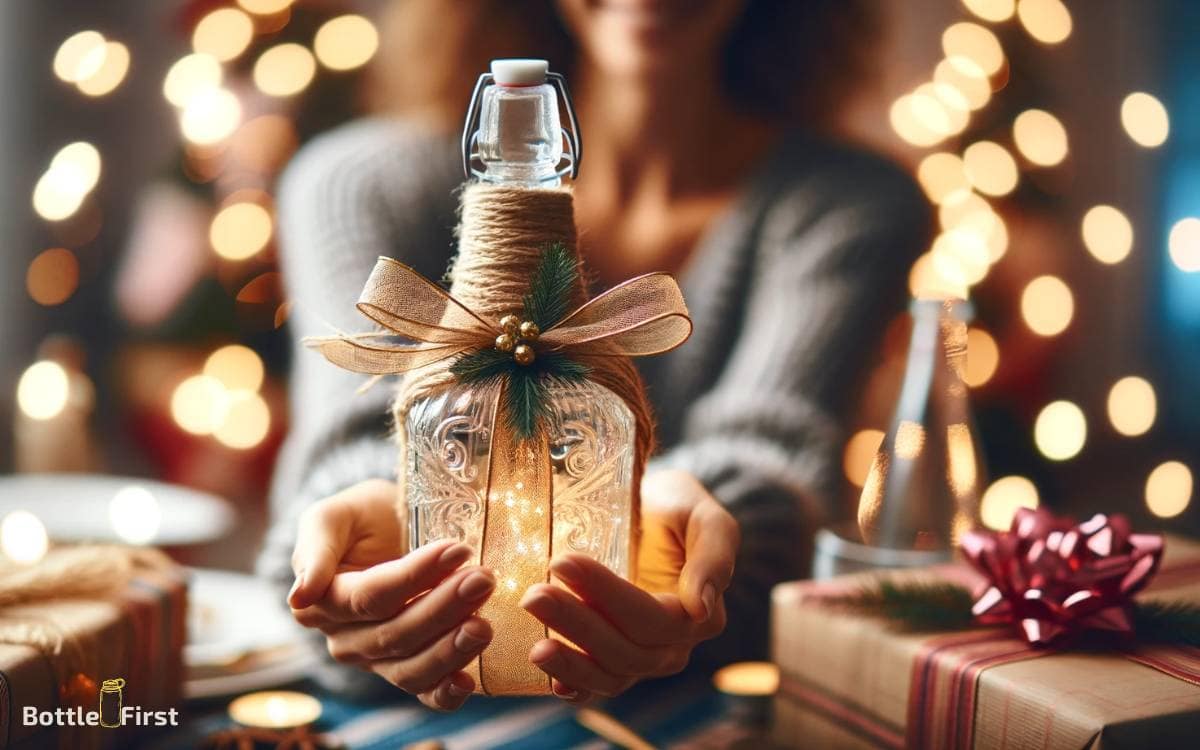
- Incorporate decorative elements such as ribbons, dried flowers, or small ornaments to enhance the visual appeal.
- Consider using sustainable or reusable wrapping materials that align with the recipient’s eco-friendly preferences.
- Personalize the wrapping with a unique touch, such as a monogram or a custom-designed sticker, to make the gift truly special.
How to Pack Glass Bottles for Moving
Packing glass bottles for a move requires careful handling to ensure they arrive at your new location intact.
Here are step-by-step instructions on how to pack glass bottles for moving:
Materials You’ll Need:
- Sturdy Boxes: Use new or gently-used cardboard boxes of various sizes. Make sure they are clean and free of any previous contaminants.
- Packing Paper: You’ll need plenty of packing paper or bubble wrap to cushion and protect the bottles.
- Packing Tape: Strong packing tape to seal the boxes securely.
- Dividers or Cardboard Inserts (optional): These can help separate and protect individual bottles.
Step-by-Step Guide:
- Clean Bottles: Ensure that all bottles are clean and dry. Any residue or moisture can lead to mold or damage during transit.
- Sort and Organize: Group your glass bottles by size and shape, and consider the fragility of each item. Try to pack similar items together.
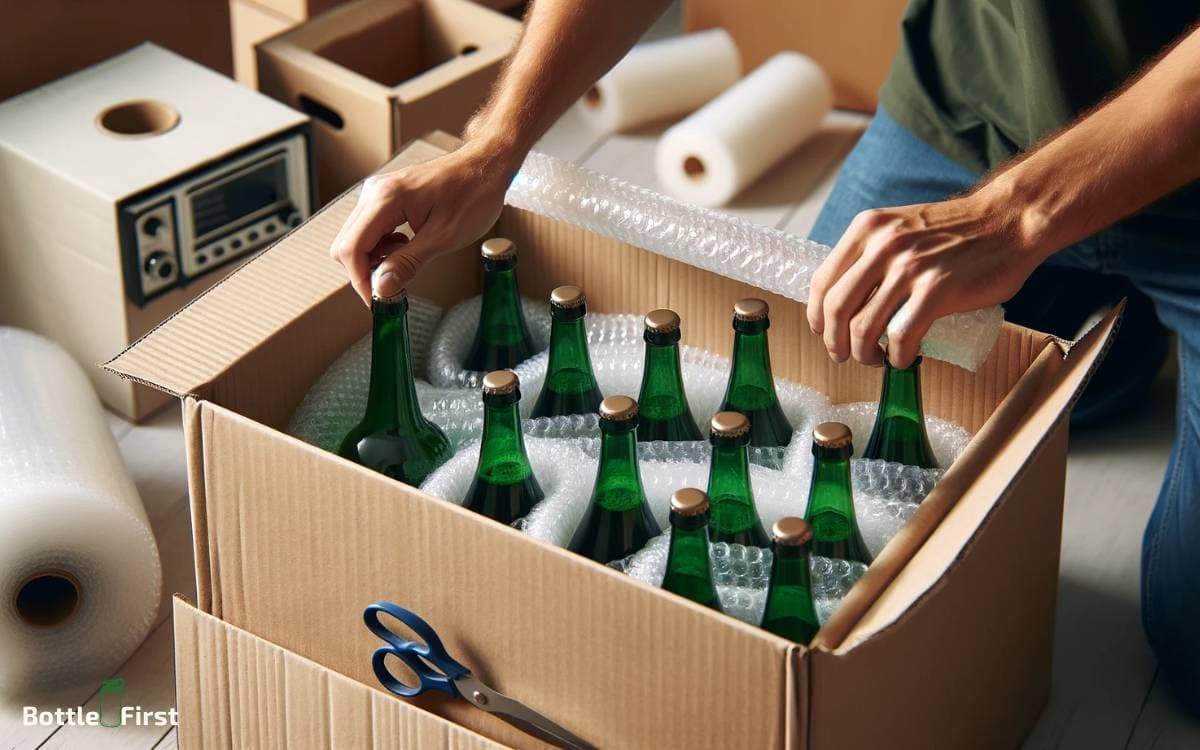
- Wrap Bottles Individually: For each bottle, start by wrapping it individually with packing paper or bubble wrap. Begin at the base and cover the entire bottle, paying extra attention to the neck and any fragile parts.
- Secure with Tape: Use packing tape to secure the paper or bubble wrap in place. Make sure there are no loose ends that could come undone during transit.
- Use Dividers (if available): If you have dividers or cardboard inserts that can be placed inside the boxes, use them to create separate compartments for each bottle. This prevents them from touching each other, reducing the risk of breakage.
- Layer with Packing Material: Line the bottom of the box with a layer of crumpled packing paper or bubble wrap. Place the wrapped bottles upright in the box, with the heaviest bottles on the bottom and lighter ones on top. Fill any gaps between bottles with more packing material to prevent shifting.
- Add Extra Padding: Once the box is filled, add another layer of packing material on top of the bottles to cushion them further.
- Label the Box: Clearly label the box as “Fragile” and indicate which side is up. This will alert the movers to handle the box with extra care.
- Seal the Box Securely: Use strong packing tape to seal the box tightly. Reinforce the seams and corners to ensure it remains intact during transit.
- Repeat for Other Boxes: Repeat the process for each box of glass bottles. Try to distribute the weight evenly among boxes to prevent overloading any one box.
- Load Carefully: When loading the boxes into the moving truck, place them in an area where they won’t be subjected to excessive pressure or weight from other items. Ensure they are secure and won’t shift during transport.
By following these steps, you can help protect your glass bottles during the moving process and increase the chances of them arriving safely at your new destination.
Remember that proper packing and labeling are key to ensuring your fragile items are handled with care.
Conclusion
So there you have it – a beautifully wrapped glass bottle ready to be given as a thoughtful gift.
It’s amazing how something as simple as a bottle can be transformed into a work of art with just a few materials and a little creativity.
Who knew that a glass bottle could become the star of the show?
It just goes to show that sometimes, the simplest things can make the biggest impact.
