How to Make a Projector With a Water Bottle? 3 Easy Steps!
Making a projector with a water bottle involves simple steps and readily available materials. You will need a clear water bottle, a magnifying glass, a smartphone, and basic tools like a cutter and tape.
A homemade projector is a fun, simple, and economical way to experience the joy of big screen viewing right within your own space.
The basic principle behind this DIY projector is the magnification of the smartphone’s light through the magnifying glass to project the images on a flat surface.
Creating a projector with a water bottle is a fascinating DIY project that employs the simple principle of light magnification.
This projector might not offer high-definition images, but it provides an inexpensive alternative to experience big-screen viewing using everyday household materials.
It’s a great example of how science can be applied in practical situations to create something fun and useful.
Key Takeaway
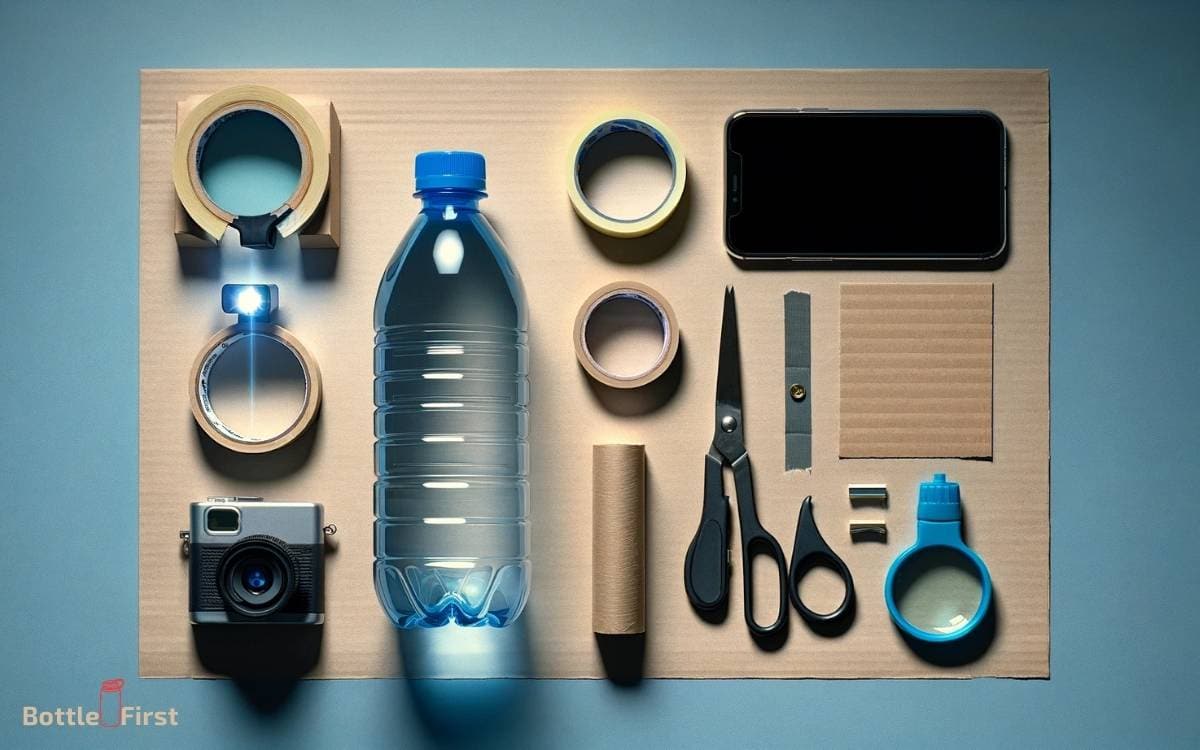
Materials Needed
Gathering The Necessary Items For The Diy Projector
Creating your own projector doesn’t have to involve complex or costly equipment. In fact, you probably have most of the items needed lying around your house.
Here’s a list of easily accessible items you’ll need to get started:
- Water bottle: A clear plastic water bottle will serve as the main component of your projector. Make sure it’s clean and free from any labels or stickers.
- Smartphone: Your trusty smartphone will be the source of the content you want to project. It could be videos, slideshows, or even online streaming platforms.
- A small desk lamp: You’ll need a small desk lamp with an adjustable neck to provide the light source for your projector.
- A craft knife or scissors: These will come in handy for cutting and shaping the water bottle.
- Duct tape or adhesive putty: You’ll need this to secure the smartphone and position the lamp in the desired angle.
- A marker or pen: Use a marker or pen to trace and mark the areas you need to cut on the water bottle.
- A ruler or measuring tape: This will help you measure and mark the dimensions of the phone holder on the water bottle.
- Black construction paper: By using black construction paper to block out excess light, you can enhance the image quality projected by the diy projector.
- A tripod or other stand: While optional, using a tripod or stand will help stabilize your projector setup and ensure a clear projection.
Now that you have your list of materials ready, it’s time to dive into building your own projector using a water bottle. Remember, the beauty of this diy project lies in its simplicity and accessibility.
So gather these items, put on your creative hat, and let’s embark on this fun and innovative endeavor!
Step 1: Preparing The Water Bottle
Selecting The Right Water Bottle For The Projector
When it comes to making a projector with a water bottle, selecting the right water bottle is crucial for optimal results.
Here are some key points to consider:
- Choose a transparent water bottle: Transparency is essential for allowing light to pass through the bottle and project the image effectively.
- Look for a bottle with a smooth surface: A smooth surface helps ensure a clear projection by minimizing distortions caused by imperfections.
- Opt for a bottle with a wide opening: A wide opening makes it easier to insert and adjust the magnifying lens or smartphone, enhancing the overall functionality of the projector.
- Consider the size of the water bottle: A larger bottle may provide a larger projected image, but it may also require a more powerful light source. Assess your needs and available resources before making a selection.
Ensuring The Bottle Is Clean And Free From Imperfections
To ensure the best possible projection quality, it’s essential to prepare the water bottle properly.
Follow these steps to clean and remove imperfections from the bottle:
- Wash the water bottle thoroughly: Clean the bottle with warm soapy water, making sure to remove any dirt or residue. Rinse it thoroughly to eliminate any soap residue.
- Dry the bottle completely: Use a clean cloth or towel to dry the bottle thoroughly, both inside and out, to prevent water spots or streaks that could impact the projected image.
- Check for imperfections: Inspect the bottle for scratches, cracks, or other imperfections that could affect the projection quality. If you notice any, it’s best to find a different bottle to ensure a clear and sharp image.
- Polish the bottle if needed: If your bottle has minor scratches, you can try using a microfiber cloth and polishing compound to minimize their impact on the projection.
Creating A Stable Base For The Projector
Ensuring a stable base for the projector is crucial to prevent any unwanted movement or shaking that could affect the projection.
Consider the following tips when setting up the base:
- Choose a flat and level surface for stability: Place the projector on a sturdy, flat surface to prevent any wobbling or tilting during use. A table or desk works well for most setups.
- Use an adjustable stand or tripod: If available, use an adjustable stand or tripod to achieve the desired height and angle for the projection. This allows for easier positioning and alignment with the viewing surface.
- Secure the water bottle: Make sure the water bottle is securely positioned on the base to avoid any accidental shifting or falling during use. Consider using adhesive putty or rubber bands to keep it in place.
Remember to follow the specific instructions for assembling the projector, as different methods may require additional steps or considerations.
With the right water bottle and a stable base, you’ll be ready to enjoy your diy projector and watch your favorite videos or slideshows with a larger-than-life experience!
Step 2: Constructing The Projection Screen
So you’ve decided to make your own projector using a water bottle. Great choice! Now it’s time to construct the projection screen, which plays a vital role in delivering sharp and clear visuals.
In this section, we will guide you through the process of preparing the projection surface for optimal viewing, choosing a suitable white material for the screen, and creating a seamless and smooth projection surface.
Preparing The Projection Surface For Optimal Viewing:
To ensure the best possible viewing experience, follow these steps in preparing the projection surface:
- Find a suitable location: Choose a wall or surface that is flat and white, preferably smooth and free from any imperfections that could distort the projected image.
- Clean the surface: Dust and debris can hinder the quality of the projection. Wipe down the chosen surface with a soft cloth or duster to remove any particles.
- Remove any distractions: Remove any items or objects from the projection area that may obstruct or distract from the viewing experience. This includes pictures, frames, or anything that may reflect light or cast shadows.
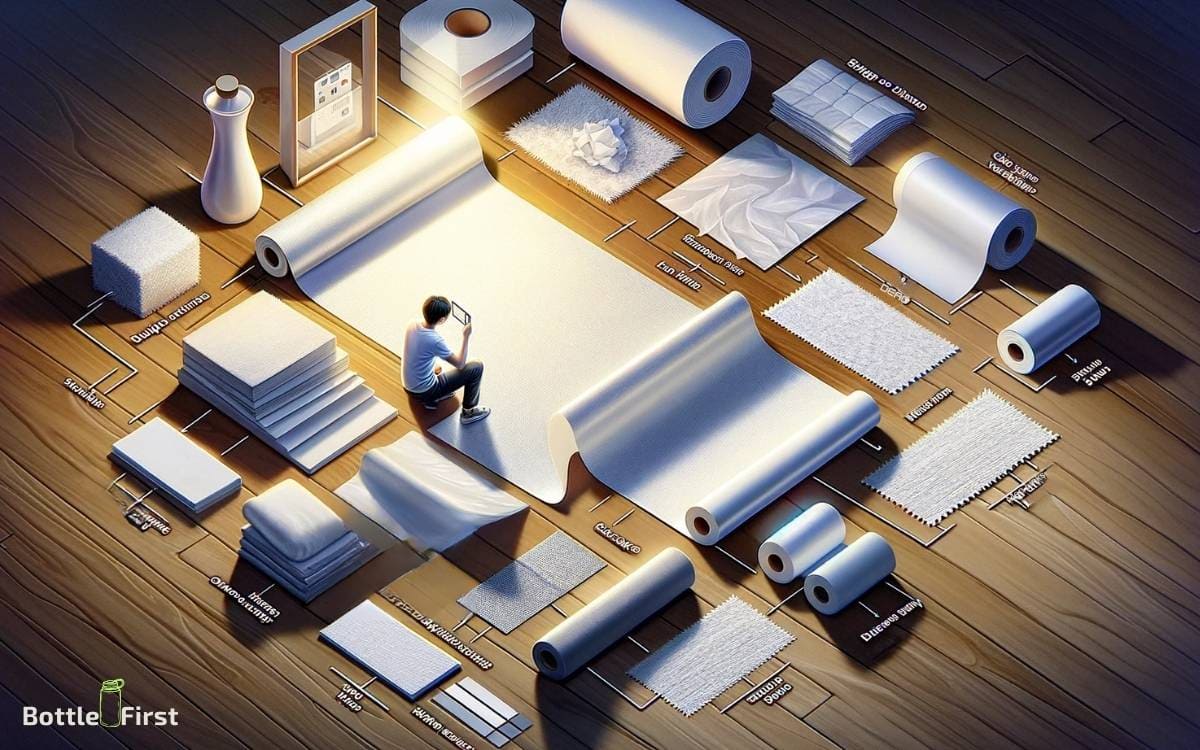
Choosing A Suitable White Material For The Screen:
The color and material of the projection screen can significantly impact the quality of the projected image.
Consider the following options:
- White wall or screen: If you have a white wall or a white screen specifically designed for projections, this can be an excellent choice. Make sure the surface is clean and smooth.
- White fabric or cloth: A white fabric or cloth can also serve as a suitable projection screen. Look for materials like white bedsheet material or projector screen fabric that is lightweight and has a reflective surface.
- Projection-specific screen: If you’re looking for professional-grade projection quality, consider investing in a dedicated projection screen. These screens are designed to optimize the image quality and reflectivity.
Creating A Seamless And Smooth Projection Surface:
To ensure a seamless and smooth projection surface, follow these steps:
- Stretch the material: If you’re using fabric or cloth, make sure it is stretched tightly across the surface. This will minimize any wrinkles or creases that may distort the projected image.
- Secure the edges: Use tape or pins to secure the edges of the material to prevent it from sagging or moving during the projection.
- Test the surface: Before finalizing the setup, project a test image to check for any imperfections or issues with the surface. Adjust as needed to achieve the desired viewing experience.
With these guidelines in mind, you are now ready to construct a projection screen that will deliver impressive visuals for your diy water bottle projector.
By following these steps and ensuring a clean, white surface, you can enjoy a cinematic experience right in the comfort of your own home.
Step 3: Assembling The Projector
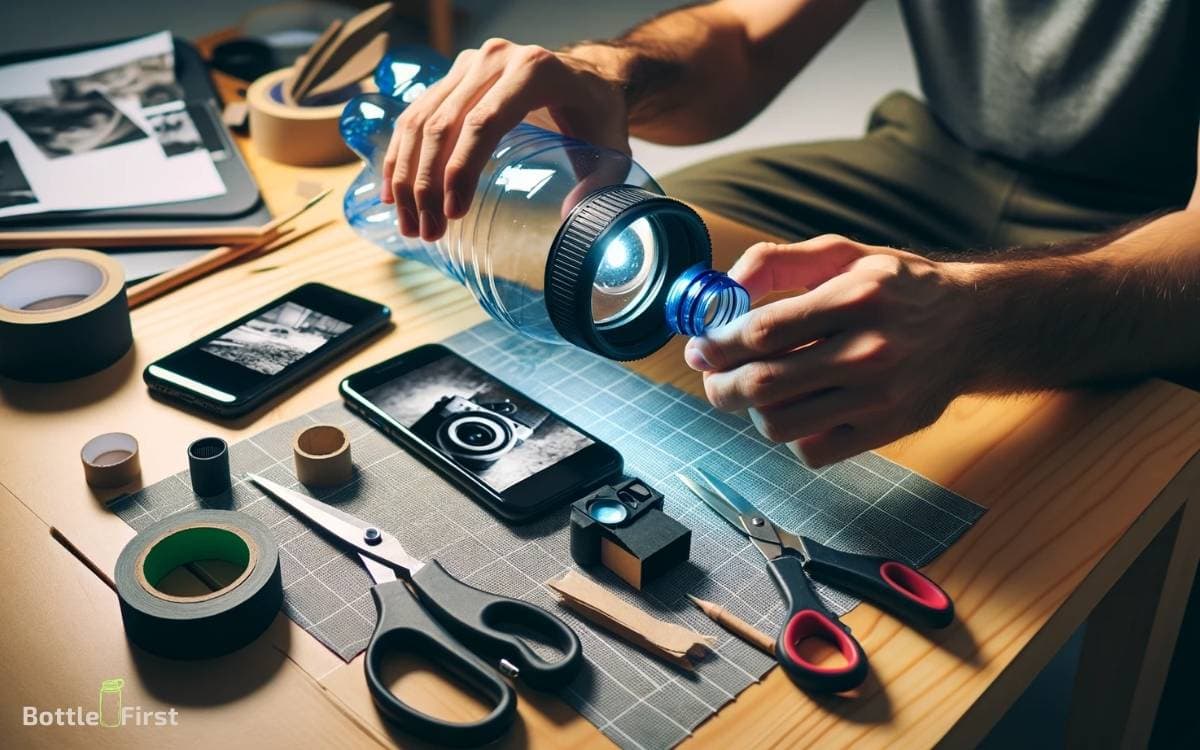
Positioning The Smartphone Correctly Within The Water Bottle
To ensure optimal projection quality, it’s crucial to position your smartphone correctly within the water bottle.
Follow these steps:
- Start by cutting a hole in the bottom of the water bottle that is just large enough to fit your smartphone.
- Insert your smartphone into the hole, making sure it sits snugly and securely.
- Position the smartphone in landscape mode, as this is the ideal orientation for projecting videos and images.
- Use adhesive tape or rubber bands to secure the smartphone in place, ensuring it doesn’t move or shift during use.
- Ensure the camera lens is aligned with the bottle opening, as this will allow the light to pass through properly.
Adjusting The Focus And Projection Angle
After positioning your smartphone within the water bottle, the next step is to adjust the focus and projection angle for optimal viewing.
Consider the following tips:
- Use the focus feature on your smartphone’s camera app to ensure a clear and sharp image projection.
- Adjust the distance between the water bottle and the projection surface to find the ideal focus point. Experiment with different distances until you achieve the desired clarity.
- Tilt the water bottle slightly to adjust the projection angle. This will allow you to project the image onto various surfaces such as walls or screens.
- Remember to keep the projector stable while making adjustments to prevent any distortions in the projected image.
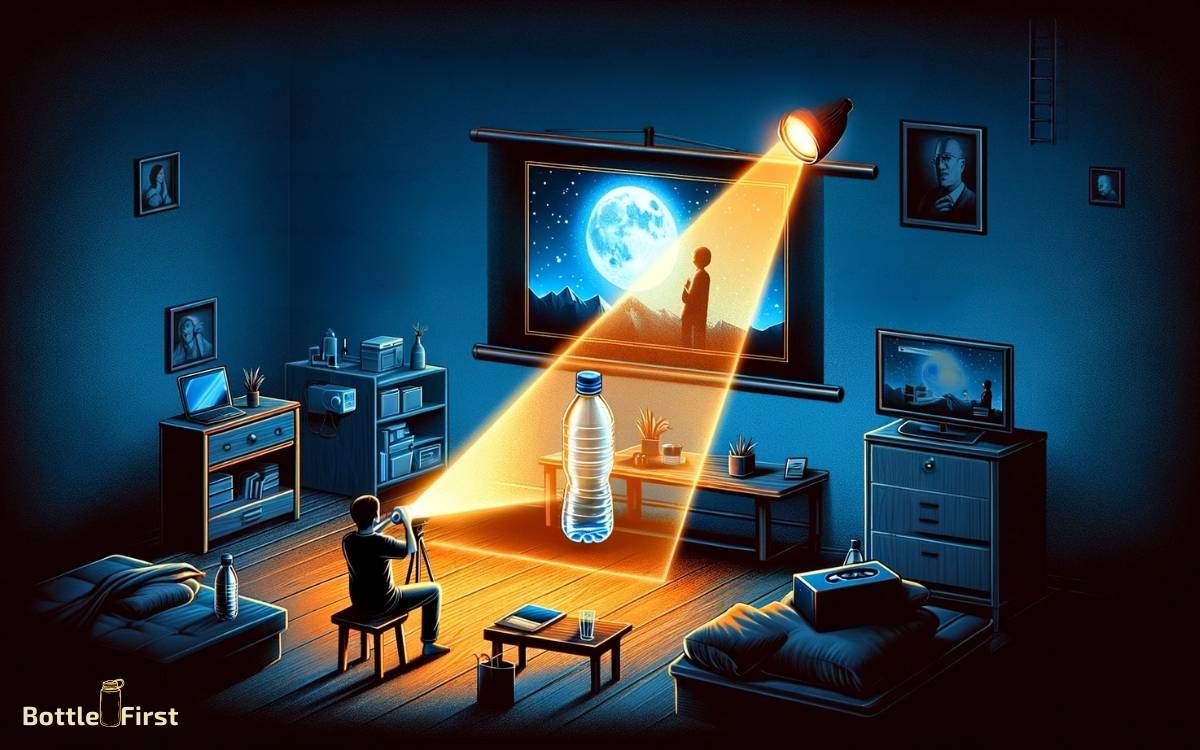
- Take into consideration the lighting conditions in the room. Dim the lights or use the projector in a darkened area for a better viewing experience.
Maximizing The Image Brightness And Clarity
To maximize the image brightness and clarity when using your water bottle projector, consider the following tips:
- Clean the water bottle thoroughly before use to ensure there are no smudges or dirt that may obstruct the projection.
- Increase the brightness level on your smartphone to improve the overall projection quality.
- Adjust the angle and distance of the projection surface to find the sweet spot where the image appears the brightest and sharpest.
- Avoid projecting in areas with high ambient light, as this can wash out the projected image. Opt for darker spaces or use the projector during nighttime for optimal results.
- Use a white or light-colored surface as the projection screen, as this will enhance the contrast and make the image appear clearer.
By following these steps and fine-tuning the positioning, focus, and lighting, you can create a functional and enjoyable projector using just a water bottle and your smartphone.
Enjoy your diy movie nights and presentations with your unique creation!
Can I Use the Same Steps to Make a Sensory Water Bottle and a Projector with a Water Bottle?
Yes, you can use the same steps to make your own sensory water bottle and a projector with a water bottle. Both projects involve transforming a regular bottle into something unique.
By following the steps, you can repurpose the bottle creatively and explore the endless possibilities of DIY projects.
Conclusion
Transforming a water bottle into a projector is a creative and cost-effective way to enjoy movies and videos. By following the simple steps outlined in this blog post, you can create a makeshift projector for entertainment on the go.
The key is to choose the right materials and ensure the projection surface is suitable for optimal viewing.
Additionally, experimenting with different lighting conditions can enhance the projection quality. With a water bottle, a smartphone, and a little ingenuity, you can enjoy a unique movie-watching experience wherever you are.
So, why not give it a try and see the magic of your homemade projector come to life?
Get ready to impress your friends and family with this diy project and take your movie nights to a whole new level!
FAQ About How To Make A Projector With A Water Bottle
How Can I Make A Projector With A Water Bottle?
You can make a projector using a water bottle by following simple steps, such as cutting out a hole for the phone, inserting a magnifying lens, and adjusting the focus.
What Materials Do I Need To Make A Water Bottle Projector?
To make a water bottle projector, you will need a water bottle, a magnifying lens, a sharp knife or scissors, a marker, a phone, and some tape.
Can I Use Any Water Bottle For The Projector?
Yes, you can use any plastic water bottle for the projector, as long as it is clear and in good condition.
Does The Size Of The Water Bottle Affect The Projector’S Performance?
The size of the water bottle can affect the projector’s performance to some extent, as larger bottles may provide a bigger projection surface. However, smaller bottles can still work well for smaller screens.
How Clear And Bright Is The Projection From A Water Bottle Projector?
The clarity and brightness of the projection from a water bottle projector may not be as good as that of a professional projector.
It largely depends on the quality of the lens used and the conditions of the room, but it can still provide an enjoyable viewing experience.


