How to Repair Plastic Water Bottle? 5 Easy Steps!
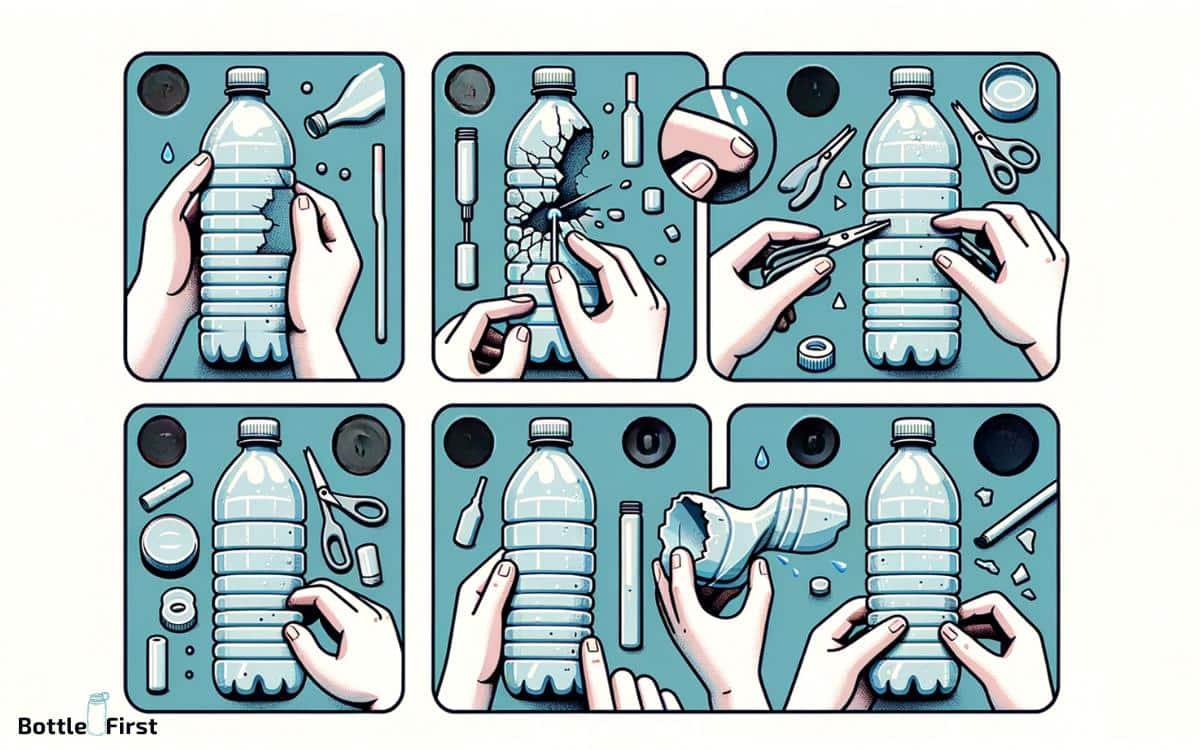
To repair a plastic water bottle effectively, you’ll need specific tools and materials such as food-grade silicone sealant, sandpaper, and a heat gun or hairdryer.
The repair process involves cleaning the damaged area, applying the sealant, smoothing it out, and allowing it to cure. Once cured, the bottle should be leak-proof and ready for use again.
It’s important to check the type of plastic before attempting a repair, as some materials may not be suitable for certain adhesives or heat.
Here are some quick steps:
For example, if you have a small crack in a PET (#1) plastic water bottle, you would clean the area around the crack, sand it lightly, apply the sealant, and wait for it to cure before testing the bottle.
Reviving your water bottle with a simple repair not only saves money but also aligns with eco-friendly practices, cutting down on plastic waste and fostering a more sustainable living ethos.
Embracing sustainability and waste reduction, learning to mend a plastic water bottle is a valuable skill.
This guide outlines the repair process, which conserves resources and exemplifies active environmental care.
Equipped with the correct materials and methods, you can rejuvenate your water bottle, aiding in the pursuit of a greener future.
Key Takeaway
Assessing the Damage
To assess the damage to a plastic water bottle, start by examining the extent of any cracks, punctures, or deformities.
It’s essential to understand the nature and severity of the damage before proceeding with any repair. Look for stress marks, which might indicate potential weak points that could lead to further issues.
Additionally, consider the type of plastic the bottle is made from, as different plastics have varying properties and respond differently to repair methods.
Assessing the damage thoroughly will allow for a more targeted and effective repair approach, whether it involves heat sealing, adhesive bonding, or other innovative repair techniques.
Gathering the Necessary Materials
Before embarking on the repair process, it is crucial to gather the necessary materials. Essential repair tools such as sandpaper, a heat gun, and a utility knife are fundamental for a successful repair.
Additionally, selecting the proper adhesives and ensuring the use of safety precautions and equipment will contribute to a thorough and effective repair.
Essential Repair Tools
Once you have identified the damage, assess the necessary tools and materials for the repair of the plastic water bottle.
To effectively repair the plastic water bottle, you will need the following essential tools and materials:
- Sandpaper: Use fine-grit sandpaper to smooth the surface around the damaged area and ensure proper adhesion of the repair material.
- Epoxy adhesive: Opt for a high-quality epoxy adhesive that is suitable for bonding plastic and is safe for use with food and beverages.
- Clamps or rubber bands: These will help in holding the repaired parts together firmly while the adhesive sets.
- Protective gloves: It is crucial to protect your hands from any potentially harmful substances during the repair process.
Ensuring you have these essential tools and materials will help you effectively repair your plastic water bottle, allowing for a sustainable and innovative solution.
Selecting Proper Adhesives
After gathering the essential tools, the next step in repairing a plastic water bottle is selecting the proper adhesives for the specific type of plastic and the nature of the damage.
Different types of plastic require different adhesives for a successful repair. The table below provides a guide for selecting the appropriate adhesive based on the type of plastic and the nature of the repair.
| Type of Plastic | Nature of Damage | Recommended Adhesive |
|---|---|---|
| PET (Polyethylene Terephthalate) | Hairline cracks or small punctures | Epoxy or cyanoacrylate adhesive |
| HDPE (High-Density Polyethylene) | Structural cracks or fractures | Plastic welding or epoxy adhesive |
| PVC (Polyvinyl Chloride) | Surface scratches or minor dents | Super glue or PVC adhesive |
| PP (Polypropylene) | Stress fractures or breaks | Polypropylene adhesive or two-part epoxy |
| LDPE (Low-Density Polyethylene) | Flexing or bending issues | Epoxy or polyethylene adhesive |
Understanding the specific requirements for each type of plastic and damage is crucial in ensuring a successful repair. Once the adhesive is selected, the next step is to proceed with safety precautions and equipment.
Safety Precautions and Equipment
The initial step in preparing to repair a plastic water bottle is to gather the necessary materials and equipment for safety precautions and the repair process.
- Protective Gear: Wear gloves and safety goggles to protect your hands and eyes from any chemicals or sharp edges during the repair process.
- Ventilation: Work in a well-ventilated area to avoid inhaling any fumes from adhesives or solvents.
- Cleaning Materials: Use mild soap, water, and a clean cloth to thoroughly clean the damaged area before starting the repair.
- Adhesive and Patch Material: Select an appropriate adhesive and patch material suitable for plastic water bottles, such as food-grade epoxy or a patch specifically designed for plastic surfaces.
Step 1: Preparing the Work Area
To effectively prepare the work area for repairing a plastic water bottle, it is essential to clear out and clean up the surrounding space before beginning the repair process. This ensures a safe and organized environment for conducting the repair.
Here is a table that outlines the necessary steps to prepare the work area:
- Clear the work surface of any debris or obstructions.
- Ensure good ventilation in the area.
- Gather all the necessary repair tools and materials.
- Place a protective cover or mat on the work surface to prevent any damage.
Following these steps will help create an optimal work area for successfully repairing the plastic water bottle.
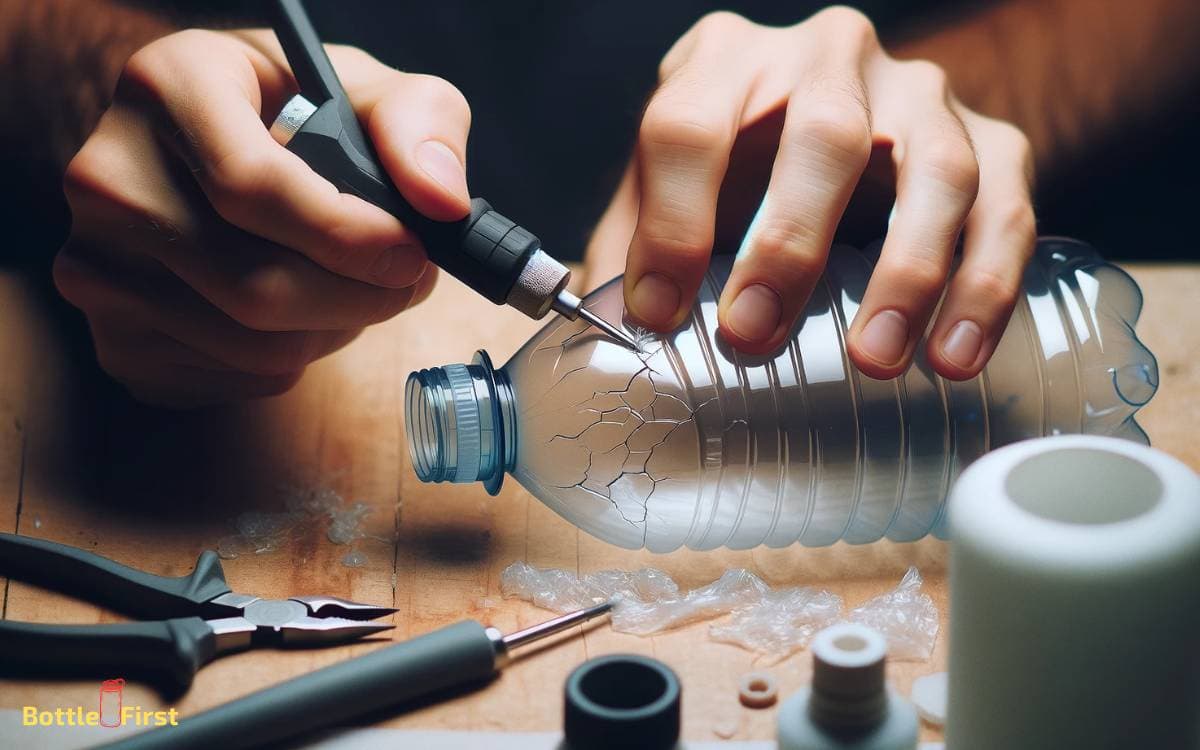
Step 2: Applying Adhesive to the Cracks
Once the work area has been properly prepared, an appropriate adhesive can be selected and applied to the cracks in the plastic water bottle using a precise and controlled technique.
Steps for Applying Adhesive to the Cracks:
Select the Right Adhesive:
Choose a high-quality adhesive that is specifically designed for bonding plastic materials. Look for adhesives that offer strong bonding capabilities and are suitable for the type of plastic used in the water bottle.
Apply the Adhesive Carefully:
Use a fine-tip applicator or a small brush to apply the adhesive along the cracks. Ensure that the adhesive is spread evenly and covers the entire cracked area.
Allow for Proper Bonding:
Follow the manufacturer’s instructions regarding the drying and bonding time for the adhesive. This will ensure a strong and durable repair.
Inspect and Reinforce if Needed: Once the adhesive has bonded, inspect the repaired area. If necessary, apply additional layers of adhesive to reinforce the repair and ensure its longevity.
Step 3: Reinforcing Weak Points
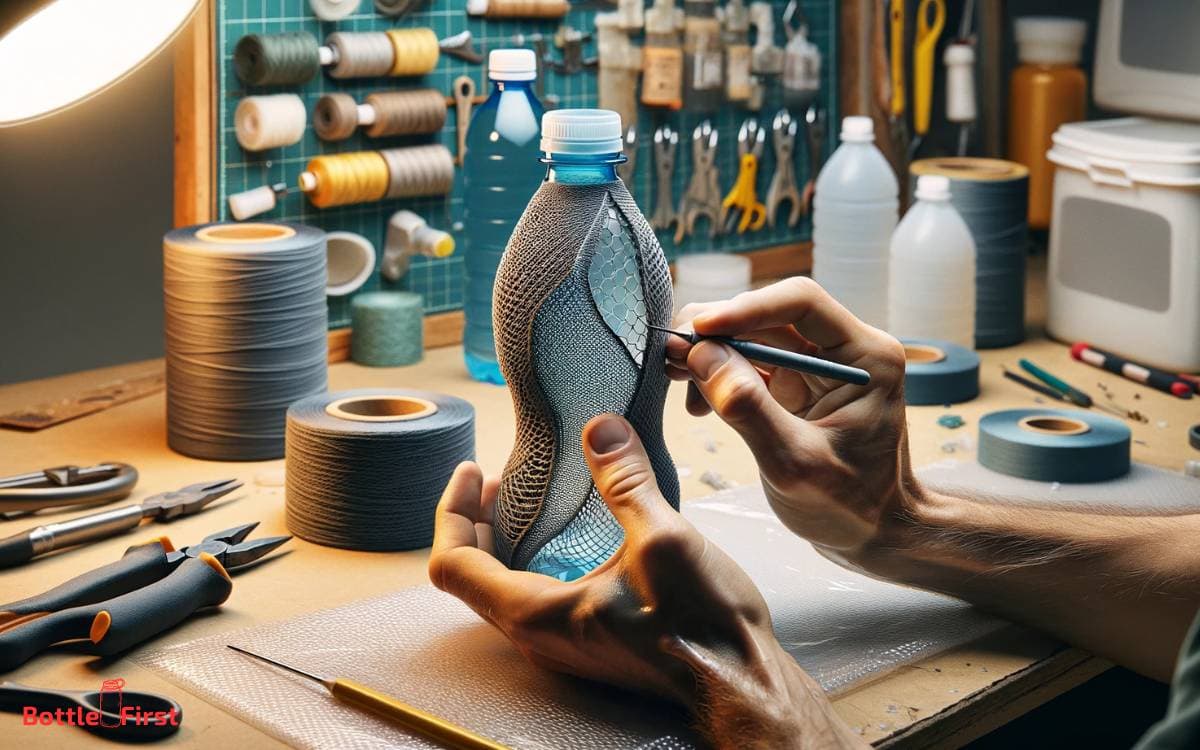
To ensure the durability of the repaired plastic water bottle, it is crucial to reinforce weak points such as bottle seams and stress areas. Strengthening these vulnerable spots will prevent future damage and prolong the bottle’s lifespan.
Strengthening Bottle Seams
Reinforcing weak points in plastic water bottle seams requires meticulous attention to detail and the use of appropriate reinforcing materials. Strengthening bottle seams is essential for ensuring the longevity and durability of the water bottle.
Here are four innovative methods to strengthen bottle seams:
- Fiber Reinforcement: Utilize fiberglass or carbon fiber strips to reinforce the weak points along the seams, providing added strength and resilience.
- Epoxy Resin Coating: Apply a thin layer of epoxy resin along the seams to create a durable and strong bond, effectively reinforcing the weak points.
- Heat Sealing Technique: Use a heat sealing machine or tool to apply heat and pressure along the seams, fusing the plastic together and reinforcing the weak points.
- Nano-coating Technology: Implement advanced nano-coating materials to create a protective layer along the seams, enhancing the strength and integrity of the bottle.
Reinforcing Stress Points
To enhance the overall durability of a plastic water bottle, attention to reinforcing stress points along the seams is crucial, ensuring long-lasting strength and resilience.
By reinforcing weak points, the bottle becomes more robust and less prone to damage, extending its lifespan.
Below is a table that demonstrates the impact of reinforcing stress points on the overall durability and performance of a plastic water bottle:
| Aspect | Before Reinforcement | After Reinforcement |
|---|---|---|
| Durability | Low | High |
| Resilience | Weak | Strong |
| Longevity | Short | Extended |
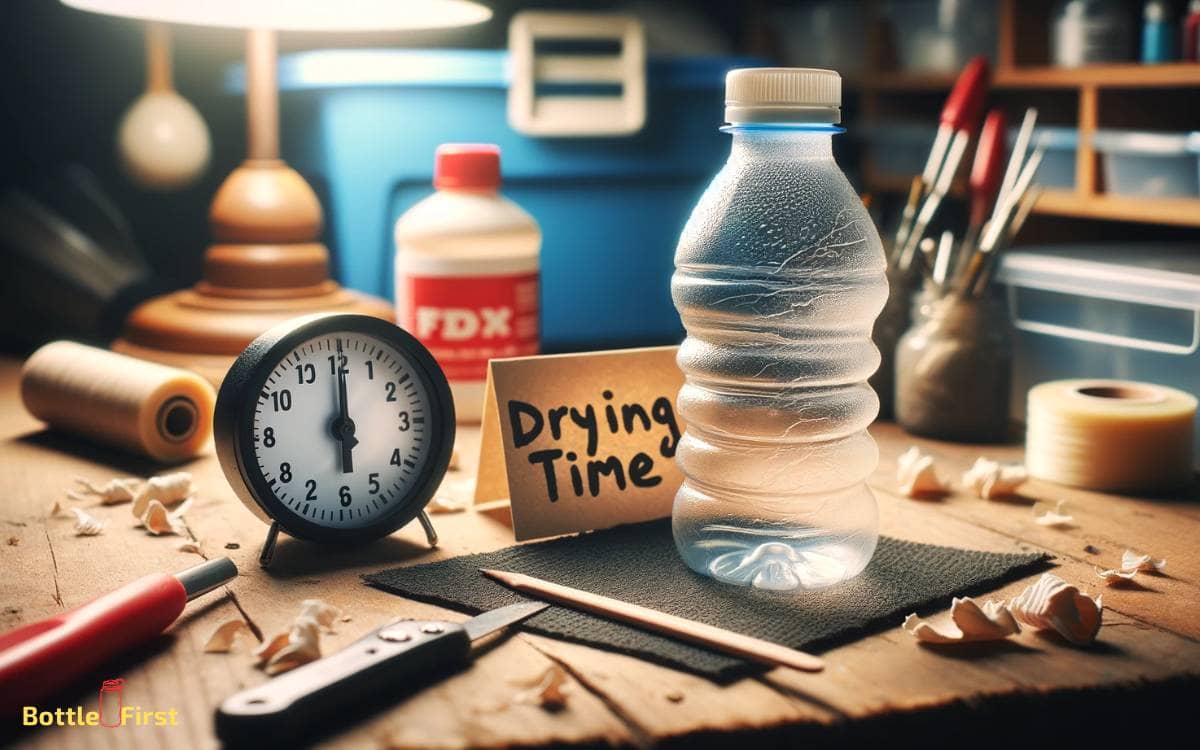
Step 4: Allowing Sufficient Drying Time
Proper drying is essential for effective repair of the plastic water bottle.
To ensure the repair is successful, follow these steps:
- Air Circulation: Place the repaired bottle in a well-ventilated area to facilitate drying.
- Time: Allow the adhesive or epoxy to dry for the recommended period as per the product instructions.
- Temperature: Ensure the drying area is at room temperature to promote optimal drying conditions.
- Avoiding Moisture: Keep the bottle away from moisture during the drying process to prevent interference with the repair.
Allowing sufficient drying time is crucial to ensure the repair is strong and durable. Once the drying process is completed, it’s important to move on to the next step of testing the repaired bottle.
Step 5: Testing the Repaired Bottle
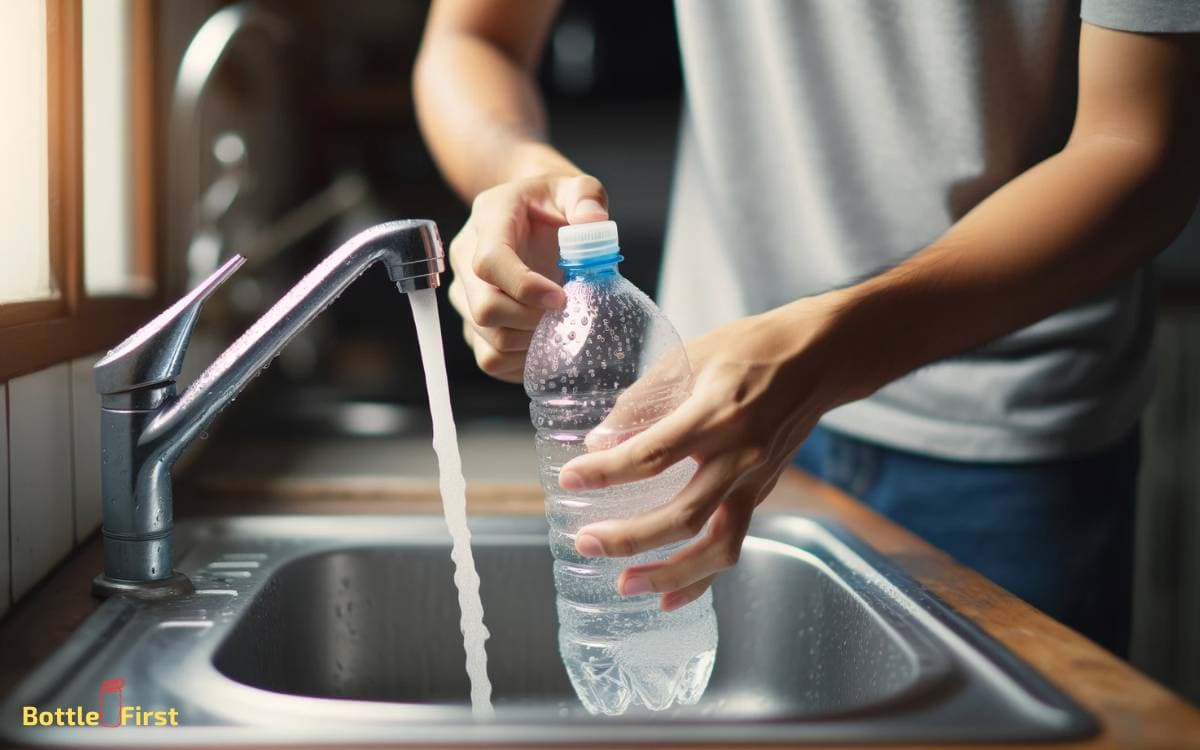
After allowing the repaired plastic water bottle to dry sufficiently, the next step is to test its integrity and functionality. Fill the bottle with water and inspect the previously damaged areas for any signs of leaks or weakness.
Gently squeeze the bottle to check for any unusual give or flexing, which could indicate a potential issue. Additionally, test the bottle’s cap to ensure it securely fastens and does not leak when inverted.
If the bottle passes these tests, it is advisable to place it in a secondary containment vessel for a few days to further monitor for any potential leaks.
This rigorous testing process ensures that the repaired plastic water bottle is fully restored and safe for use, providing a sustainable and cost-effective solution.
Conclusion
It is important to carefully evaluate the condition of the damaged plastic water bottle and gather the appropriate materials for repair.
The work area should be prepared, and adhesive should be applied to the cracks, followed by reinforcement of weak points.
Allowing sufficient drying time is crucial to ensure a successful repair. Finally, testing the repaired bottle will ensure its functionality.
