How to Seal a Hole in a Water Bottle? 2 Easy Methods!
Sealing a hole in a water bottle can be done effectively with common household items or repair kits. Materials like hot glue, epoxy resin, silicone sealant, or waterproof tape can be used to address the issue.
Following proper instructions for application can ensure a watertight seal and extend the life of your water bottle.
To seal a hole in a water bottle, choose a sealing method based on the size of the hole and the material of the bottle.
For example, small punctures in plastic bottles can often be repaired with hot glue or waterproof tape, while larger breaches may require the strength of epoxy or silicone sealant.
A sealed water bottle is not only a convenient accessory but also a testament to resourcefulness. With the right materials and a bit of patience, anyone can transform a leaky container into a reliable hydration companion.
Key Takeaway
Assess the Size and Location of the Hole
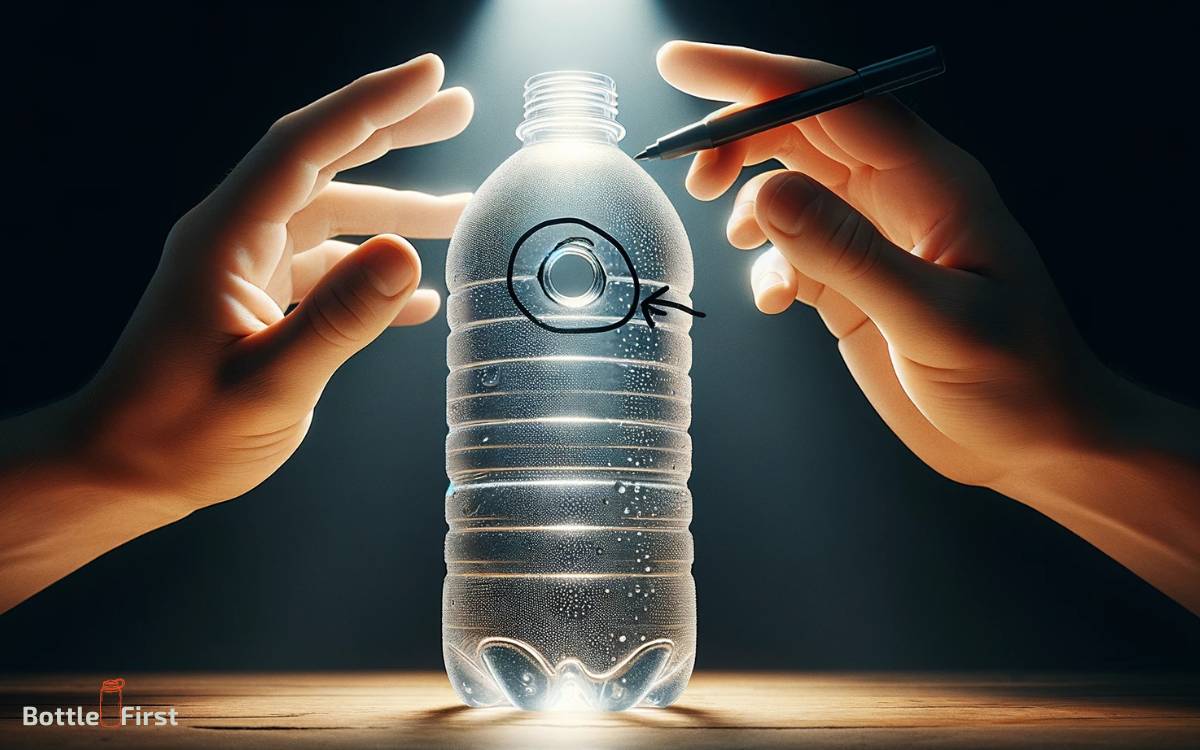
Where exactly is the hole located on the water bottle and how large is it? When addressing this issue, it is crucial to pinpoint the exact location and size of the hole.
The hole’s location will determine the type of sealant or repair method to be used, while its size will dictate the appropriate level of intervention required.
To ensure an innovative and effective solution, precision in assessing the hole is imperative. Utilizing advanced techniques such as digital imaging or precise measuring tools can aid in accurately determining the dimensions of the hole.
Additionally, employing innovative strategies to locate the hole, such as using specialized lighting or magnification, can further enhance the precision of the assessment.
Gather Necessary Materials and Tools
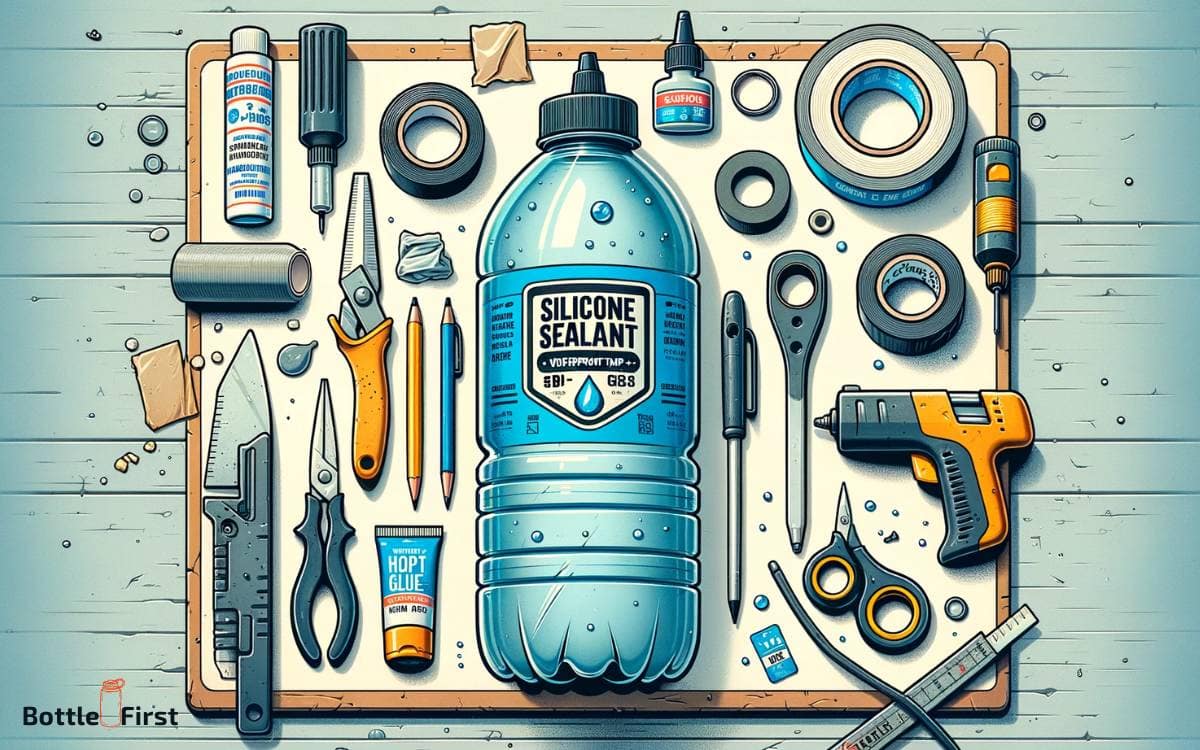
To address the hole in the water bottle, the next step is to gather the necessary materials and tools for the sealing process.
Ensuring a successful sealing job requires the following items:
- Sealant: Look for a high-quality, waterproof sealant that is suitable for the material of the water bottle.
- Sandpaper: Use fine-grit sandpaper to smooth the area around the hole, ensuring better adhesion for the sealant.
- Cleaning solution: Choose a cleaning solution that effectively removes any dirt, grime, or residue from the bottle’s surface before applying the sealant.
These materials and tools are essential for achieving a durable and effective seal, allowing for the continued use of the water bottle and preventing any leaks.
Method 1: Using Hot Glue or Epoxy
After gathering the necessary materials and tools, the first step in method 1 for sealing a hole in a water bottle is to assess whether hot glue or epoxy is the preferred option for the repair.
Both hot glue and epoxy are effective adhesive options for sealing holes in plastic water bottles.
The choice between the two depends on factors such as the size of the hole, the type of plastic the bottle is made of, and the intended use of the bottle after the repair.
Consider the following table to help determine which option is best suited for your specific repair needs:
| Criteria | Hot Glue | Epoxy |
|---|---|---|
| Quick Setting Time | Yes | No |
| Strength | Moderate | High |
| Flexibility | Limited | High |
| Water Resistance | Limited | High |
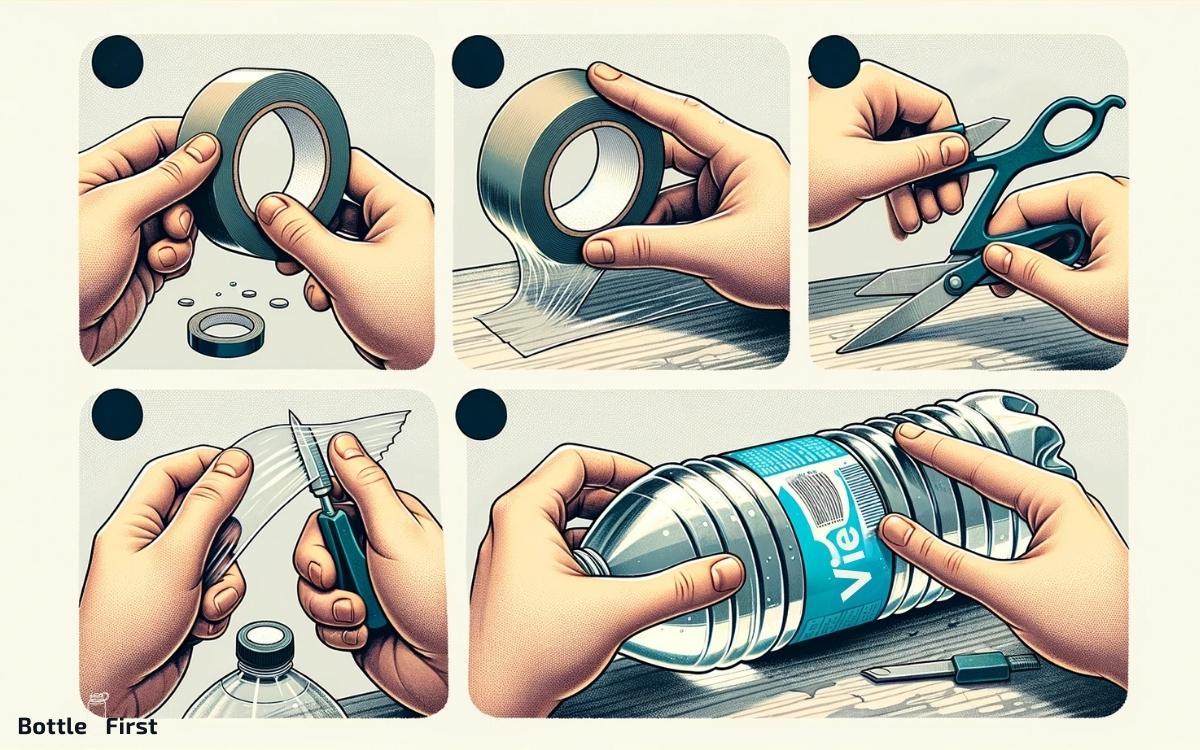
Method 2: Applying a Waterproof Tape
Continuing from the previous subtopic, the second method for sealing a hole in a water bottle involves applying waterproof tape to effectively address the issue.
This method is a quick and efficient way to seal small to medium-sized holes without the need for specialized equipment.
Here are some key points to consider when using waterproof tape:
- Select a high-quality waterproof tape with strong adhesive properties to ensure a secure seal.
- Clean and dry the area around the hole before applying the tape to enhance adhesion and effectiveness.
- Apply the tape firmly and evenly over the hole, ensuring complete coverage to prevent any potential leaks.
Final Inspection and Testing
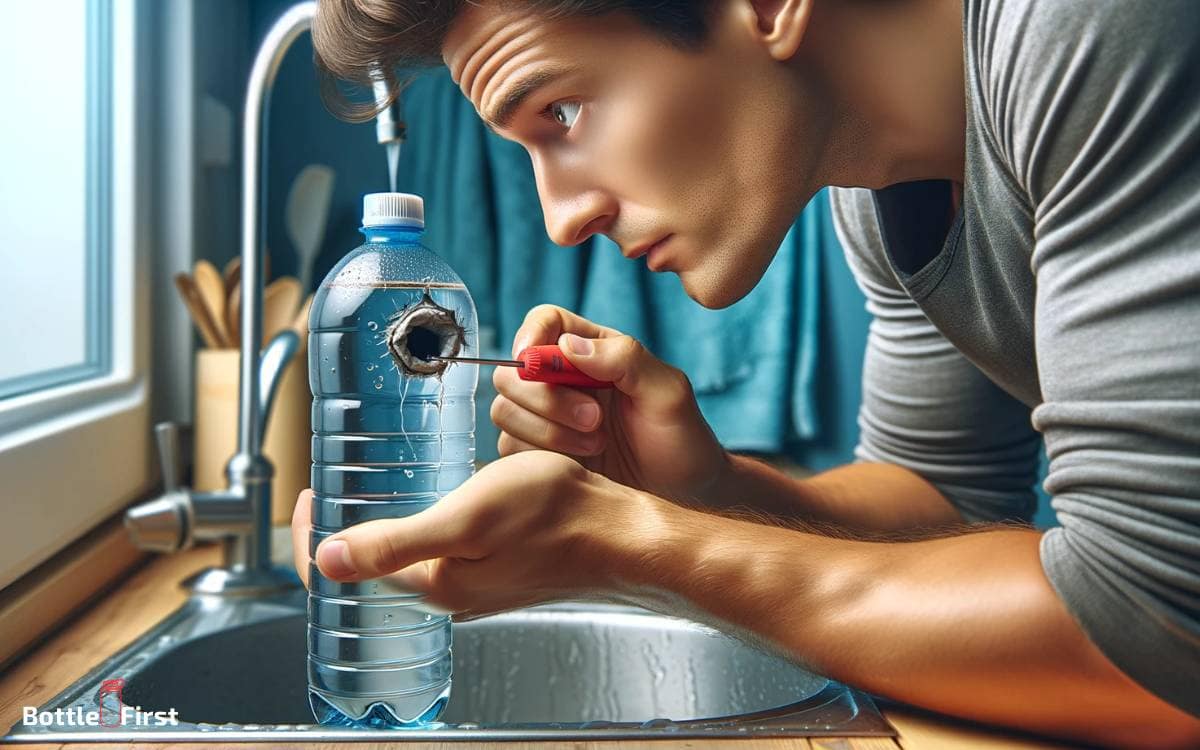
Upon completion of the sealing process, perform a thorough final inspection and testing to ensure the water bottle’s integrity and leak-proof seal.
Inspect the sealed area for any signs of irregularities, such as air bubbles, uneven application, or incomplete adhesion. If using waterproof tape, check for proper adhesion and alignment.
To test the seal, fill the bottle with water and pressurize it to simulate typical usage conditions. Observe the sealed area for any signs of leakage or weakening under pressure.
Additionally, subject the bottle to various orientations and movements to evaluate the seal’s durability. Employ innovative techniques such as using specialized equipment to detect even the smallest leaks.
Only after passing these rigorous tests can the sealed water bottle be deemed ready for use.
Conclusion
Sealing a hole in a water bottle can be accomplished using hot glue or epoxy, as well as waterproof tape.
By carefully assessing the size and location of the hole, gathering the necessary materials and tools, and following one of the methods outlined, you can effectively seal the hole and prevent further leakage.
Remember to inspect the seal and test for leaks before using the bottle again.


