How to Seal Acrylic Paint on Water Bottle? 6 Easy Steps
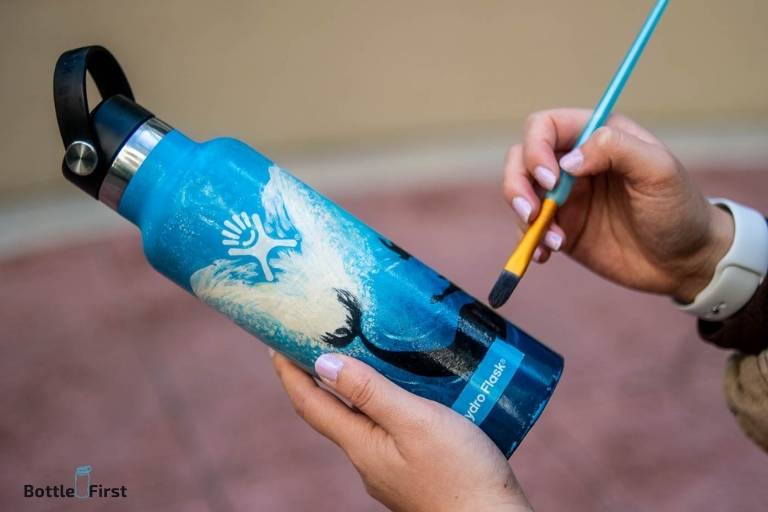
To seal acrylic paint on a water bottle, you will need a clear acrylic sealer or varnish compatible with the acrylic paint used.
After your paint has dried, apply the sealer evenly on the surface of the water bottle, ensuring you cover all painted areas.
Leave it to dry according to the manufacturer’s instructions. It’s best to add two or three layers of sealer to ensure optimal protection of your artwork.
Sealing acrylic paint on a water bottle is crucial to protect your painted design from chipping, peeling, or fading.
The sealer acts as a protective coating, preventing the paint from direct exposure to elements that can degrade it such as water, sunlight, or handling.
In the world of DIY and crafts, acrylic paint and water bottles make a creative mix. But to ensure the longevity of your artwork, sealing the paint is critical.
This process involves layering a clear acrylic sealer or varnish over the paint, extending the life of your design and protecting it from potential environmental damage.
6 Steps to Seal Acrylic Paint on Water Bottle
| Steps | Description |
|---|---|
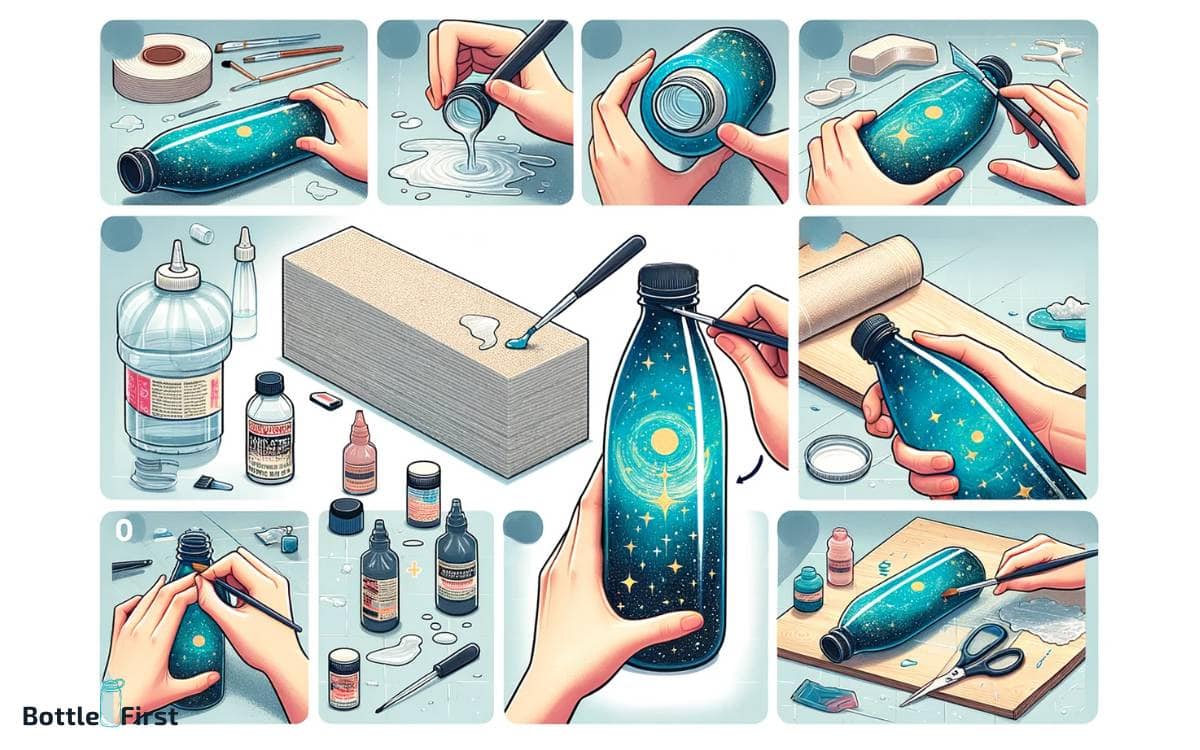
| 1. Gather the materials | You will need the water bottle, acrylic paint, paintbrushes, clear sealing spray or Mod Podge, and a workspace that’s well-ventilated and covered to prevent any mess. |
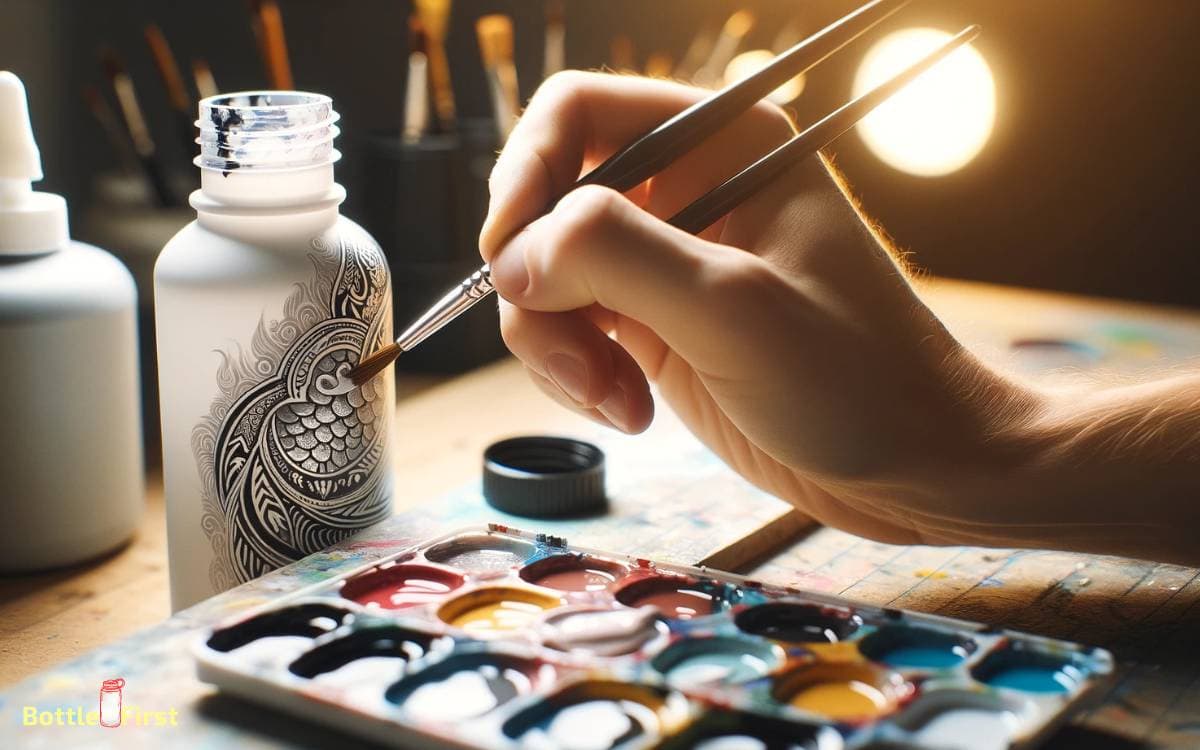
| 2. Paint your design | Use your acrylic paint and brushes to paint your desired design onto the water bottle. Allow the paint to dry completely before proceeding to the next step. |
| 3. Apply a Sealer | Lightly spray a clear acrylic sealer (matte or gloss) or apply Mod Podge over the painted area. Don’t spray too much as it can cause the paint to run. |
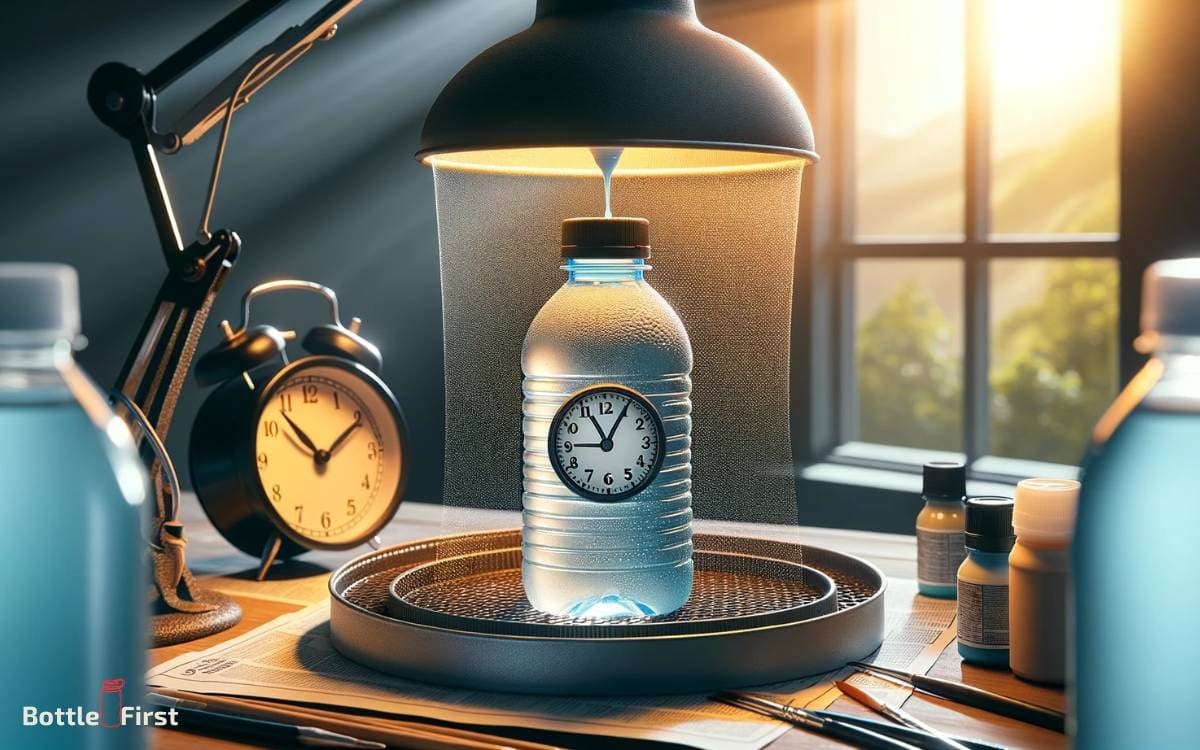
| 4. Let it dry | Allow the sealer to dry completely. This usually takes several hours, but it’s often best to let it dry for 24 hours to be safe. |
| 5. Repeat Sealing Process | Apply another layer of sealer. Two or three coats should be sufficient to protect your paintwork adequately. Be sure to let each coat dry completely before applying the next. |
| 6. Final drying | Let the final coat dry for 24-48 hours before using the water bottle. This ensures that the sealer has completely hardened and will protect the paint from chipping or peeling. |
Key Takeaway
Five Facts About Sealing Acrylic Paint on Water Bottle
Why Sealing Acrylic Paint On Water Bottles Is Important
When it comes to customizing your water bottles with acrylic paint, it’s crucial to seal the design properly. Sealing the acrylic paint not only enhances the visual appeal but also ensures its longevity.
Here’s why sealing acrylic paint on water bottles is important:
Prevents Paint From Chipping Or Peeling Off
- Sealing the acrylic paint creates a protective barrier that prevents it from chipping or peeling off over time.
- Without proper sealing, the paint can easily get damaged due to everyday wear and tear.
- The sealant acts as a shield, preserving the integrity of the painted design even if the bottle gets bumped or scratched.
Extends The Lifespan Of The Painted Design
- Acrylic paint on water bottles can fade or lose its vibrancy over time if not properly sealed.
- Sealing the paint helps to lock in the colors, making the design last much longer.
- It ensures that the artwork remains fresh and vibrant, keeping your water bottle looking attractive for an extended period.
Ensures That The Paint Is Waterproof And Durable
- Using a sealant on acrylic paint provides a waterproof finish, protecting it against water exposure and ensuring durability.
- You can wash your water bottle without worrying about the paint smudging or washing away.
- The sealant effectively prevents moisture from seeping into the paint, keeping it intact and preserving its quality.
Sealing acrylic paint on water bottles is an essential step to maintain the integrity of your artwork and enhance its longevity.
By preventing paint from chipping or peeling off, extending the lifespan of the design, and ensuring its waterproof and durable qualities, you can confidently enjoy your personalized water bottle for years to come.
So, grab your sealant and seal away to protect your beautiful acrylic paint creation!
Choosing The Right Sealant For Acrylic Paint On Water Bottles
When it comes to painting water bottles, adding a sealant is essential to protect the acrylic paint and ensure its longevity. With so many options available, it can be overwhelming to decide on the right sealant.
But fear not, as we will guide you through the process of selecting the perfect sealant for your acrylic paint on water bottles masterpiece.
Factors To Consider When Selecting A Sealant:
- Durability: Look for a sealant that can withstand regular use, as water bottles are constantly exposed to various environments.
- Clarity: The sealant should not alter the appearance of the painted design and should remain clear when dry.
- Compatibility: Ensure that the sealant works well with acrylic paint, as not all sealants are suitable for this medium.
- Drying time: Some sealants take longer to dry than others, which can be a crucial factor if you’re working with a tight deadline.
Different Types Of Sealants And Their Pros And Cons:
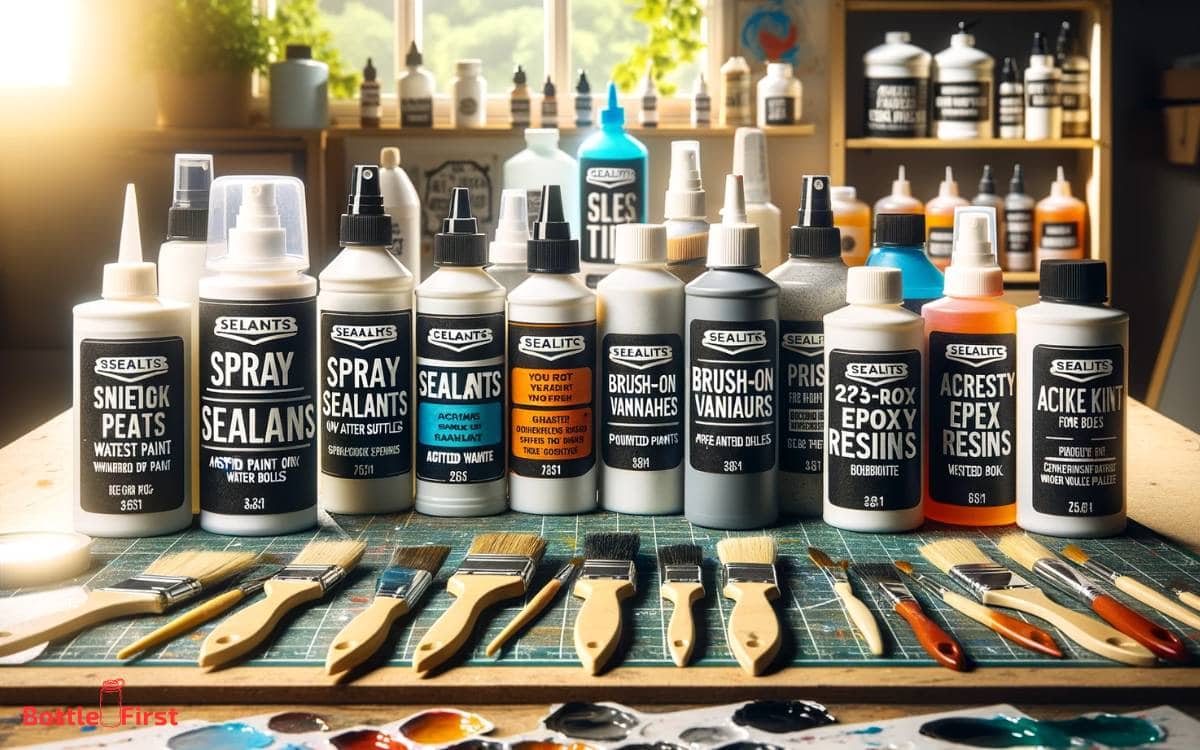
- Mod podge: A popular choice among crafters, mod podge is versatile and provides a glossy finish. However, it may not hold up well to constant moisture.
- Varnish: Acrylic varnish is specifically designed for use with acrylic paint. It offers a protective layer, dries clear, and provides a glossy or matte finish according to your preference. However, varnishes can be time-consuming to apply and may require multiple coats.
- Epoxy resin: This sealant provides a durable, glossy finish and is highly resistant to water and moisture. However, it can be more challenging to work with and requires careful application.
- Spray sealant: For a quick and easy application, spray sealants can be a good option. They cover large areas effectively and dry quickly. However, they may not offer the same level of durability as other sealants and can be difficult to control during application.
Recommended Sealants For Acrylic Paint On Water Bottles:
- Liquitex gloss varnish: This varnish offers excellent durability and dries clear with a glossy finish.
- Krylon kamar varnish: A spray varnish that provides a protective layer and dries quickly.
- Plaid patricia nimocks clear acrylic sealer: Perfect for those looking for a matte finish, this sealer offers protection without altering the appearance of the paint.
Remember, always read the instructions provided by the manufacturer before applying any sealant.
Follow proper application techniques and allow sufficient drying time. With the right sealant, your acrylic paint on water bottles will be protected and ready to withstand the test of time.
Preparing The Water Bottle For Sealing
Cleaning The Surface Of The Water Bottle
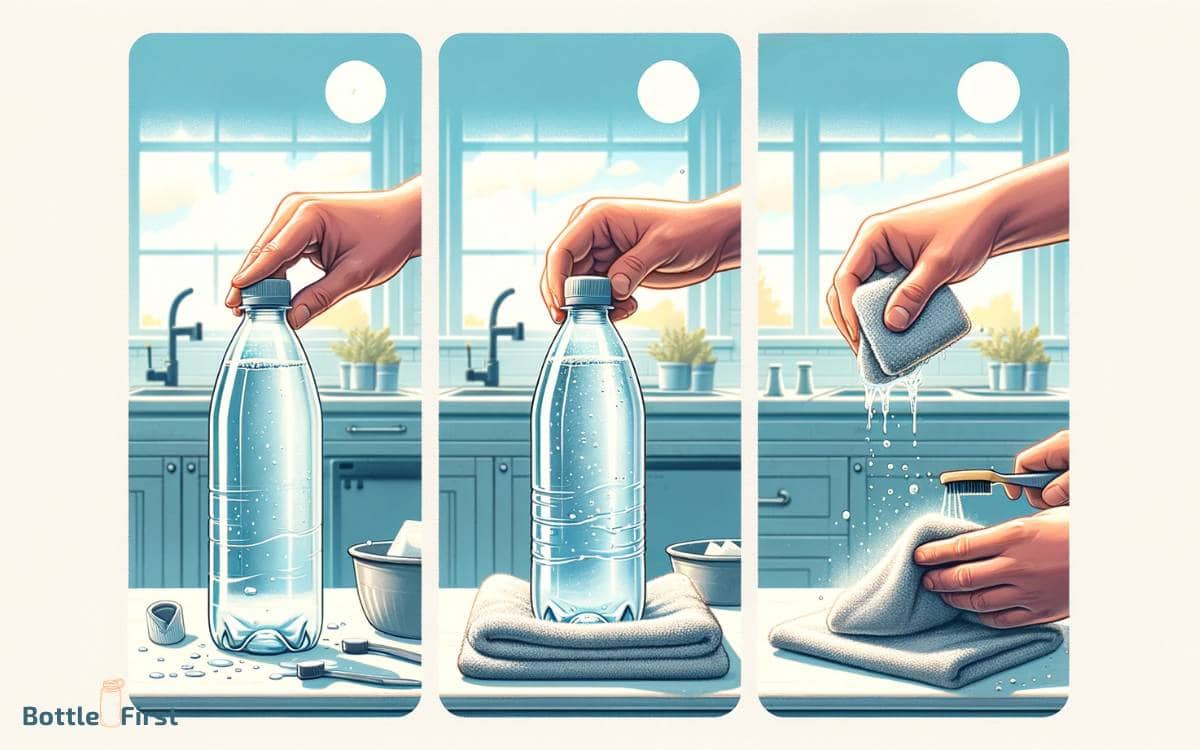
Before you can seal acrylic paint on a water bottle, it’s important to clean the surface thoroughly. This ensures that the paint adheres properly and creates a long-lasting finish.
Follow these steps to clean the water bottle effectively:
- Start by rinsing the water bottle with warm water to remove any dirt or debris.
- Use mild dish soap or a gentle cleaner to scrub the surface of the water bottle. Avoid using harsh chemicals that may damage the bottle or paint.
- Pay extra attention to areas with stubborn stains or residue. You can use a soft-bristled brush or sponge to gently scrub these areas.
- Rinse the bottle thoroughly to remove any soap or cleaner residue.
- Dry the bottle completely with a clean towel or allow it to air dry before proceeding to the next step.
Removing Any Existing Paint Or Residues
If the water bottle has any existing paint or residues, it’s crucial to remove them before sealing the acrylic paint.
Here’s how you can do it:
- If there are only small patches of paint, you can use a scraping tool like a plastic scraper or an old credit card to gently scrape off the paint.
- For larger areas of paint or stubborn residues, consider using a paint stripper or a specialized adhesive remover. Follow the product instructions carefully and use in a well-ventilated area to ensure safety.
- Apply the paint stripper or adhesive remover to a clean cloth or sponge and carefully rub the affected areas. Be gentle to avoid scratching the surface of the water bottle.
- Once the paint or residue is softened, continue to wipe away the excess with a clean cloth or sponge.
- Rinse the bottle thoroughly with warm water to remove any remaining traces of the paint stripper or adhesive remover. Dry the bottle completely before moving on to the next step.
Sanding And Priming The Water Bottle, If Necessary
In some cases, you may need to sand and prime the water bottle before sealing acrylic paint on it. This step helps create a smooth surface for the paint to adhere to and improves the overall finish.
Follow these guidelines:
- Start by lightly sanding the surface of the water bottle with fine-grit sandpaper. This helps remove any rough or uneven areas and promotes better paint adhesion.
- After sanding, wipe the bottle clean with a damp cloth to remove any dust or particles.
- If you’re planning to use a primer, choose a suitable one for acrylic paint and apply a thin, even coat to the entire surface of the water bottle. Priming helps the paint adhere better and enhances its durability.
- Allow the primer to dry completely according to the manufacturer’s instructions. This usually takes about 1-2 hours, but it’s best to check the label for specific drying times.
- Once the primer is dry, lightly sand the surface again to ensure smoothness. Wipe away any sanding residue with a clean, damp cloth before proceeding to seal the acrylic paint on the water bottle.
Remember, preparing the water bottle properly is crucial to achieve a successful seal for your acrylic paint.
Proper cleaning, removal of existing paint or residues, and sanding and priming if necessary, ensure a smooth and durable finish that will last for a long time.
Step-By-Step Guide To Sealing Acrylic Paint On Water Bottles
Acrylic paint is a popular choice for decorating water bottles due to its vibrant colors and durability. However, to ensure your design stands the test of time, it’s essential to seal the paint properly.
Follow this step-by-step guide to achieve a professional and long-lasting finish on your painted water bottles.
Applying The Sealant In Thin, Even Layers
To effectively seal acrylic paint on water bottles, it is crucial to apply the sealant in thin, even layers.
Here’s how:
- Start by choosing a high-quality sealant specifically designed for acrylic paints. This will ensure maximum adhesion and protection.
- Clean the surface of the painted water bottle before applying the sealant. Use mild soap and water to remove any dirt or dust particles. Allow the bottle to dry completely.
- Begin applying the sealant using a soft-bristle brush or a sponge brush. Dip it into the sealant and remove any excess on the edge of the container or paper towel.
- Apply the sealant on the water bottle using broad, smooth strokes. Ensure that the layer is thin and even, covering the entire painted surface.
- Avoid overworking the sealant as it may cause streaks or uneven texture on the surface.
- Let the first layer of sealant dry completely according to the instructions provided by the manufacturer. This usually takes about 15-30 minutes, but it’s best to follow the recommended drying time to ensure optimal results.
- If desired, apply additional thin layers of sealant following the same process. Each layer adds an extra protective barrier to your design.
Allowing Each Layer To Dry Before Adding Another
One of the crucial steps in sealing acrylic paint on water bottles is allowing each layer to dry before adding another.
Here’s why it’s important:
- Drying time allows the sealant to adhere properly to the underlying paint layer, ensuring a strong bond and maximum protection.
- Adding a new layer of sealant before the previous one is dry can cause the layers to mix, resulting in a tacky or uneven surface.
- Patience is key when sealing acrylic paint on water bottles. Allow each layer to air dry or use a fan for faster drying, following the manufacturer’s instructions.
Tips For Achieving A Smooth And Professional-Looking Finish
To achieve a smooth and professional-looking finish on your sealed acrylic paint water bottle, consider these helpful tips:
- Use a high-quality brush or sponge brush to apply the sealant. This will help to ensure even application and minimize visible brush strokes.
- Work in a well-ventilated area to prevent inhaling fumes from the sealant. Open windows or use a fan for better air circulation.
- If you notice any bubbles or imperfections in the sealant, gently remove them with a toothpick or a small needle while the sealant is still wet.
- Avoid touching the freshly sealed surface until it has completely dried. Any fingerprints or smudges can mar the finish and require additional touch-ups.
- Once the sealant has thoroughly dried, your water bottle is ready to use and showcase your beautifully sealed acrylic paint design.
Remember, sealing your acrylic paint on water bottles is essential to protect your artwork from fading, cracking, or peeling.
Follow these step-by-step guidelines and helpful tips to ensure a long-lasting, professional-looking finish on your painted water bottles.
Maintenance And Care For Sealed Acrylic Paint On Water Bottles
Creating a beautiful design on your water bottle with acrylic paint is a fun and creative way to personalize your hydration.
Once you’ve sealed the acrylic paint on your water bottle, it’s important to properly maintain and care for it to ensure its longevity.
Here are some tips to help you keep your painted water bottle looking fresh and vibrant:
Proper Cleaning Techniques To Avoid Damaging The Sealant
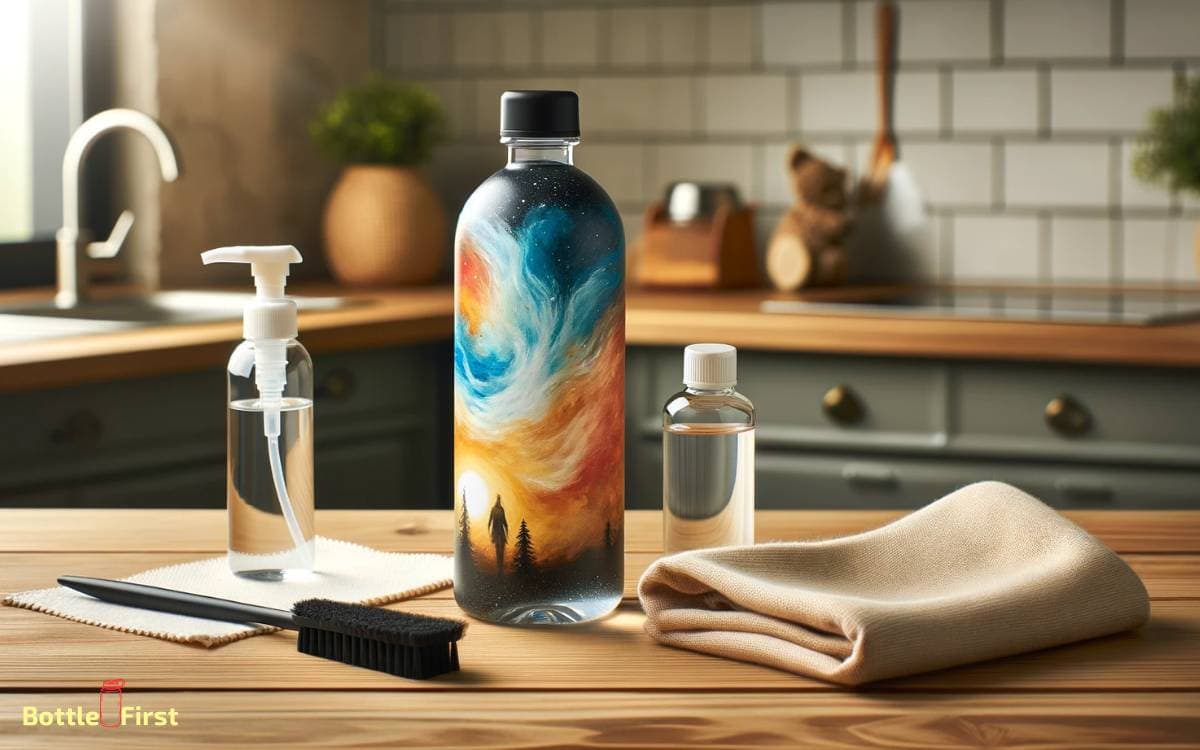
To clean your water bottle without damaging the sealed acrylic paint, follow these steps:
- Hand wash only: Avoid using the dishwasher, as the high heat and strong detergents can cause the sealant to deteriorate over time.
- Use mild soap: Opt for a gentle soap without harsh chemicals or abrasive ingredients.
- Soft sponge or cloth: Use a soft sponge or cloth to clean the bottle’s surface gently. Avoid scrub brushes or abrasive sponges that might scratch the sealant.
- Avoid soaking: Don’t let your water bottle soak in water for an extended period as it can weaken the sealant.
- Air dry: Once clean, let your water bottle air dry naturally to prevent any damage that could occur by rubbing it with a towel.
Handling And Storing The Water Bottle To Prevent Scratches
To prevent scratching the sealed acrylic paint on your water bottle, consider the following:
- Handle with care: Avoid dropping or banging your water bottle against hard surfaces, as this can cause scratches or chips in the sealant.
- Store in a protective bag or sleeve: When not in use, keep your water bottle in a protective bag or sleeve to shield it from potential scratches.
- Avoid contact with rough surfaces: Be mindful of where you place your water bottle and avoid surfaces that might scratch it, such as gravel or rough tabletops.
- Store upright: When storing your water bottle, ensure that it stands upright to prevent any accidental rolling or tipping that could lead to scratches.
How To Touch Up And Repair Any Damaged Areas
If you notice any areas on your water bottle where the sealed acrylic paint has become damaged, don’t worry.
You can easily touch up and repair those spots with these steps:
- Clean the area: Start by cleaning the damaged area with mild soap and water, ensuring it’s completely dry before proceeding.
- Reapply paint: Use a small brush or a fine-tipped marker to carefully fill in the damaged area with matching acrylic paint. Take your time to blend it with the surrounding design.
- Let it dry: Allow the touched-up area to dry completely before applying any additional coats or handling the water bottle.
- Apply a sealant: Once the paint is dry, apply a thin layer of sealant over the touched-up area to protect it and ensure a seamless look.
By following these maintenance and care tips, you can keep your sealed acrylic paint on a water bottle looking vibrant and intact for a long time.
Enjoy your personalized hydration while knowing that you’re preserving the beauty of your design through proper care and occasional touch-ups.
Conclusion
Sealing acrylic paint on water bottles is an essential step to protect your artwork and ensure its longevity.
By following the right techniques and using the appropriate materials, you can create a durable and waterproof seal.
Whether you opt for a spray sealant or a brush-on varnish, the key is to apply multiple thin coats for an even and smooth finish.
Take the time to let each layer dry completely before applying the next, and always double-check the manufacturer’s instructions for best results.
Remember to prepare your surface properly by cleaning it thoroughly and removing any oil or residue.
With the proper sealing techniques, your acrylic-painted water bottles will be ready for everyday use and will maintain their vibrant colors for a long time to come.
So go ahead and seal your artwork, and enjoy the beauty and functionality of your personalized water bottles.
FAQ About How To Seal Acrylic Paint On Water Bottle
How Long Does Acrylic Paint Take To Dry On A Water Bottle?
Acrylic paint on a water bottle usually takes around 24 hours to dry completely.
Can I Use Regular Acrylic Paint On A Water Bottle?
Yes, you can use regular acrylic paint on a water bottle for your artistic creations.
Will Acrylic Paint Chip Or Peel Off The Water Bottle?
To prevent chipping or peeling, make sure to seal the acrylic paint with a waterproof sealant.
What Is The Best Method To Seal Acrylic Paint On A Water Bottle?
Using a clear acrylic sealer spray is the most effective method to seal acrylic paint on a water bottle.
How Can I Make The Acrylic Paint On My Water Bottle Last Longer?
To make the acrylic paint last longer, avoid using harsh chemicals, hand wash gently, and avoid scrubbing.
