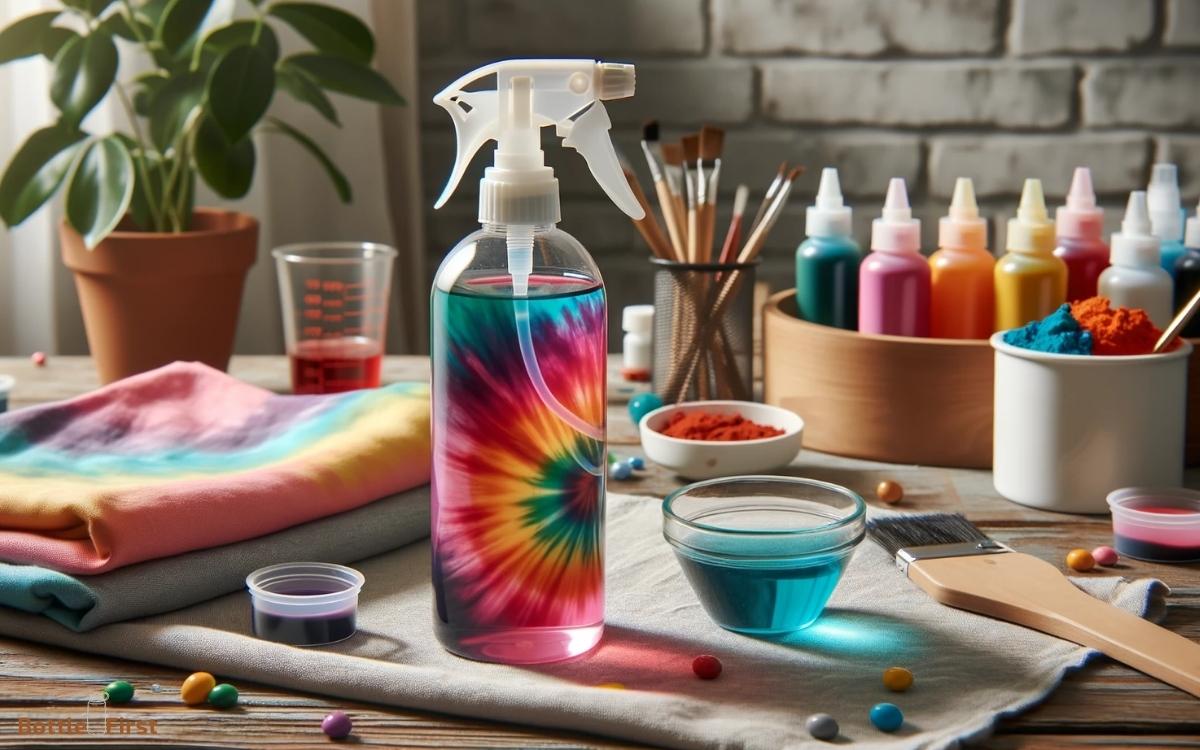
Can You Use Rit Dye in a Spray Bottle? Yes!
Yes, you can use Rit Dye in a spray bottle for a contemporary approach to fabric dyeing.
This method allows for creative applications such as ombre effects, tie-dye looks, or for spot-dyeing fabrics. It’s an effective way to apply color with control and precision.
Using Rit Dye in a spray bottle is a technique that diverges from the traditional immersion dyeing process.
Steps for Using Rit Dye in a Spray Bottle:
Fabrics suitable for this method include cotton, linen, silk, wool, rayon, and nylon. It’s important to note that synthetic fibers like polyester may not absorb the dye as well.
Embrace the creativity of fabric dyeing with Rit Dye in a spray bottle. Achieve personalized designs with ease, transforming plain fabrics into vibrant expressions of your artistic vision.
Key Takeaway
Advantages of Using Rit Dye in a Spray Bottle
When using Rit dye in a spray bottle, the advantages become apparent, allowing for precise and controlled application of color onto the desired material.
This method offers a level of control and accuracy that is difficult to achieve with traditional dyeing techniques.
The spray bottle allows for even distribution of the dye, ensuring uniform coverage without the risk of splotches or uneven coloring.
Additionally, using a spray bottle makes it easier to create intricate designs or patterns on the fabric, giving users the flexibility to unleash their creativity.
The spray application also minimizes the amount of dye needed, reducing waste and making the process more environmentally friendly.
Suitable Fabrics for Spray Dyeing With Rit Dye
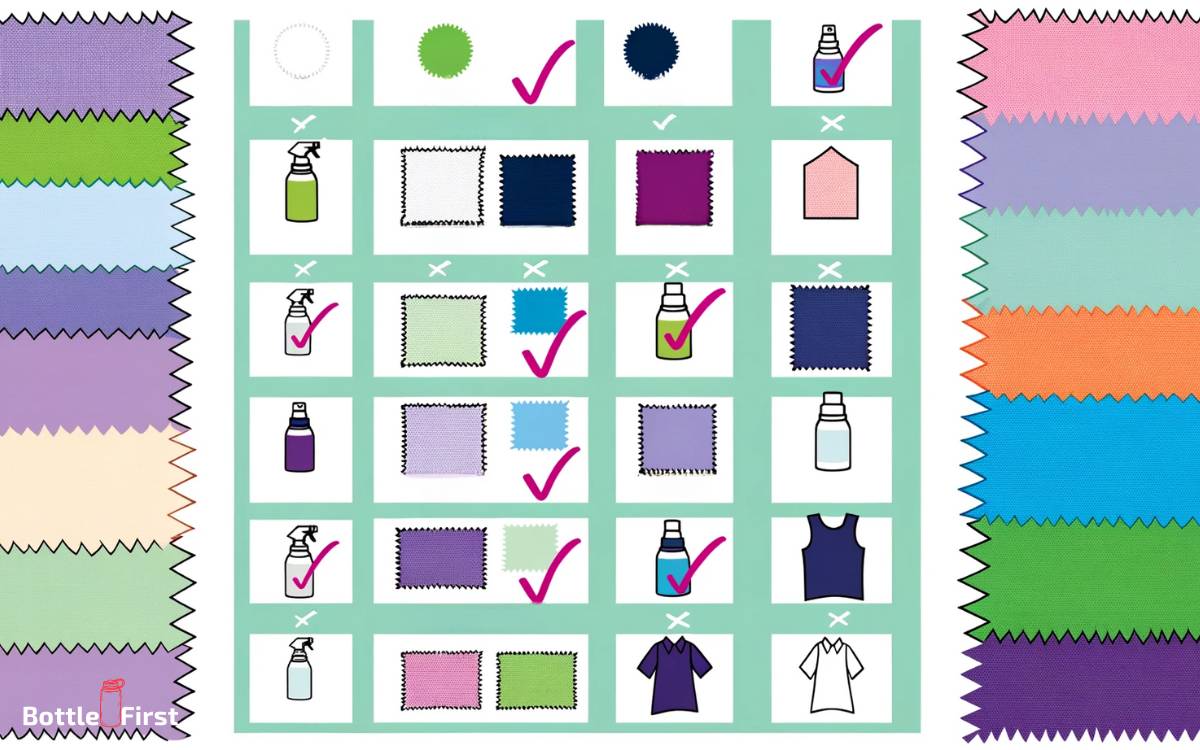
Various natural fabrics, such as cotton, linen, and silk, are suitable for spray dyeing with Rit dye, allowing for vibrant and long-lasting color absorption.
Cotton, a widely used fabric in the textile industry, is particularly receptive to Rit dye when applied via spray, resulting in even color distribution.
Linen, known for its strength and absorbent qualities, also takes well to spray dyeing with Rit dye, producing rich and consistent hues.
Additionally, silk, with its smooth and lustrous fibers, readily absorbs Rit dye when applied through a spray bottle, resulting in luxurious and vibrant coloration.
These natural fabrics provide an excellent canvas for spray dyeing with Rit dye, allowing for innovative and customizable color application while ensuring optimal color retention and durability.
Step-by-Step Guide to Using Rit Dye in a Spray Bottle
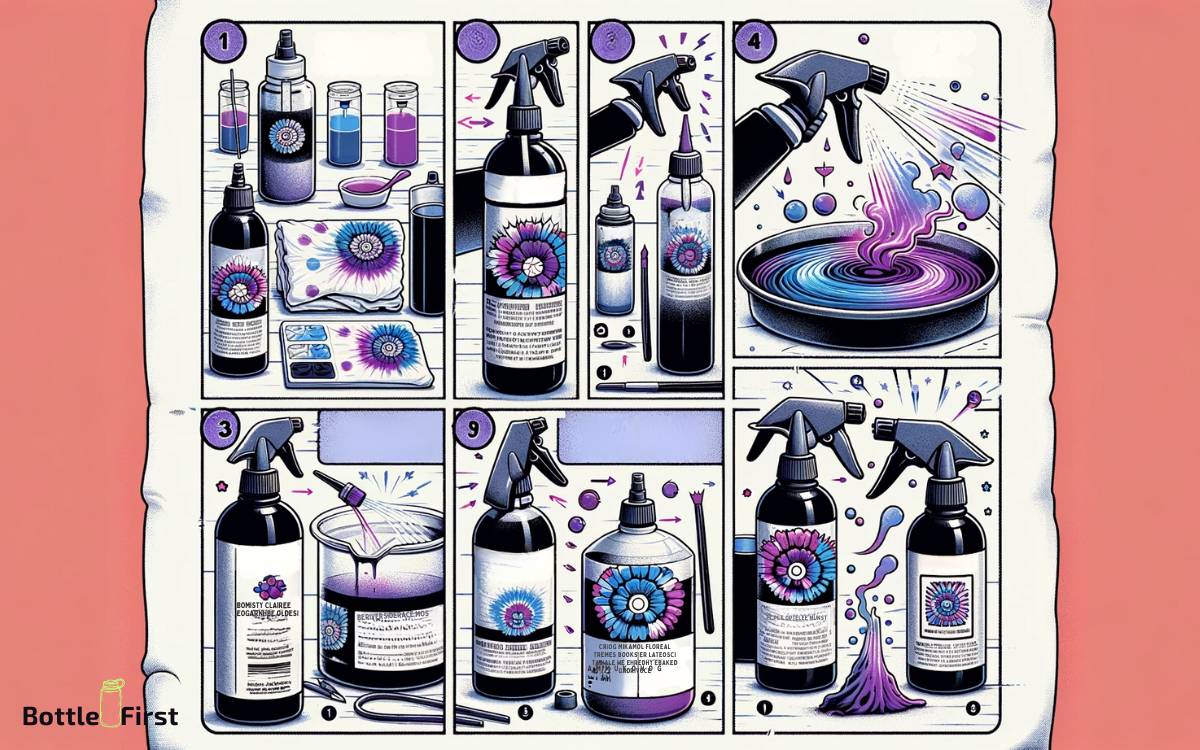
How can you effectively utilize Rit dye in a spray bottle to achieve precise and vibrant color application on natural fabrics?
Prepare the Dye Solution
- Mix the Rit dye with water according to the instructions on the package.
Fill the Spray Bottle
- Carefully pour the dye solution into a clean spray bottle, ensuring there are no lumps or undissolved dye particles.
Test Spray on a Sample Fabric
- Before applying the dye to your fabric, test the spray bottle on a sample fabric to gauge the intensity and coverage of the color.
Apply the Dye
- Hold the spray bottle at a consistent distance from the fabric and spray evenly to achieve the desired color intensity.
Transition: By following these steps, you can effectively use Rit dye in a spray bottle for precise and vibrant color application on natural fabrics.Next, let’s explore some tips for achieving the desired color results.
Tips for Achieving Desired Color Results
To ensure optimal color results when using Rit dye in a spray bottle, it is essential to consider the fabric type and its ability to absorb the dye evenly.
For natural fabrics such as cotton, linen, or silk, the dye tends to penetrate evenly, resulting in vibrant colors.
However, synthetic fabrics like polyester may require additional steps such as pre-treating with a dye fixative to achieve the desired color intensity.
It is also important to pre-wash the fabric to remove any finishes that may inhibit dye absorption.
Additionally, carefully following the dye mixing instructions and allowing sufficient dye penetration time will contribute to achieving the desired color results.
Experimenting with different dye concentrations and spray techniques can also help in achieving innovative and unique color effects.
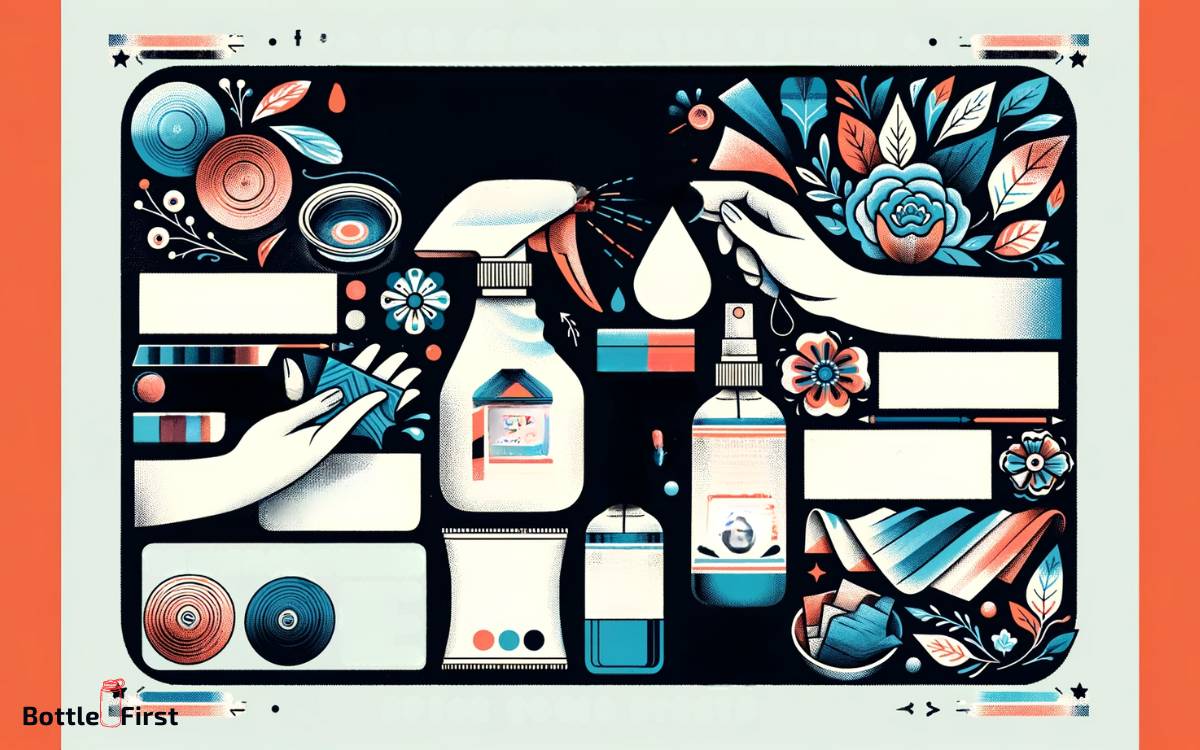
Aftercare and Maintenance for Spray-Dyed Items

After achieving the desired color results through spray-dyeing, proper aftercare and maintenance of the dyed items are crucial to ensure long-lasting vibrancy and color retention.
To maintain the quality of spray-dyed items, follow these essential aftercare and maintenance tips:
- Wash with Care: Use a gentle detergent and cold water to hand wash or machine wash the dyed items. Avoid using harsh chemicals or hot water to prevent color fading.
- Air Dry: After washing, air dry the items away from direct sunlight to prevent color bleaching or fading.
- Avoid Abrasive Materials: When cleaning or handling the dyed items, avoid abrasive materials or rough surfaces that could cause color damage.
- Store Properly: Store the dyed items away from direct sunlight and in a cool, dry place to prevent color fading and maintain vibrancy.
Following these aftercare and maintenance practices will help preserve the vibrancy and longevity of the spray-dyed items.
Conclusion
Utilizing Rit Dye in a spray bottle offers an efficient and creative method for dyeing fabrics. By following the step-by-step guide and applying suitable fabrics, individuals can achieve desired color results with ease.
Additionally, proper aftercare and maintenance will ensure the longevity of the spray-dyed items. Embracing this technique can add a splash of color and vibrancy to various textiles, providing a unique and personalized touch to everyday items.