How to Make a Hole in a Water Bottle Cap? 5 Easy Steps!
Welcome to the quick and easy guide on how to make a hole in a water bottle cap in just six simple steps.
Whether you’re looking to create a customized watering can or a controlled dispenser, this step-by-step tutorial will guide you through the process with clear and concise instructions.
Let’s dive in and transform your ordinary water bottle cap into a versatile tool for your everyday needs.
Creating a Hole in a Water Bottle Cap
Gather Your Materials
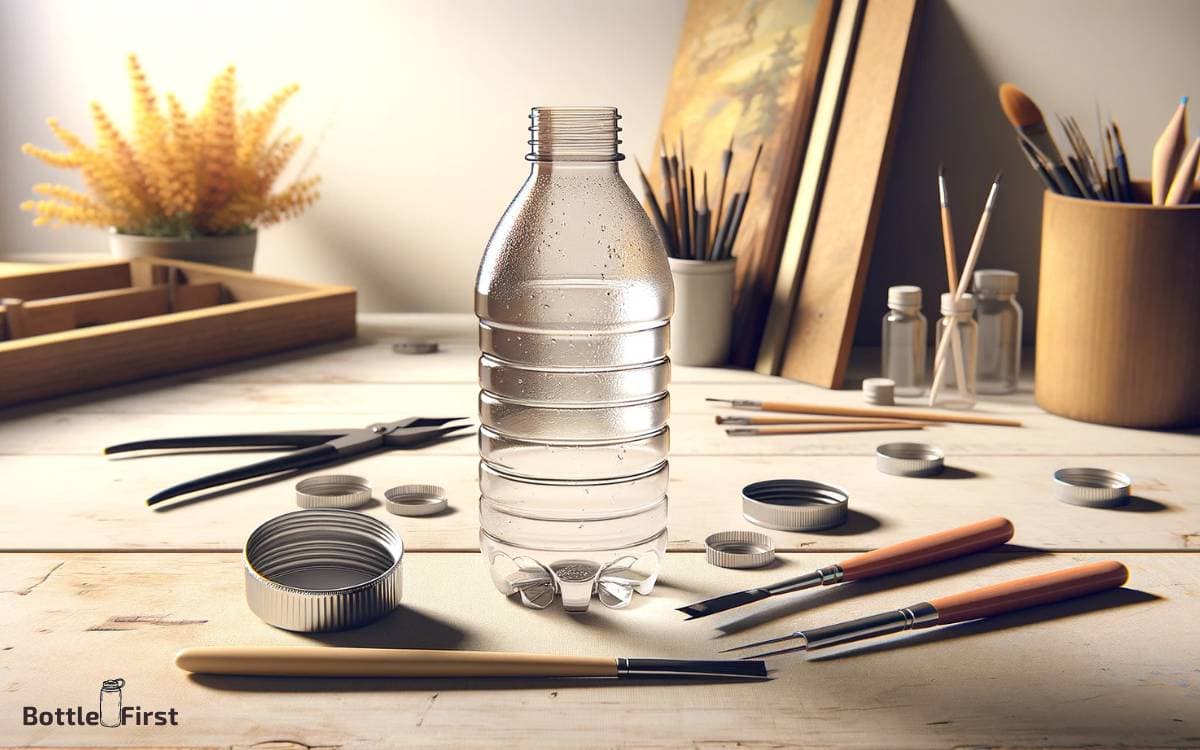
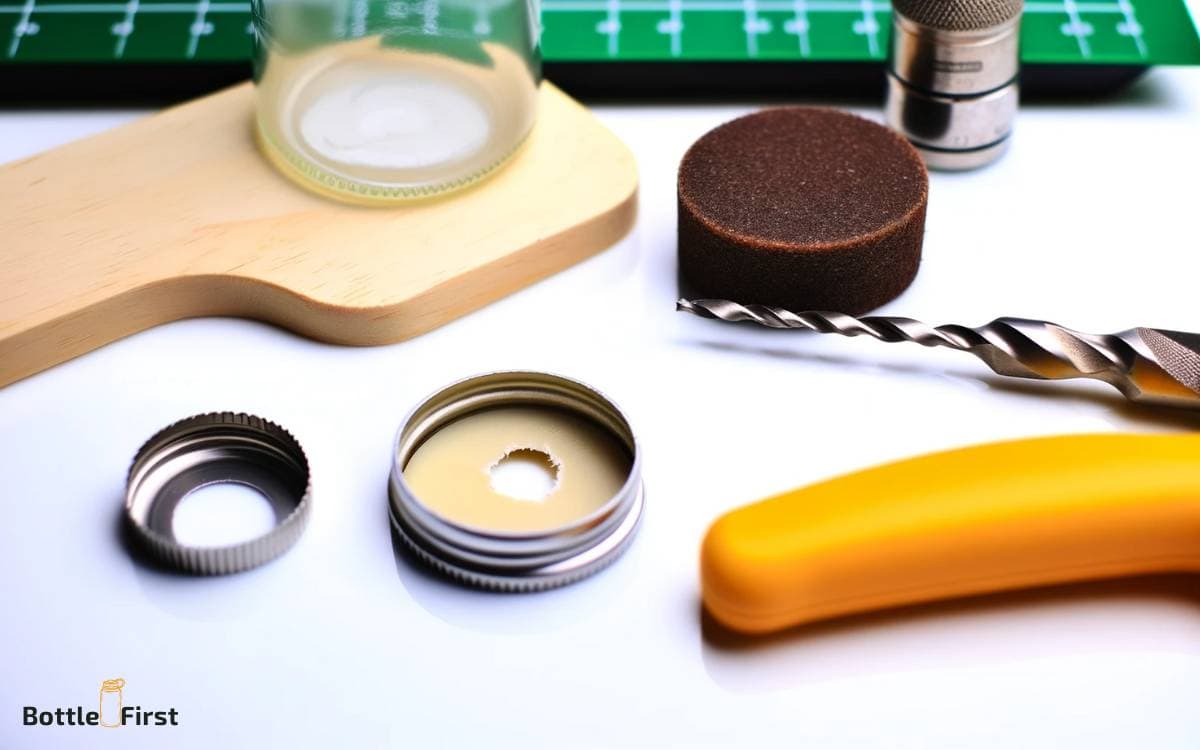
Ensure you have a water bottle with a cap, a thumbtack, a hammer, and a sturdy surface to work on.
Step 1: Empty the Bottle
Make sure the water bottle is empty to avoid any spills or splashes during the process.
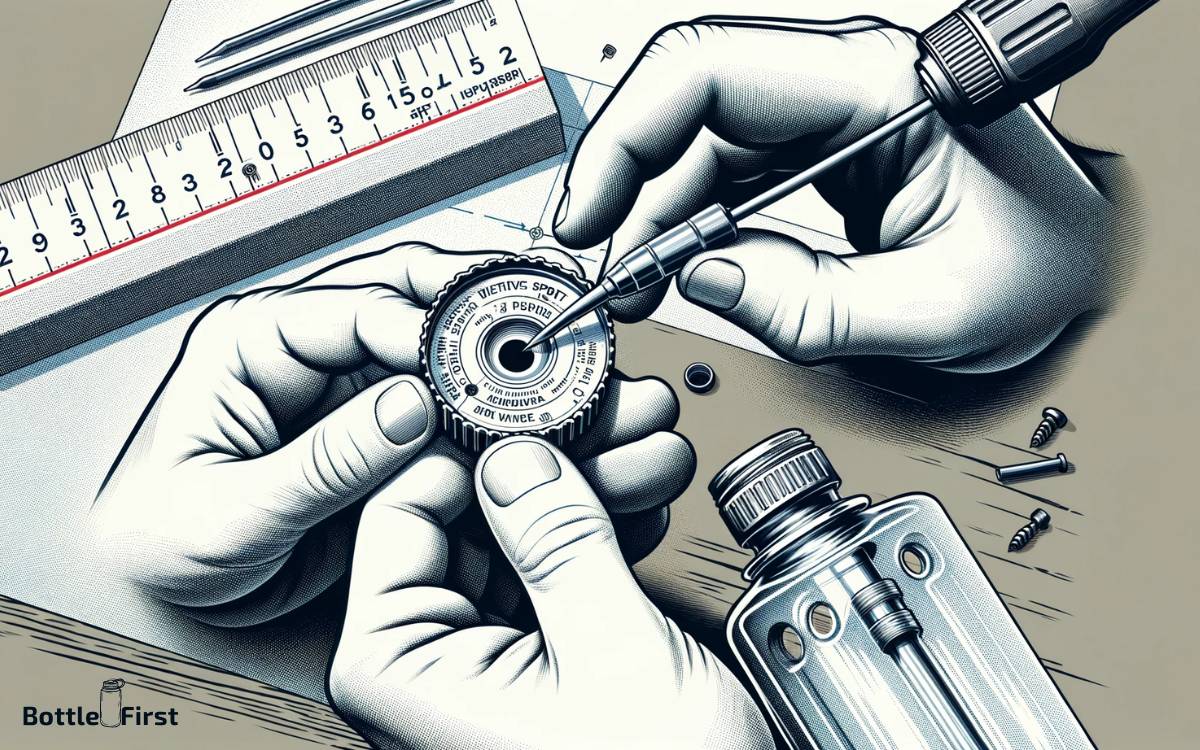
Step 2: Choose a Spot for the Hole
Decide where you want the hole to be on the cap. The center is usually a good choice for even pouring.
Step 3: Hold the Cap Securely
Place the cap on a flat surface and hold it securely to prevent it from moving while you work.
Step 4: Position the Thumbtack
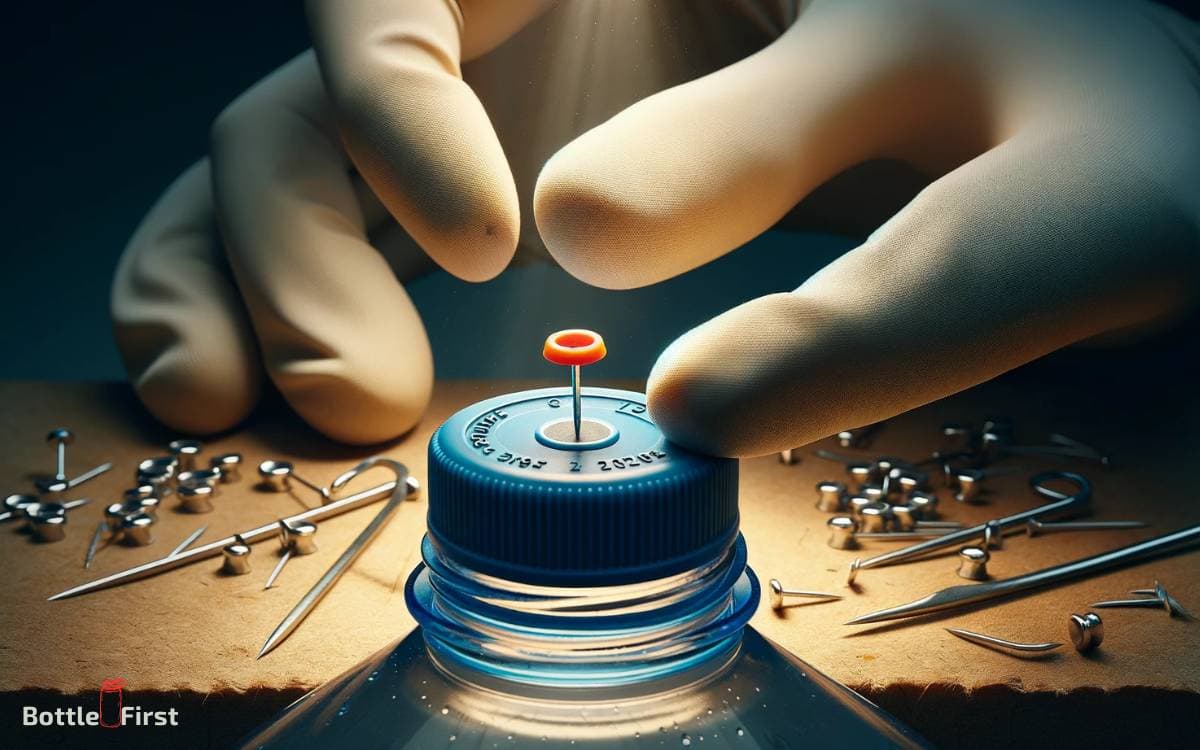
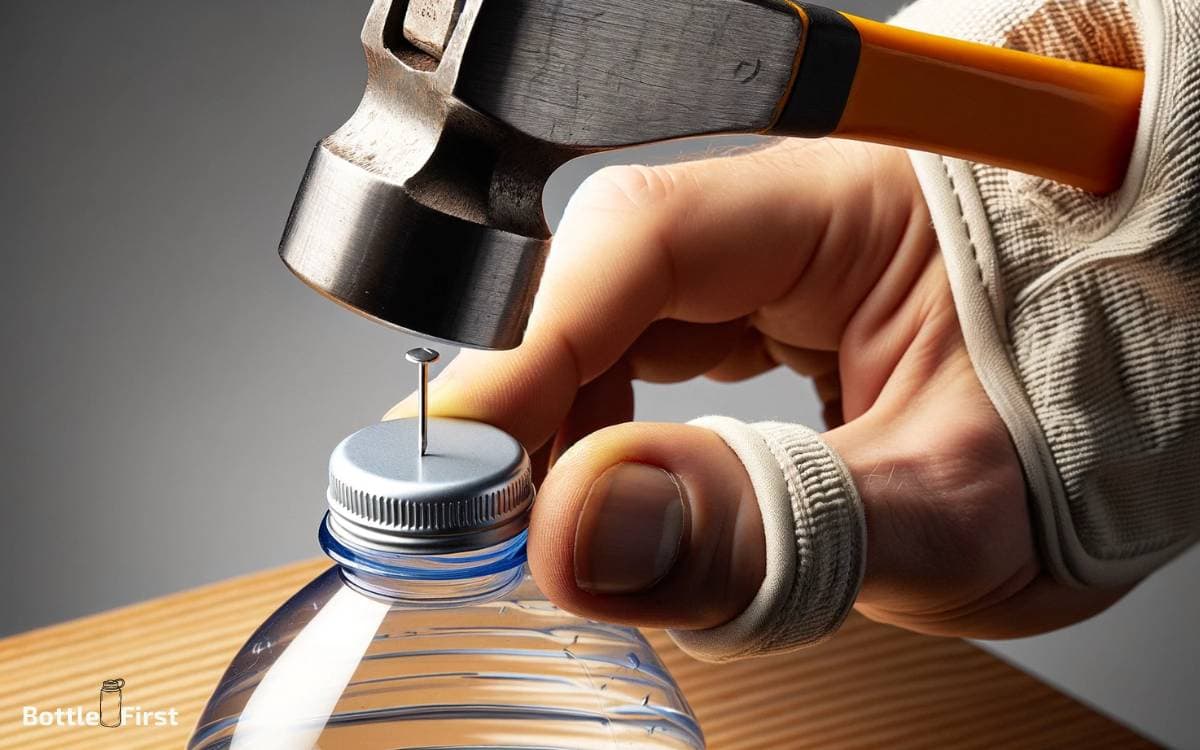
Take the thumbtack and position it over the chosen spot on the cap. Hold it perpendicular to the cap’s surface.
Step 5: Hammer the Thumbtack
Gently tap the thumbtack with the hammer, applying even pressure. Continue until the thumbtack pierces through the cap, creating a small hole.
Creative Uses for Bottles with Holes
Hanging Planters:
- Create a vertical garden by hanging bottles with holes as planters. The holes allow for drainage and aeration of plants.
DIY Watering Can:
Transform a bottle with holes into a makeshift watering can for your garden. Perfect for gentle and controlled watering.
Pasta Dispenser:
Use a bottle with strategically placed holes to dispense pasta or grains, turning it into a convenient and controlled dispenser.
Outdoor Bubble Blower:
Make a bubble blower by adding a mixture of soap and water to a bottle with holes. Blow into the top to create bubbles through the holes.
DIY Bird Feeder:
Craft a bird feeder by filling a bottle with bird seeds and adding holes for the seeds to trickle out, providing a steady supply for feathered friends.
Artistic Paint Dispenser:
Fill bottles with different colored paints and create a unique painting experience by squeezing the bottles to release controlled amounts of paint onto a canvas.
Watering System for Plants:
Bury bottles with holes next to plants in your garden to create a slow-release watering system. Fill the bottles, and water will gradually seep out through the holes.
Outdoor Shower:
Repurpose large bottles with holes as part of a DIY outdoor shower. Hang them overhead and enjoy a refreshing shower in your backyard.
DIY Sprinkler:
Convert a bottle into a sprinkler by adding holes to the bottom. Attach it to a hose, and you have a customizable and portable sprinkler for your lawn.
Herb Garden Drip System:
Create a drip irrigation system for your herb garden by using bottles with holes strategically placed near each plant.
Homemade Water Fountain:
Stack bottles with holes in the bottom to create a unique and visually appealing homemade water fountain for your garden or patio.
Sieve or Strainer:
Use bottles with small holes as makeshift sieves or strainers for filtering liquids or separating small particles from a mixture.
DIY Salt or Pepper Shaker:
Turn small bottles with holes into salt or pepper shakers for a convenient and controlled way to season your food.
DIY Rain Chain:
String bottles with holes on a chain to create a DIY rain chain. Hang it from your roof to guide rainwater in an artistic and functional way.
Educational Water Play:
Fill bottles with holes for educational water play for kids. They can explore the principles of water flow and pressure in a fun and interactive way.
These creative uses for bottles with holes not only repurpose plastic containers but also add functional and artistic elements to your everyday life. Experiment with different hole patterns and sizes to achieve various effects for your projects.
Tips for a Neat and Functional Hole
Choosing the Right Tools
- Select a drill appropriate for the material (wood, metal, concrete).
- Ensure the drill bit size matches your intended hole diameter.
Marking and Measuring
- Use a pencil to mark the center of the hole accurately.
- Measure and mark the depth of the hole on the drill bit using tape.
Safety First
- Wear appropriate safety gear, including goggles and gloves.
- Secure loose clothing and tie back long hair to avoid accidents.
Securing the Workpiece
- Clamp or stabilize the workpiece to prevent slipping during drilling.
- Consider using a pilot hole for increased precision.
Proper Drilling Technique
- Start drilling at a low speed and gradually increase.
- Apply consistent, firm pressure without forcing the drill.
Clearing Debris
- Periodically stop and clear away debris to maintain clean and efficient drilling.
- Use a blower or compressed air to remove dust from the hole.
Checking Depth
- Periodically measure the depth of the hole to ensure accuracy.
- Mark the desired depth on the drill bit for reference.
Finishing Touches
- Sand or file the edges of the hole for a smooth finish.
- Clean the work area and tools to maintain order and safety.
Safety Precautions
Personal Protective Equipment (PPE)
Eye Protection:
- Wear safety glasses or goggles to shield your eyes from debris or chemicals.
Hand Protection:
- Use gloves appropriate for the task to protect your hands from cuts, abrasions, or chemicals.
Respiratory Protection:
- Use a mask if working in environments with dust, fumes, or harmful particles.
Workspace Safety
Clear Workspace:
- Keep the work area well-organized and free of clutter to prevent tripping hazards.
Ventilation:
- Ensure proper ventilation to reduce exposure to harmful fumes or dust.
Emergency Exits:
- Know the location of emergency exits and equipment in case of unforeseen situations.
Tool and Equipment Safety
Read Instructions:
- Familiarize yourself with the operation manuals of tools and equipment.
Maintenance:
- Regularly inspect and maintain tools to ensure they are in good working condition.
Proper Usage:
- Use tools only for their intended purpose, and follow recommended safety guidelines.
Electrical Safety
Cords and Wires:
- Check for frayed cords or exposed wires, and replace them if damaged.
Grounding:
- Ensure proper grounding of electrical equipment to prevent shocks.
Fire Safety
Fire Extinguishers:
- Know the location of fire extinguishers and how to use them.
Flammable Materials:
- Store flammable materials properly and away from potential ignition sources.
First Aid Preparedness
First Aid Kit:
- Have a well-equipped first aid kit on hand and know how to use its contents.
Emergency Contacts:
- Keep a list of emergency contacts accessible in case of injuries.
Training and Education
Safety Training:
- Stay informed about safety protocols and procedures through regular training.
Skill Development:
- Enhance your skills and knowledge to minimize risks associated with your tasks.
Conclusion
Ultimately, creating a hole in a water bottle cap is a simple yet useful technique that can have a range of applications.
Whether you’re looking to make a homemade sprinkler, a DIY watering can, or just need a way to control the flow of liquid from your bottle, this method is sure to come in handy.
By using basic tools like a nail, hammer, and some steady hand-eye coordination, you can easily customize your water bottles to suit your specific needs.
By following the step-by-step instructions provided in this blog post, you can confidently tackle this task with ease. So, the next time you find yourself needing a hole in your water bottle cap, don’t fret.
With a little bit of patience and practice, you’ll be well on your way to creating the perfect opening for all your liquid dispensing needs.
FAQ About How To Make A Hole In A Water Bottle Cap
How Can I Make A Hole In A Water Bottle Cap?
To make a hole in a water bottle cap, you can use a heated needle or a drill to pierce through the plastic. Be careful and use safety precautions when attempting this.
What Is The Purpose Of Making A Hole In A Water Bottle Cap?
Making a hole in a water bottle cap allows for better control of water flow, making it easier to pour or drink from.
It can also be useful for adding a straw or inserting a nozzle for easy dispensing.
Can I Use A Regular Needle To Make A Hole In A Water Bottle Cap?
Yes, a regular needle can be used to make a hole in a water bottle cap.
Ensure that the needle is heated before piercing through the plastic to make the process easier and smoother.
Are There Any Alternative Methods To Make A Hole In A Water Bottle Cap?
Yes, besides using a heated needle or a drill, you can also use a small heated nail or a paperclip to make a hole in a water bottle cap.
Always exercise caution and take necessary safety measures when attempting any method.
Is It Safe To Make A Hole In A Water Bottle Cap?
Yes, it is safe to make a hole in a water bottle cap as long as you use the proper techniques and tools.
Be careful when handling heated objects and ensure you do not damage the bottle in the process.
