How to Make Water Bottle Jelly? 6 Easy Steps!
Creating water bottle jelly is a fun and easy process that involves using gelatin to turn your favorite beverage into a jiggly, edible form inside a water bottle.
This innovative snack is not only a hit at parties but also a great way to surprise kids with a twist on their regular juice or water. Follow this step-by-step guide to make your own water bottle jelly.
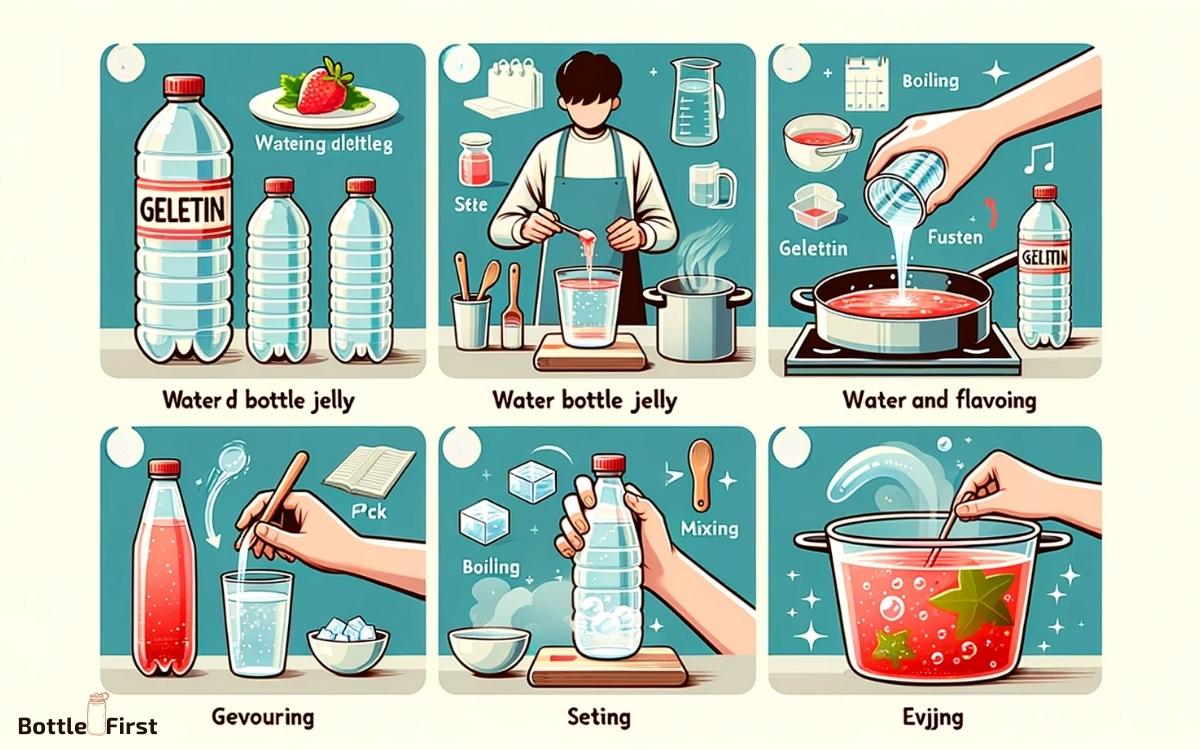
To make water bottle jelly, you need to start by selecting your preferred beverage, which could be anything from fruit juice to soda. You’ll also need plain gelatin packets, water bottles, a pot for boiling, a funnel, and a refrigerator for chilling.
Here are some quick steps:
For example, if you’re making fruit juice jelly, you might choose apple juice, dissolve the appropriate amount of gelatin in hot water, mix it with the juice, and then pour it into the bottles.
Transform your favorite drinks into whimsical jellies with this simple recipe. Whether it’s a fruity burst or a fizzy soda, water bottle jelly is sure to bring smiles and surprises to any occasion.
Key Takeaway
Gather Your Materials
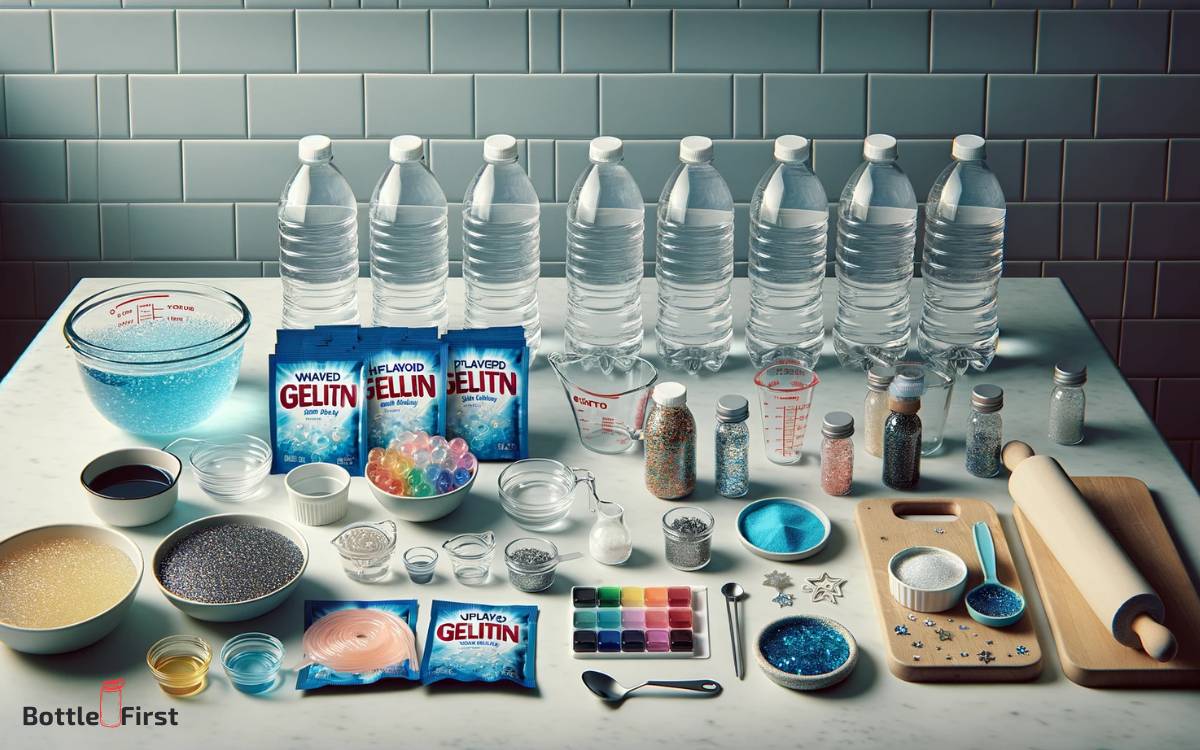
To begin making water bottle jelly, gather all the necessary materials as listed in the recipe. You will need a large pot for boiling, a mixing spoon, a candy thermometer, sugar, pectin, water, and, of course, clean and empty water bottles with lids.
The water bottles should be sanitized thoroughly before use to ensure the jelly remains uncontaminated.
It is essential to use a candy thermometer to accurately measure the temperature during the jelly-making process, as this will directly impact the final consistency of the jelly.
Additionally, pectin and sugar should be of high quality to achieve the desired texture and sweetness.
Step 1: Prepare the Water Bottles
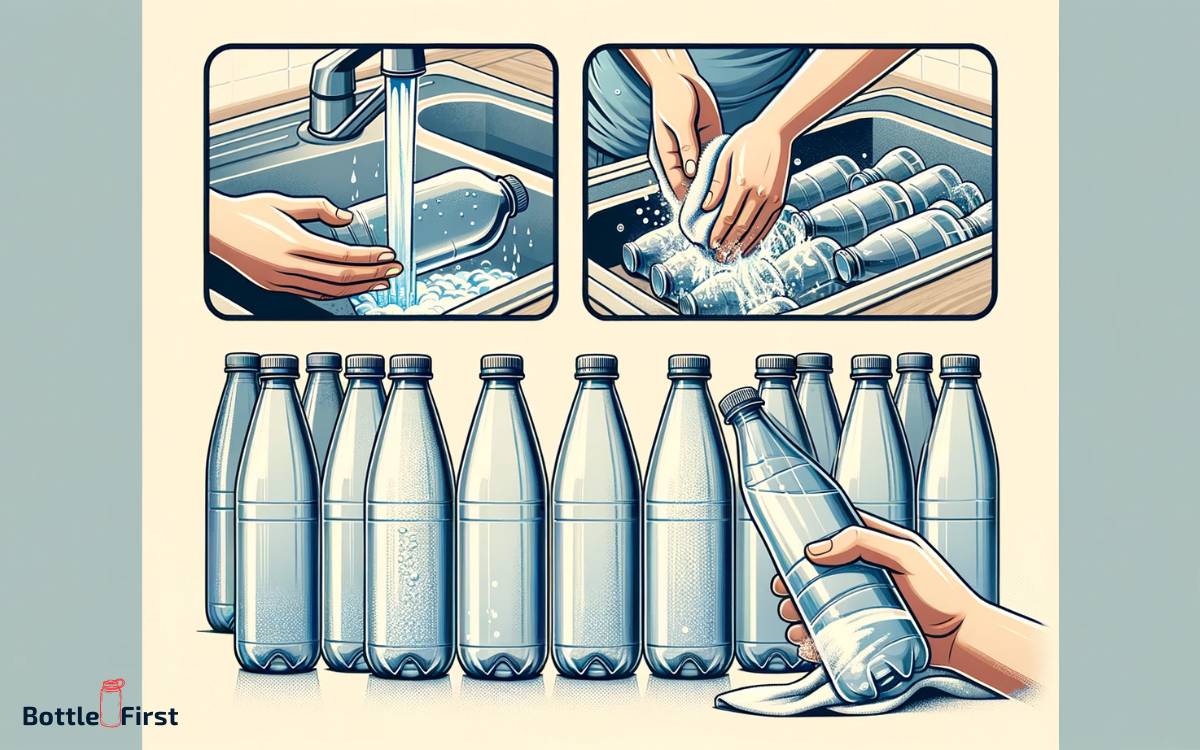
Once the jelly mixture is prepared, carefully sterilize the water bottles using a hot water bath to ensure they are clean and ready for filling.
Follow these steps to prepare the water bottles:
- Wash the bottles thoroughly with hot, soapy water, ensuring all residue is removed.
- Place the bottles in a large pot and fill it with enough water to completely submerge the bottles.
- Bring the water to a boil and let the bottles simmer for 10 minutes to sterilize them effectively.
- Use tongs to remove the bottles from the water and place them on a clean towel to air dry.
Step 2: Mix the Gelatin Solution
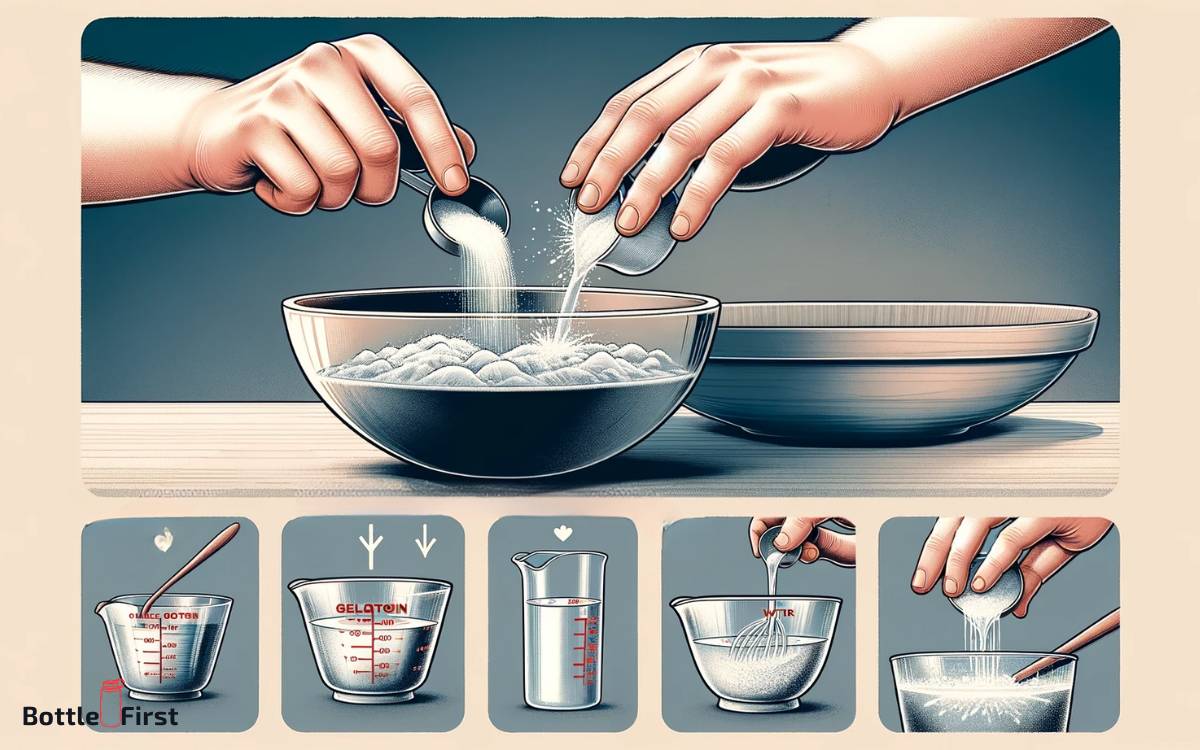
When mixing the gelatin solution for water bottle jelly, it’s crucial to maintain the correct ratio of gelatin to water in order to achieve the desired consistency.
The stirring and heating process must be executed with precision to ensure that the gelatin is fully dissolved and evenly distributed.
Once the solution is mixed, it should be allowed to cool and set for the specified amount of time to achieve the desired texture and firmness.
Gelatin and Water Ratio
The precise measurement of gelatin to water is crucial for achieving the desired consistency and texture in the jelly.
To ensure the perfect gelatin and water ratio, follow these steps:
- Begin by blooming the gelatin in cold water. For every 1 tablespoon of gelatin, use 1/4 cup of cold water.
- Gently stir the gelatin and water mixture and let it sit for about 5 minutes to allow the gelatin to absorb the water and swell.
- After blooming, heat the mixture gently while stirring until the gelatin dissolves completely. Avoid boiling the mixture, as this can affect the setting properties of the gelatin.
- Once dissolved, the gelatin solution is ready to be incorporated into the flavored liquid to create the jelly.
Stirring and Heating Process
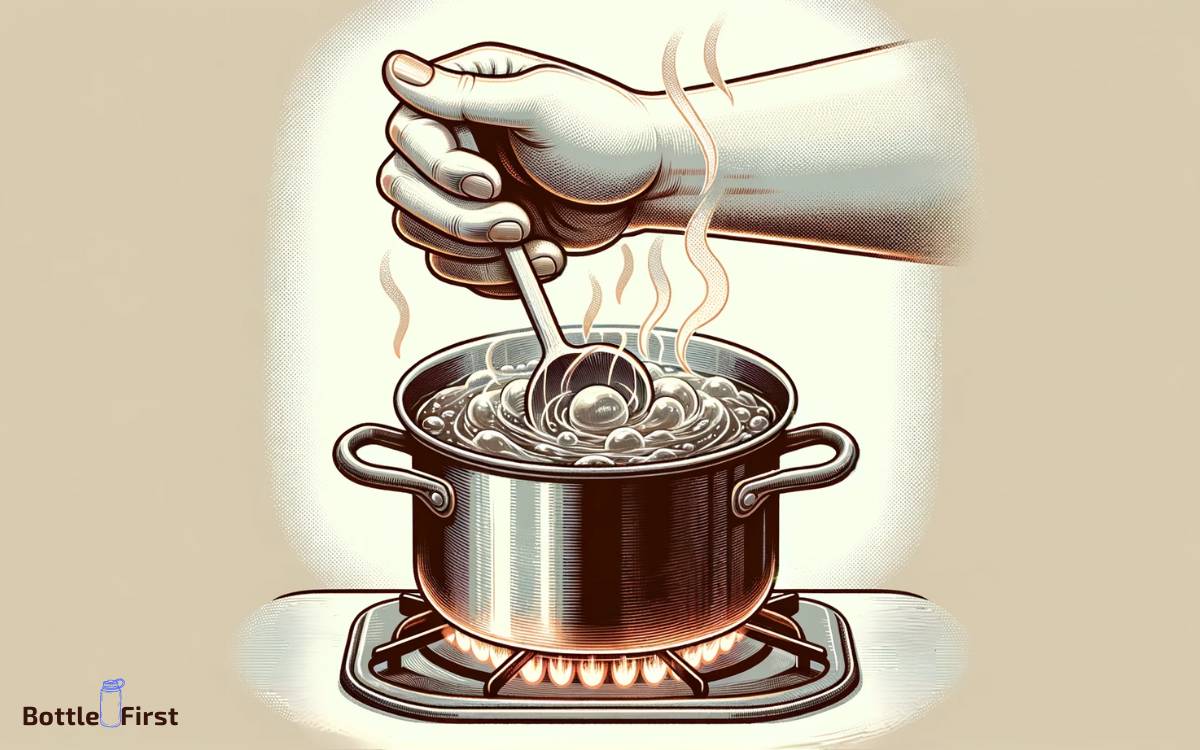
To achieve the desired consistency and texture in water bottle jelly, it is essential to mix the bloomed gelatin with water gently and heat the mixture until the gelatin dissolves completely.
Start by gently stirring the bloomed gelatin and water mixture over low heat. Use a silicone spatula to ensure even heat distribution and to prevent the gelatin from sticking to the bottom of the pan.
It is crucial to monitor the temperature closely, as excessive heat can degrade the gelatin’s thickening properties.
Once the gelatin has completely dissolved, remove the mixture from the heat source. Be cautious not to overheat the solution, as this can affect the jelly’s final texture.
This step ensures that the gelatin is evenly distributed and fully dissolved, resulting in a smooth and consistent water bottle jelly.
Now, let’s move on to the subsequent section about ‘cooling and setting time’.
Cooling and Setting Time
After the gelatin solution has been thoroughly mixed and heated to dissolve the gelatin completely, it is essential to proceed with the cooling and setting process to achieve the desired consistency for the water bottle jelly.
- Cooling Time: Allow the gelatin solution to cool at room temperature for 15-20 minutes.
- Refrigeration: Place the cooled gelatin solution in the refrigerator for 2-3 hours or until it is partially set.
- Check Consistency: After refrigeration, check the consistency by gently pressing the surface with your fingertip to ensure it is firm but still wobbly.
- Final Setting: Once the desired consistency is achieved, remove the jelly from the refrigerator and let it sit at room temperature for 10-15 minutes before pouring it into the water bottles.
This meticulous cooling and setting process is crucial in creating the perfect water bottle jelly.
Step 3: Add Coloring and Glitter
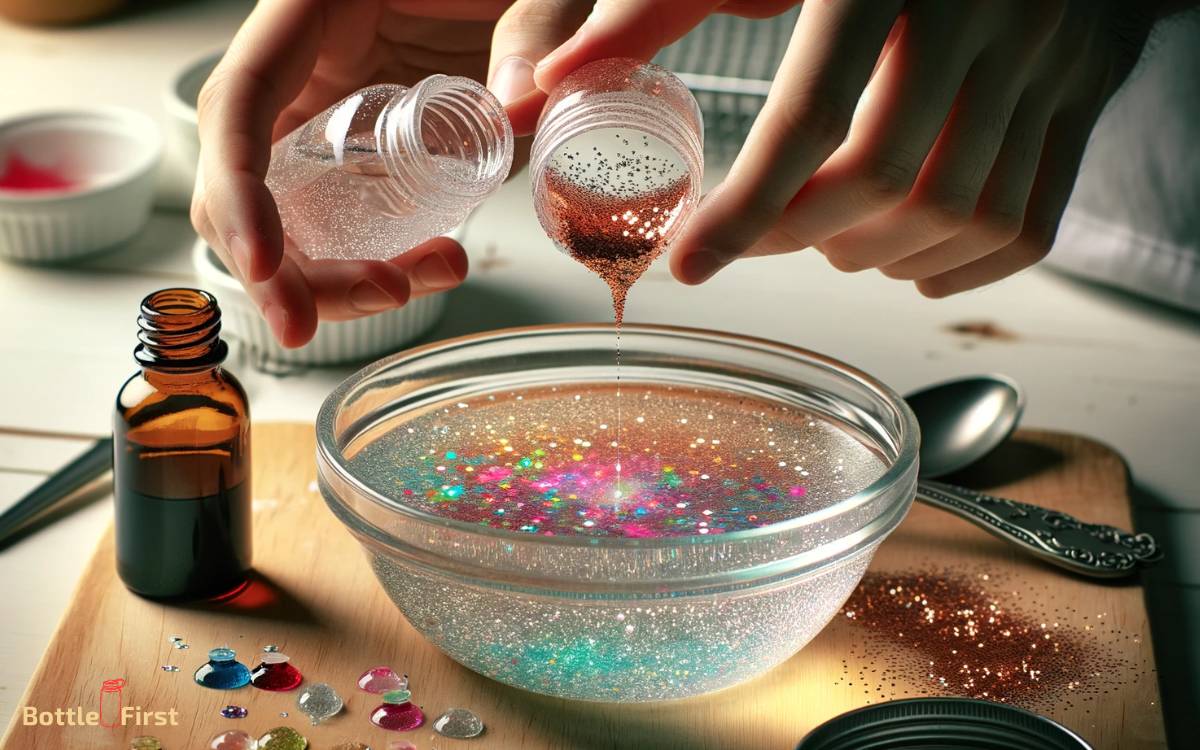
Coloration and sparkle can be introduced to the water bottle jelly mixture using food coloring and edible glitter, enhancing its visual appeal and making it more attractive to the eyes.
To add color, simply mix a few drops of food coloring into the liquid jelly mixture until the desired hue is achieved. It’s important to start with a small amount of coloring and gradually add more as needed to avoid over-saturating the mixture.
Additionally, edible glitter can be sprinkled into the mixture to create a sparkling effect. It’s important to use edible glitter specifically designed for consumption. The glitter should be gently stirred into the mixture to evenly distribute the sparkle.
The addition of coloring and glitter not only enhances the aesthetic appeal of the water bottle jelly but also allows for creative customization to suit different preferences.
Step 4: Fill the Water Bottles
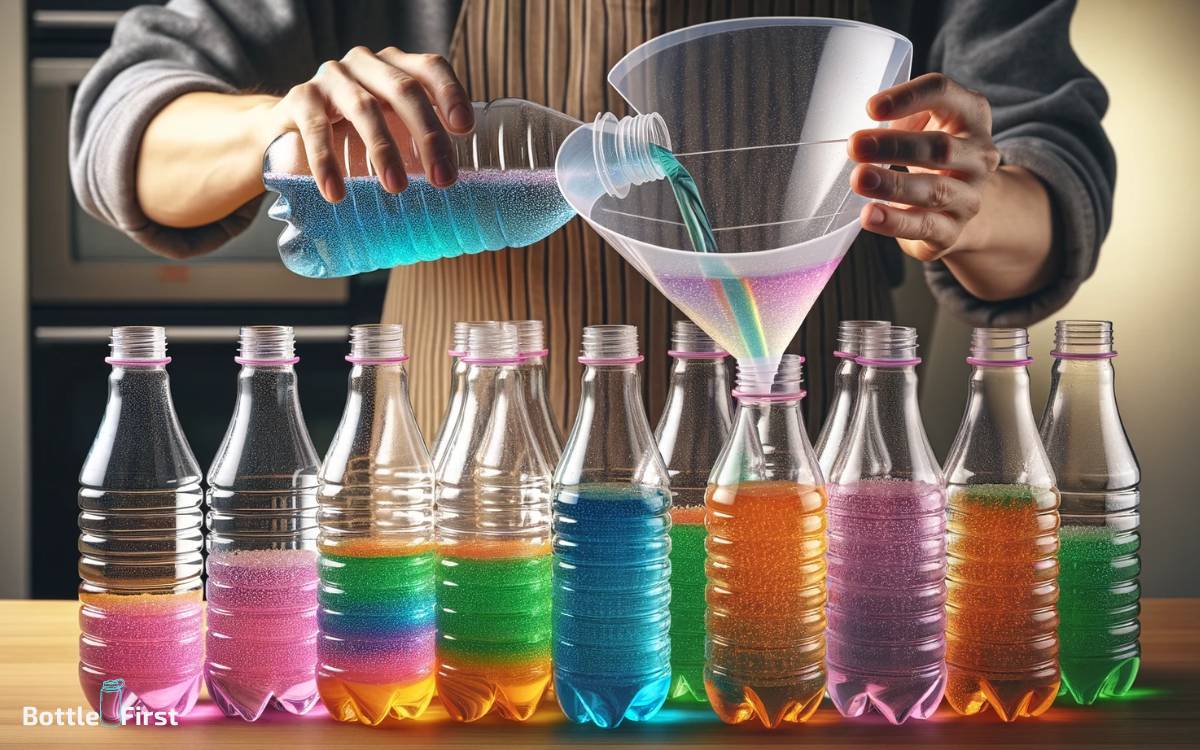
When filling the water bottles for making jelly, it is crucial to carefully select the appropriate bottle sizes to achieve the desired visual effect.
Additionally, using clean water is essential to prevent any unwanted particles or contaminants from affecting the appearance of the jelly.
It is also important to leave some space unfilled in the bottles to allow for the movement of the jelly and the addition of other elements.
Choose Bottle Sizes
The first step in making water bottle jelly is to choose the appropriate bottle sizes and fill them with water.
Here are the steps to accomplish this:
- Select the water bottle sizes based on the desired portion sizes for the jelly.
- Ensure that the chosen bottles are clean and dry before filling them with water.
- Use a measuring cup to accurately fill each bottle with the required amount of water, leaving some space at the top to allow expansion during freezing.
- Securely cap the filled bottles to prevent any leakage during the freezing process.
Choosing the right bottle sizes and accurately filling them with water is crucial to the success of the water bottle jelly-making process.
Next, it is essential to use clean water to ensure the quality of the jelly.
Use Clean Water
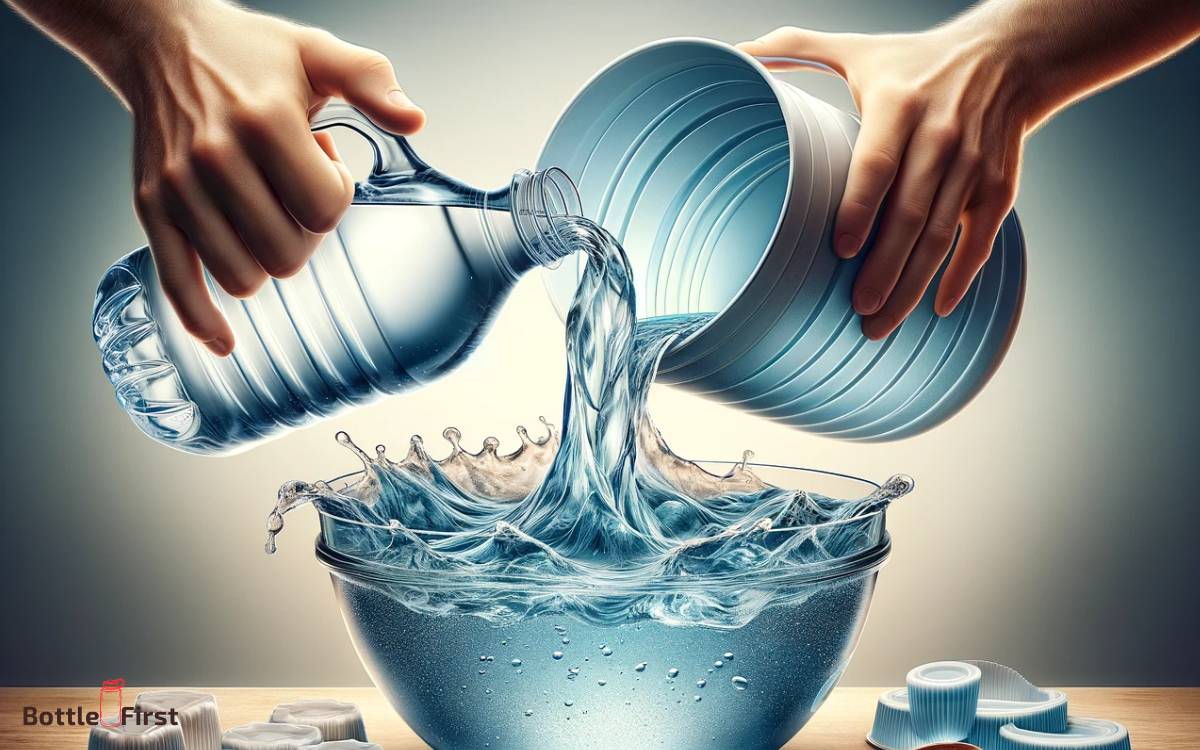
After choosing the appropriate bottle sizes, it is imperative to use clean water to fill the selected bottles for making water bottle jelly. The quality of the water used directly impacts the taste, texture, and safety of the final product.
Start by ensuring that the water source is potable and free from contaminants. Use filtered or distilled water to eliminate any impurities that could affect the clarity and consistency of the jelly.
Carefully fill each bottle with clean water, leaving just enough headspace to allow for expansion during the jelly-making process. It’s essential to prioritize hygiene during this step to prevent any bacteria or foreign particles from compromising the jelly.
Following these precise measures will contribute to the success of the water bottle jelly-making process.
Leave Space Unfilled
Upon filling the water bottles with clean water, it is essential to leave adequate space unfilled to allow for expansion during the jelly-making process.
To achieve this, follow these steps:
- Fill the water bottles with clean water, leaving approximately 20% of the bottle volume unfilled.
- Ensure that the bottles are securely capped to prevent any spillage during the expansion process.
- Leave the bottles undisturbed for at least 24 hours to allow for the water to reach equilibrium and expand to its maximum capacity.
- Once the expansion process is complete, the water bottles are ready to be used for making the jelly, allowing for the necessary space for expansion without any risk of leakage.
Step 5: Set and Chill
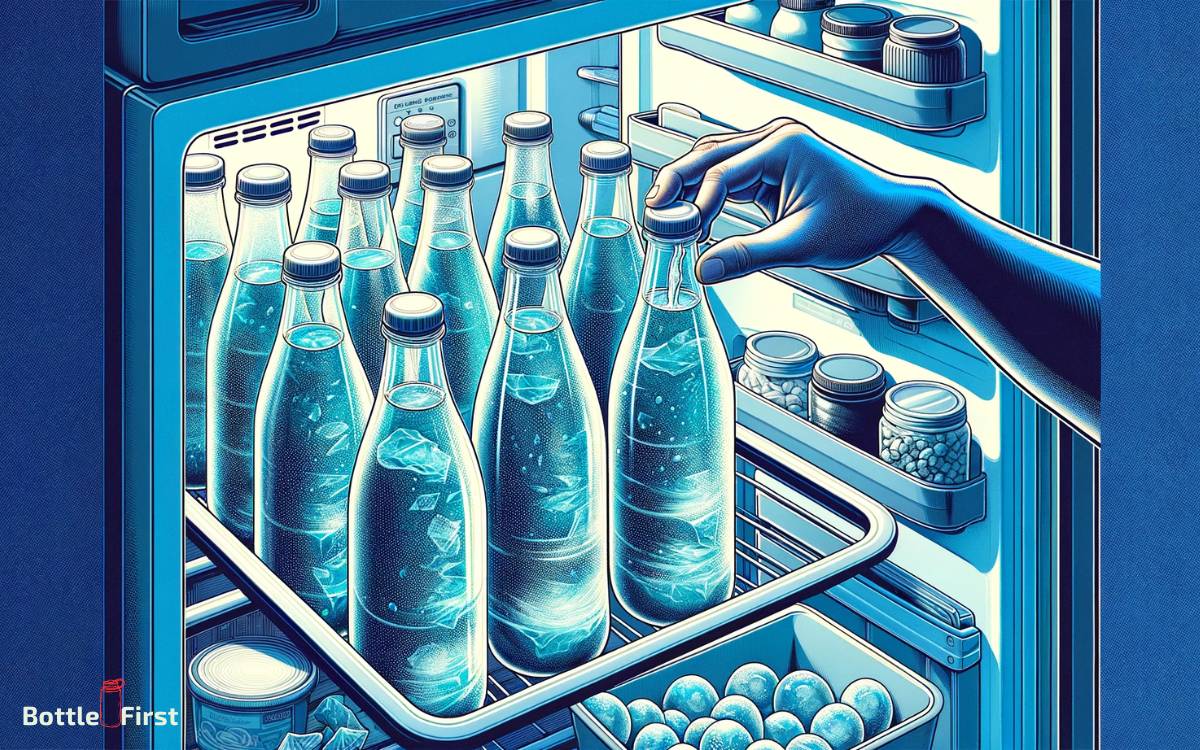
Once the jelly mixture is prepared, refrigerate it for at least 3 hours to allow it to set and chill before serving.
This critical step ensures that the jelly attains the desired firmness and consistency. During this time, the mixture will transform from a liquid to a delightful, wobbly jelly.
It is important to cover the container with a lid or plastic wrap to prevent any unwanted flavors or odors from seeping into the jelly.
Additionally, refrigerating the jelly in a level position will help maintain an even distribution of ingredients, resulting in a uniform texture.
The cooling process is essential for the jelly to solidify and set properly, ensuring a satisfying and enjoyable texture when consumed. Once the chilling period is complete, the jelly is ready to be enjoyed as a refreshing treat.
Step 6: Enjoy the Water Bottle Jelly
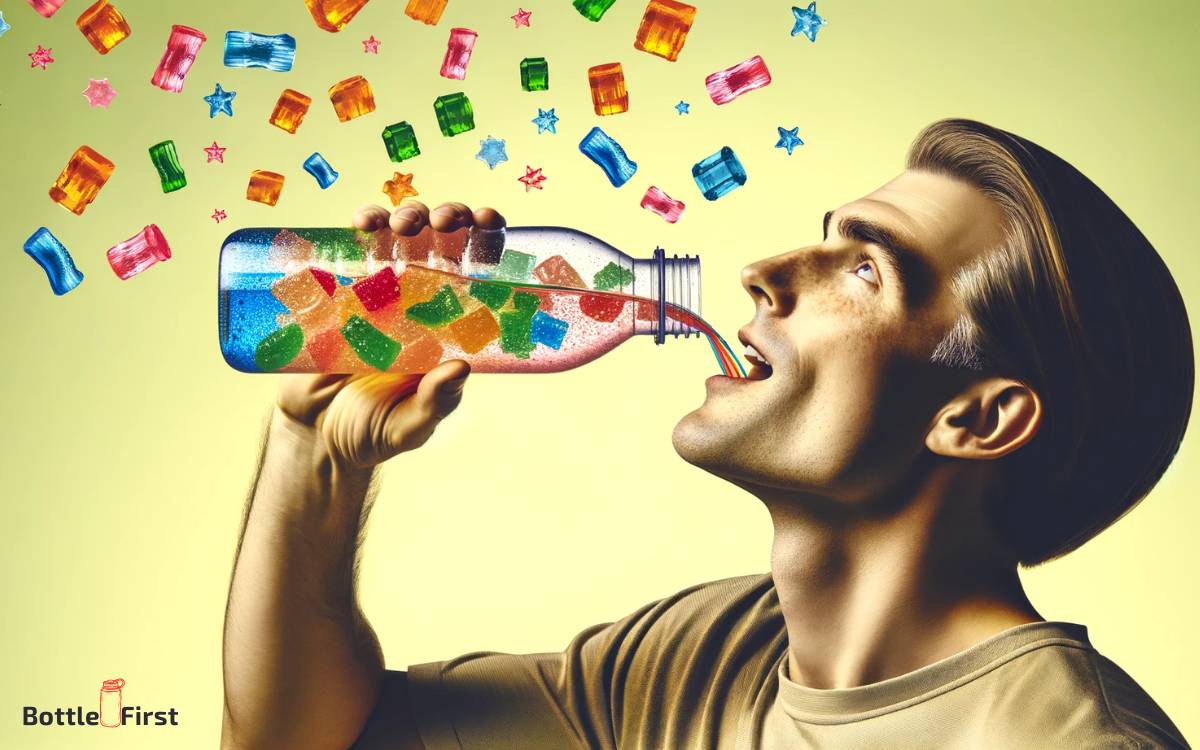
To savor the water bottle jelly, gently scoop it out of the container using a spoon and relish each wobbly bite.
Here are some innovative ways to enjoy this delightful treat:
- Experience the refreshing burst of flavor as the jelly melts in your mouth.
- Pair it with a dollop of whipped cream or a scoop of vanilla ice cream to enhance the taste and texture.
- Experiment with different toppings such as fresh fruit slices, chocolate shavings, or a drizzle of honey for added indulgence.
- Serve the water bottle jelly in elegant glassware to elevate the presentation and create a visually appealing dessert experience.
Embrace the versatility of water bottle jelly and let your creativity flow as you explore various ways to enjoy this unique delicacy.
Conclusion
Making water bottle jelly involves several steps. First, gather all the necessary materials. Next, prepare the bottles by cleaning and drying them thoroughly.
Then, mix the gelatin solution according to the instructions on the package. After that, add coloring and glitter to the gelatin mixture to create a visually appealing effect.
Once the gelatin is ready, carefully fill the bottles with the mixture, leaving some space at the top for the jelly to expand as it sets. Finally, place the filled bottles in the refrigerator to set and chill the jelly.
For example, a hypothetical scenario could involve a group of friends making water bottle jelly for a fun and unique party treat.
This process requires attention to detail and careful following of each step to ensure successful results.

