How to Repair Hot Water Bottle? Step-By-Step Guide!
Repairing a hot water bottle involves identifying the damaged area, applying a rubber repair kit, allowing it to dry, and testing it for leakage.
A hot water bottle is a simple yet effective way to keep warm. However, over time, it can develop leaks.
Instead of buying a new one, you can repair it yourself using a rubber repair kit, which is usually used for punctured bicycle tubes.
This process involves applying a rubber solution to the damaged area, placing a patch over it, and allowing it to dry.
Identifying the damaged area is the first step in repairing your hot water bottle. Fill the bottle with water and squeeze gently, looking for any signs of leaks.
Once identified, deflate the bottle and apply a rubber solution from a repair kit. Overlay a patch on the solution, ensuring it covers the damaged area entirely.
After the patch dries completely, test the bottle once more to verify the leak has been addressed.
Key Takeaway
Understanding The Common Issues With Hot Water Bottles
Hot water bottles are a handy and effective way to provide warmth and comfort during the colder months. However, like any other household item, they can experience some common issues over time.
Identifying Leaks And Tears
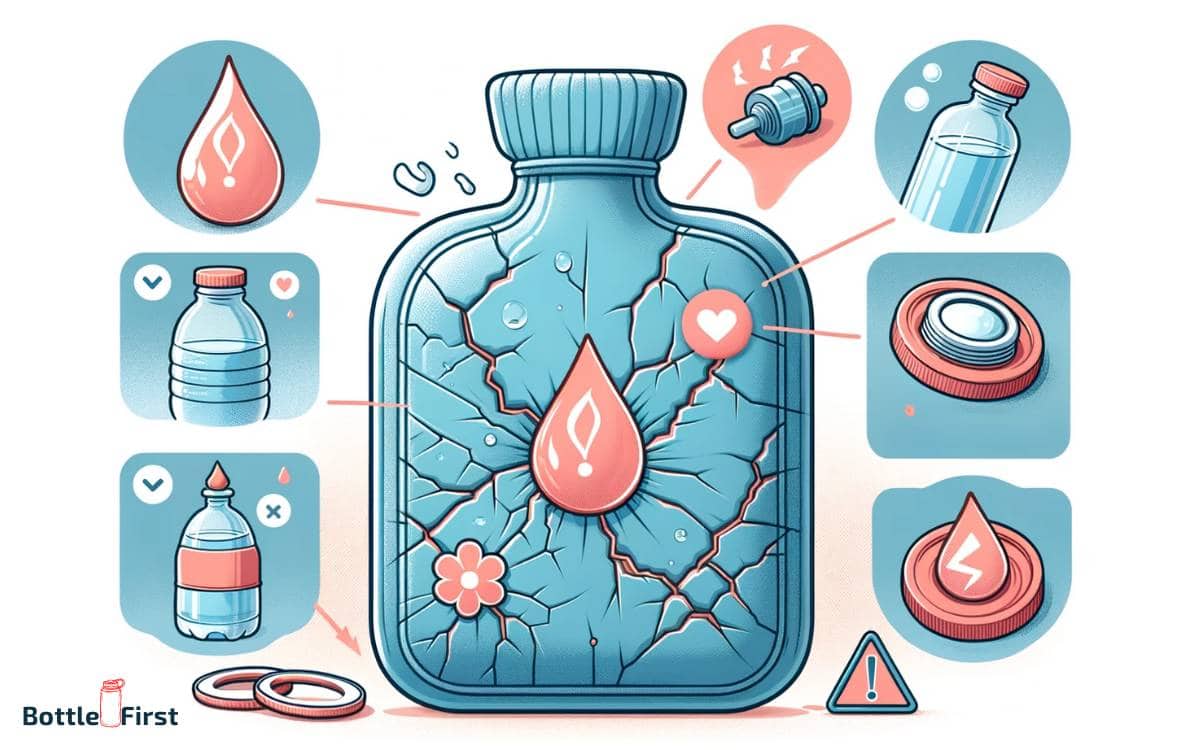
Hot water bottles may develop leaks or tears, resulting in the loss of hot water and rendering them ineffective.
Here are some key points to help you identify and tackle this issue:
- Look for visible signs of leakage such as wet spots or dampness around the bottle.
- Feel for any areas that may be unusually warm or wet.
- Fill the bottle with hot water and hold it against your body to check for any heat loss.
- If a leak is detected, empty the bottle and assess the size and location of the damage.
- Use a hot water bottle repair kit or a suitable adhesive to seal the leak or tear.
- Allow the repair to dry thoroughly before refilling the bottle and testing it for any further leaks.
Diagnosing Faulty Cap Or Stopper
A faulty cap or stopper can lead to water leakage and make it difficult to secure the hot water bottle properly.
Here are some key points to consider when diagnosing and resolving this issue:
- Inspect the cap or stopper for any visible damage, cracks, or worn-out seals.
- Ensure that the cap or stopper is tightly screwed or pressed into place to avoid any leaks.
- Test the seal by filling the bottle with hot water and tilting it at different angles.
- If there is a faulty cap or stopper, replace it with a new one to ensure a proper seal.
- Consider investing in a high-quality replacement cap or stopper to prevent future issues.
Recognizing Wear And Tear Over Time
Hot water bottles naturally experience wear and tear with frequent use and over time. It is important to recognize these signs to maintain the bottle’s functionality and prevent any accidents.
Here are key points to keep in mind:
- Check the bottle for cracks, splits, or bulges that may weaken its structural integrity.
- Inspect the material for any signs of degradation, such as discoloration or brittleness.
- Test the bottle’s flexibility by gently squeezing it to ensure it retains its shape and does not leak.
- If the hot water bottle shows significant wear and tear, it is advisable to replace it with a new one for safety reasons.
Remember, regular inspection and proper maintenance can help prolong the lifespan of your hot water bottle and ensure its safe and effective use.
By addressing these common issues promptly, you can continue enjoying the warmth and comfort it provides throughout the winter season.
Essential Tools And Materials For Hot Water Bottle Repair
Repairing a hot water bottle is a cost-effective solution that can save you money by extending the life of your trusty companion.
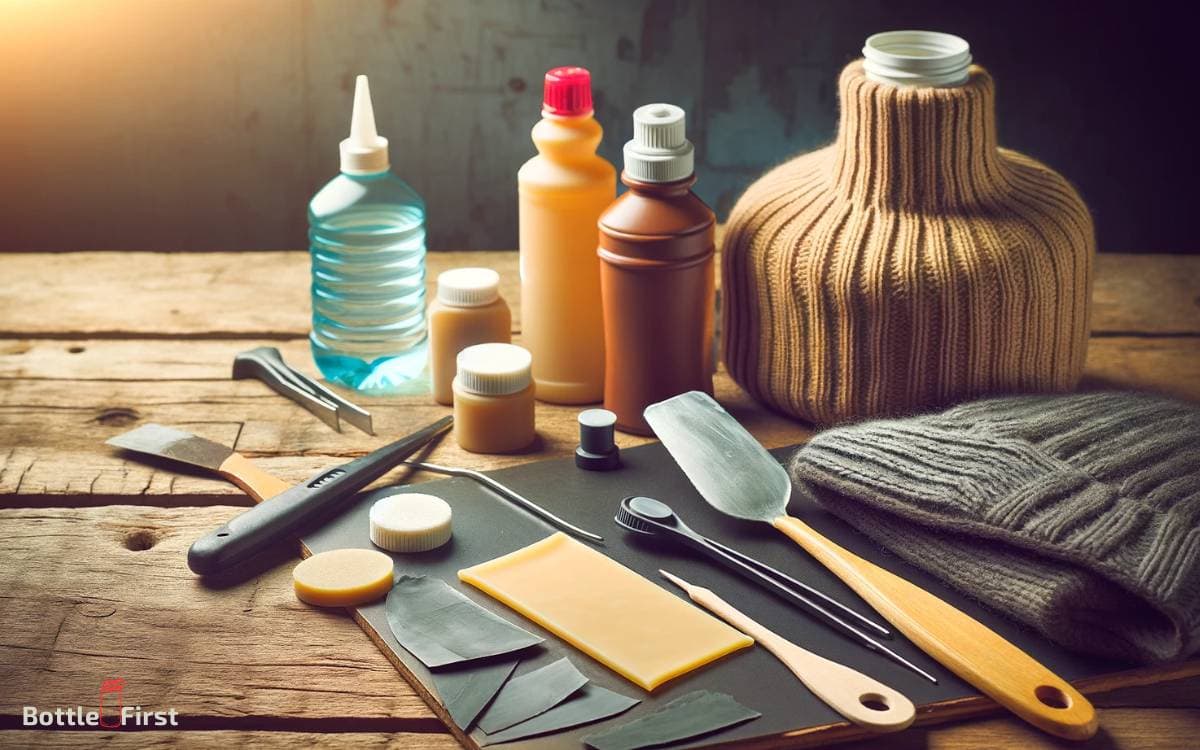
To successfully repair your hot water bottle, there are a few essential tools and materials you’ll need to have on hand.
Whether you’re dealing with a small puncture or a worn-out stopper, here’s what you’ll need:
Rubber Patch Or Adhesive
- Rubber patches or adhesive are vital for fixing small punctures or leaks in your hot water bottle.
- Look for a high-quality rubber patch or adhesive specifically designed for hot water bottle repairs.
- Ensure that the patch or adhesive is flexible, as it needs to conform to the shape of the hot water bottle without compromising its elasticity.
Hot Water Bottle Stopper
- A hot water bottle stopper is necessary if your bottle has a damaged or missing stopper.
- Select a stopper that matches the size and shape of your hot water bottle’s opening.
- You can find stoppers made of rubber, silicone, or other suitable materials to provide a proper seal.
Rubber Cement Or Adhesive
- Rubber cement or adhesive is essential for securing patches or stoppers onto the hot water bottle surface.
- Opt for a rubber cement or adhesive that dries clear and forms a strong bond.
- Make sure to follow the instructions provided with the product to ensure proper application and bonding.
Sandpaper Or File For Roughening Surfaces
- Sandpaper or a file is handy for roughening surfaces before applying rubber patches or adhesives.
- Gently sand or file the damaged area and the corresponding patch or stopper to improve adhesion.
- Be careful not to roughen the surface too aggressively, as it may cause further damage to the hot water bottle.
With these essential tools and materials, you’ll be well-equipped to tackle the repair of your hot water bottle.
Remember to carefully follow the instructions provided with the products and take your time to ensure a successful repair.
Once you’ve fixed your hot water bottle, you can enjoy its warmth and comfort for many more cozy nights to come.
Step-By-Step Guide To Repairing A Leaky Hot Water Bottle
Hot water bottles are a cozy and comforting solution for cold winter nights, but over time, they can develop leaks or tears.
Don’t worry! Repairing a leaky hot water bottle is a simple process that can be done right at home.
In this step-by-step guide, we will walk you through the process of fixing your hot water bottle, so you can continue to enjoy its warmth for many more seasons to come.
Draining And Drying The Hot Water Bottle
To begin the repair process, you’ll need to drain and dry the hot water bottle.
Follow these steps:
- Remove the stopper or cap from the bottle to allow the water to drain out completely.
- After draining the water, gently squeeze the bottle to remove any remaining moisture.
- Place the bottle in a dry and well-ventilated area to ensure it is fully dried before proceeding to the next step.
Locating And Marking The Leak Or Tear
Once the hot water bottle is dry, it’s time to locate and mark the source of the leak or tear.
Here’s what you should do:
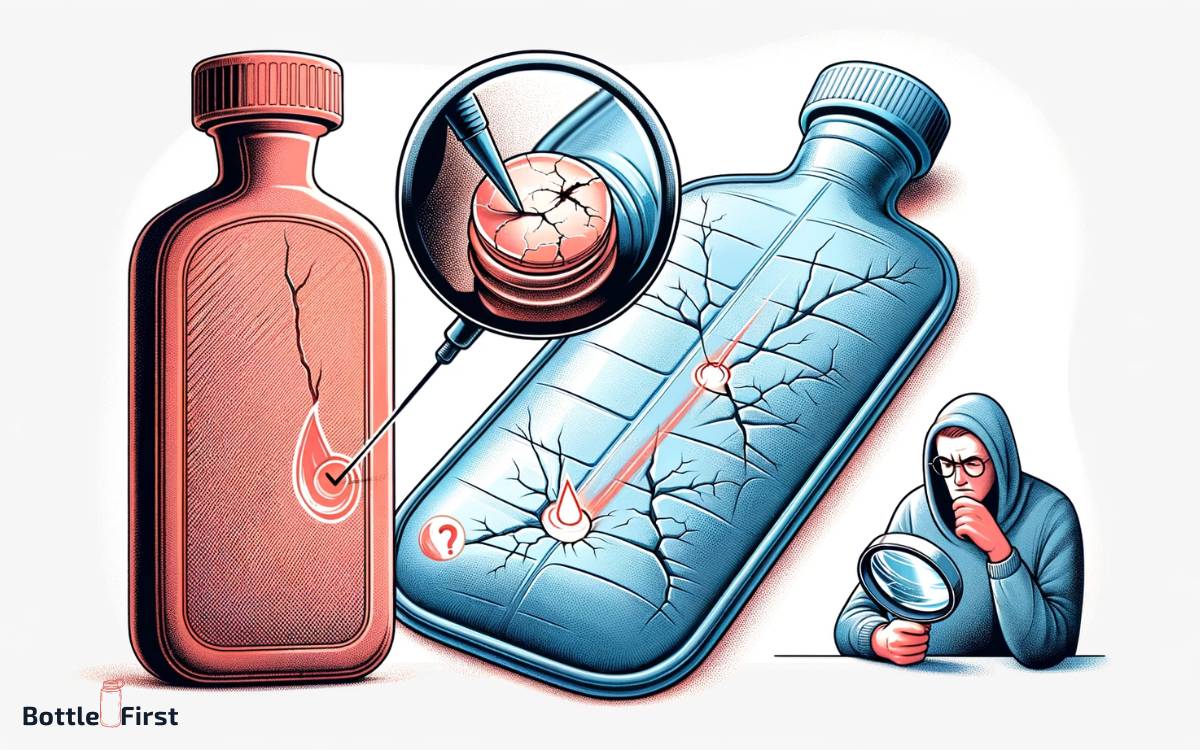
- Inspect the entire surface of the bottle, paying close attention to seams and corners where leaks are most likely to occur.
- Use your fingers to feel for any noticeable punctures, holes, or tears.
- Once the leak or tear is identified, mark the area with a pen or marker for easy reference during the repair process.
Preparing The Rubber Patch For Application
Now that you’ve identified the damaged area, it’s time to prepare the rubber patch that will fix the leak.
Follow these steps:
- Cut a piece of rubber patch slightly larger than the size of the marked area.
- Using sandpaper or a emery cloth, gently roughen the surface around the leak or tear. This will help the patch adhere better to the rubber surface.
- Clean the damaged area with rubbing alcohol or soapy water to remove any dirt or residue.
- Dry the area thoroughly before proceeding to the next step.
Applying The Patch And Ensuring A Tight Seal
With the rubber patch prepared, it’s time to apply it to the hot water bottle.
Here’s what you should do:
- Apply a thin layer of rubber adhesive or waterproof glue to the roughened surface of the hot water bottle.
- Place the rubber patch over the adhesive, ensuring that it covers the entire marked area.
- Press down firmly on the patch to ensure a tight seal and minimize the risk of future leaks.
- Allow the adhesive to dry completely as per the manufacturer’s instructions before moving on to the next step.
Testing The Repaired Hot Water Bottle For Leaks
Now that you’ve successfully applied the patch, it’s essential to test the repaired hot water bottle for leaks.
Follow these steps before using it again:
- Fill the repaired hot water bottle with water, taking care not to overfill it.
- Screw the stopper or cap tightly to ensure a secure seal.
- Gently squeeze the bottle to check for any signs of water leakage.
- If there are no leaks, you can now confidently use your repaired hot water bottle. However, if leaks are detected, repeat the repair process or consider replacing the bottle.
With this step-by-step guide, you can easily repair a leaky hot water bottle and extend its lifespan. Now you can enjoy the warmth and comfort it provides without any worries.
Stay cozy all winter long!
Fixing A Faulty Hot Water Bottle Cap Or Stopper
If you’ve noticed that your hot water bottle is leaking or not retaining heat properly, it may be due to a faulty cap or stopper.
Fixing this issue is relatively simple and will help extend the lifespan of your hot water bottle.
Inspecting The Cap Or Stopper For Damage Or Wear
Before proceeding with any repairs, it’s essential to inspect the cap or stopper thoroughly. Look for signs of damage or wear that could be contributing to the leak or poor heat retention.
Here are some key points to consider:
- Check for cracks or holes in the cap or stopper that could be causing leakage.
- Look for worn or frayed rubber around the edges of the cap or stopper.
- Ensure that the cap or stopper is free from any debris or residue that could affect its performance.
Replacing The Cap Or Stopper With A New One
If you’ve identified any damage or wear on the cap or stopper, it’s best to replace it with a new one.
Here’s how to do it:
- Purchase a suitable replacement cap or stopper from your local store or online retailer.
- Remove the old cap or stopper by twisting it counterclockwise until it comes off.
- Clean the opening of the hot water bottle using warm soapy water and ensure it’s dry before proceeding.
- Take the new cap or stopper and twist it clockwise onto the bottle until secure. Ensure a tight fit to prevent leakage.
Ensuring A Secure Fit To Prevent Leaks
To ensure that the cap or stopper fits securely, there are a few things you can do:
- Apply a small amount of water-based lubricant to the rubber seal of the cap or stopper before screwing it onto the bottle. This will help create a better seal and prevent leaks.
- Place a cloth or towel between your hand and the cap or stopper when tightening it. This will provide a better grip and allow you to secure it tightly.
- Check the cap or stopper periodically to ensure it’s still tightly secured, especially after filling the hot water bottle with hot water.
Remember, a secure fit is crucial to prevent leaks and maximize the heat retention of your hot water bottle.
By following these steps, you can easily fix a faulty hot water bottle cap or stopper. Regularly inspecting and maintaining your hot water bottle will help ensure its longevity and reliable performance.
So, if you’ve been experiencing leaks or poor heat retention, give these simple repairs a try, and enjoy the warmth and comfort of your hot water bottle once again.
Tips For Maintaining And Extending The Lifespan Of Hot Water Bottles
Avoiding Extreme Temperatures Or Exposure To Sunlight
Maintaining the right temperature and protecting your hot water bottle from sunlight are crucial for its longevity.
Here are some tips to keep in mind:
- Keep the hot water bottle away from extreme temperatures, both hot and cold. Exposure to high temperatures can cause the rubber or plastic to degrade, while extreme cold can make it brittle and prone to cracking.
- Avoid leaving the hot water bottle in direct sunlight for prolonged periods. Uv radiation can damage the material and weaken it over time.
- Store the hot water bottle in a cool, dry place when not in use. This will prevent it from getting overheated or the water inside becoming too warm, which can compromise its structural integrity.
Proper Storage And Handling Techniques
Proper storage and handling are essential to ensure the hot water bottle stays in good condition.
Consider the following tips:
- Store the hot water bottle in an upright position to prevent any leaks or spills. This will also help maintain the shape of the bottle.
- Keep it away from sharp objects or rough surfaces that could puncture or damage the material.
- Avoid overfilling the bottle, as excessive pressure can cause it to burst. Fill it only to the recommended capacity specified by the manufacturer.
- When filling the hot water bottle, follow the instructions provided and ensure all seals and caps are tightly closed to prevent any leaks.
Regularly Inspecting And Cleaning The Hot Water Bottle
Regular inspections and proper cleaning will help extend the lifespan of your hot water bottle.
Here’s what you should do:
- Before each use, inspect the hot water bottle for any signs of wear and tear, such as cracks, leaks, or bulges. If you notice any damage, it is best to replace it to avoid any potential accidents or injuries.
- After each use, empty the hot water bottle and allow it to cool down completely before cleaning. Rinse the bottle with lukewarm water and mild soap, ensuring there is no soap residue left.
- Thoroughly dry the bottle before storing it to prevent the growth of mold or bacteria.
- Periodically check the stopper or cap to ensure it is in good condition and functioning properly. Replace any damaged or worn-out stoppers to maintain the bottle’s seal.
Knowing When It’s Time To Replace The Hot Water Bottle
Even with proper maintenance, hot water bottles have a limited lifespan.
Here are some indicators that it’s time to replace yours:
- Check for any significant signs of wear and tear, such as cracks, leaks, or bulges. These compromises in the material can make it unsafe to use.
- If the rubber or plastic has become sticky, brittle, or discolored, it is a clear indication that the hot water bottle is deteriorating and should be replaced.
- Pay attention to any unusual smells or taste from the water or bottle itself. This could be a sign of contamination and should not be ignored.
- If the hot water bottle fails to retain heat or leaks after repeated use, it is time to invest in a new one for your comfort and safety.
Remember, proper care and maintenance will help your hot water bottle last longer, providing you with warmth and comfort whenever you need it.
Can the Same Steps Be Applied to Repair Both Plastic Water Bottles and Hot Water Bottles?
When it comes to repairing plastic water bottles and hot water bottles, the same steps may not be applied. While both bottles are made of plastic, hot water bottles require additional precautions due to their intended purpose. Specialized patches or sealants designed for repairing hot water bottles should be used instead.
Conclusion
Overall, repairing a hot water bottle is a simple and cost-effective solution that can extend its lifespan and prevent unnecessary waste.
By following the steps outlined in this blog post, you can confidently tackle common issues such as leaks, cracks, and worn-out stoppers.
Remember to thoroughly inspect your hot water bottle before attempting any repairs and always prioritize safety.
Whether you opt for using a hot water bottle repair kit or utilizing household items, the key is to take your time and be patient throughout the process.
Repairing your hot water bottle not only saves you money but also helps reduce your environmental footprint by minimizing the need for replacing a perfectly functional item.
So, next time your trusty hot water bottle starts to show signs of wear and tear, don’t hesitate to give it a second chance.
With a little diy effort, you can enjoy the soothing warmth and comfort it provides for years to come.
Keep in mind that regular maintenance and proper storage can also help prevent future damage, so it’s worth investing some time in these preventive measures.
Happy repairing!


