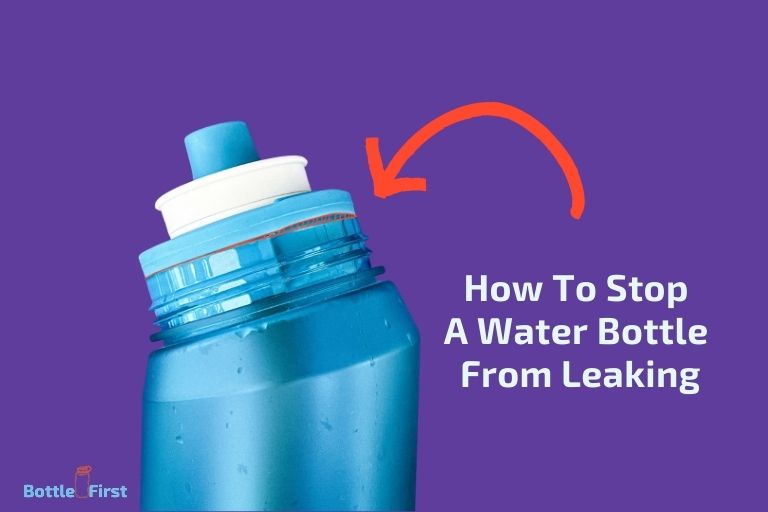
How to Stop a Water Bottle from Leaking? 7 Easy Steps!
A leaky water bottle can be an annoying inconvenience, causing everything from damp bags to missed sips of your favorite beverage.
But fear not, as we’ve put together a straightforward step-by-step guide to help you put an end to water bottle leaks once and for all.
In this guide, we’ll show you how to inspect your bottle’s cap and seal, properly secure the cap, avoid overfilling, store the bottle correctly, maintain cleanliness, and even consider using additional protective measures.
By the end of this guide, you’ll have the knowledge and tools to keep your water bottle dry and your daily activities hassle-free.
Let’s dive in and learn how to stop a water bottle from leaking!
Easy Steps to Prevent Water Bottle Leaks
If you’re tired of dealing with a leaky water bottle, you’re in the right place. Follow these simple steps to prevent your water bottle from leaking and keep your belongings dry.
Step 1: Check the Cap and Seal
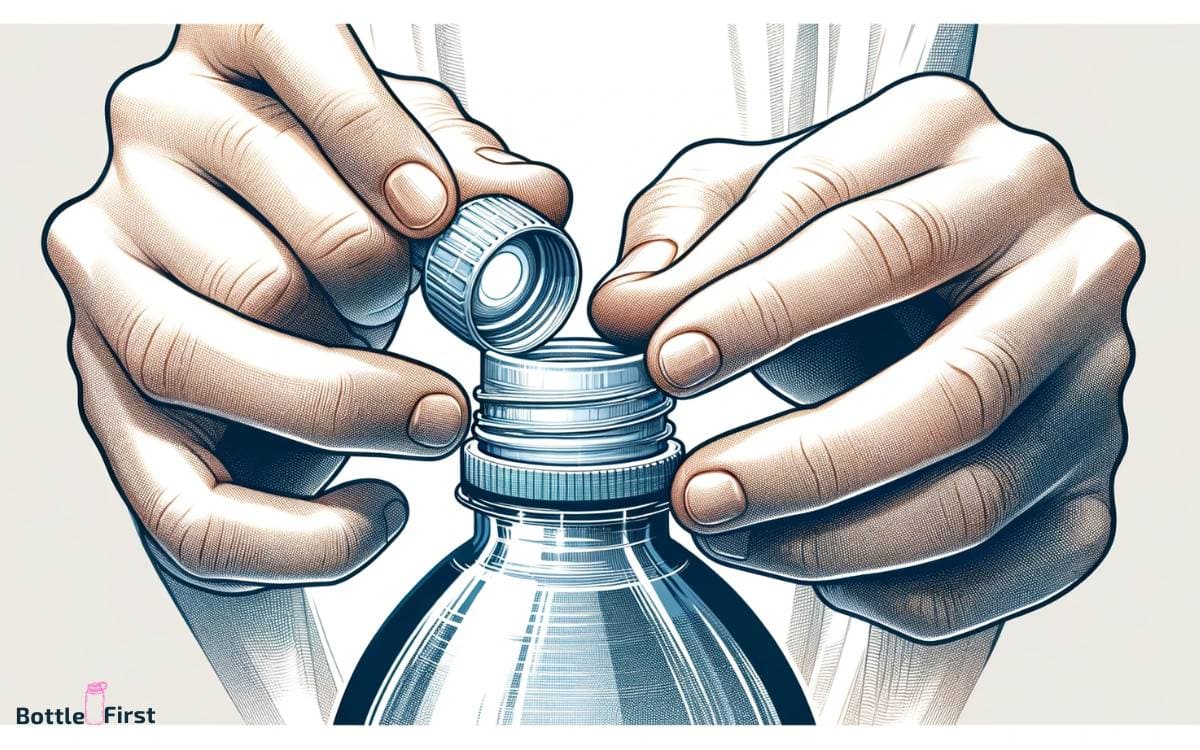
Inspect the Cap: Examine the cap of your water bottle to ensure there are no visible cracks, chips, or signs of wear and tear. If you find any damage, it may be time to replace the cap.
Inspect the Seal: Check the rubber or silicone seal inside the cap for any damage or debris. Make sure it’s clean and in good condition. A damaged seal can cause leaks.
Step 2: Tighten the Cap Properly
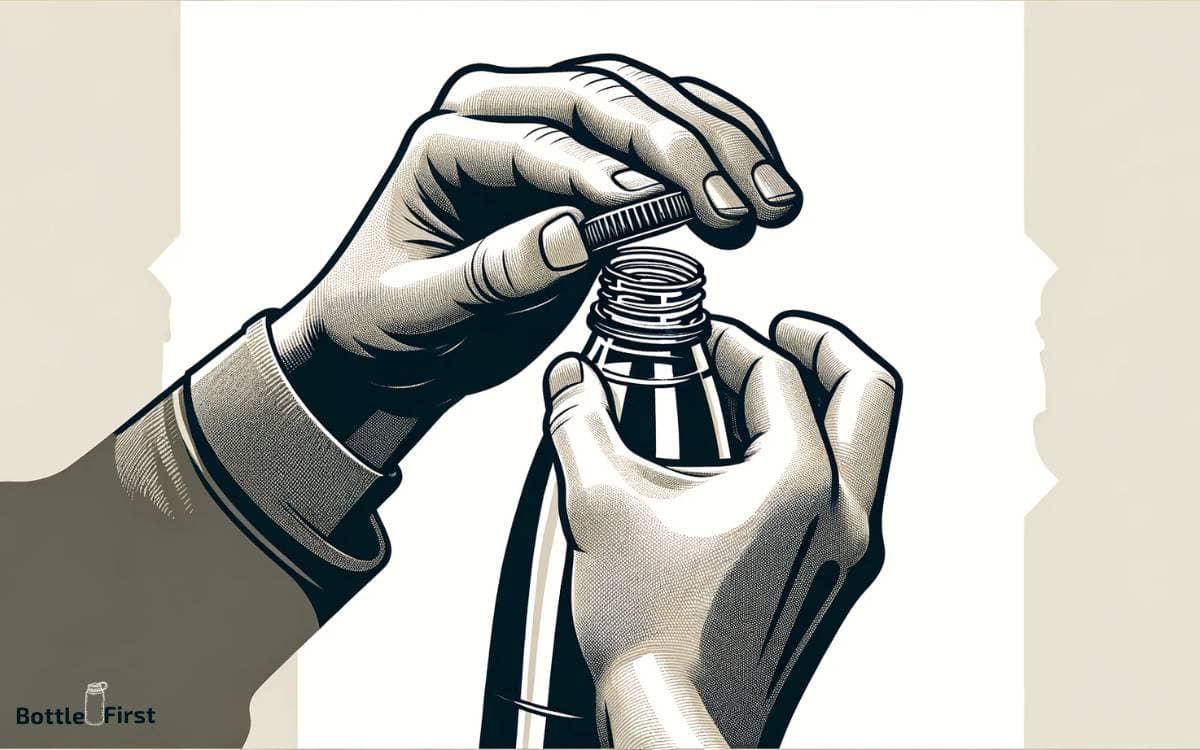
Securely Screw the Cap: After filling your water bottle, make sure to tighten the cap as much as possible. A loose cap is a common cause of leaks. Ensure it’s snug but not over-tightened to avoid damaging the threads.
Step 3: Avoid Overfilling
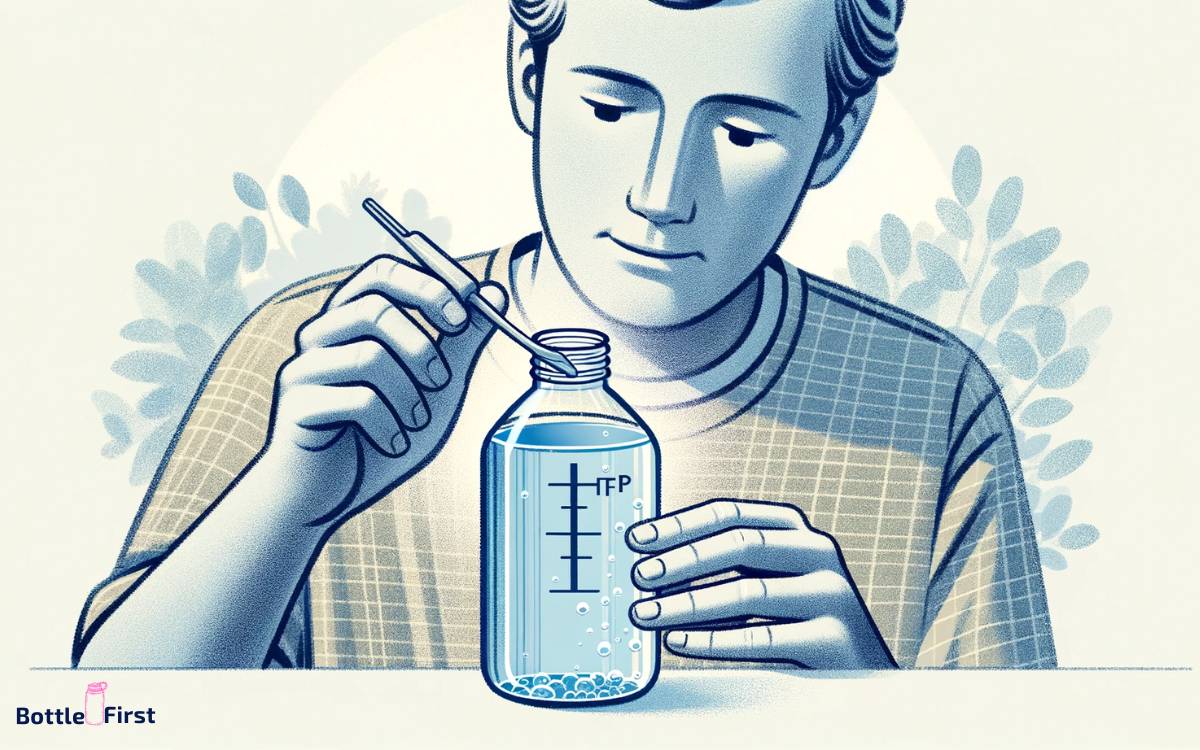
Leave Some Space: To prevent leaks due to pressure buildup, don’t fill your water bottle to the brim. Leave a small gap at the top, especially if your bottle doesn’t have an air release valve.
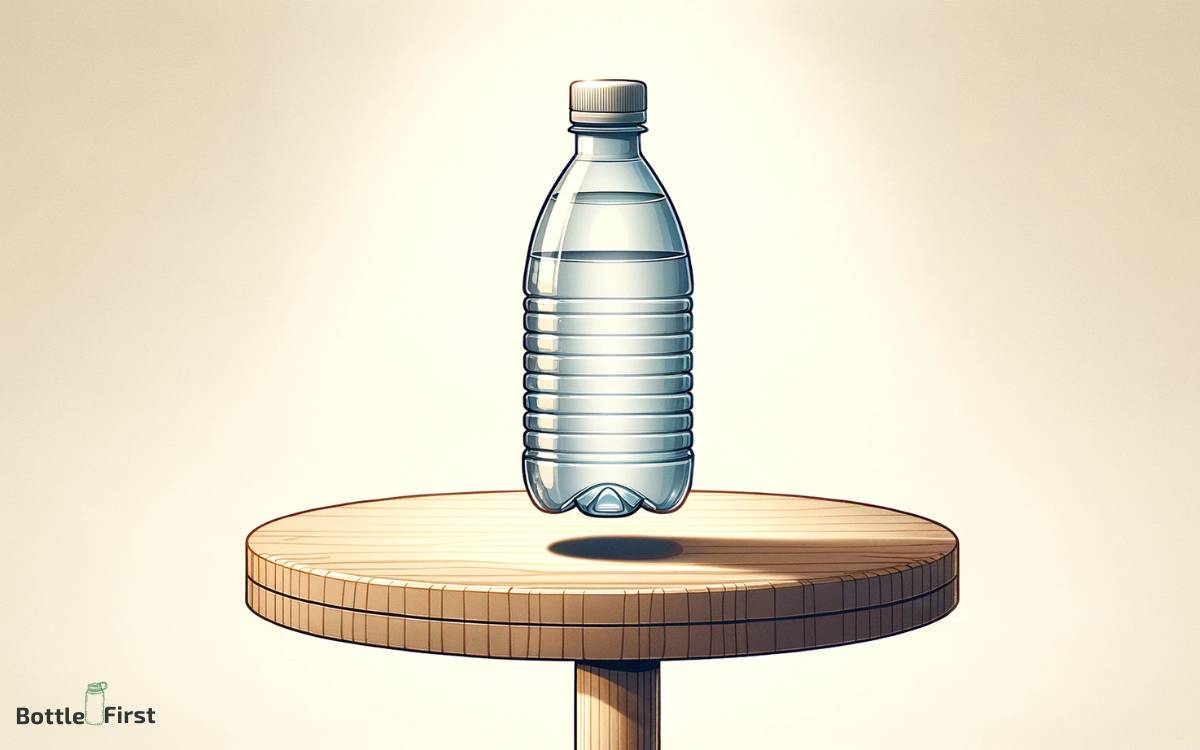
Step 4: Keep It Upright
Store Upright: When not in use, keep your water bottle upright. Avoid tossing it into your bag or placing it on its side, as this can increase the chances of leakage.
Step 5: Clean Regularly
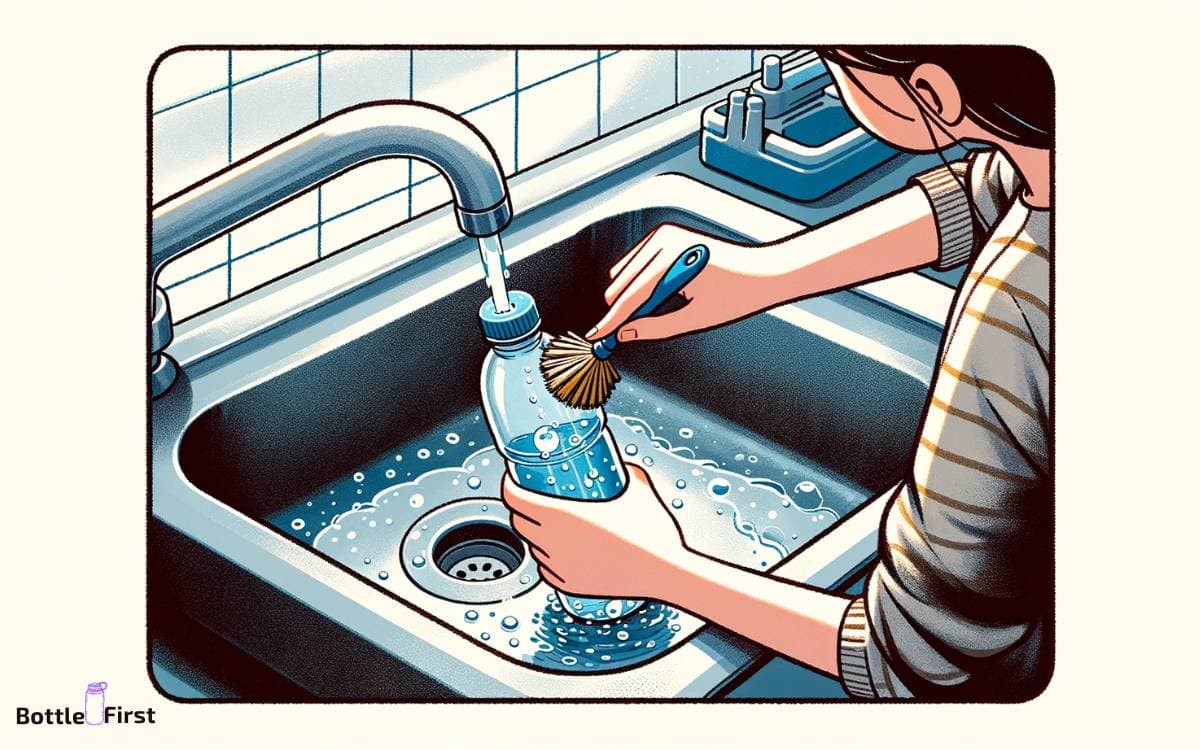
Clean the Cap and Seal: To maintain a leak-free water bottle, clean the cap and seal regularly. Use warm, soapy water and a brush to remove any residue or buildup. Rinse thoroughly and let it dry completely before reassembling.
Step 6: Use a Bottle Pouch or Holder
Protect Your Bottle: If you’re concerned about your water bottle getting damaged or leaking in your bag, consider using a bottle pouch or holder. This adds an extra layer of protection.
Step 7: Replace Old or Damaged Bottles
Know When to Say Goodbye: If your water bottle continues to leak despite your efforts to fix it, or if it’s showing significant wear and tear, it might be time to invest in a new one.
By following these simple steps, you can enjoy a leak-free water bottle and avoid any unwanted messes or wet belongings. Remember to regularly maintain and inspect your water bottle to ensure it stays in good working condition.
Why Is Your Water Bottle Leaking?
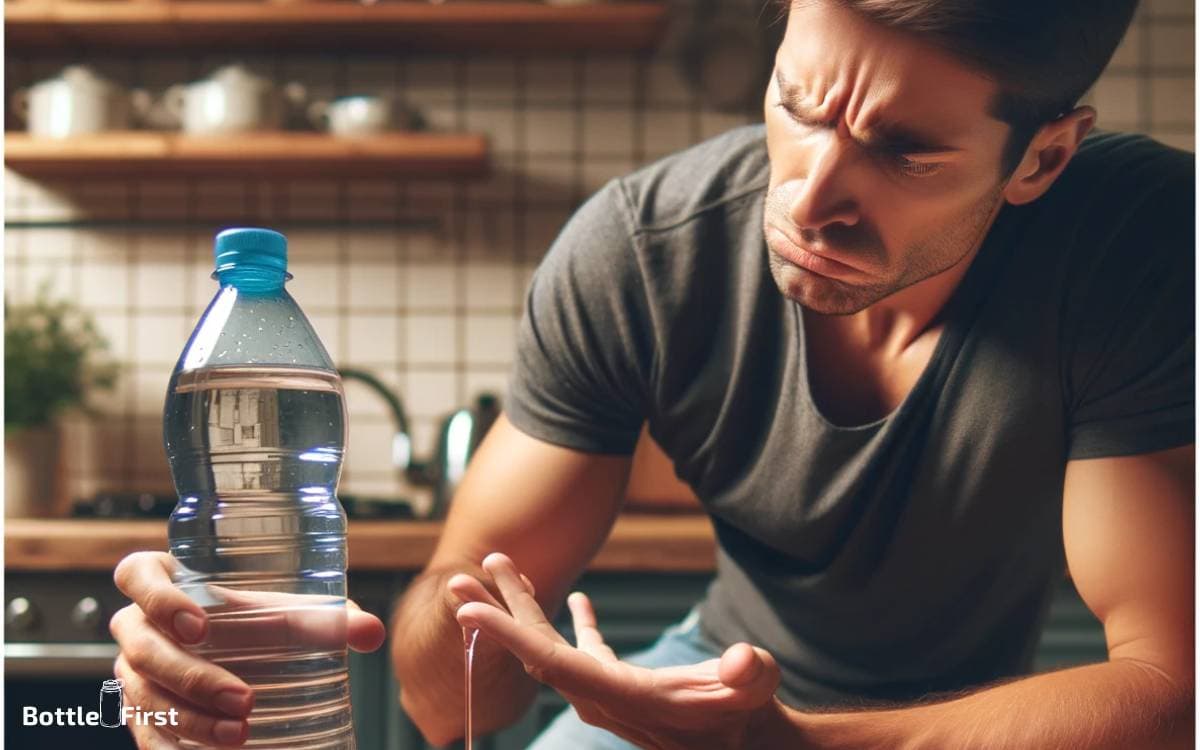
Have you ever experienced the frustration of finding your water bottle leaking in your bag, leaving all your belongings soaked?
It’s not only annoying but can also ruin important items like electronic devices or paperwork. Understanding the root cause of this issue is vital to prevent it from happening again.
In this section, we will discuss some possible reasons for water bottle leakage and how to address them effectively.
Possible Reasons For Leakage:
Damaged or worn-out sealing ring: The sealing ring, also known as the o-ring, is responsible for creating a watertight seal between the bottle cap and the bottle itself. If the sealing ring is damaged, worn out, or not properly seated, it can result in water leakage.
Ensure the sealing ring is in good condition and properly positioned before tightening the cap.
Loose or improperly secured cap: A loose or improperly secured cap is another common reason why water bottles tend to leak. If the cap is not tightened securely, even a slight movement or pressure can cause leakage.
Make sure to tighten the cap firmly until you feel resistance, but avoid over-tightening to prevent damage to the cap or threads.
Cracks or damage to the bottle: Any cracks, dents, or damage to the water bottle itself can compromise its integrity and lead to leaks.
Even tiny cracks that may not be easily visible can allow water to seep out. Inspect your water bottle regularly for any signs of damage and consider replacing it if necessary.
Temperature-related issues: Extreme temperature changes can also contribute to water bottle leakage. When exposed to high temperatures, the liquid inside the bottle expands, creating pressure that can force the water to leak out.
Avoid leaving your water bottle in hot environments or direct sunlight for extended periods to prevent this problem.
Incorrect water bottle design: Some water bottle designs may have inherent flaws that make them prone to leaking. Certain flip-top or straw-style bottles, for instance, may experience leakage if not closed properly or if the mechanism malfunctions.
Consider choosing a water bottle with a design and closure system that has a proven track record of preventing leaks.
Understanding these possible reasons for water bottle leakage can help you troubleshoot the issue and take necessary preventive measures.
By ensuring the proper condition and alignment of sealing rings, securely fastening caps, inspecting the bottle for damage, avoiding extreme temperatures, and selecting a reliable design, you can reduce the risk of experiencing leaks and keep your belongings safe and dry.
Remember, a leak-free water bottle is not only convenient but also saves you from unnecessary mess and frustration.
Evaluating The Water Bottle
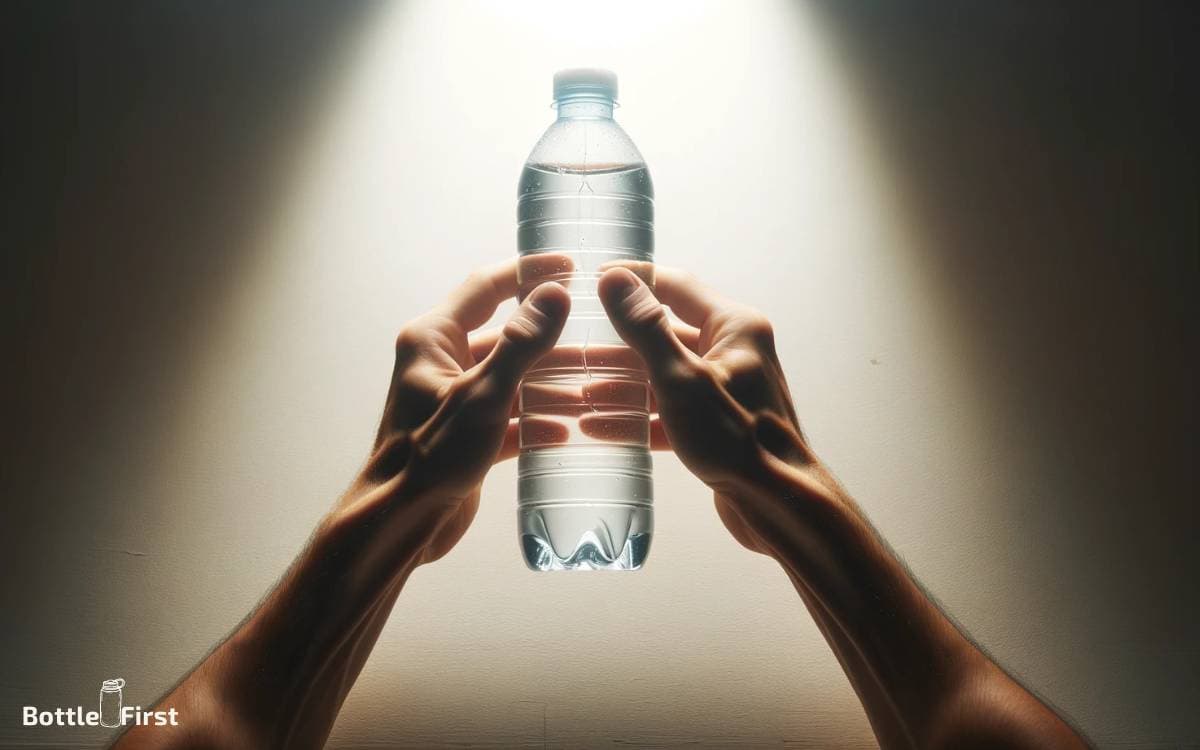
When it comes to preventing a water bottle from leaking, one of the first steps is to evaluate the bottle itself. Inspecting the bottle for damage and identifying weak spots and cracks is crucial in ensuring its integrity.
Inspecting the bottle for damage:
- Check for any visible signs of damage, such as cracks, dents, or punctures.
- Look for worn-out or deteriorated areas, especially around the lid or cap.
- Examine the seams and edges for any irregularities or gaps.
Identifying weak spots and cracks:
- Run your fingers along the bottle’s surface to feel for any unevenness or rough patches.
- Pay close attention to areas that have undergone excessive wear and tear.
- If there are any cracks, however small, they can potentially lead to leaks.
It’s important to address any issues with the water bottle before relying on it to stay leak-free. By carefully inspecting the bottle and identifying any weak spots or cracks, you can take proactive measures to ensure its proper functioning.
Remember, a thorough evaluation is a crucial step toward stopping a water bottle from leaking.
Effective Diy Fixes For Leaking Water Bottles
If you’ve ever experienced the frustration of a leaking water bottle, you know how annoying it can be. Not only does it create a mess, but it also wastes water and can make your bag or backpack damp.
Fortunately, there are some simple do-it-yourself fixes that can help you stop your water bottle from leaking.
Whether it’s repairing cracks, ensuring a snug fit, or creating a tight seal, these techniques will have your water bottle leak-free in no time.
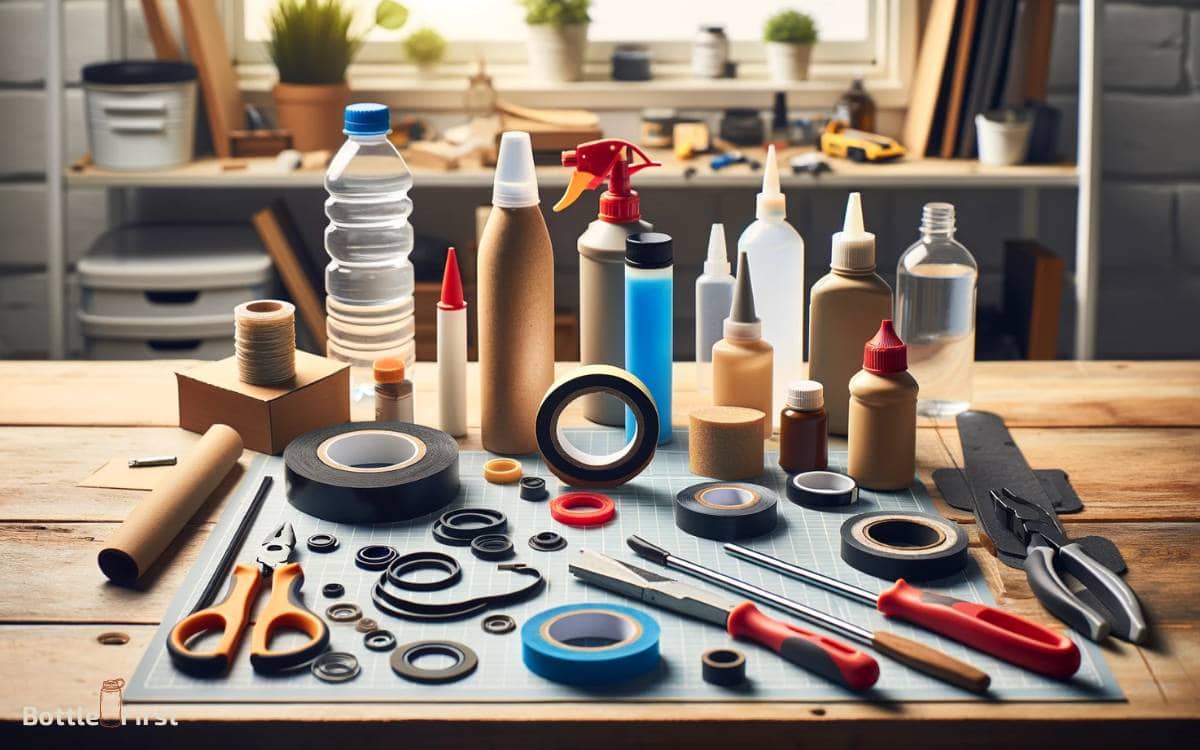
Using Silicone Sealant To Repair Cracks:
- Apply a small amount of silicone sealant to the cracks or holes in the water bottle.
- Smooth out the sealant with a damp cloth to ensure proper adhesion.
- Allow the silicone sealant to dry completely, as per the manufacturer’s instructions.
Applying Heat Shrink Tubing For A Snug Fit:
- Cut a piece of heat-shrink tubing that is slightly larger than the area of the water bottle that is leaking.
- Slide the heat shrink tubing over the leaking area, ensuring it covers the entire section.
- Use a heat gun or hairdryer on a high heat setting to warm the tubing. This will cause it to shrink and form a tight seal around the water bottle.
- Allow the tubing to cool and set before testing the water bottle for leaks.
Utilizing Plumber’s Tape For A Tight Seal:
- Wrap the plumber’s tape tightly around the threads of the water bottle cap or any other areas where leaks may occur.
- Be sure to wrap the tape in a clockwise direction to ensure a tight seal when the cap is screwed on.
- Screw the cap back onto the water bottle, making sure it is secure but not over tightened.
Remember, before using any DIY fixes, it’s important to identify the source of the leak. Inspect your water bottle thoroughly to determine whether it’s a crack, a faulty cap, or some other issue.
Once you’ve identified the problem, you can then choose the appropriate method to fix it.
Don’t let a leaking water bottle dampen your day; take matters into your own hands with these effective diy fixes.
Tips For Preventing Water Bottle Leakage
Water bottle leakage can be an annoying and inconvenient problem to deal with. From wet backpacks to ruined electronics, a leaky water bottle can cause a lot of unnecessary stress.
Luckily, there are some simple tips you can follow to prevent your water bottle from leaking.
Choosing The Right Water Bottle Material
The material of your water bottle plays a crucial role in preventing leaks.
Here are some options to consider:
- Stainless steel: Stainless steel water bottles are durable and have excellent leak-proof properties. Look for bottles with double-wall vacuum insulation for added leak protection
- BPA-free plastic: If you prefer a lightweight option, BPA-free plastic bottles can be a good choice. Opt for bottles that have a secure screw-on cap to minimize the risk of leaks.
- Glass: Glass water bottles are another leak-resistant option. Look for bottles with silicone sleeves for extra protection against breakage and leaks.
Properly Maintaining And Cleaning Your Water Bottle
To ensure that your water bottle remains leak-free, regular maintenance and cleaning are essential.
- Regularly inspect the bottle: Check your water bottle for any signs of wear and tear. Look for cracks, dents, or damaged seals that may contribute to leaks. Replace any faulty parts promptly.
- Clean the bottle thoroughly: Use a bottle brush and mild dish soap to clean the inside of your water bottle. Rinse it thoroughly to remove any soap residue. Bacteria buildup can weaken seals and cause leaks, so regular cleaning is crucial.
- Pay attention to the cap: Clean the cap and its sealing ring regularly. If the ring is damaged or worn out, replace it to maintain a tight seal and prevent leaks.
Storing The Bottle Correctly To Avoid Damage
Proper storage of your water bottle can also help prevent leaks.
- Store the bottle upright: Always store your water bottle in an upright position. This helps maintain proper seal alignment and reduces the risk of leaks.
- Avoid extreme temperatures: Extreme heat or cold can cause the materials of your water bottle to expand or contract, potentially leading to leaks. Keep your bottle in a temperate environment whenever possible.
- Protect the bottle: Use a protective sleeve or case to minimize the risk of damage to your water bottle. Scratches or dents can compromise the integrity of the bottle and make it more prone to leaks.
By choosing the right water bottle material, properly maintaining and cleaning your bottle, and storing it correctly, you can significantly reduce the chances of experiencing leaks.
Take these simple steps to ensure that your water stays where it belongs – in the bottle and not on your belongings.
When To Seek Professional Help
If you’ve tried all the diy solutions mentioned earlier and your water bottle is still leaking, it may be time to consider seeking professional help.
Here are a few key points to keep in mind when determining whether to reach out to a repair service:
Persistent leakage: If your water bottle continues to leak, despite trying various fixes, it’s a clear sign that the issue may require professional intervention.
Complex repairs: Some leaks may be more complex and difficult to address without specialized knowledge and tools. It’s best to leave such repairs to the experts who have experience dealing with similar issues.
Manufacturer’s warranty: If your water bottle is still under warranty, it’s advisable to contact the manufacturer or authorized repair centers.
Attempting repairs on your own might void the warranty, leading to additional costs or loss of warranty coverage.
Safety concerns: Leaking water bottles can pose safety risks, especially if the liquid reaches electrical appliances or sensitive equipment. To ensure your well-being and prevent any potential hazards, professional help is highly recommended.
Peace of mind: Sometimes, seeking professional assistance can provide you with peace of mind.
The experts can diagnose the exact problem, solve it efficiently, and guarantee a reliable solution, allowing you to continue using your water bottle without worries.
To find a reputable repair service, consider the following steps:
- Ask for recommendations: Reach out to friends, family, or colleagues who may have experienced similar issues with their water bottles. Their recommendations can help you determine reliable repair services.
- Check online reviews and ratings: Look for repair services online and read customer reviews and ratings. This will give you an insight into their quality of service and reliability.
- Verify credentials: Ensure that the repair service you choose employs trained professionals who have the necessary expertise to fix water bottle leaks. Check if they are certified or authorized by the manufacturer, as this reflects their credibility.
- Get price estimates: Contact different repair services and inquire about their price estimates. This will help you compare costs and choose a service that aligns with your budget.
- Inquire about warranties: Ask the repair service about any warranties or guarantees they provide on their work. A reputable service will stand behind their repairs and offer warranties to ensure customer satisfaction.
Remember, seeking professional help is a viable option when all diy solutions fail.
Whether your water bottle leak is persistent, complex, or poses safety concerns, professional repair services can provide you with peace of mind, safe and reliable repairs, and the opportunity to continue using your favorite water bottle.
Conclusion
Preventing water bottle leaks is a common concern for many individuals. By following these simple yet effective methods, you can put an end to this pesky problem.
Start by ensuring a tight seal on the cap or lid, checking for any cracks or damages that may compromise its functionality.
Consider investing in leak-proof water bottles specifically designed to withstand rugged activities or travel.
Another helpful tip is to always store your water bottle upright to maintain the integrity of the seal. If you encounter a persistent leak, try using silicone or teflon tape to create an additional barrier.
Remember, the key is to be proactive in identifying and addressing any potential issues with your water bottle to prevent leaks before they occur. Implement these strategies and enjoy a leak-free hydration experience wherever you go.
FAQ About Stop A Water Bottle From Leaking
How Do You Fix A Leaking Water Bottle?
To fix a leaking water bottle, try tightening the cap, checking for cracks or damage, or replacing the seal.
Why Is My Water Bottle Leaking?
Water bottles can leak due to a loose cap, worn-out seal, cracks, or poor quality construction.
Can You Prevent Water Bottles From Leaking?
Prevent water bottle leaks by ensuring the cap is properly closed, avoiding extreme temperature changes, and checking for any damage regularly.
How Do You Choose A Leak-Proof Water Bottle?
When selecting a leak-proof water bottle, consider features like a reliable seal, durable construction, and positive customer reviews.
What Can I Do If I Can’t Fix My Leaking Water Bottle?
If you are unable to fix a leaking water bottle, consider contacting the manufacturer for advice or purchasing a new bottle.
