Diy Blender Bottle: How to Make Your Own Blender Bottle!
Updated on
Creating a DIY blender bottle at home is an easy and cost-effective way to make your own portable mixing device.
You can use a variety of materials like an old jar, marbles, some glue, and a tight lid to keep the contents secure and well-mixed.
A DIY blender bottle is a self-made version of a commercially available blender bottle. It’s typically used for mixing protein shakes or other nutritional drinks.
The beauty of making your own is that you can customize it to your needs and preferences.
Cost-effective way to have a personal blender bottle.
Ability to customize to personal preference.
Easy to make with readily available materials.
Environment-friendly as it promotes recycling.
Creating a DIY blender bottle not only saves money but also allows for greater control over the design and functionality.
It’s an ideal project for those who enjoy DIY tasks and offers a practical solution to mixing drinks on the go.
DIY Blender Bottles provide a portable and convenient way to mix protein shakes or other nutritional drinks directly in the bottle.
These bottles typically include a mixing element like a wire whisk ball to help break up any lumps, giving you a smooth drink without needing a blender.
DIY Blender Bottles are cost-effective as they eliminate the need for other expensive appliances and are easy to clean and maintain.
Not exclusive to athletes, these bottles are also great for people who are always on-the-go and individuals who want to monitor their nutritional intake.
Benefits Of Making A Diy Blender Bottle
Benefits Of Making A Diy Blender Bottle
When it comes to blending your favorite smoothies or protein shakes, a blender bottle is an essential tool.
But did you know that you can easily make your own blender bottle at home? Not only is it a fun diy project, but it also comes with its own set of benefits.
Let’s take a closer look at the advantages of making your own diy blender bottle.
Saving Money By Making Your Own Blender Bottle
Making your own blender bottle can save you a considerable amount of money in the long run. Store-bought blender bottles can be quite expensive, especially if you opt for high-quality ones.
By creating your diy version, you can save those extra bucks for other essential ingredients for your smoothies.
Plus, you might already have most of the materials needed at home, making it a cost-effective option.
Here are some key points to consider:
Blender bottles can be expensive, but making your own version costs significantly less.
You can purchase the required materials at a fraction of the price of a store-bought blender bottle.
Diy blender bottles are a budget-friendly alternative for fitness enthusiasts who use their blender frequently.
Customizable Design Options
Customizable Design Options
One of the exciting benefits of making your diy blender bottle is the ability to customize its design according to your preferences.
With store-bought options, you’re limited to the available designs and colors. By creating your own, you can add a touch of personalization and uniqueness.
Consider the following points:
Choose the colors you love and create a design that suits your style.
Personalize your diy blender bottle with stickers, decals, or even hand-painted designs.
Add motivational quotes or images that resonate with you to keep you motivated during your workouts.
Using Eco-Friendly Materials
Many store-bought blender bottles are made from materials that are harmful to the environment.
By making your own diy blender bottle, you have the opportunity to choose eco-friendly materials, reducing your carbon footprint.
Here’s what you should know:
Opt for materials such as bpa-free plastic or glass bottles to avoid harmful toxins.
Recycle or repurpose old bottles to eliminate waste and contribute to sustainability.
Consider using sustainable materials like bamboo or stainless steel for a unique and eco-friendly blender bottle.
By making a diy blender bottle, you not only contribute to a cleaner environment but also exercise your creativity and save money.
So, why not give it a try and have a blender bottle that reflects your personal style while being kinder to the planet?
Start your diy project today and enjoy the benefits it brings!
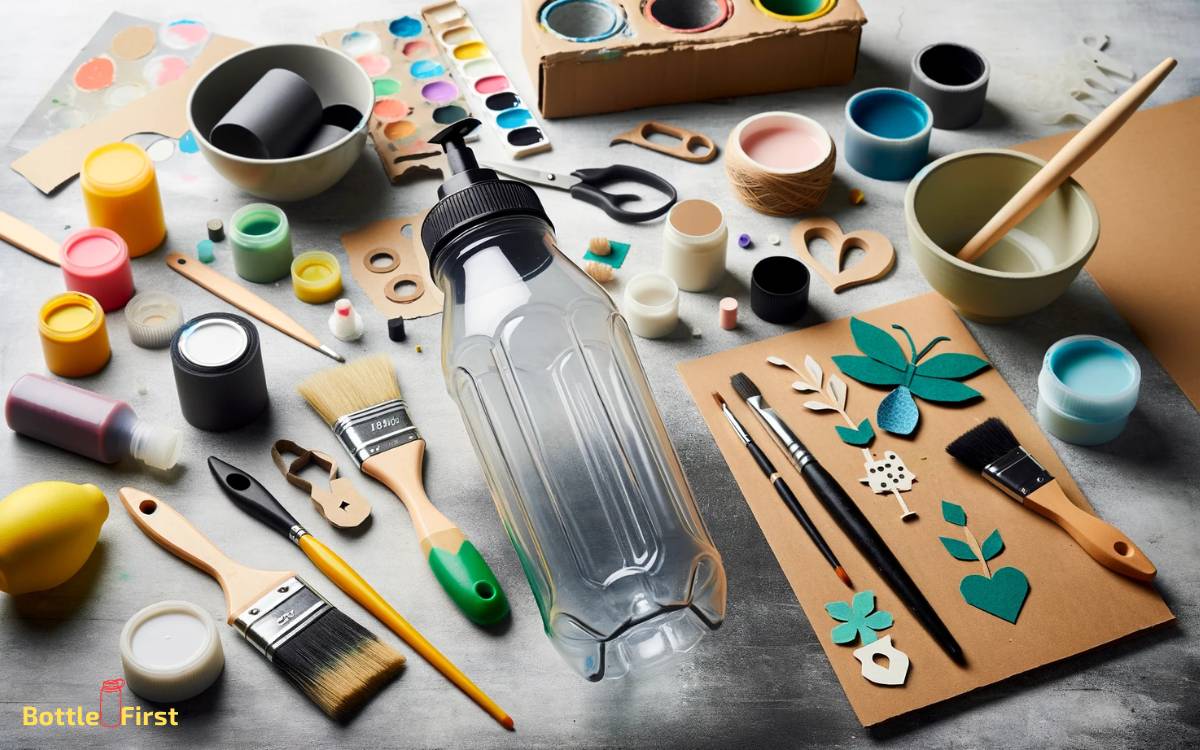
Essential Materials For A Diy Blender Bottle
Essential Materials For A Diy Blender Bottle
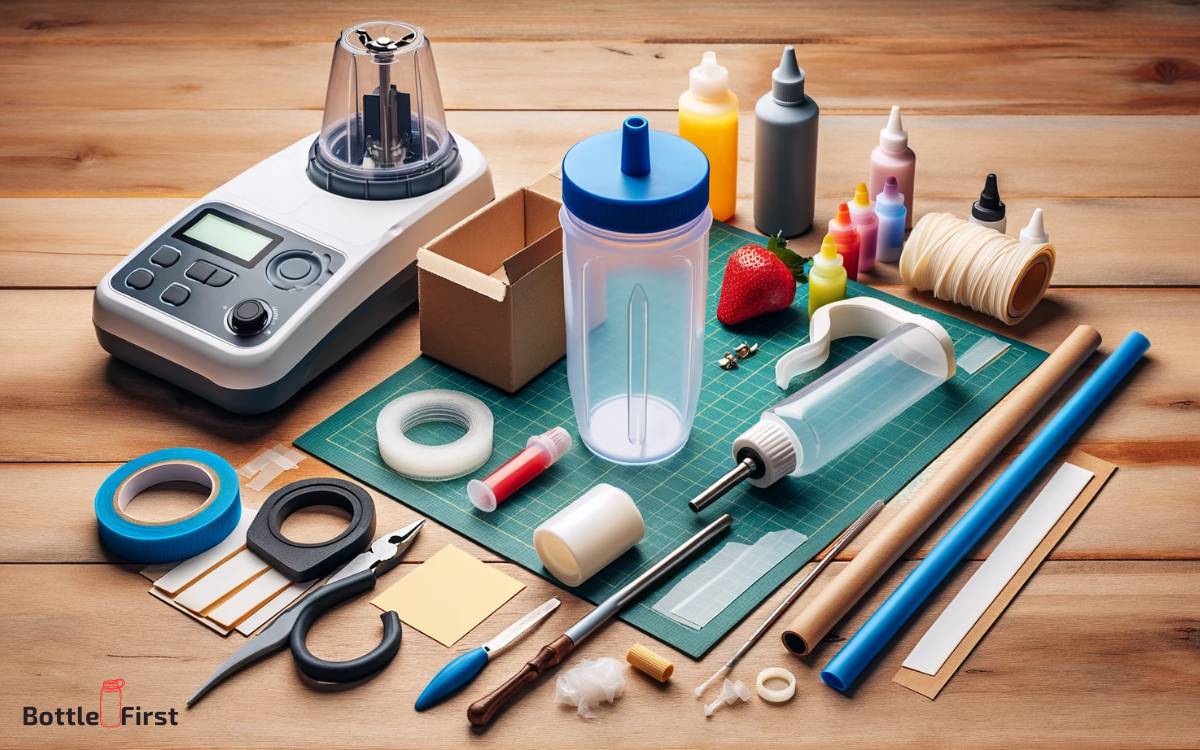
If you’re looking to make your own blender bottle at home, there are a few essential materials you’ll need to gather.
Creating your diy blender bottle allows you to customize it to your liking and save money in the process.
Here are the key materials you’ll need for this project:
Selecting A Suitable Water Bottle
Choose a bpa-free water bottle: Opt for a water bottle made of bpa-free plastic or a glass bottle to ensure that no harmful chemicals leach into your drinks.
Consider the size: Select a water bottle that can hold the desired volume of your blended drinks. It’s best to choose a bottle with a capacity of at least 20 ounces to allow room for the ingredients to mix properly.
Look for a durable option: Make sure the bottle is sturdy enough to withstand shaking and blending without leaking. Look for bottles with a tight-fitting cap or lid to prevent any spills.
Choosing The Right Mixer Ball Or Whisk
Stainless steel mixer ball: A stainless steel ball helps to break up clumps and evenly mix the ingredients in your blender bottle. Make sure to choose a ball made of high-quality stainless steel that won’t rust or corrode over time.
Whisk attachment: Some blender bottles come with a whisk attachment that can be used instead of a mixer ball. This attachment has a spiral wire design that effectively mixes ingredients. If you prefer a whisk over a ball, look for a blender bottle that includes this option.
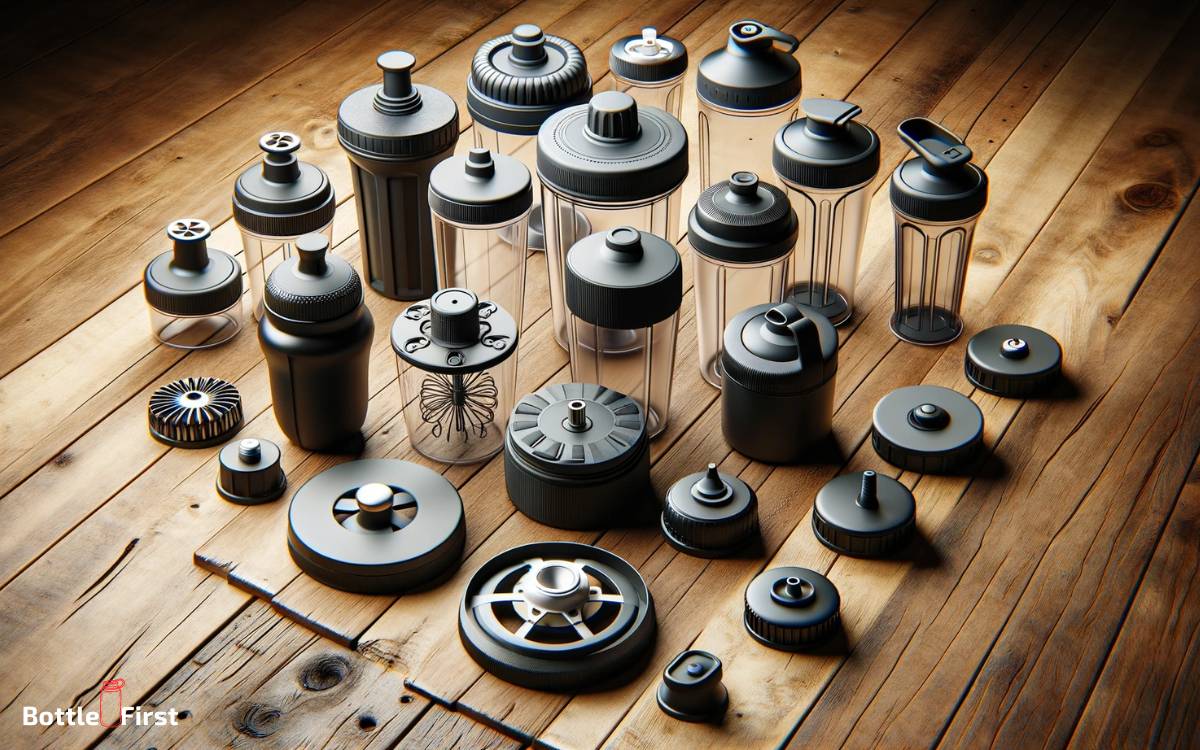
Exploring Different Types Of Blender Bottle Lids
Exploring Different Types Of Blender Bottle Lids
Screw-on lid: This is the most common type of blender bottle lid. It features a screw-on cap that ensures a tight seal and prevents any leaks. Look for a lid with a flip-top opening for easy drinking on the go.
Snap-on lid: Some blender bottles have a lid that snaps on rather than screws on. These lids are convenient for quick access to your drink but may not provide as secure of a seal as screw-on lids. Choose a snap-on lid if you prioritize convenience over leak-proofing.
Straw lid: If you prefer sipping your blended drinks through a straw, look for a blender bottle with a straw lid. These lids usually have a flip-top opening for easy sipping and help prevent spills.
By selecting a suitable water bottle, choosing the right mixer ball or whisk, and exploring different types of blender bottle lids, you’ll have all the essential materials for creating your own diy blender bottle.
Enjoy delicious, customized smoothies wherever you go, all while saving money in the process.
Step-By-Step Guide To Creating A Diy Blender Bottle
Step By Step Guide To Creating A Diy Blender Bottle
If you’re tired of spending money on expensive blender bottles, why not create your own? Diy blender bottles are not only cost-effective but also allow you to customize them to your liking.
In this step-by-step guide, we’ll walk you through the process of creating your very own diy blender bottle.
Preparing The Water Bottle For Customization
Before you start customizing your water bottle into a blender bottle, you need to prepare it properly.
Here’s what you need to do:
Choose a bpa-free water bottle of your choice.
Thoroughly clean and dry the bottle to ensure there are no impurities.
Remove any labels or stickers from the bottle.
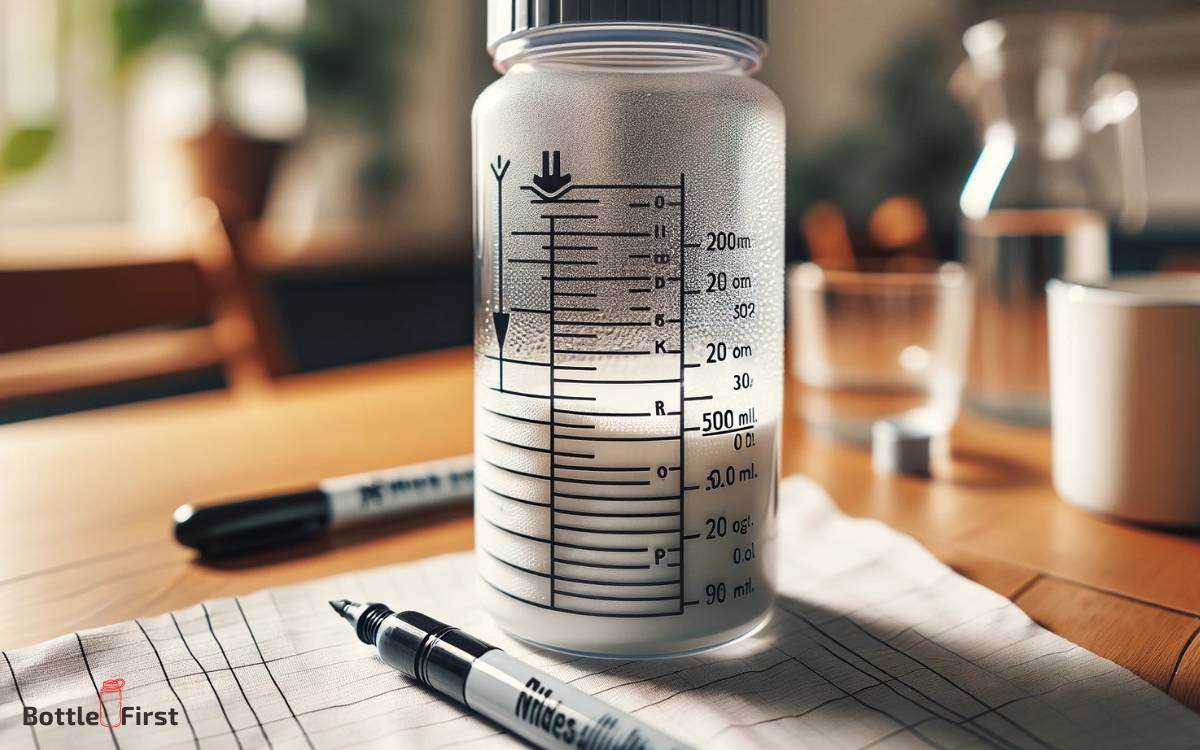
Adding Measurements And Markings For Accurate Mixing
Adding Measurements And Markings For Accurate Mixing
Accurate measurements are crucial when it comes to blending your favorite drinks.
To achieve this, follow these steps:
Use a measuring tape or ruler to measure and mark the desired increments on the bottle. Common measurements include ounces, milliliters, and cups.
Make sure the markings are clear and easy to read.
Use a permanent marker or adhesive tape to create the markings.
Installing The Mixer Ball Or Whisk
The essential component of a blender bottle is the mixer ball or whisk.
Here’s how you can install it:
Purchase a mixer ball, usually made of stainless steel or bpa-free plastic.
Ensure the mixer ball fits through the opening of your water bottle without any issues.
Drop the mixer ball into the bottle, making sure it’s placed in the center.
Securing The Lid For Leak-Free Blending
No one wants a blender bottle that leaks during use. It’s crucial to secure the lid properly to prevent any messy accidents.
Follow these steps:
Place the lid on top of your water bottle, aligning the openings correctly.
Make sure the lid is firmly locked into place. Double-check by giving it a gentle twist and tug to ensure it’s secure.
Test the bottle by shaking it vigorously to confirm that there are no leaks.
Now that you’ve followed these steps, your diy blender bottle is ready for action! Feel free to customize it further with decorative stickers or labels to add a personal touch.
Enjoy the convenience of a homemade blender bottle while staying hydrated and blending your favorite drinks on the go.
Cheers to your creativity and resourcefulness!
Creative Diy Blender Bottle Ideas
Creative Diy Blender Bottle Ideas
Looking for ways to add personal touches to your blender bottle?
Get creative with these diy ideas that will not only make your bottle stand out but also serve as a source of motivation during your workouts.
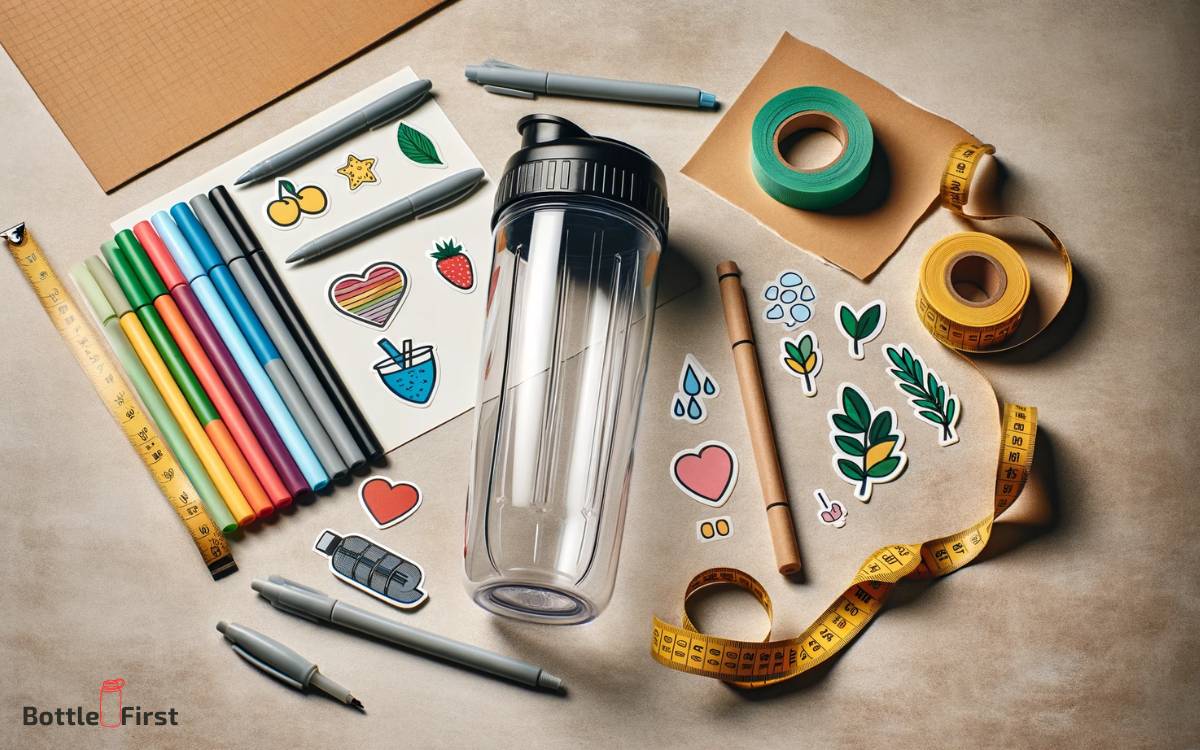
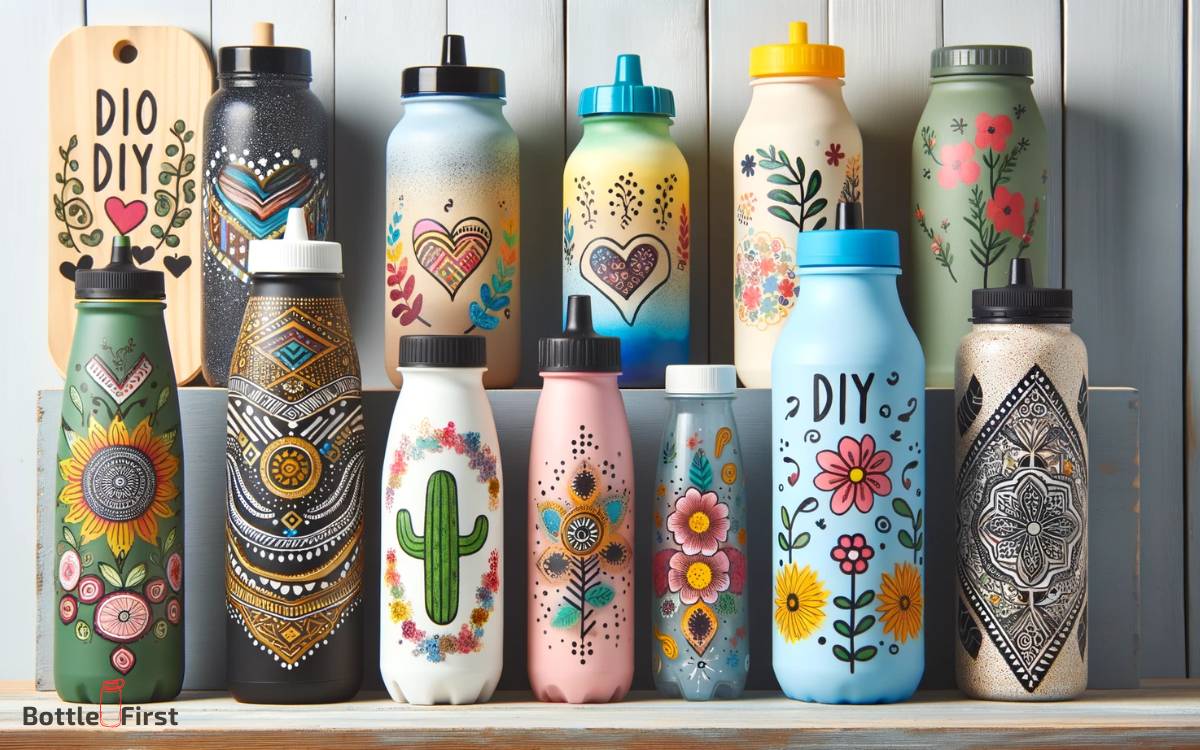
Adding Personal Touches With Custom Decoration:
Paint it up: Use acrylic or enamel paint to give your blender bottle a unique and personalized design. Consider adding your initials, favorite symbols, or even a favorite quote to make it truly your own.
Vinyl decals: Purchase adhesive vinyl sheets and cut out designs using a craft cutter or scissors. Apply the decals to your blender bottle for a fun and customized look. You can choose to add motivational quotes, symbols, or even images that inspire you.
Duct tape patterns: Transform your blender bottle using colorful duct tape. Wrap the tape around the bottle, creating patterns or designs of your choice. This is an easy and cost-effective way to add a touch of personality to your bottle.
Incorporating Motivational Quotes Or Designs:
Inspirational stickers: Purchase or create your own stickers with motivational quotes and designs. Stick them onto your blender bottle to keep yourself motivated during workouts. You can choose quotes that inspire you or designs that represent your fitness goals.
Permanent markers: Take a permanent marker and write words of motivation or draw designs directly onto your blender bottle. This is a simple and quick way to personalize your bottle with encouraging messages that will keep you motivated throughout the day.
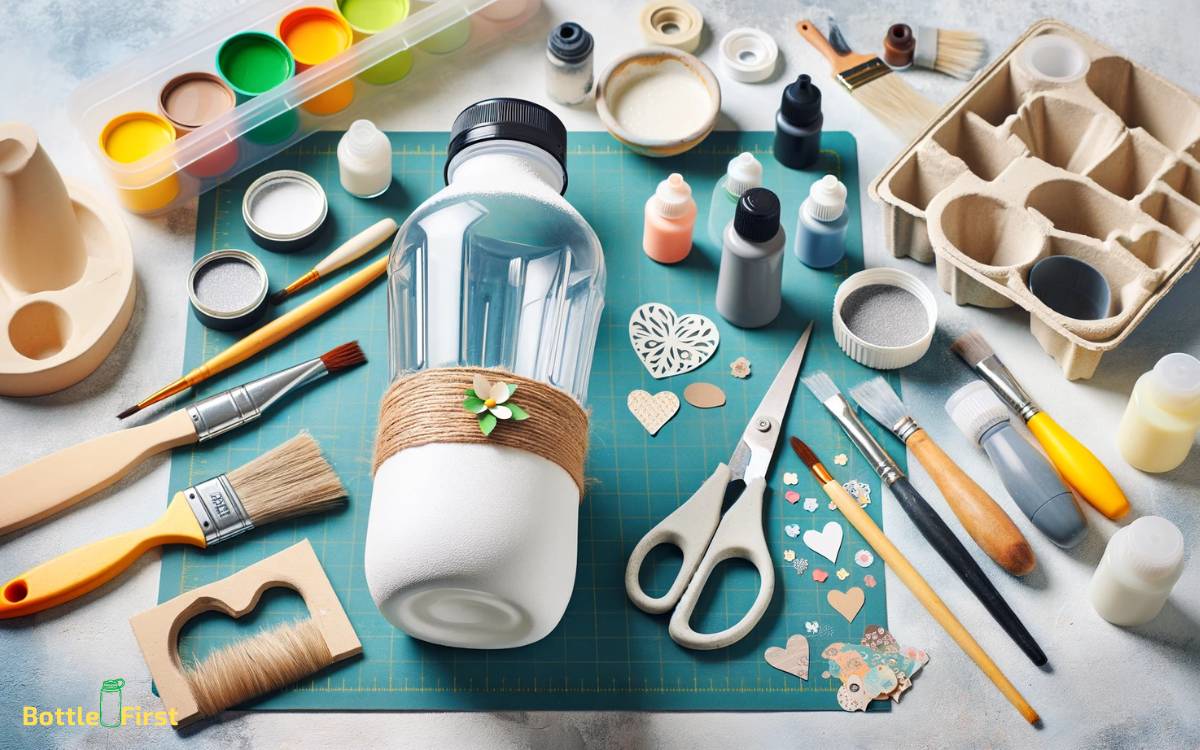
Transforming An Old Bottle Into A Unique Blender Bottle:
Transforming An Old Bottle Into A Unique Blender Bottle
Upcycling with fabric: If you have an old blender bottle lying around, consider giving it a facelift using fabric. Cut a piece of fabric that fits around the bottle and secure it with fabric glue or double-sided tape. This method allows you to customize your bottle with different patterns and textures.
Beaded embellishments: Add some bling to your old blender bottle by attaching beads or sequins with adhesive. Create patterns or random designs to transform your bottle into a unique and eye-catching accessory.
Washi tape wonders: Washi tape comes in various colors and patterns, making it perfect for customizing your blender bottle. Simply wrap the tape around the bottle, creating patterns or even covering the entire surface. This is a great way to breathe new life into an old bottle.
Remember, these diy ideas are not only fun to try but also allow you to personalize your blender bottle, making it a reflection of your style and providing an added dose of motivation.
So, get creative and start transforming your blender bottle into something truly unique!
Factors such as inadequate cleaning, improper storage, and using the bottle for diverse types of liquids can contribute to this issue.
To combat the smell, regular cleaning with hot soapy water, thorough drying, and occasionally soaking the bottle with a mixture of baking soda and water can help eliminate unpleasant odors.
Conclusion
The diy blender bottle has revolutionized the way we prepare our favorite smoothies and protein shakes.
With its simple and cost-effective design, it allows us to blend our ingredients to perfection right in the comfort of our own homes.
The customizable features of the diy blender bottle make it suitable for individuals of all ages and fitness levels.
Whether you’re a passionate fitness enthusiast or simply looking to incorporate healthier habits into your daily routine, this homemade blender bottle is a game-changer.
Say goodbye to expensive store-bought bottles and hello to the satisfaction of creating your own diy blender bottle.
Enjoy the convenience, affordability, and versatility of this amazing innovation as you elevate your health and wellness journey.
Start blending your way to a healthier lifestyle today with the diy blender bottle!
FAQ About Diy Blender Bottle
Can I Make Protein Shakes In A Diy Blender Bottle?
Absolutely! A diy blender bottle is perfect for making delicious and smooth protein shakes.
How Do I Clean A Diy Blender Bottle?
Cleaning your diy blender bottle is a breeze. Simply rinse it with warm, soapy water and let it air dry.
Are Diy Blender Bottles Leak-Proof?
Yes, diy blender bottles are designed to be leak-proof, so you can enjoy your drinks without any spills.
What Materials Are Diy Blender Bottles Made Of?
Diy blender bottles are typically made of durable and bpa-free materials, such as tritan plastic or stainless steel.
Can I Use A Diy Blender Bottle For On-The-Go Smoothies?
Absolutely! Diy blender bottles are perfect for blending and enjoying your favorite smoothies on the go.