How to Make a Paper Water Bottle? 3 Easy Steps!
Making a paper water bottle involves a series of simple steps that include folding and securing the paper into a cylindrical shape and then coating it with a waterproof substance such as beeswax or a plastic resin.
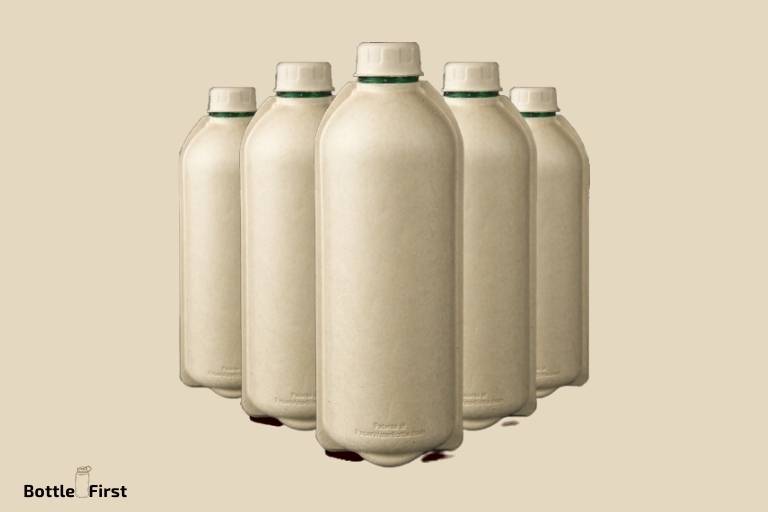
Paper water bottles are a sustainable and environmentally friendly alternative to plastic bottles. They are designed to be leak-proof, reusable, and eventually biodegradable.
Crafting a paper water bottle involves creating a cylindrical shape with the paper, then coating it to make it waterproof.
The shift towards sustainable living has brought inventions like the paper water bottle into the limelight.
Despite being made of paper, they are robust and leak-proof, thanks to the application of a waterproof layer.
With just a few simple steps, you can create your own paper water bottle, contributing to the reduction of plastic waste in your own small way.
With their unique design and eco-friendly concept, paper water bottles are truly the way forward in sustainable hydration solutions.
Key Takeaway
Introduction To Paper Water Bottles
What Are Paper Water Bottles?
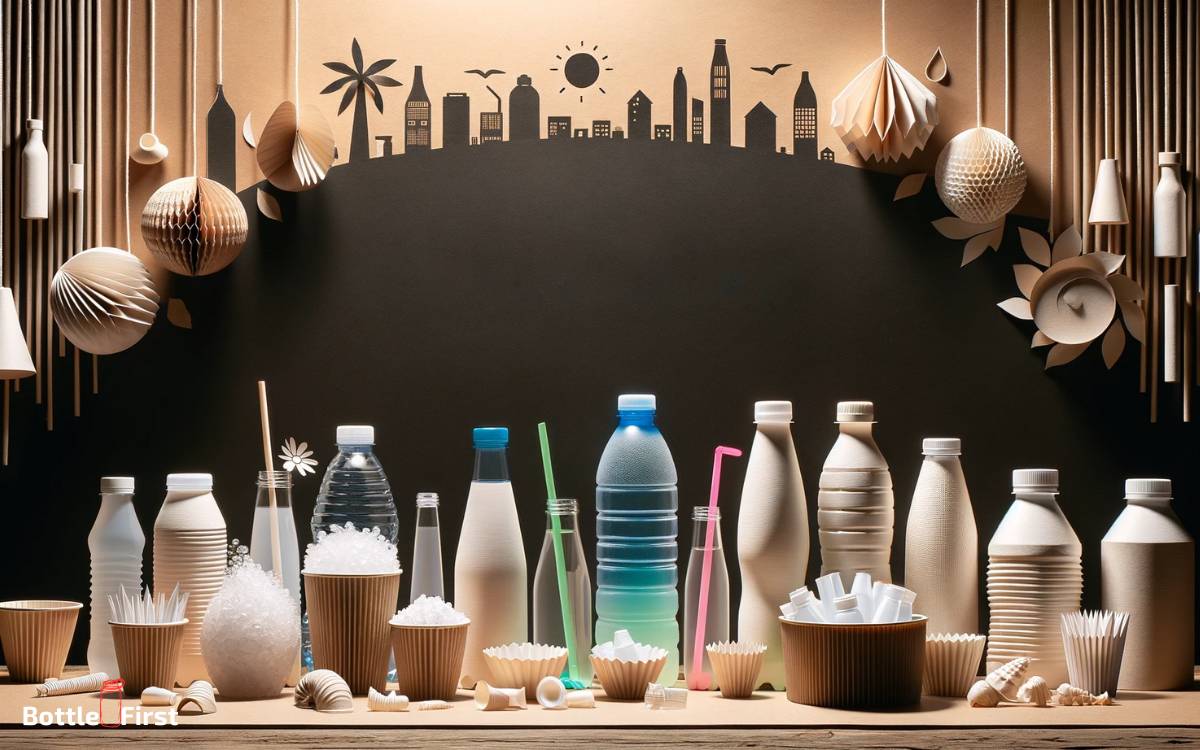
Paper water bottles are an innovative and eco-friendly alternative to traditional plastic water bottles.
These bottles are made from sustainably sourced paper materials, such as bamboo or sugarcane fiber, which makes them biodegradable and compostable.
The inner lining of these bottles is typically made from a thin layer of biodegradable plastic to ensure the bottles remain leak-proof.
Paper water bottles not only provide a practical solution for staying hydrated but also aim to minimize the environmental impact caused by single-use plastic bottles.
Why Use Paper To Make Water Bottles?
There are several compelling reasons to use paper as a material for making water bottles:
- Sustainability: Paper is derived from natural, renewable resources, making it an environmentally friendly option compared to plastic. By opting for paper water bottles, you actively contribute to the reduction of deforestation and pollution caused by the plastic industry.
- Biodegradability: One of the significant advantages of paper water bottles is their biodegradability. When disposed of correctly, these bottles break down much faster than their plastic counterparts, minimizing the amount of waste that ends up in landfills or oceans.
- Reduction of plastic waste: With the rise of plastic pollution and its severe impact on ecosystems, it has become crucial to find viable alternatives. Paper water bottles offer a sustainable solution by reducing the reliance on single-use plastic bottles and decreasing plastic waste.
The Environmental Impact Of Traditional Plastic Water Bottles
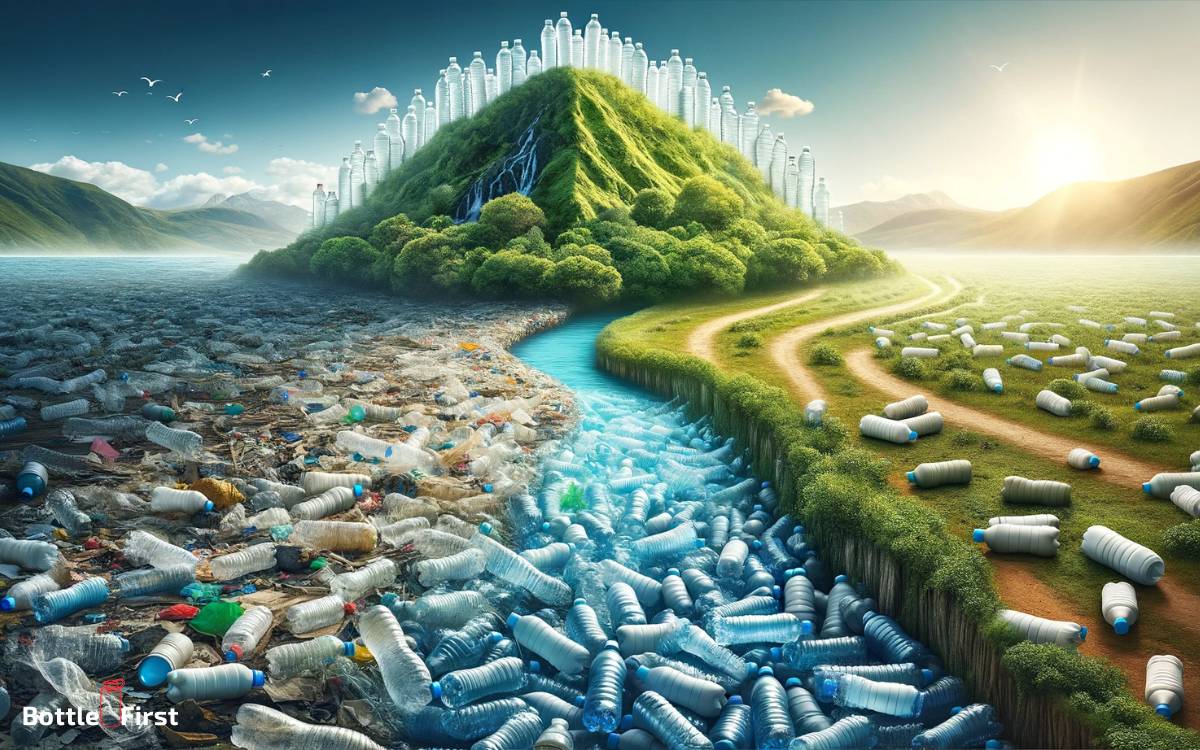
Traditional plastic water bottles have a detrimental impact on the environment due to several reasons:
- Non-biodegradability: Plastic bottles can take hundreds of years to decompose, contributing to overflowing landfills and polluting our oceans and waterways. This poses significant threats to marine life and ecosystems.
- Carbon emissions: The production and transportation of plastic water bottles result in substantial carbon emissions, contributing to climate change and air pollution.
- Chemical leaching: Plastic bottles may release harmful chemicals, such as bpa (bisphenol a), into the water they contain, presenting health risks when consumed.
Exploring The Benefits Of Paper Water Bottles
Paper water bottles come with numerous benefits, making them an attractive alternative to plastic:
- Sustainability: Made from renewable resources, paper water bottles have a significantly lower environmental impact. They help conserve natural resources, reduce greenhouse gas emissions, and promote a circular economy.
- Biodegradability and compostability: Paper water bottles break down naturally without leaving behind harmful microplastics. They can be composted, allowing them to return to the earth as nutrients rather than lingering in landfills or oceans.
- Versatility: Paper water bottles can be customized with various designs and graphics, providing opportunities for brands to create unique and engaging packaging.
- Consumer appeal: With the increasing focus on sustainability, paper water bottles align with consumer preferences for eco-friendly products. Offering an alternative to plastic, these bottles appeal to environmentally conscious individuals who seek sustainable choices.
Paper water bottles present an attractive and sustainable solution to the environmental challenges posed by traditional plastic water bottles.
By choosing paper over plastic, we can protect our planet, reduce waste, and contribute to a cleaner and healthier future for generations to come.
So, the next time you reach for a water bottle, consider opting for a paper alternative and be a part of the positive change.
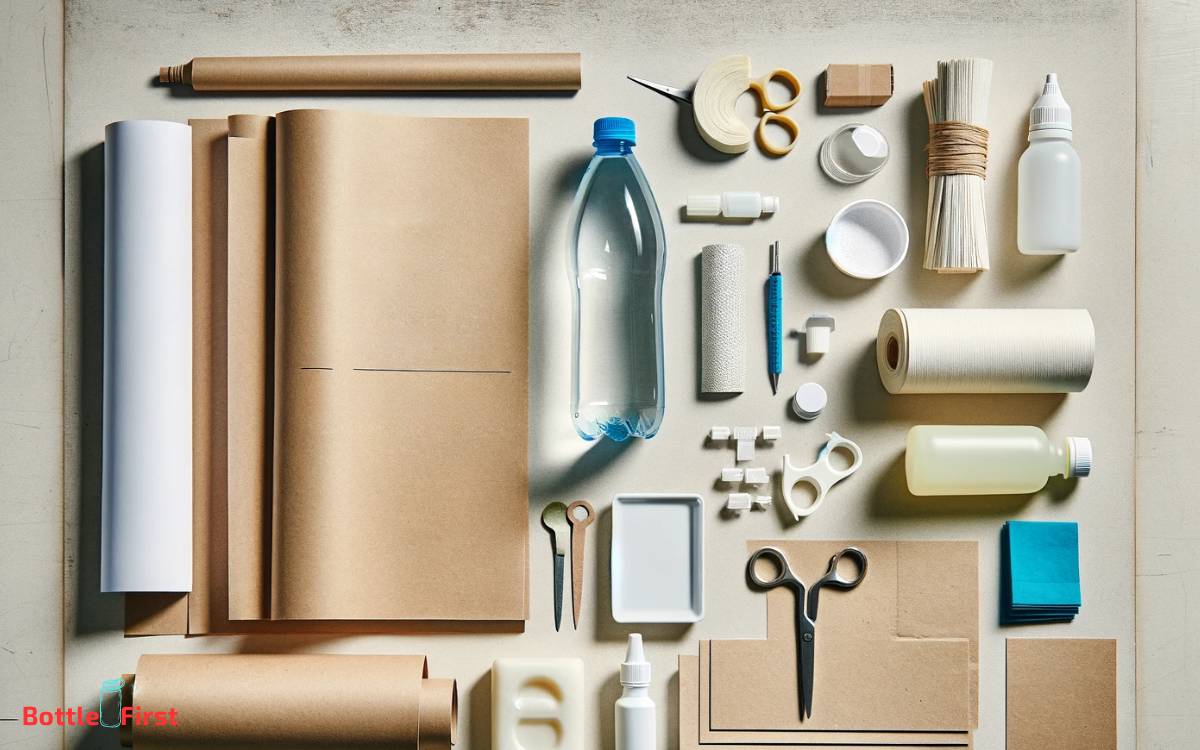
Materials Needed For Making A Paper Water Bottle
Making a paper water bottle is not only an innovative craft project but also a sustainable alternative to plastic bottles.
By using just a few materials and some creativity, you can create your own eco-friendly water bottle.
Here is a list of materials you will need to get started:
- Sheets of recyclable paper: Choose a thick and durable paper that can withstand the weight of water without getting soggy. Look for recycled or eco-friendly options to stay true to the sustainability aspect of this project.
- Eco-friendly adhesive: Selecting the right adhesive is crucial as it ensures that your paper water bottle stays intact and leak-proof. Opt for an adhesive that is non-toxic, solvent-free, and eco-friendly to ensure it is safe for both your health and the environment.
- Scissors or craft knife: These tools will be helpful for cutting and shaping the paper to create the desired bottle shape.
- Ruler: Use a ruler to measure and mark the dimensions of the paper that you will be cutting.
- Pencil or pen: Mark the paper with a pencil or pen to indicate where you need to cut, fold or glue.
- Water-based sealant or coating: To make your paper water bottle water-resistant, apply a water-based sealant or coating to the inner surface. This will prevent the paper from getting wet and maintain the structural integrity of the bottle.
- Optional decorations: If you want to add a personal touch to your paper water bottle, gather some decorative items such as stickers, paint, or markers.
Choosing the right type of paper:
- Look for sturdy and thick paper that can hold water without getting soggy or weak.
- Recycled paper is a great option as it reduces the environmental impact and promotes sustainability.
- Consider the weight and thickness of the paper to ensure it can withstand the weight and pressure of the water.
Importance of using eco-friendly adhesive:
- Using an eco-friendly adhesive is crucial for making your paper water bottle sustainable and safe.
- Eco-friendly adhesives are non-toxic, solvent-free, and do not harm the environment.
- By opting for an eco-friendly adhesive, you contribute to reducing pollution and promoting a healthier planet.
Tools and equipment required for the process:
- Scissors or craft knife: These tools are essential for cutting and shaping the paper.
- Ruler: A ruler helps measure and mark the dimensions of the paper accurately.
- Pencil or pen: Use a pencil or pen to mark the paper for cutting, folding, or gluing.
- Water-based sealant or coating: Applying a water-based sealant or coating helps make your paper water bottle water-resistant.
- Optional: Decorative items such as stickers, paint, or markers can be used to personalize your paper water bottle.
Remember, creating a paper water bottle is not only an enjoyable craft project but also a powerful statement towards reducing plastic waste.
So, gather your materials, let your creativity flow, and embark on this eco-friendly journey of crafting your very own paper water bottle.
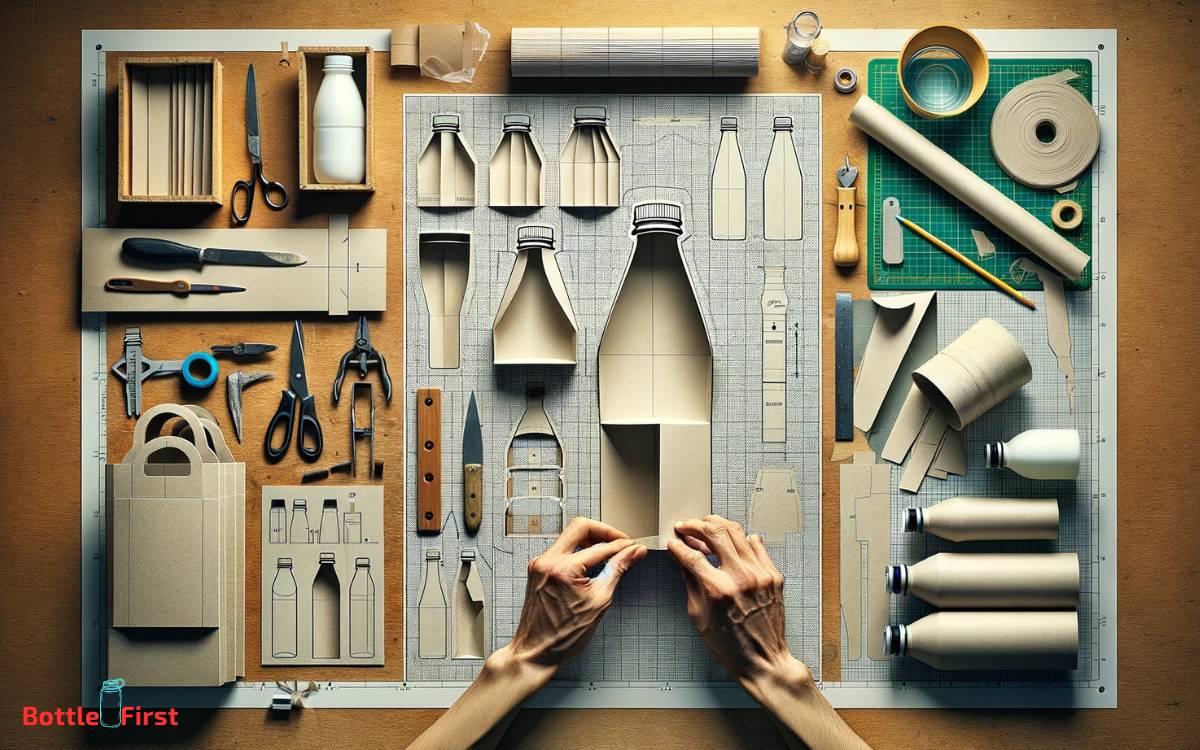
Step 1: Preparing The Paper Bottle Template

Designing And Cutting The Template
Designing and cutting the template is an important first step in making a paper water bottle.
Here are the key points to consider:
- Determine the size and shape of your bottle: Decide how big you want your water bottle to be and what shape you prefer. Keep in mind that a template is just a guide, so feel free to get creative with your design.
- Choose a sturdy paper: Select a thick and durable paper that can withstand the weight of the water and any rough handling. Cardstock or construction paper are good options to consider.
- Sketch the outline of the bottle: Use a pencil or pen to draw the outline of your bottle on the paper. Make sure to leave space for the mouthpiece and cap. You can use existing water bottles as inspiration or come up with your own unique design.
- Cut out the template: Carefully cut along the outline of the bottle using scissors or a craft knife. Take your time and follow the lines accurately to ensure a clean and precise template.
- Make any necessary adjustments: Once you’ve cut out the template, take a look at it and make any adjustments or refinements as needed. Smooth out any jagged edges or uneven lines to ensure a neat and professional-looking template.
Tips For Creating A Functional And Sturdy Bottle Shape
Creating a functional and sturdy bottle shape is crucial to ensure that your paper water bottle holds up well.
Here are some tips to help you achieve this:
- Reinforce the edges: Apply adhesive tape or glue along the edges of your paper template to add strength and durability. This will help prevent it from tearing or becoming flimsy when filled with water.
- Use double-sided tape: To secure the edges of the bottle together, consider using double-sided tape. This will create a stronger bond and help keep the bottle in shape.
- Fold along the crease lines: If your template includes crease lines, use a ruler or your fingers to fold the paper along these lines. This will give the bottle more structure and make it easier to assemble.
- Consider extra layers: If you want an even sturdier bottle, try adding extra layers of paper. Simply cut out additional templates and glue them on top of each other, aligning the edges carefully.
- Test for functionality: Before proceeding with further steps, test the functionality of your bottle template. Fill it with a small amount of water to ensure that it can hold the liquid without leaking or collapsing.
Adding A Mouthpiece And A Cap To The Template
Adding a mouthpiece and a cap to your paper bottle template is crucial for a functional design.
Follow these steps to complete this stage:
- Cut out the mouthpiece: Using another piece of paper or cardstock, cut out a small rectangle that will serve as the mouthpiece of your bottle. It should be wide enough to allow comfortable sipping or pouring.
- Attach the mouthpiece: Apply glue or double-sided tape to one end of the mouthpiece and attach it securely to the top of the bottle template. Make sure it is aligned properly and centered.
- Create the cap: Cut out a circular shape from the paper to act as the cap for your bottle. The size of the circle should match the diameter of the bottle’s opening. You can add decorative elements or a pull-tab for easy opening.
- Secure the cap: Use glue or tape to attach the cap to the top of the bottle template. Ensure that it is firmly in place and won’t come off easily.
Remember, these steps are just the beginning of making a paper water bottle.
Stay tuned for the next steps in our series, where we will guide you through assembling and decorating your unique creation.
Until then, enjoy the process of designing and cutting your template!
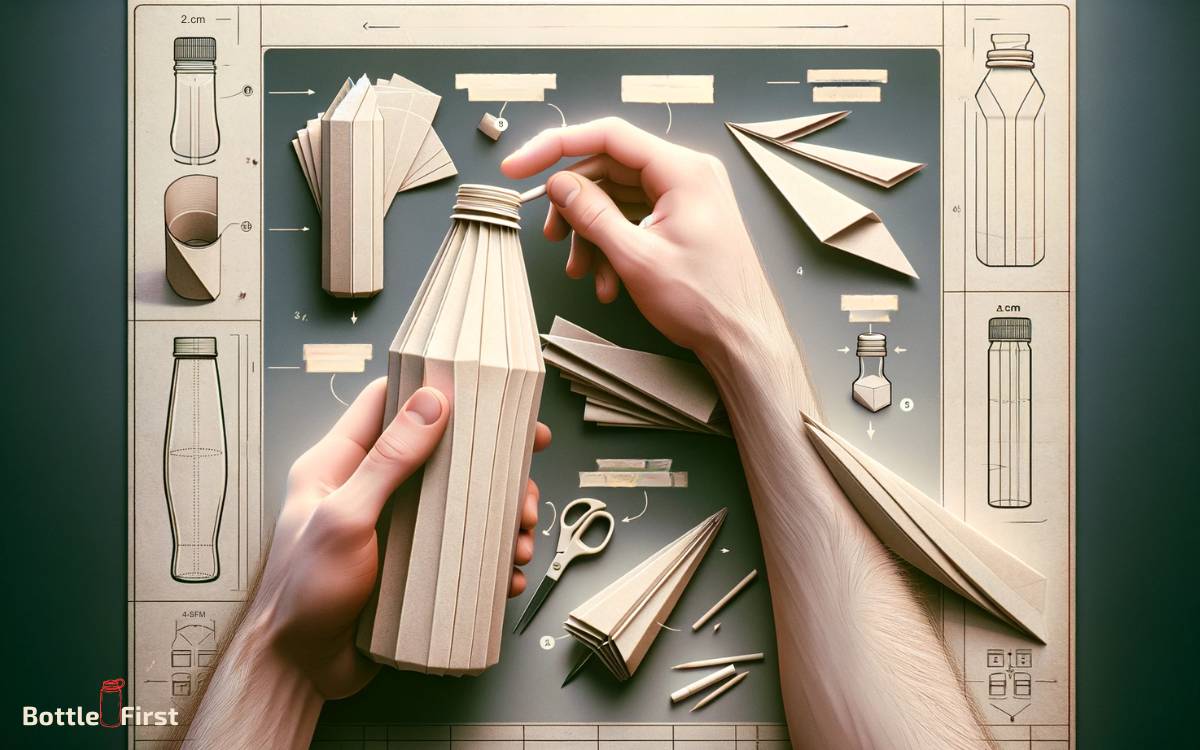
Step 2: Constructing The Paper Bottle
Now that you have your paper template ready, it’s time to start constructing your paper water bottle.
Follow these simple steps to ensure a successful assembly:
Applying Adhesive To The Paper Template
- Using a glue stick or adhesive tape, apply a thin layer of adhesive along the edges of the paper template. This will help hold the bottle together and prevent any leaks.
- Make sure to evenly distribute the adhesive, ensuring that all edges are covered for a secure seal.
- Take extra care when applying adhesive to the corners of the template, as this is where the bottle tends to be the most vulnerable to leakage.
- Allow the adhesive to dry for a few minutes before moving on to the next step.
Proper Techniques For Folding And Assembling The Bottle
- Begin by folding along the dotted lines of the paper template. These folds will help give your bottle its distinctive shape.
- Use a bone folder or your fingertips to create sharp, crisp creases for a polished finish.
- Next, bring the two ends of the template together, overlapping the edges slightly. This will form the body of the bottle.
- Secure the assembly by applying gentle pressure along the edges, ensuring that the adhesive bonds the overlapping sections securely.
- Double-check that all folds are properly aligned and the edges are sealed before proceeding.
Ensuring A Secure Seal For The Water Bottle
- To reinforce the seal, you can apply an additional layer of adhesive along the inner edges of the bottle. This will provide extra strength and avoid any potential leaks.
- Pay special attention to the bottom of the bottle, as this area can sometimes be overlooked during the assembly process.
- Take your time to inspect the bottle for any gaps or areas with insufficient adhesive coverage. Address these spots and apply extra adhesive as needed.
- Finally, gently press along the entire surface of the bottle to ensure a firm seal and optimal strength.
Congratulations! You have successfully constructed your paper water bottle by applying adhesive to the paper template, folding and assembling the bottle with precision, and ensuring a secure seal.
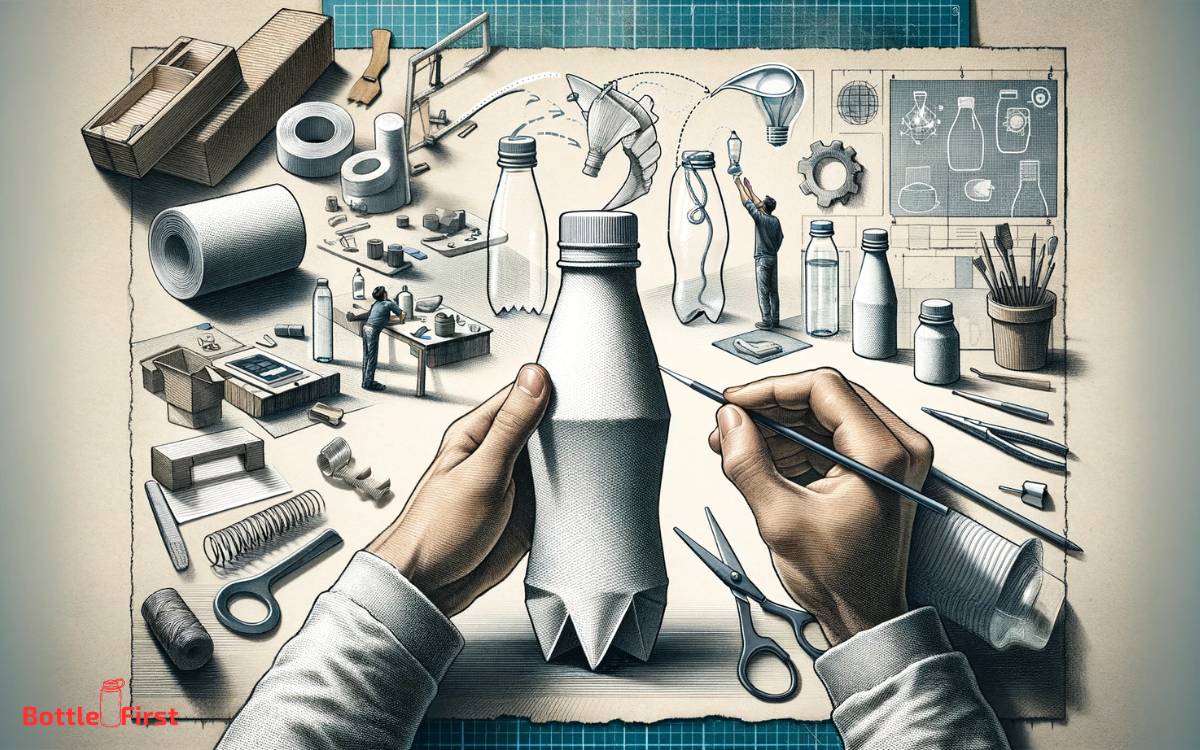
Step 3: Testing And Improving The Paper Bottle

Congratulations on constructing your own paper water bottle! Now it’s time to move on to the testing and improving phase to ensure that your bottle is sturdy and efficient.
Here are the key steps to follow:
Conducting A Leak Test On The Newly Constructed Bottle
Now that your paper bottle is completed, it’s important to check for any potential leaks.
Here’s how you can conduct a leak test:
- Fill the bottle with water up to its maximum capacity.
- Gently squeeze the bottle to simulate normal handling and usage.
- Observe if any water leaks from the bottle or if there are any weak spots where water drips through.
- Make note of any leaks or weak points that you discover.
Identifying Potential Weak Points And Strengthening The Design
After conducting the leak test, it’s time to identify the weak points in your paper bottle’s design.
Here are some areas to pay attention to:
- Assess the junction between the bottle’s body and the bottom, as this can often be a vulnerable point.
- Look for any areas where the adhesive might not be securely holding the components together.
- Examine the bottle’s cap to make sure it fits tightly and doesn’t allow any water to escape.
- Check the integrity of the walls of the bottle to ensure that they are adequately resistant to pressure and stress.
Making Adjustments For Better Functionality And Durability
Based on the results of your testing and identification of weak points, it’s time to make the necessary adjustments to improve your paper bottle’s functionality and durability.
Consider the following:
- Strengthen weak spots by reinforcing them with additional layers of paper or adhesive.
- Experiment with different types of adhesives or tapes to find the most effective option.
- Adjust the design or dimensions of the bottle’s components to enhance its overall strength and stability.
- Test the bottle again after making adjustments to ensure that the improvements have addressed the previously identified issues.
By conducting leak tests, identifying weak points, and making necessary adjustments, you can ensure that your paper water bottle functions optimally and is durable enough for everyday use.
Can the Same Steps be Applied to Making a Paper Water Bottle Jelly?
Making a paper water bottle jelly requires a unique approach. Unlike traditional recipes, this eco-friendly version involves transforming a paper water bottle into a delightful jelly container.
To embark on this creative endeavor, gather the necessary materials and carefully follow the water bottle jelly recipe for a fun and sustainable twist on a classic treat.
Conclusion
To sum it up, making a paper water bottle is a simple yet effective way to reduce plastic waste and promote sustainable living.
By using readily available materials and following step-by-step instructions, you can create an eco-friendly alternative to traditional plastic bottles.
Not only does this diy project allow you to express your creativity, but it also helps to minimize your carbon footprint.
As awareness grows about the negative impact of plastic pollution on our environment, taking small but meaningful actions like making a paper water bottle can make a big difference.
So, the next time you reach for a drink, consider ditching the plastic and opting for a homemade paper bottle instead.
Together, we can work towards a cleaner and greener planet for future generations.
Join the movement and start making your own paper water bottles today!
FAQ About How To Make A Paper Water Bottle
How Do You Make A Paper Water Bottle?
To make a paper water bottle, you will need paper, adhesive, a template, and scissors. Follow the step-by-step instructions provided in the blog post.
What Materials Are Needed For Making A Paper Water Bottle?
To make a paper water bottle, you will need paper, adhesive, a template, scissors, and a marker. These materials are essential for the process described in the blog post.
Can A Paper Water Bottle Be Recycled?
Yes, a paper water bottle can be recycled. It is environmentally friendly and can be easily processed through recycling facilities. Check with your local recycling guidelines for more information.
Is A Paper Water Bottle Durable?
Although a paper water bottle is not as durable as some other materials, it can still hold water for a short period. It is best suited for one-time use or short-term purposes.
Are Paper Water Bottles Suitable For Hot Beverages?
Paper water bottles are not recommended for hot beverages. The material may not withstand high temperatures and can affect the integrity of the bottle. It is best to use them for cold liquids only.