How to Remove Logo from Plastic Water Bottle? Easy Steps!
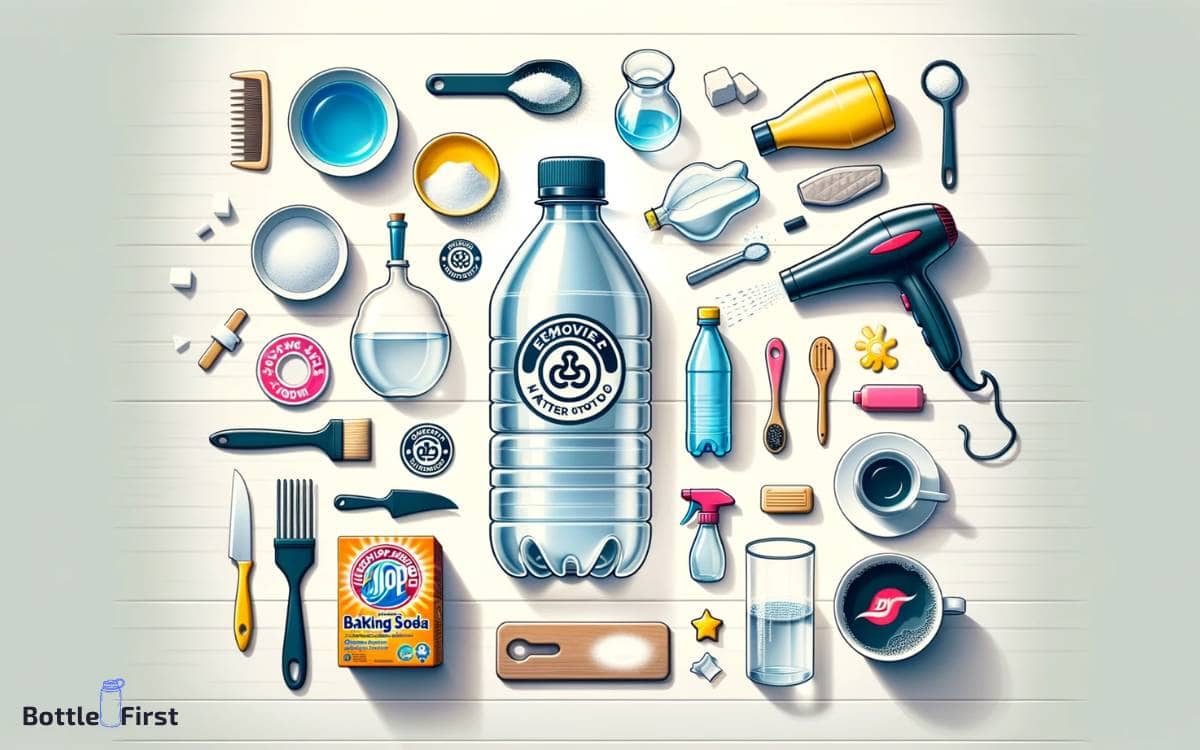
To remove a logo from a plastic water bottle, you’ll need warm water, dish soap, baking soda, and a scrubbing brush or sponge.
Soak the bottle in warm water first, then apply a mixture of dish soap and baking soda. Gently scrub until the logo peels off.
Over time, the logo on your plastic water bottles may start to fade or peel, ruining the bottle’s aesthetics. Luckily, you can easily remove the logo using a few household items.
Usually, these logos are printed on the plastic and not embedded into it. Therefore, mild abrasion should be enough to remove the logo without damaging the bottle.
To preserve the longevity of your plastic water bottle, it’s best to avoid using harsh chemicals or scrubbing too hard when removing logos.
A mixture of dish soap and baking soda is usually sufficient to gently remove the print without scratching the plastic.
Remember to rinse the bottle thoroughly to remove all residues and prevent any taste alteration.
Key Takeaway
Understanding The Different Types Of Logos On Plastic Water Bottles
Logos play a significant role in establishing brand identity and recognition. When it comes to plastic water bottles, you’ll find various types of logos adorning them.
Understanding these logos and their placement can help you in removing them effectively.
Let’s delve into the key aspects of logos on plastic water bottles.
Identification Of Logos And Their Placement
- Different companies use logos to promote their brand and create a lasting impression. Before removing the logo, it’s essential to identify its type and placement on the plastic water bottle.
- Logos can be classified into two main types: Printed logos and embossed logos.
- Printed logos: Printed logos are directly applied to the surface of the plastic bottle using ink. They are often more common and easily removable compared to embossed logos. These logos may consist of text, images, or a combination of both.
- Embossed logos: Unlike printed logos, embossed logos are raised from the surface of the plastic bottle. They are created by using special molds during the manufacturing process. These logos can add a tactile dimension to the branding and are generally trickier to remove.
Types Of Materials Used For Logos
The materials used for logos on plastic water bottles can vary depending on the specific brand and manufacturing process.
Here are some commonly used materials for logos:
- Plastic film: Logos made from plastic film are often found on plastic water bottles. These logos are typically thin, flexible, and adhered to the bottle’s surface using adhesive.
- Heat-transfer labels: Heat-transfer labels are another common type of logo used on plastic bottles. These labels are created by printing the logo onto a special film and then transferring it onto the bottle’s surface using heat and pressure. Heat-transfer logos are relatively resistant to wear and tear.
- Embossed plastics: Some logos are made from the same plastic material as the water bottle itself. These embossed logos are created during the molding process and become an integral part of the bottle, making them more challenging to remove.
- Metallic labels: For a more premium look, some plastic water bottles may have logos made of metallic material. These logos often add a reflective or shiny element to the branding, enhancing the bottle’s aesthetics.
Understanding the different types of logos and the materials used for them can give you insights into the best approach for logo removal.
Keep in mind that while some logos can be easily peeled off or erased using solvents, others may require more specialized techniques.
Preparing The Necessary Tools And Materials
Gathering The Required Items For Logo Removal
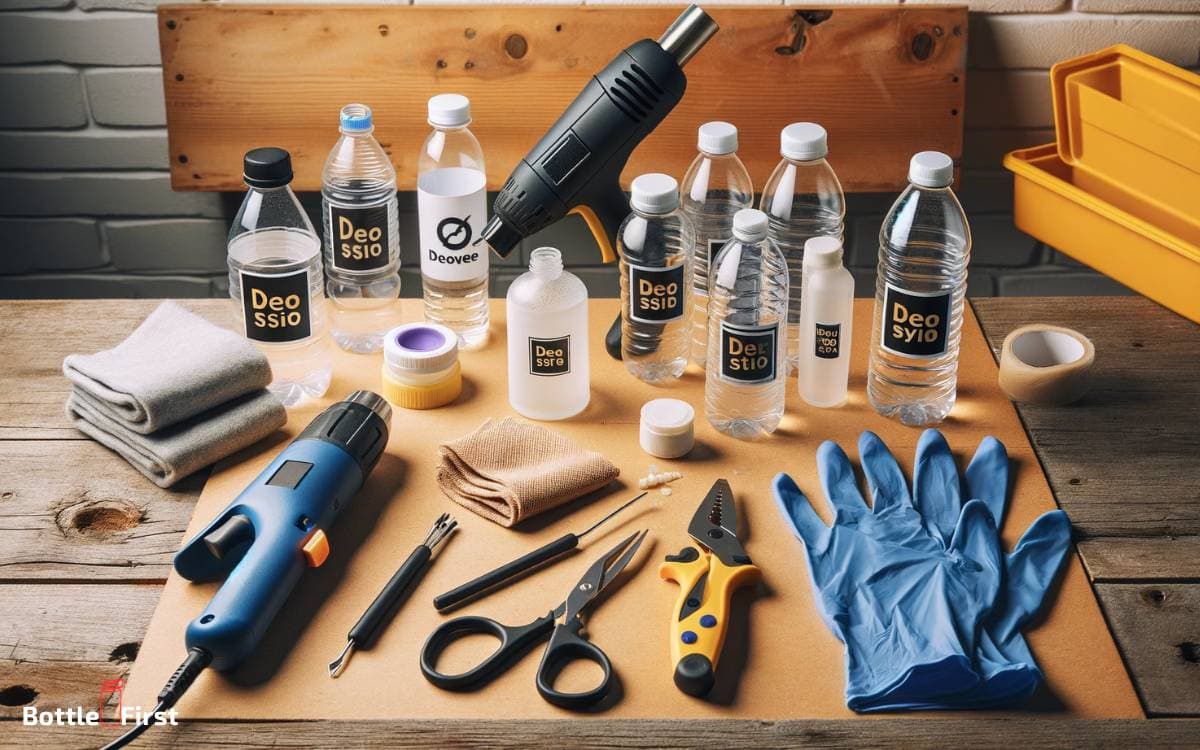
When it comes to removing logos from plastic water bottles, there are a few tools and materials that you’ll need to gather beforehand.
Ensure that you have these items ready to make the process smoother and more efficient:
- Isopropyl alcohol: You will need a bottle of isopropyl alcohol, commonly known as rubbing alcohol, which is an effective solvent for removing adhesive residue from plastic surfaces.
- Cotton balls or soft cloth: Use cotton balls or a soft cloth to apply the isopropyl alcohol onto the logo and gently rub it to loosen the adhesive. The soft material will prevent scratching or damaging the plastic bottle.
- Plastic scraper or credit card: A plastic scraper or an old credit card can be handy for lifting the edge of the logo and scraping away any residual adhesive. Be cautious not to apply excessive pressure or use sharp objects, as they may scratch the plastic surface.
- Mild detergent or dish soap: Having a mild detergent or dish soap at hand will be useful for cleaning the bottle after the logo removal process. This will help remove any alcohol residue and ensure the bottle is clean and ready for reuse.
- Water: Keep a container of clean water nearby to rinse the bottle thoroughly after washing off any detergent or soap.
Now that you have gathered all the necessary tools and materials, you are ready to move on to the next step: ensuring safety precautions while working on logo removal.
Remember to follow the instructions carefully and proceed with caution to protect both yourself and the plastic water bottle.
Step-By-Step Process For Logo Removal
Evaluating The Condition Of The Bottle And Logo
Before diving into the logo removal process, it’s important to assess the condition of both the plastic water bottle and the logo itself.
This will help you determine the appropriate method to use and ensure that your bottle remains undamaged throughout the process.
Here are some key points to keep in mind:
- Inspect the bottle: Check for any cracks, scratches, or damage that may affect the removal process or compromise the integrity of the bottle.
- Examine the logo: Take note of the type of logo you’re dealing with. Is it a sticker, adhesive-based, or surface-printed? This information will guide your choice of removal method.
- Consider the age of the logo: Older logos may have become discolored or faded, making the removal process easier. Newer logos, on the other hand, may be more stubborn and require a different approach.
Choosing The Appropriate Logo Removal Method
Once you’ve evaluated the condition of the bottle and the logo, it’s time to choose the most suitable method for logo removal.
Here are some options to consider:
- Heat gun method: This method involves using a heat gun to gently warm up the logo, making it easier to peel off. It is particularly effective for stubborn logos that are difficult to remove by other means.
- Adhesive remover method: Adhesive-based logos often require the use of a specialized adhesive remover. Apply the remover to a cloth, rub it onto the logo, and let it sit for a few minutes. Then, gently scrape off the logo with a plastic scraper or your fingernail.
- Scrubbing method: Surface-printed logos can be removed by scrubbing them with a cloth or sponge soaked in warm, soapy water. Additionally, you can use a mild abrasive cleaner or baking soda paste to help remove any residual adhesive.
Heat Gun Method For Stubborn Logos
A heat gun can be a game-changer when it comes to removing stubborn logos from plastic water bottles.
Here’s how you can use this method effectively:
- Start by setting the heat gun to a low temperature.
- Hold the heat gun around 6 inches away from the logo and move it around in a circular motion.
- Continue heating the logo for about 30 seconds to 1 minute until you notice it becoming more pliable.
- Once the logo feels warm and soft, use your fingernail or a plastic scraper to gently lift and peel it off.
- Take extra care not to apply too much pressure or overheat the plastic, as this can cause damage.
Adhesive Remover Method For Adhesive-Based Logos
For logos that are adhesive-based, such as stickers or labels, an adhesive remover can be highly effective.
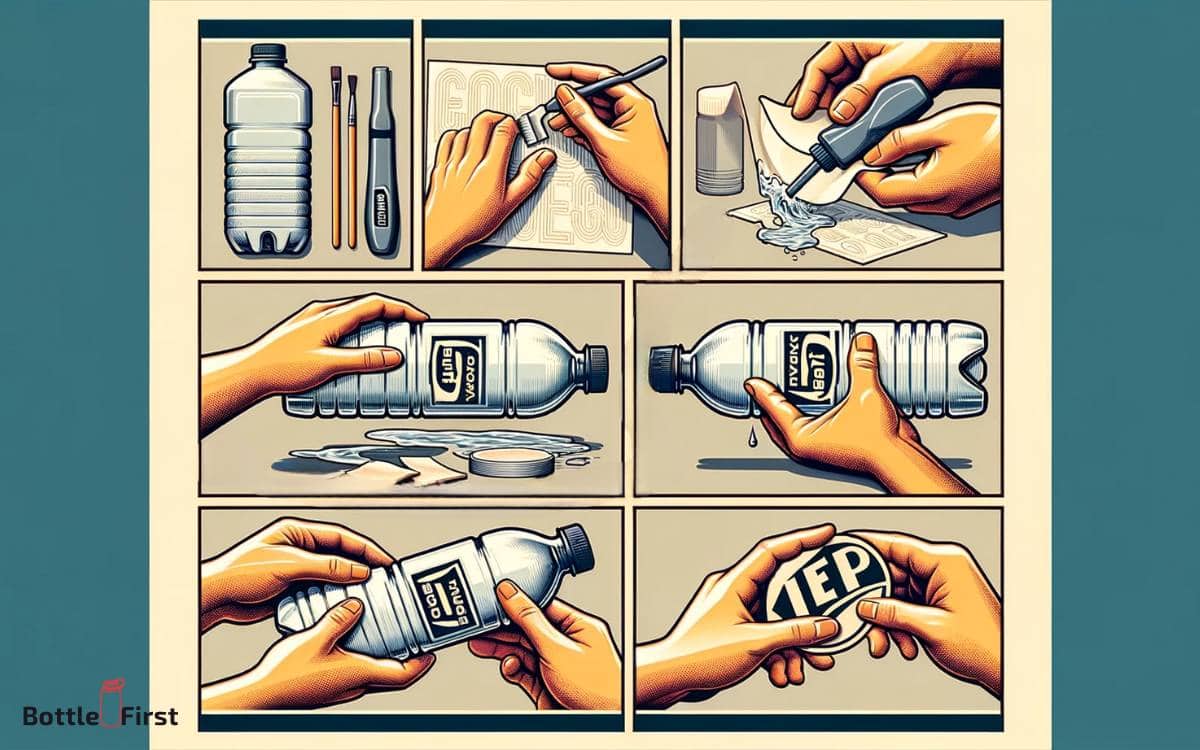
Here’s a step-by-step process to remove these logos:
- Apply a small amount of adhesive remover to a clean cloth.
- Gently rub the cloth over the logo, ensuring that the remover comes into contact with the adhesive.
- Let the adhesive remover sit on the logo for a few minutes to allow it to penetrate the adhesive.
- Using a plastic scraper or your fingernail, start scraping the logo off the bottle. Be careful not to scratch the plastic.
- If needed, repeat the process until the logo is completely removed.
Scrubbing Method For Surface-Printed Logos
Surface-printed logos can be a bit trickier to remove, but with the right technique, it can be done.
Follow these steps:
- Dip a cloth or sponge in warm, soapy water.
- Gently scrub the logo in a circular motion, applying light pressure.
- For more stubborn logos, create a paste using baking soda and water, and apply it to the logo.
- Continue scrubbing until the logo starts to fade or is completely removed.
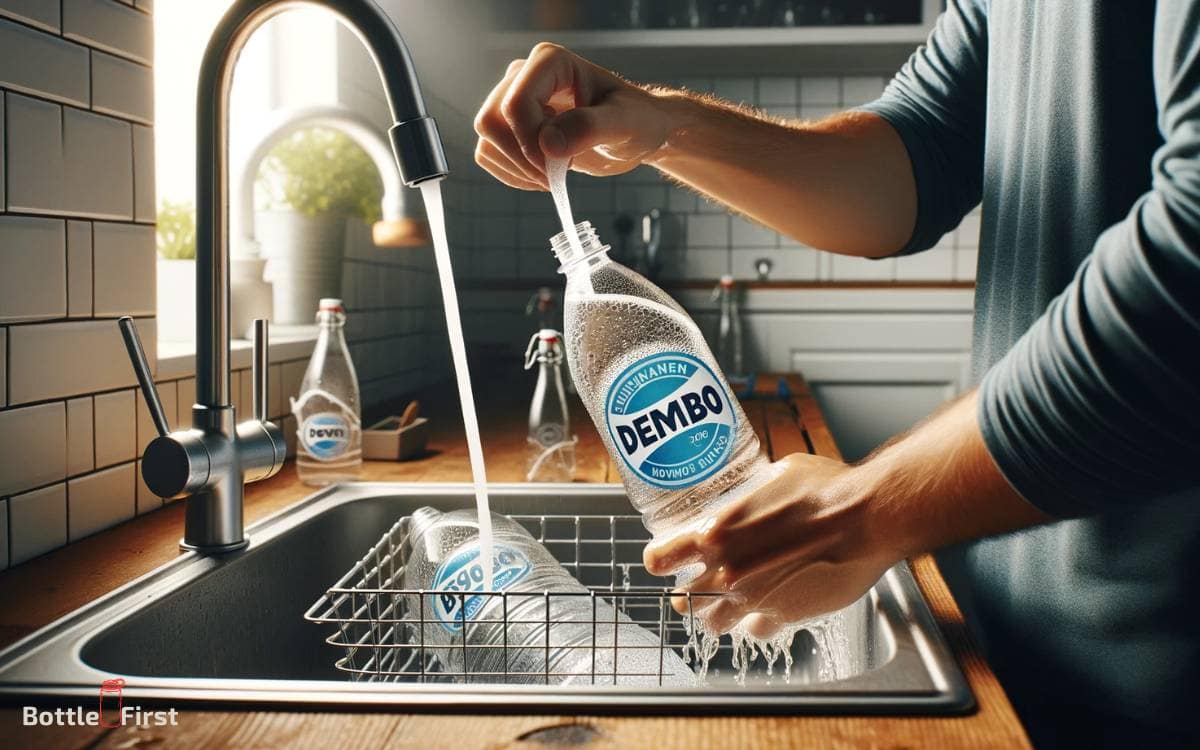
- Rinse the bottle thoroughly with warm water to remove any residue.
Applying The Selected Method To Remove The Logo
Once you’ve chosen the appropriate logo removal method based on the evaluation and type of logo, it’s time to put it into action.
Here’s a quick summary of the steps involved:
- Gather the necessary tools and materials for the selected method.
- Follow the specific steps outlined for the chosen method (heat gun, adhesive remover, or scrubbing).
- Proceed with caution, taking care not to damage the plastic or leave any residue behind.
- Be patient and persistent, as some logos may require multiple attempts or a combination of methods.
- Clean the bottle thoroughly after logo removal to ensure it is free from any leftover adhesive or residue.
Techniques For Avoiding Bottle Damage During The Process
To ensure that your plastic water bottle remains undamaged throughout the logo removal process, consider the following techniques:
- Avoid using sharp or abrasive tools that could scratch or puncture the plastic.
- Apply gentle pressure and take your time to prevent accidentally damaging the bottle.
- Use plastic scrapers or your fingernail instead of metal tools to avoid scratching the plastic.
- Test any cleaning agents or removers on a small, inconspicuous area of the bottle first to check for any adverse reactions.
- If in doubt, consult the bottle manufacturer’s guidelines or seek professional assistance to avoid unintentional damage.
Remember, removing a logo from a plastic water bottle requires patience, caution, and the right method for the specific type of logo you’re dealing with.
By following the step-by-step process and employing the appropriate techniques, you can successfully eliminate unwanted logos while keeping your bottle in pristine condition.
Tips And Tricks For Effective Logo Removal
Removing a logo from a plastic water bottle may seem like a daunting task, but with the right techniques, it can be easily accomplished.
In this section, we will explore some helpful tips and tricks to ensure successful logo removal.
So let’s dive right in!
Testing The Method On A Small Area Before Full Application
Before applying any logo removal method to the entire bottle, it is crucial to test it on a small, inconspicuous area.
This will help you determine the effectiveness of the method without risking damage to the entire bottle.
Remember to follow these steps when conducting the initial test:
- Select an area on the bottle where the logo is not easily visible.
- Apply a small amount of the logo removal method to the chosen area.
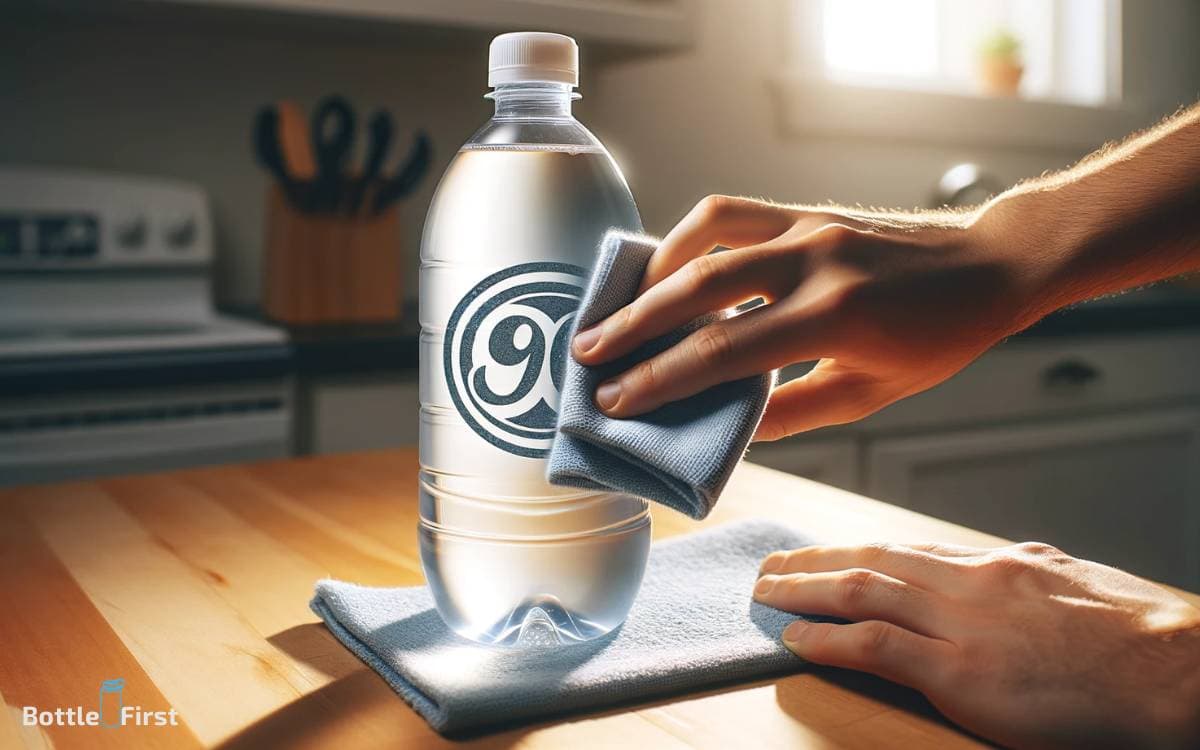
- Gently rub the solution in a circular motion using a soft cloth or sponge.
- Observe any changes or adverse reactions on the plastic surface.
By performing this quick test, you can avoid potential mishaps and ensure the method is suitable for your specific bottle.
Using Gentle And Consistent Pressure During Logo Removal
When removing a logo from a plastic water bottle, it is essential to use gentle and consistent pressure to avoid damaging the bottle’s surface.
Follow these steps for effective logo removal:
- Apply the logo removal solution of your choice onto a clean cloth or sponge.
- Gently rub the logo in a circular motion, ensuring even pressure distribution.
- Gradually increase pressure if necessary, but be cautious not to apply excessive force.
- Repeat the process until the logo is fully removed, taking breaks if needed.
Remember, patience is key when removing logos from plastic water bottles. Rushing the process may result in scratches or other damage to the bottle.
Stubborn Logo Removal Techniques For Challenging Situations
In some instances, logos may be particularly stubborn and demand extra effort to remove.
Here are a few techniques for tackling those challenging situations:
- Use a mild abrasive compound, such as toothpaste or baking soda, to gently scrub away the logo. Remember to apply light pressure and rinse thoroughly afterward.
- Try using rubbing alcohol or nail polish remover on a cotton ball to target stubborn logo residue. Test the solution in a small area first and avoid excessive application to prevent damage.
- For persistent logos, you can also consider using a heat gun or hairdryer set to a low heat setting. Direct the heat towards the logo while maintaining a safe distance to avoid melting the plastic.
Always proceed with caution when employing these techniques, as each plastic bottle may react differently. Test on a small area first and be mindful of the bottle’s integrity.
Post-Removal Cleaning And Maintaining Bottle Hygiene
Once you have successfully removed the logo from your plastic water bottle, it is crucial to clean the bottle thoroughly and maintain its hygiene.
Follow these steps to ensure a clean and fresh bottle:
- Rinse the bottle with warm water and a mild dish soap to remove any residues from the logo removal process.
- Use a bottle brush or sponge to scrub the interior of the bottle, paying extra attention to hard-to-reach areas.
- Rinse the bottle thoroughly with clean water to remove any soap residue.
- Leave the bottle to air dry completely before using or storing it.
Regularly cleaning your water bottle will help prevent the build-up of dirt, germs, and odors, ensuring a safe and pleasant drinking experience.
By following these tips and tricks, you can effectively remove logos from plastic water bottles while maintaining the bottle’s integrity and hygiene.
Remember to test methods, use gentle pressure, employ stubborn logo removal techniques when necessary, and clean the bottle thoroughly post-removal.
Enjoy the satisfaction of having a logo-free water bottle that suits your personal style and preference!
Can I Use the Same Steps to Remove the Logo from a Voss Water Bottle?
Yes, you can use the same steps to remove the label from a Voss water bottle. To remove label voss water bottle, first, soak the bottle in warm, soapy water. Then, gently rub the label with a sponge or cloth. If needed, use a scraper or nail polish remover to remove any stubborn residue.
Conclusion
To sum up, removing a logo from a plastic water bottle is a common concern, but with the right techniques, it can be easily accomplished.
Whether using rubbing alcohol, acetone, or a combination of ingredients like baking soda and olive oil, there are various methods to choose from based on the type of logo and the material of the bottle.
It is crucial to proceed with caution and test the method on a small area before applying it to the entire logo. Additionally, using a gentle scrubbing tool like a toothbrush can effectively aid in the removal process.
By following these steps and being patient, anyone can successfully remove a logo from a plastic water bottle, giving it a clean, brand-free look.
So, go ahead and transform your plastic water bottle into a blank canvas for your personal use. Enjoy the refreshing drink and show off your creativity without any distractions!
