Tips, Reviews, Guides, and How-to’s for Bottles
The best way to find your new favorite bottle!
New Bottle Contents

What We Follow at BottleFirst
Research on Web
Hands-On Testing
Data-Driven Reviews
BottleFirst Feature
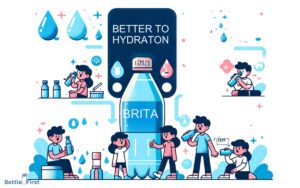
Water Bottle
Dive into Our Water Bottle Feature for Hydration Perfection
Blender Bottle
Uncover the Magic of Blender Bottles in Our Exclusive Feature
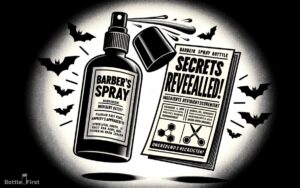
Spray Bottle
Explore the Versatility of Spray Bottles in Our Latest Highlight
Baby Bottle
Discover the Finest Baby Bottles for Your Little One in Our Special Feature
Glass Bottle
Get Acquainted with Elegant Glass Bottles in Our Curated Showcase
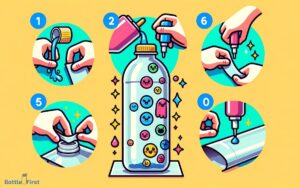
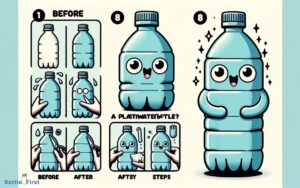
Bottle DIY
Unleash Your Imagination with Our Fun and Easy Bottle DIY Ideas!
Editor Choices
Glass Bottle


Water Bottle

Water Bottle Guide
DIY Water Bottle

Spray Bottle

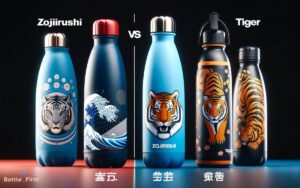
Water Bottle Compare

Water Bottle Ideas
Blender Bottle